
No sé si les ha pasado que, el cumpleañero quiere un pastel pero en la pastelería no conocen esa temática. Pues, el caso con mi hija es así y como me gusta hacer tortas puse manos a la obra.
I don't know if it has ever happened to you that the birthday boy or girl wants a cake but the bakery doesn't know the theme. Well, this is the case with my daughter and as I like making cakes I got to work.
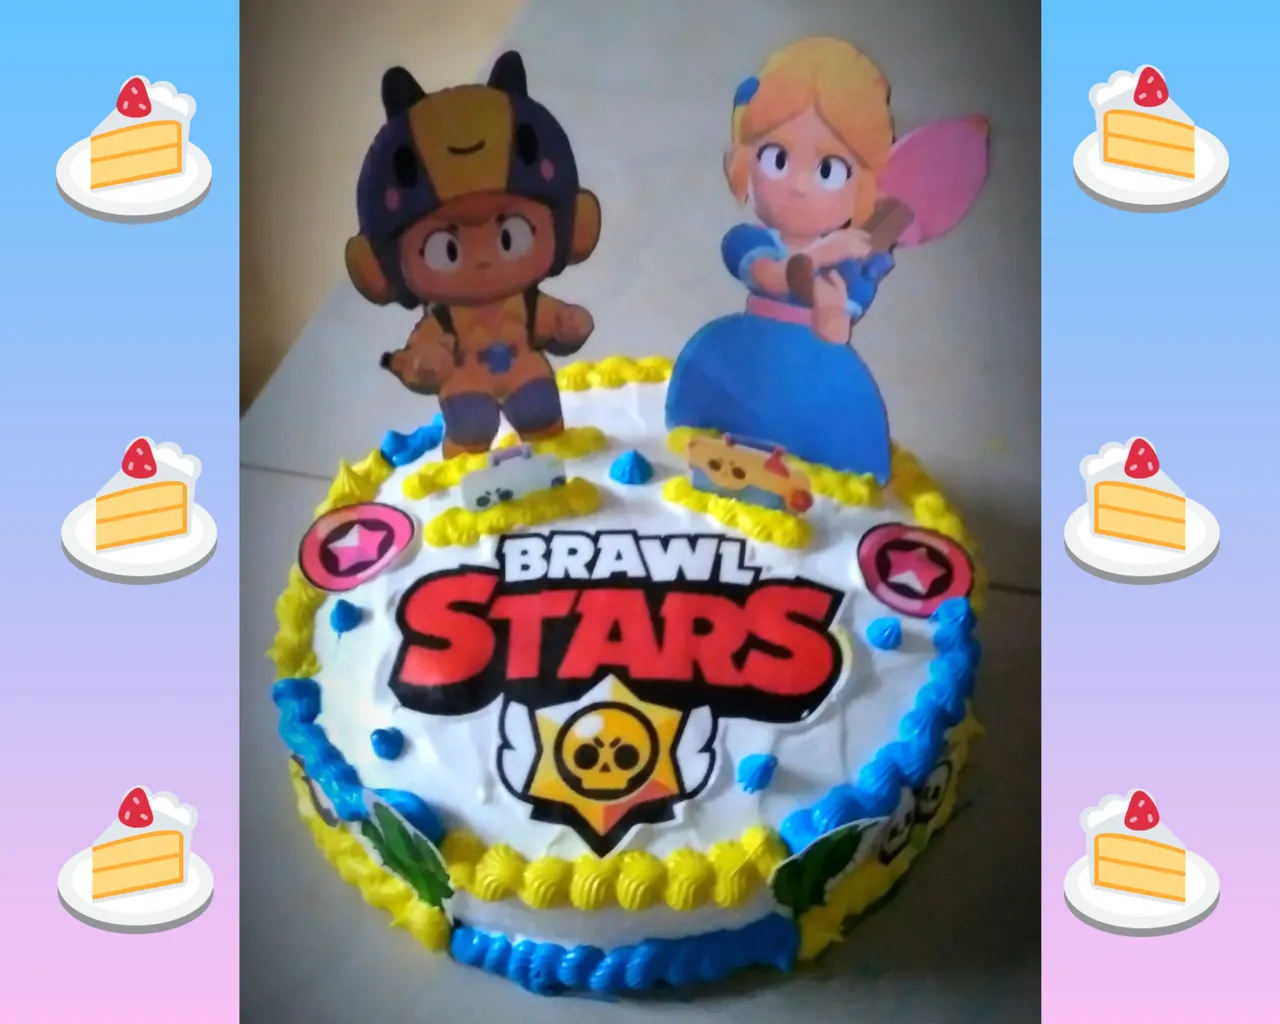
Esta torta tenía que tener algunas cosas especiales: ser de chocolate por dentro y tener decoración alusiva a Brawl Star, el videojuego favorito de mi hija.
This cake had to have a few special things: it had to be chocolate inside and it had to be decorated with Brawl Star, my daughter's favourite video game.
[Versión Español]
Para esta torta, imprimí en papel de arroz (papel comestible) el escudo del videojuego y algunos detalles del mismo, los cuales recorte con una tijera y deje a un lado mientras estaba listo el pastel.
Ingredientes para la torta:
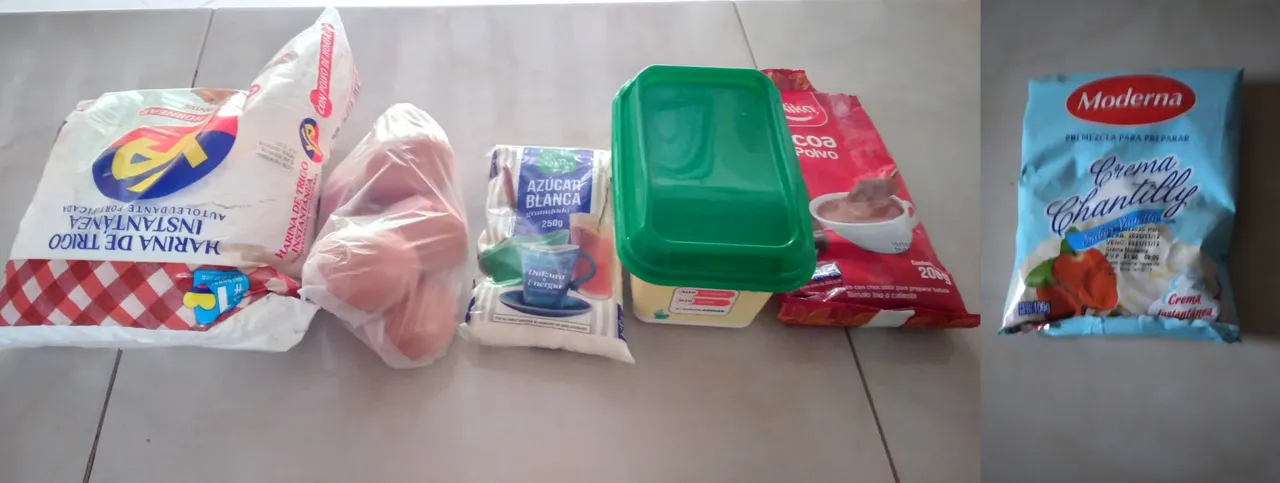
▪︎Harina de trigo leudante (4 tazas)
▪︎250 gramos de Azúcar
▪︎4 Huevos
▪︎250grs de Mantequilla
▪︎100grs de cacao en polvo
▪︎Agua
▪︎Vainilla
▪︎Ralladura de limón
Ingredientes para la decoración:
▪︎Crema chantilly en polvo
▪︎1 taza de leche fría
▪︎Colorantes azul y amarillo
[English Version]
For this cake, I printed on rice paper (edible paper) the crest of the video game and some details of it, which I cut out with a scissors and put aside while the cake was ready.
Ingredients for the cake:
▪︎Leavened wheat flour (4 cups).
▪︎250 grams Sugar
▪︎4 Eggs
▪︎250 grams of Butter
▪︎100g cocoa powder
▪︎Water
▪︎Vanilla
▪︎Lemon zest
Ingredients for decoration:
▪︎Chantilly whipped cream.
▪︎1 cup cold milk
▪︎Blue and yellow colouring agents
Preparación:
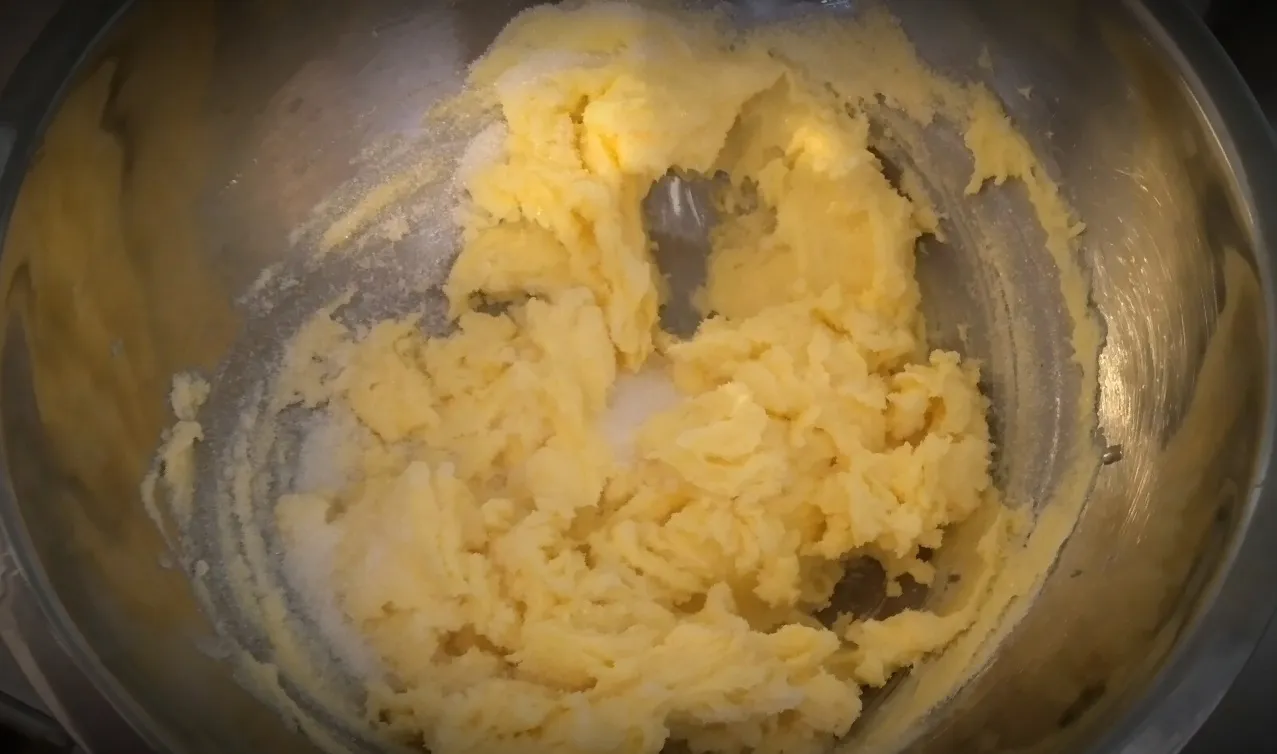
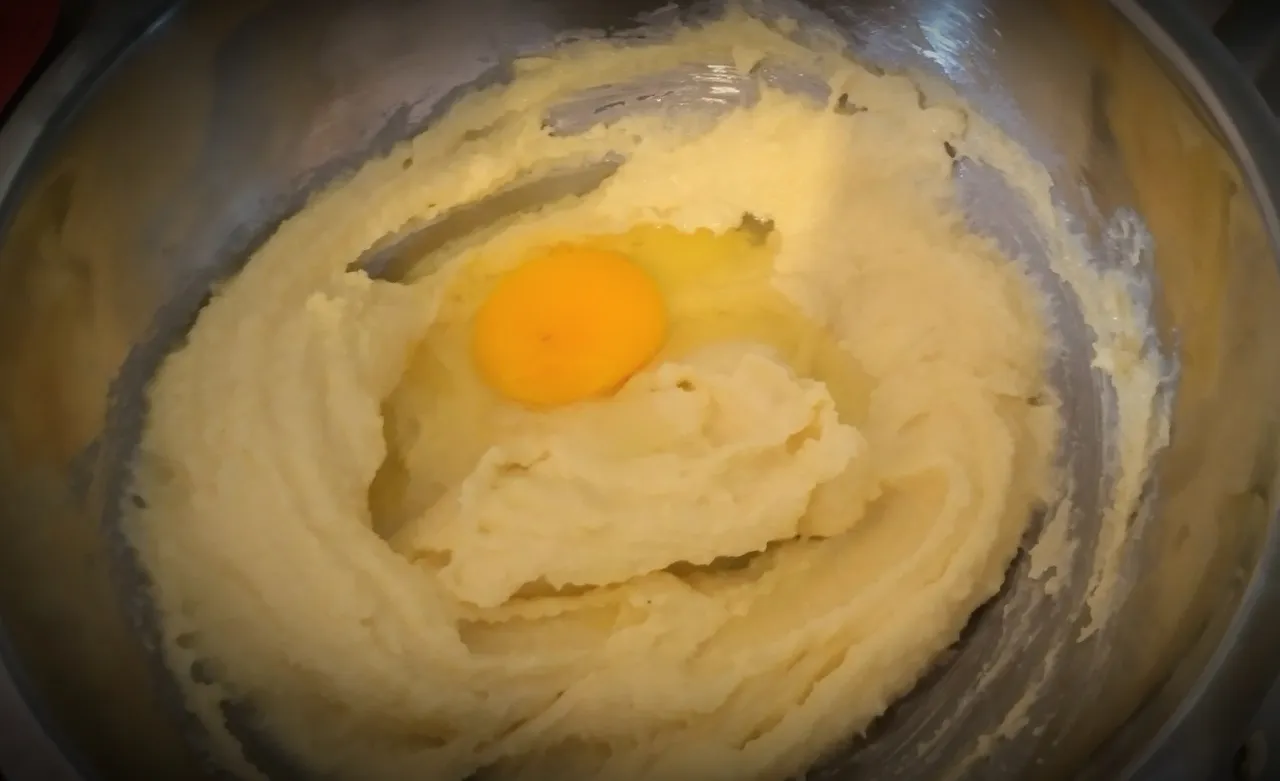
▪︎En un bol, colocamos la mantequilla y batimos, hasta conseguir una consistencia bastante cremosa.

▪︎Luego añadimos el azúcar y solo batimos hasta que se unan, el azúcar y la mantequilla. El truco es batir bien la mantequilla sola.
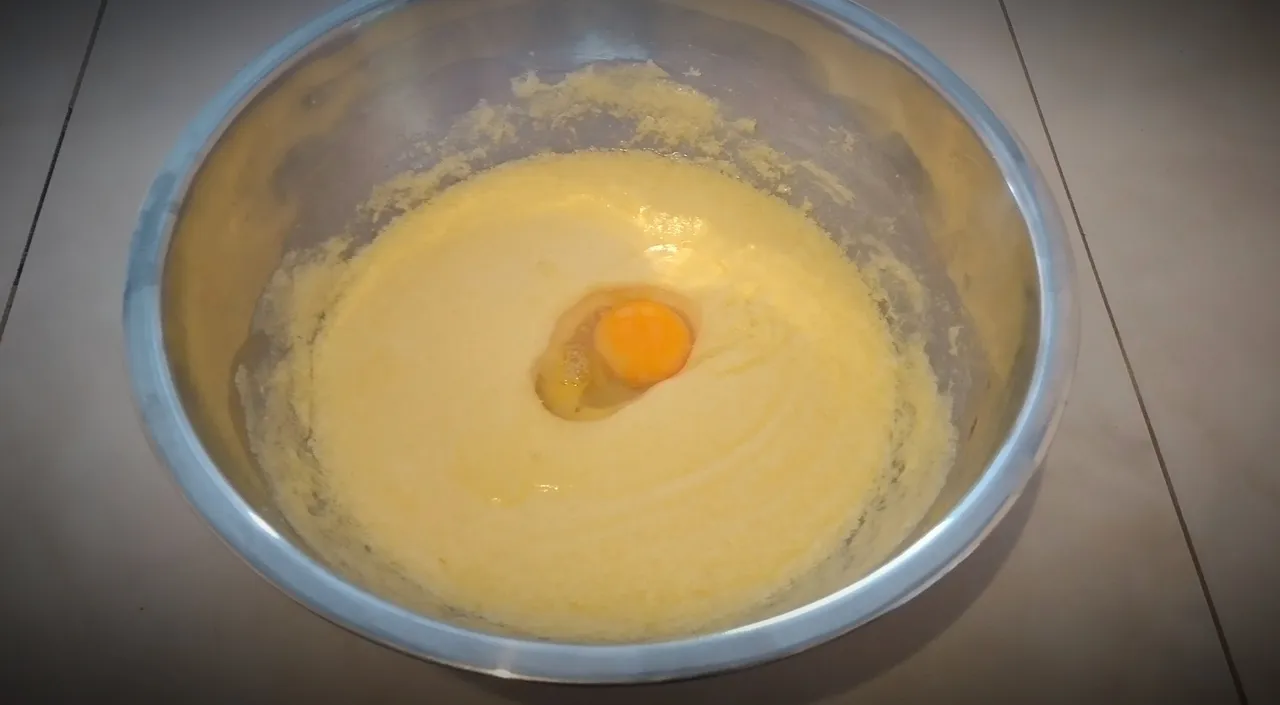
▪︎Añadimos los huevos, uno a uno, batiendo hasta que se mezcle bien y luego añadimos una cucharadita de Vainilla.
▪︎Es el turno de los polvos, para ello vamos a cernir todo (pasarlo por un colador). Colocamos una a una las tazas de harina.
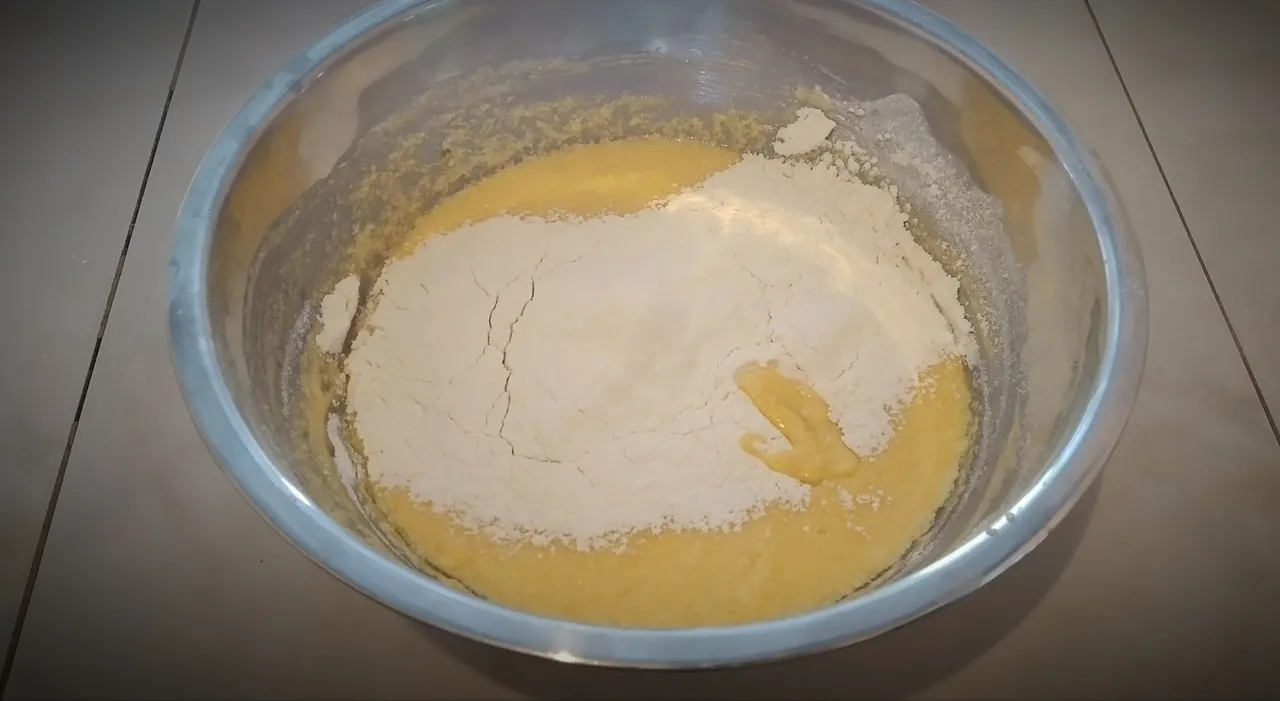
▪︎Añadimos agua o leche, con agua nuestras tortas quedan igual de rica y pueden durar más tanto dentro como fuera del refrigerador.
▪︎Continuamos con la harina y luego el cacao, también cernido para que no queden grumos. Recordaba que nuestra mezcla no debe quedar tan Aguada.
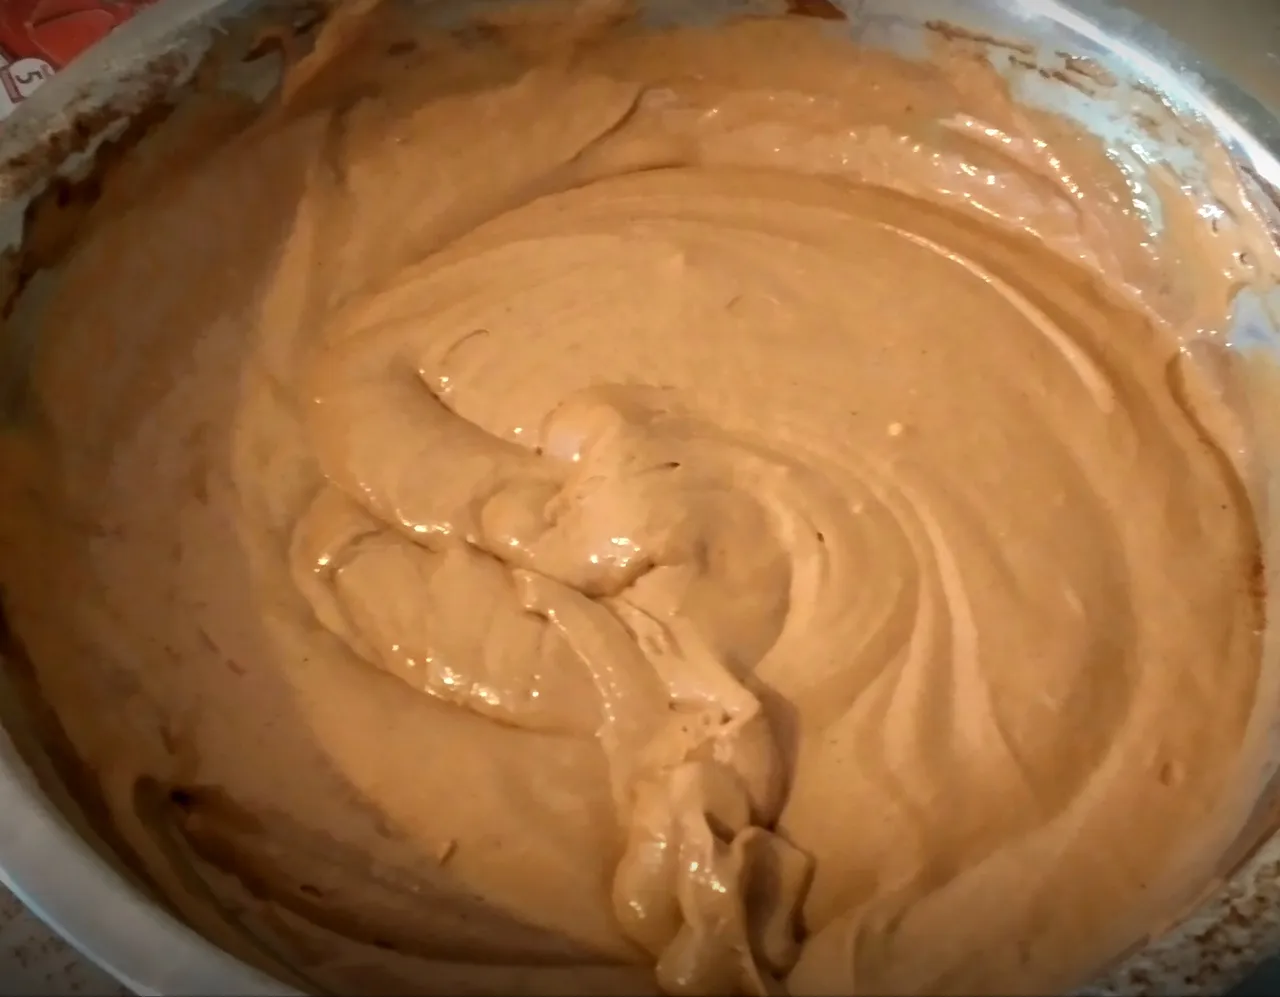
▪︎Pre calentamos nuestro horno y colocamos a temperatura de 180°C, mientras colocamos a nuestra bandeja para hornear mantequilla y harina, para agregar nuestra mezcla.
▪︎Cuando colocamos nuestra mezcla en la bandeja para hornear, es importante no golpear, muchos hacen esto creyendo que así se compactara más, pero en realidad esto hace que nuestra torta se pasme ya que le quitamos el aire que agarro mientras la batimos.
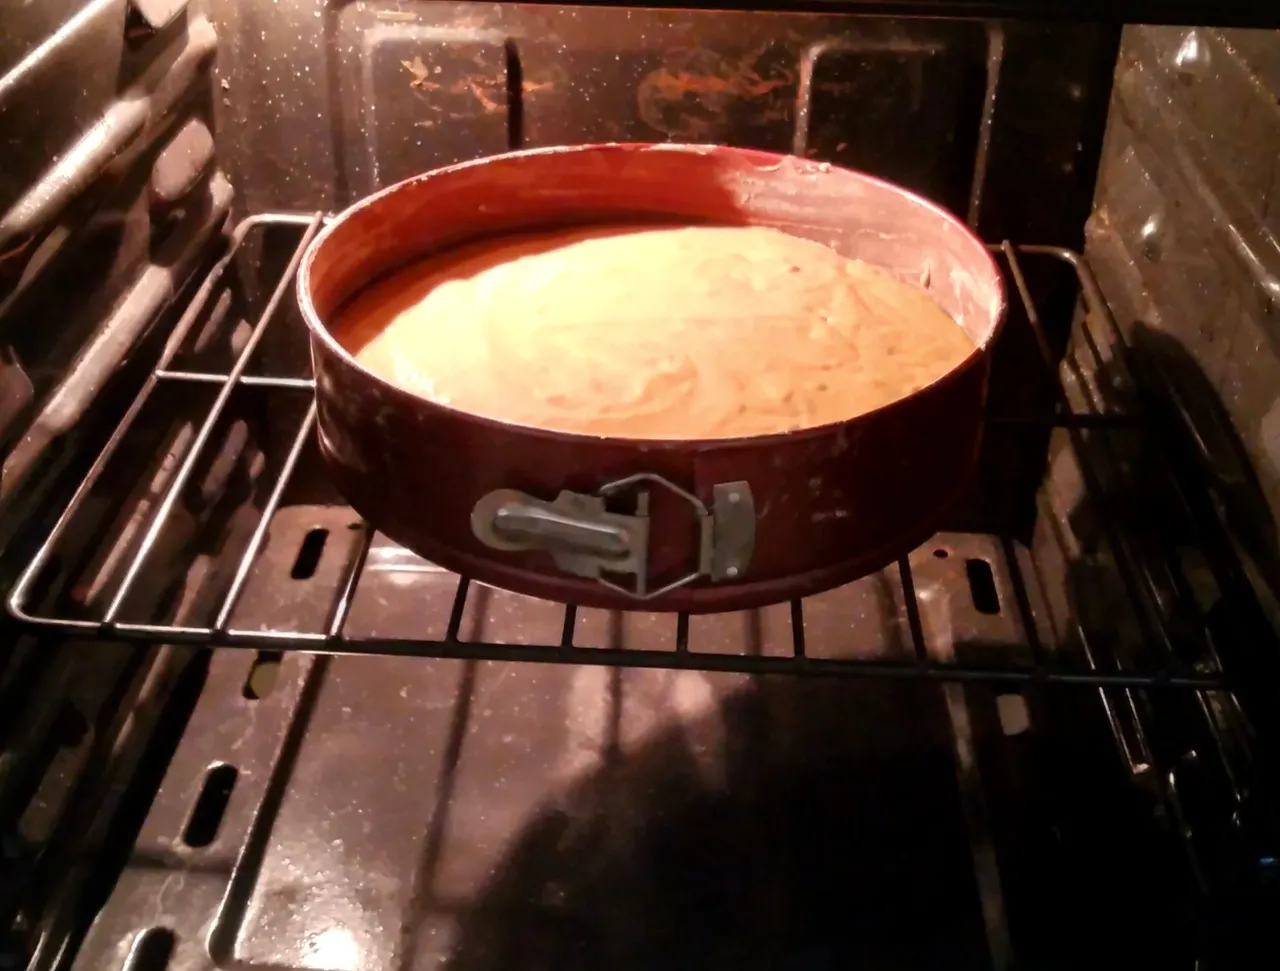
▪︎Dejamos en el horno por aproximadamente 45 minutos.
▪︎Una vez lista, retiramos del horno y dejamos enfriar para decorar o comer así, si lo prefieren.
Preparation:
▪︎In a bowl, place the butter and beat, until you get a fairly creamy consistency.

▪︎Then add the sugar and just beat until the sugar and butter come together. The trick is to beat the butter well on its own.
▪︎Add the eggs, one at a time, beating until well blended and then add a teaspoon of vanilla.
▪︎It is the turn of the powders, for this we are going to sift everything (pass it through a sieve). Place the cups of flour one by one.
▪︎We add water or milk, with water our cakes are just as tasty and can last longer both in and out of the refrigerator.
▪︎We continue with the flour and then the cocoa, also sifted so that there are no lumps. Remember that our mixture should not be too watery.
▪︎Preheat our oven and set it to 180°C, while we add butter and flour to our baking tray to add our mixture.
▪︎When we place our mixture on the baking tray, it is important not to beat it, many people do this believing that it will be more compact, but in reality this makes our cake go limp as we take the air out of it as we beat it.
▪︎Leave in the oven for approximately 45 minutes.
▪︎Once ready, remove from the oven and leave to cool to decorate or eat as is, if you prefer.
Una vez frío tu pastel puedes decorarlo según tu preferencia. En mi caso la decore de Bral Star, para la crema chantilly segui las instrucciones detrás del sobre y para las muñecas grandes solo las imprimí en una hoja de papel normal, recorte y pegué sobre un foami, al cual le pegué un palito de altura.
Once your cake is cooled you can decorate it according to your preference. In my case I decorated it with Bral Star, for the whipped cream I followed the instructions on the back of the envelope and for the big dolls I just printed them on a sheet of normal paper, cut them out and stuck them on a foami, to which I stuck a height stick.
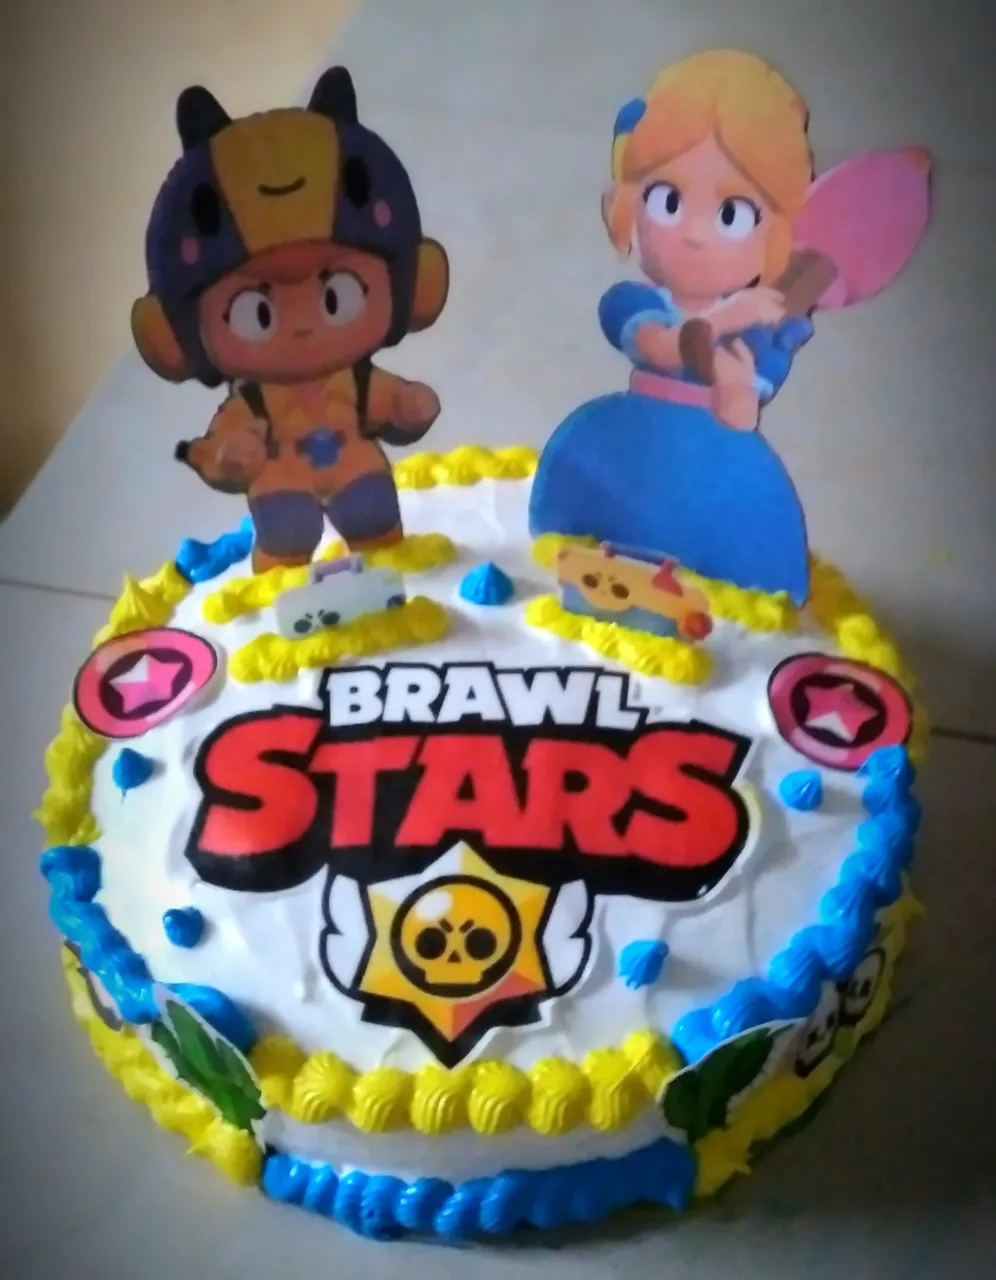
Resultado final y la Cumpleañera estaba muy feliz.

Todas las imágenes son de mi propiedad capturadas con un Samsung Galaxy A20s, cámara principal.