Hello, everybody!
How are you doing? I hope you are well or trying to be well. After all, spring is coming, I think it's a great reason to try to be good.
It was Navruz a few days ago. Happy past Navruz! 🌺🌻💐🍀

First of all, did you know that the 21st is Navruz? Well, do you know what Navruz is as a word? I think these are cute questions. After all, we are touching on this subject from the edge of history, which is my main interest, and a calendar, which is my ancestry/lineage.
The word Nev/Nav means "new" in Old Turkish, while Ruz means "year". Actually, we are a bit distant from these words today. Nevertheless, I think everything will be fine as long as we do not forget its meaning and what it means.
Anyways...
I think it's something to be celebrated that after this day, when day and night are equalled, daylight hours will be longer and nights will be shorter. So that's what my family and I did. Of course, we went a little east for this. When 3 people from Azerbaijan were in the house, it would have been impossible not to make these desserts.
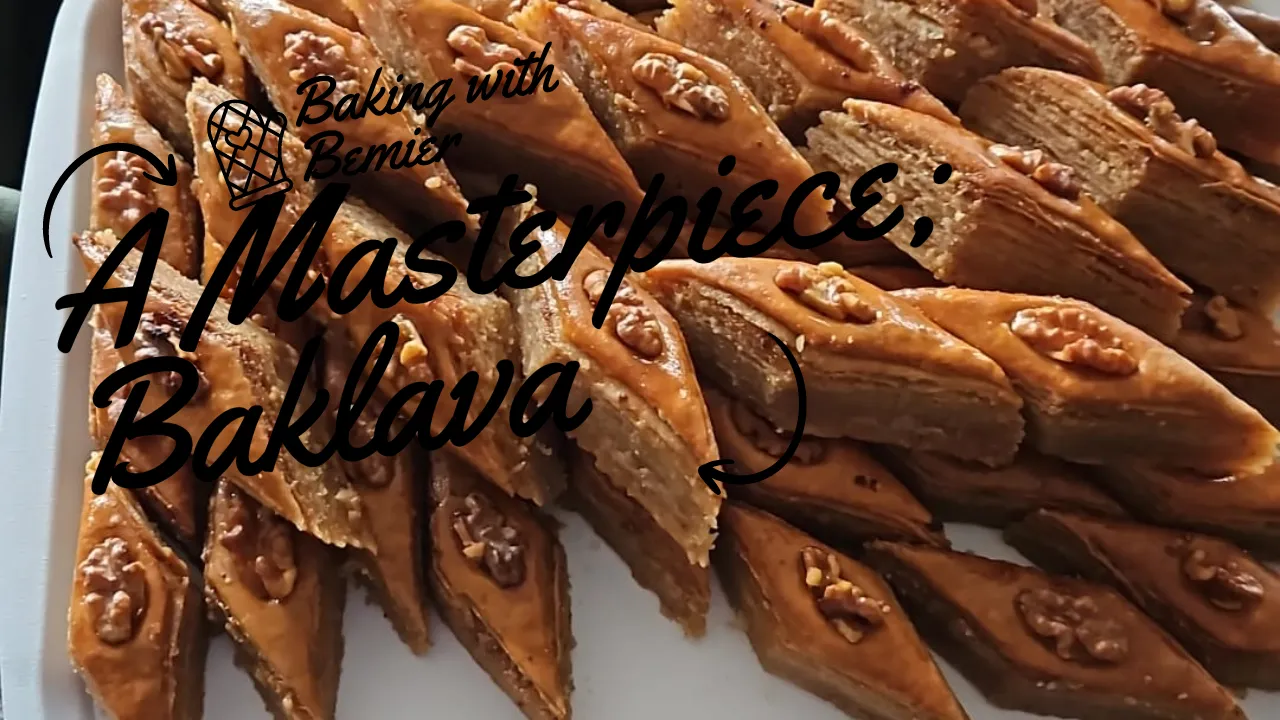
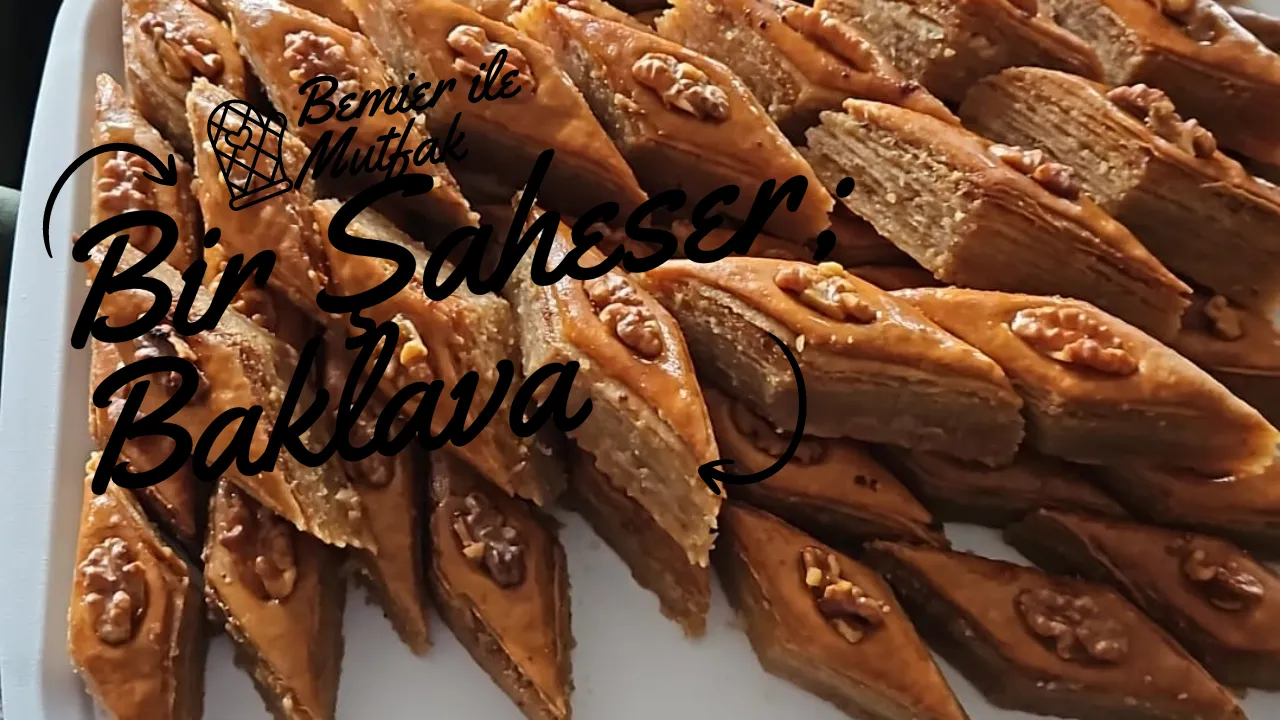
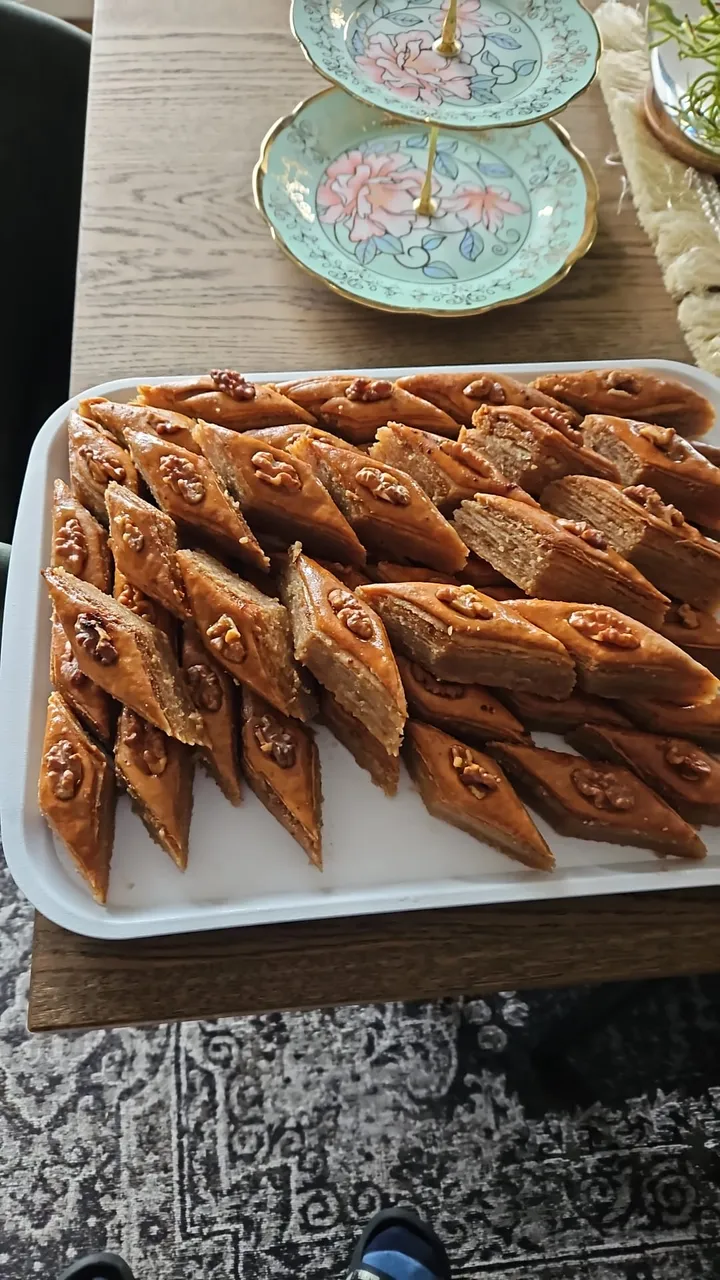
We made Azerbaijani baklava, şekerbura and qogal.
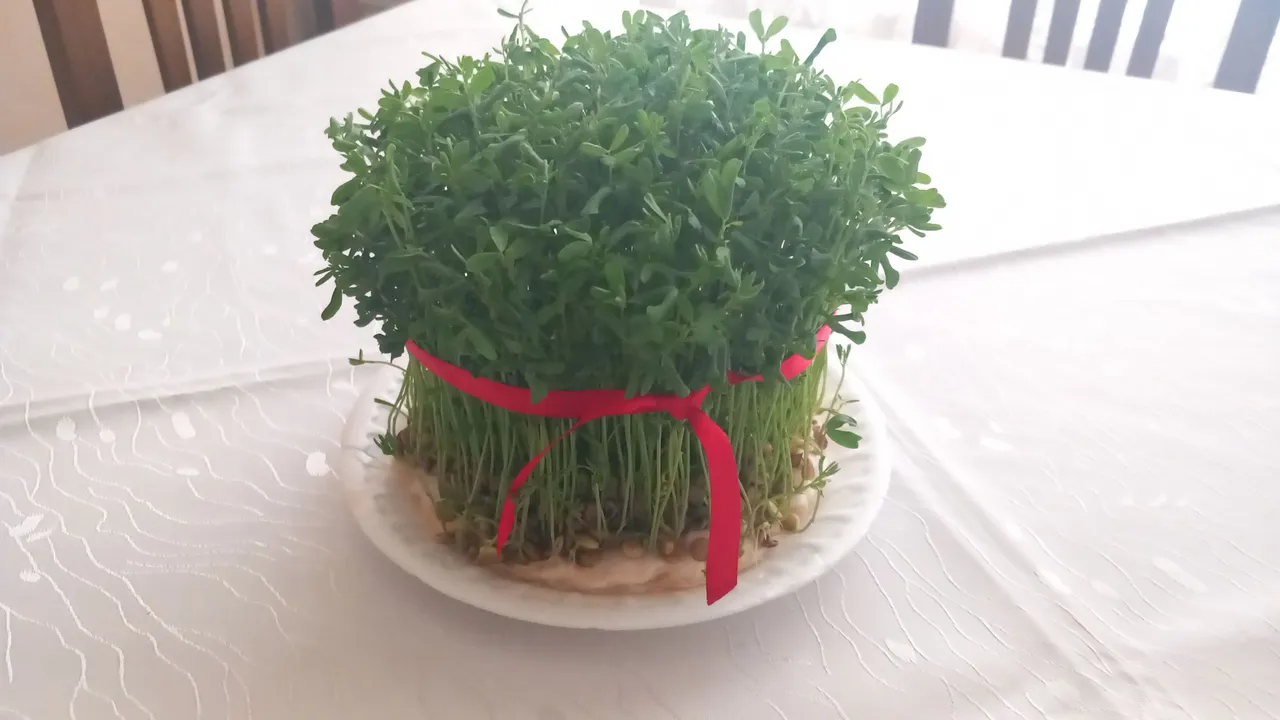
I will share the recipe of Sekerbura with you in the coming days and today I wanted to celebrate this beautiful day with you and share the recipe of Azerbaijani Baklava with you. You can see our table that we decorated with Semeni above.

It actually took a little longer than I expected to prepare Semeni, but it is still lush and green even though it has been almost a week.
In fact, my mother made 2 of them while preparing Semeni, one of which we gave to my aunt, so that life in our house would continue in a happy and beautiful way, as we want this to continue in my aunt's house.

Since the making of Semeni was started before me, I could not photograph how it was made, but from today I will make a new one myself and share all the stages with you if it works. For now, I just thought it would be nice to know that there is such a thing.
Now let's come to our main topic, I've extended the entry more than necessary, I apologise, I think I've been longing to be away from here for a long time.
This is going to be a bit long, it was very difficult to make and watch. Firstly, I will talk about the necessary ingredients for walnut baklava and then I will talk about how to make it.
Let's get started!
Firstly, it is necessary to start by preparing the syrup because this syrup will cool down while you are working with the dough.
The glass is 200 ml.
For the syrup;
- 3 water glass granulated sugar
- 2 water glass of water
- Half a teaspoon (3-4 grams) lemon salt
The making;

Firstly, we mix sugar and water and boil them in a pot. When we notice that it boils, which takes about 5 minutes, then we continue to boil for 6-7 minutes on medium heat. After this time is over, which I think it is much more important to be 7 minutes, we add half a teaspoon of lemon salt and after boiling by stirring for 30 seconds, we turn off the heat. And put it in the fridge after it cools down.
Now it's our turn to fill it. Let's enjoy it while things are still easy because it won't be like that soon 😂
For the filling;
- 600 grams of walnut
- 400 grams of granulated sugar
- 10 grams of cardamom
Making;
For 600 grams of walnuts, we grind them in a food processor without pulverising them. Since the robot broke down at the last minute at home, we passed these walnuts through the meat grinder with the great idea that came to my aunt's mind. I think it was very good. The size of the grains was just right.
We mix 400 grams of granulated sugar and 10 grams of cardamom with walnuts. Our filling is that simple.
Our real work starts with this dough. If we've rolled up the sleeves, let's move on. We have a lot of work to do. Also, the ingredients should be at room temperature unless I say otherwise.
For the dough;
800 grams of flour
7 grams of granulated sugar
1 packet of vanillin
3 grams of salt
250 grams of butter
200 grams of smethane or kaymak
2 medium-sized eggs
100 ml milk
3-4 grams of dry yeast
Making;

Firstly, we take flour, salt, granulated sugar and vanillin into a large round bowl and mix them well. This is something we usually do in desserts. Friends who are interested in the kitchen surely know. First the solids are mixed and then the wet ones are added.
Then we add the solid oil (it is important that it is soft and at room temperature), cream and eggs. Now, I am not sure how correct it would be if I say a little tip, but I will say it anyway. We use about 25 ml of 100 ml of milk, that is, 4/1 of the milk, to soak the yeast. So the yeast will work better.
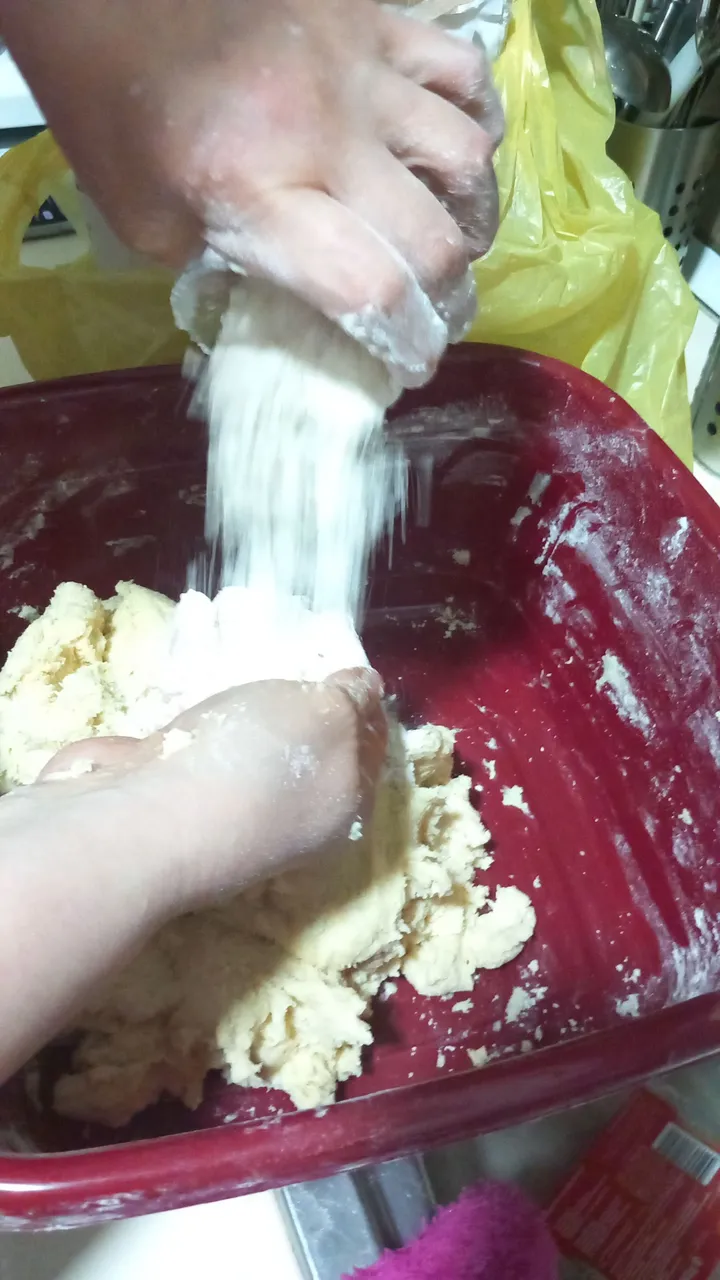
After adding the yeast milk to the other ingredients without adding all the milk, we start to mix carefully. To tell you the truth, things get a little dirty here. Of course, when I say it gets dirty, it's for me who can't touch everything. I can't touch some tissues so easily and soft oil is one of them, unfortunately. Anyway.
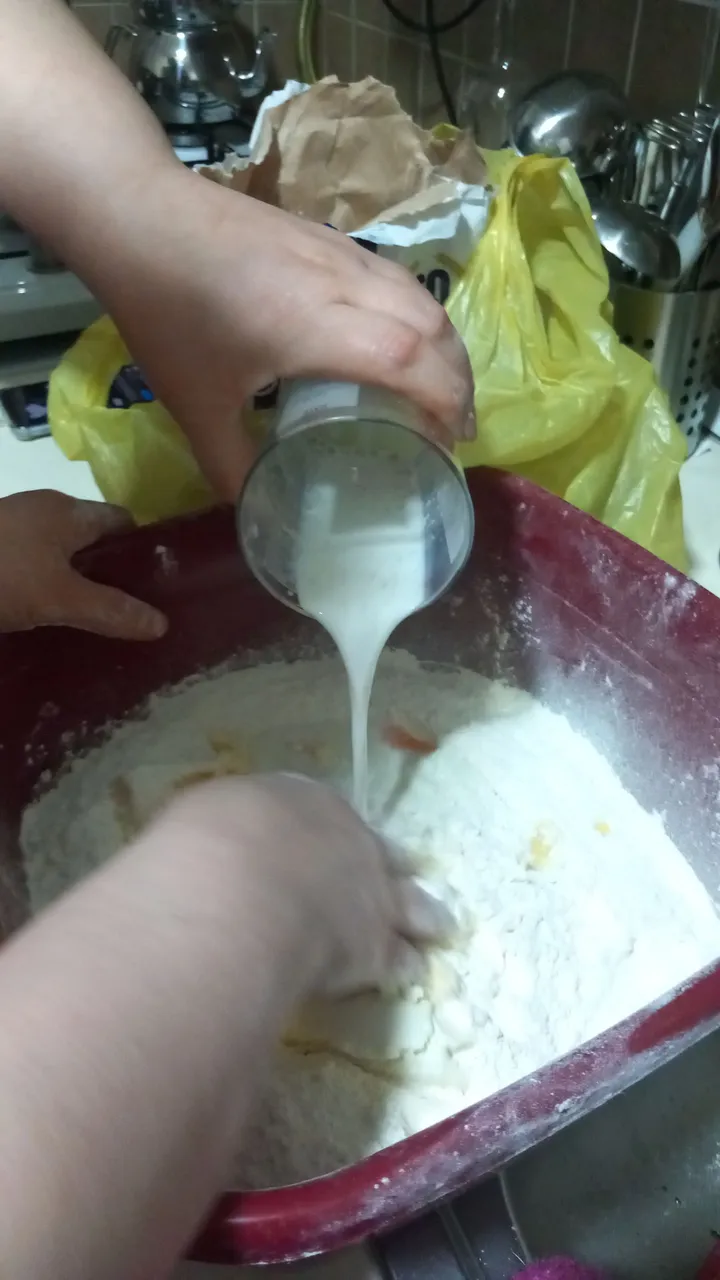
Then, while continuing to mix, slowly add the remaining milk into the mixture. After mixing well, we start kneading and obtain a dough that is not too hard and has the consistency of an earlobe. Without covering this dough tightly, cover it with a refrigerator bag and put a towel on it and leave it to ferment for 30 minutes.
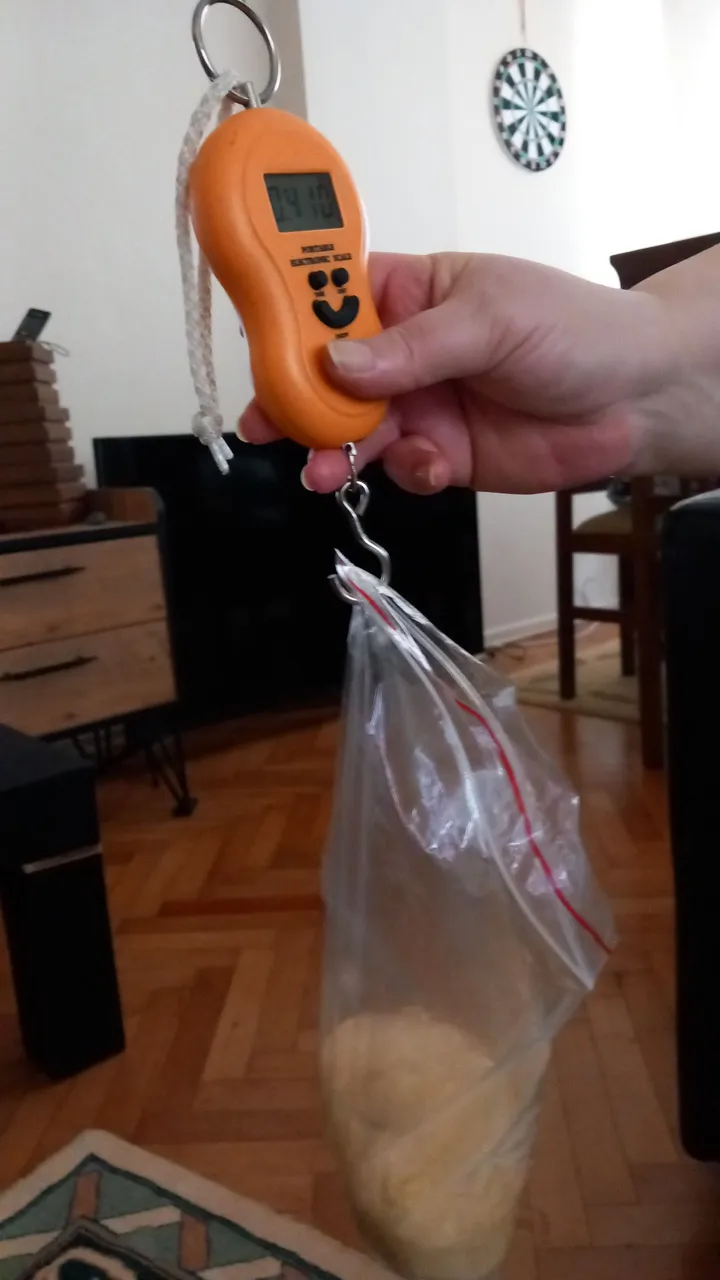
Weight Calculation

Now we come to the last part of the game. At this point, it does not make much sense that your hand is like a scale because you really need a scale.
The bottom and top layer should be a little thicker than the others, but most importantly, the bottom layer should be thicker than the others so that it cooks well and evenly.
We took the scale in our hands and started the measurements. We measured 400 grams for the top layer. We measured the bottom layer, which is 300 grams, and the intermediate layers as 75 grams each. In total, we had 12 pieces of dough, 10 of which were small.
After rolling these doughs and covering them casually with a plastic bag, leave them to rest for 15 minutes.
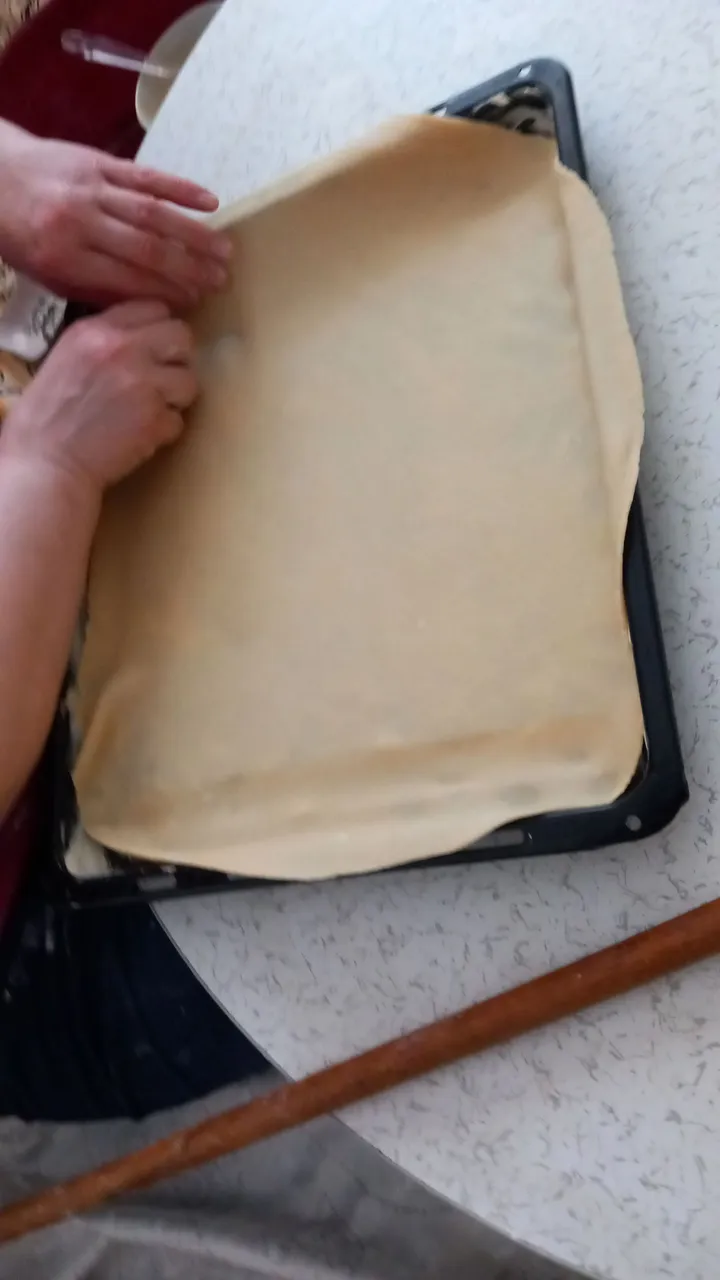
Dough Rolling
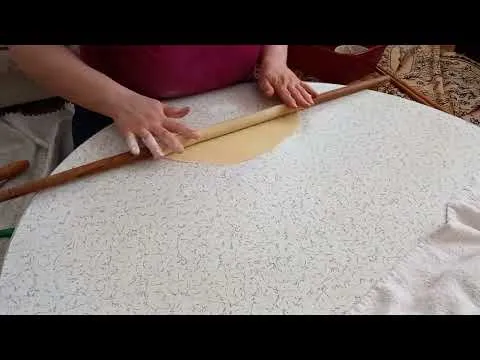
Firstly, we start by rolling out the 300 grams of dough we weighed for the bottom layer. You can easily use the size of the tray as a normal baking tray (35x38).
We will roll out all the layers by sprinkling a little flour on the top and bottom, but there is something to do before that. It is necessary to grease the tray with about 40 grams of oil.
For each layer, you also need to cut off the excess dough in the corners with a knife. Be sure that at least one more layer will come out with those excesses. Or you can fill the dough layer, which is a little shorter than the corners, with the excess dough you cut out. Don't worry, these separate parts will not be visible inside the baklava.

We definitely did not apply oil between the layers of baklava. Yes, it can be beautiful like that, but after the whole baklava is finished, I will tell you what we did.
After laying 75 grams of intermediate dough after 300 grams of base, we pressed the air by hand and made holes on it with a fork. So it will bake better.
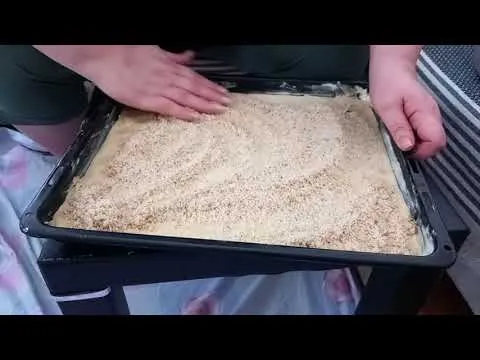
When it comes to adding the filling, we sprinkle the filling we have prepared on each layer of the dough, which we have only punched holes until the third layer, from the third layer onwards. In order to have a more proportional filling distribution, it may be much easier to measure the total filling on a scale and divide it into 8.
Spread the filling mixture that we added until the tenth layer on it without adding it to the eleventh layer. In the same way, after pressing on it and removing the air, we pierce it with a fork and place the top dough, which we measure 400 grams.
At the end, we cut the edges and push the top layer inwards with the help of the tip of the knife.
There are a few last steps before cooking.
Firstly; keep it in the freezer for about 15 minutes to make it easier to cut. Since this solidifies the baklava, it will make it very easy to cut the overlapped dough.
Second; with the help of a ruler, cut the baklava both straight and diagonally at 3 centimetre intervals.
Thirdly; mix 2 egg yolks, 1 egg and 1 teaspoon of oil and distribute it on the baklava so that it can be nicely browned. Don't worry, you will not taste these after it is cooked.
Fourth; you can place walnuts -preferably- on the baklava slices. We put a quarter walnut grain so that it would not be too hard to chew.
Fifth; We put it in the oven preheated at 170 degrees for the first browning. After about 30 minutes, when the top layer hardens, we take it out of the oven.
Sixth; After melting 300 grams of oil, with the help of a knife, we often dip the knife into the oil and go over the cuts we cut beforehand. Thus, the oil easily goes down to the lower layers. And with the help of a spoon, we distribute the remaining oil over the baklava.
Seventhly; we put the tray on the lowest part of the oven again and bake the baklava for about 1 hour and 20 minutes more. It would be very good to keep an eye on the oven after 1 hour and 10 minutes, as the cooking temperature of each oven may be different.

Lastly; We add the sherbet that we have just taken out of the refrigerator evenly on the hot baklava that has just come out of the oven. In 2 or 3 hours, the baklava will have absorbed the syrup completely, but if you make it in the evening and keep it until the morning, I can tell you that it will be delicious. Since it absorbs the syrup completely, it is very delicious.
Ugh... I know it's very long. It's a very difficult dessert, you know. Anyway. I will end this long enough post here without further prolonging it.
Take care of yourself, stay with love and health, see you tomorrow and please remember that;
You are the only one of you.

Herkese merhabaaa!!
Nasılsınız? Umarım iyisinizdir ya da iyi olmaya çalışıyorsunuzdur. Sonuçta bahar geliyor, iyi olmaya çalışmak için harika bir sebep bence.
Birkaç gün önce Navruz'du. Geçmiş Navruzunuz kutlu olsun! 🌺🌻💐🍀

Her şeyden önce 21'inin Navruz olduğunu biliyor muydunuz? Peki, Navruz'un kelime olarak ne olduğunu biliyor musunuz? Bunlar bence şirin sorular. Sonuçta ilgi alanım olan tarihin ve soyum/soyumuz olan bir takvimin ucundan değiniyoruz bu konuya.
Nev/Nav kelimesi Eski Türkçe'de "yeni" anlamına gelirken, Ruz ise "yıl" anlamına gelmekte. Aslında günümüzde bu kelimelere biraz uzağız. Yine de bence anlamını ve ne ifade ettiğini unutmadığımız sürece her şey yolunda olur.
Neyse...
Gece ile gündüzün eşitlendiği bugünden sonra gündüz süresinin uzayacak olması ve gecelerin kısalacak olması bence de kutlanması gereken bir şey. Biz de ailemle birlikte bunu yaptık. Tabii biraz doğuya kaçtık bunun için. Azerbaycan'dan 3 kişi evin içindeyken bu tatlılar yapılmasaydı olmazdı.
Azeri baklavası, şekerbura ve qoğal yaptık.
Şekerburanın tarifini sizinle ilerleyen günlerde paylaşacağım ve bugünde sizinle bu güzel günü kutlayarak Azeri Baklavası tarifini sizinle paylaşmak istedim. Semeni ile birlikte süslediğimiz masamızı yukarıda görebilirsiniz.

Semeni'yi hazırlamak aslında beklediğimden çok azıcık daha fazla sürdü ama üzerinden 1 haftaya yakın bir süre geçmesine rağmen yemyeşil bir şekilde canlılığını koruyor.
Hatta annem Semeni'yi hazırlarken 2 tane yaptı ki bir tanesini de teyzeme verdik, evimizde yaşamın mutlu ve güzel bir şekilde devam etmesini istediğimiz gibi teyzemin evinde de bu devam etsin.
Semeni'nin yapımına benden önce başlandığı için nasıl yapıldığını fotoğraflayamadım fakat bugünden itibaren kendim yeni bir tane yaparak bütün aşamaları sizinle paylaşacağım tutarsa eğer. Şimdilik sadece böyle bir şey olduğunu bilmeniz güzel olur diye düşündüm.
Şimdi gelelim asıl konumuza, gereğinden fazla uzattım girişi zaten kusuruma bakmayın, uzun zamandır buralardan uzak olmanın özlemi var sanırsam.
Bu biraz uzun olacak, yapması da izlemesi de çok zordu. İlk önce cevizli baklava için gerekli malzemelerden ve devamında da yapılışından bahsedeceğim.
Hadi başlayalım!
İşe ilk önce şerbeti hazırlayarak başlamak gerekiyor çünkü hamurla ilgilenirken bu şerbet soğuyacak.
Bardak değeri 200 ml'dir.
Şerbet için;
- 3 su bardağı toz şeker
- 2 su bardağı su
- Yarım çay kaşığı (3-4 gram) limon tuzu
Yapımı;

İlk önce şeker ve suyu karıştırarak bir tencerede kaynatıyoruz. Kaynadığını fark ettiğimiz de ki bu süre yaklaşık 5 dakika kadar sürüyor, sonra orta ataşte 6-7 dakika kaynatmaya devam ediyoruz. Bu zaman bittikten sonra ki 7 dakika olması bence çok daha önemli yarım çay kaşığı limon tuzunu ekledikten sonra 30 saniye kadar karıştırarak kaynattıktan sonra ocağın altını kapatıyoruz. Ve soğuduktan sonra buzdolabına koyuyoruz.
Şimdi sıra içimize geldi. İşler hâlâ kolayken zevkini çıkaralım çünkü yakında hiç de öyle olmayacak 😂
İç harcı için;
- 600 gram ceviz içi
- 400 gram toz şeker
- 10 gram kakule
Yapımı;
600 gram ceviz için toz hâline getirmeden biraz iri bırakarak robottan geçiriyoruz. Evde son dakika robot bozulduğundan dolayı teyzemin aklına gelen harika fikirle bu cevizleri kıyma makinesinden geçirdik. Bence çok da güzel oldu. Tanelerin büyüklüğü gayet yerindeydi.
Cevizle birlikte 400 gram toz şekeri ve 10 gram kakuleyi karıştıyoruz. İç harcımız bu kadar basit.
İşte asıl işimiz bu hamurla başlıyor. Koları sıvadıysak devam edelim. Yapacak çok işimiz var çünkü. Bir de malzemelerin oda sıcaklığında olması gerekiyor aksini söylemediğim sürece.
Hamur için;
- 800 gram un
- 7 gram toz şeker
- 1 paket vanilin
- 3 gram tuz
- 250 gram katı yağ
- 200 gram smetan ya da kaymak
- 2 adet orta boy yumurta
- 100 ml süt
- 3-4 gram kuru maya
Yapımı;
İlk önce genişçe bir yuvarlak kasenin içine unu,tuz, toz şekerini ve vanilini alıp bir güzel karıştırıyoruz. Bu genellikle tatlılarda yaptığımız bir şeydir. Mutfakla ilgilenen arkadaşlar elbet bilirler. İlk önce katılar karıştırılır sonra yaşlar eklenir.
Sonra ise katı yağı (yumuşak ve oda sıcaklığında olması önemli), kaymağı yumurtaları ekliyoruz. Şimdi ise minik bir ipucu desem ne kadar doğru olur emin değilim ama yine de söyleyeceğim. 100 ml sütün yaklaşık 25 ml'sini yani sütün 4/1'ini mayayı ıslatmak için kullanıyoruz. Böylece maya daha iyi etki gösterecek.
Sütün tamamını eklemeden diğer malzemelerin yanına mayalı sütü ekledikten sonra dikkatle karıştırmaya başlıyoruz. Burada ne yalan söyleyeyim işler biraz pisleşiyor. Tabii pisleşiyor derken de her şeye dokunamayan ben için. Öyle kolay kolay bazı dokulara dokunamam yumuşak yağ da bunlardan biri ne yazık ki. Neyse.

Sonrasında karıştırmaya devam ederken kalan sütü yavaş yavaş karışımın içine ekliyoruz. İyice karıştıktan sonra ise yoğurmaya başlayıp çok da sert olmayan, kulak memesi kıvamında bir hamur elde ediyoruz. Bu hamuru sıkı bir şekilde kapatmadan, üzerine bir buzdolabı poşeti örtüp onun üzerine de bir havlu koyarak 30 dakika kadar mayalanmaya bırakıyoruz.
Gramaj Hesabı
Şimdi geldik zurnanın son deliğine. Bu noktada elinizin terazi gibi olması pek bir anlam ifade etmiyor çünkü gerçekten teraziye ihtiyacınız var.
En alt ve en üst katının diğerlerinden biraz daha kalın olması gerekiyor fakat en önemlisi en alt katın diğerlerinden daha kalın olması gerekiyor ki güzel ve eşit bir şekilde pişsin.
Elimize tartıyı alıp ölçümlere başladık. En üst için olması gereken 400 gramı ölçtük. Sırasıyla da 300 gram olan en alt tabakasını ve ara katları 75'er gram olarak ölçtük. Toplamda elimizde 10'u küçük olmak üzere 12 parça hamur olmuş oldu.
Bu hamurları yuvarlayıp üzerine bir poşeti rastgele örttükten sonra 15 dakika kadar dinlenmeye bırakıyoruz.
Hamur Açımı
İlk önce işe en alt tabaka için tarttığımız 300 gramlık hamuru açmayla başlıyoruz. Tepsinin boyutunu normal fırın tepsisi (35x38) olarak rahatlıkla kullanabilirsiniz.
Üzerine ve altına biraz un serperek bütün katları açacağız fakat bundan önce yapılması gereken bir şey var. Tepsiyi 40 gram kadar bir yağla yağlamak gerekiyor.
Her kat için ayrıca köşelerde kalan fazlalık hamurları bıçakla kesip çıkarmak da gerekiyor. Emin olun o fazlalıklarla birlikte en azından bir kat daha çıkacaktır. Ya da köşelerden biraz kısa kalan hamur katını bu kesip çıkardığınız hamur fazlalıklarıyla doldurabilirsiniz. Meraklanmayın bu ayrı kısımlar baklavanın içinde belli olmayacaktır.
Baklavanın katlarının arasına kesinlikle yağ sürmedik biz. Evet öyle de güzel olabilir fakat bütün baklava bittikten sonra size ne yaptığımızı söyleyeceğim.
300 gramlık tabandan sonra 75 gramlık ara hamuru serdikten sonra elle bastırarak havası aldık ve çatalla üzerine delikler açtık. Böylece daha güzel pişecek.
İçini eklemeye gelince de, üçüncü kata kadar sadece delikler açtığımız hamura üçüncü katta itibaren her katına hazırladığımız iç harcından güzelce serpiyoruz. Daha orantılı bir iç dağılımına sahip olmak için toplam harcı tartıda ölçüp 8'e bölmek çok daha kolay olabilir.
Onuncu yufkaya kadar ilave ettiğimiz iç harcını on birinci yufkaya ilave etmeden üzerine seriyoruz. Aynı şekilde üzerine bastırıp havasını aldıktan sonra üzerini çatalla deliyoruz ve 400 gram olarak ölçtüğümüz üst hamurunu da yerleştiriyoruz.
En sonunda kenarlarını kesip çıkardığımız en üst katı bıöağın ucu yardımı ile içeri doğru ittiriyoruz.
Pişirmeden önce yapmamız gereken son birkaç işlem var.
Birinci; kesme işlemi kolaylaşsın diye yaklaşık 15 dakika kadar dondurucuda tutmak. Bu baklavanın katılaşmasını sağladığı için üst üste binmiş hamuru kesmeyi çok kolaylaştıracak.
İkinci; baklavayı cetvel yardımı ile 3'er santimetre aralıklarla hem düz hem de çapraz bir şekilde kesiyoruz.
Üçüncü; 2 yumurta sarısı, 1 yumurta ve 1 çay kaşığı sıvı yağı karıştırarak güzelce kızarabilmesi için baklavanın üzerine güzelce dağıtıyoruz. Merak etmeyin piştikten sonra bunların tadını almayacaksınız.
Dördüncü; baklava dilimlerinin üzerine -tercihen- ceviz dizebilirsiniz. Biz çeyrek ceviz tanesi koyduk çiğnemesi çok zor olmasın diye.
Beşinci; 170 derecede önceden ısıtılmış fırında ilk önce üzerinin kızarması için koyuyoruz. 30 dakika kadar sonra üst tabakası sertleşince fırından çıkarıyoruz.
Altıncı; 300 gram yağı erittikten sonra bıçak yardımı ile, bıçağı sık sık yağa batırarak, daha önceden kestiğimiz kesiklerin üzerinden geçiyoruz. Böylece yağ rahatlıkla alt tabakalara kadar iniyor. Ve kaşık yardımı ile kalan yağı baklavanın üzerine dağıtıyoruz.
Yedinci; tepsiyi yine fırının en alt gözüne koyarak yaklaşık 1 saaat 20 dakika kadar daha pişirdikten sonra baklava neredeyse. Sadece her fırının pişirme derecesinin farklı olabileceğinden dolayı 1 saat 10 dakikadan sonra bir gözünüz fırında olsa çok iyi olur.
Sonuncu; Fırından yeni çıkmış sıcak baklavanın üzerine buzdolabından yeni çıkardığımız bu gibi şerbeti ilave ediyoruz eşit bir şekilde. 2 ya da3 saate baklava şerbetini tam çekmiş olacaktır fakat akşamüstü yapıp da sabaha kadar bekletirseniz tadından yenmez benden söylemesi. Şerbetini tam anlamıyla çektiğinden pek de bir lezzetli oluyor.
Uf... Çok uzun oldu farkındayım. Çok meşakâtli bir tatlı malumunuz. Neyse. Yeterince uzun olan bu yazıyı daha da uzatmadan burada bitiyorum.
Kendinize dikkat edin, sevgi ve sağlıkla kalın, yarın görüşmek üzere ve lütfen unutmayın ki;
Bu dünyada sizden başka bir tane daha yok.

Editing was done using Adobe Express/free version.
Editler Adobe Express/ücretsiz üzerinden yapılmıştır.
Bütün fotoğraflar aksini iddia etmediğim sürece benim tarafımdan, akıllı telefonumla çekilmiştir.
All photos are taken by me, with my smart phone unless otherwise stated.
All of my content is written in Turkish first and then with the help of translators and dictionaries below translated in English.
https://www.seslisozluk.net
https://www.deepl.com/translator
P.S. If you know English AND Turkish, I do that too... If you see a translation discrepancy that was on purpose. I did think this is as proper as I could do. Because there are many differences between these languages.
Not: Hem Türkçe hem de İngilizce biliyorsanız, ben de biliyorum... Eğer çeviri farklılığı görürseniz bunun bilinçli olduğunu bilin lütfen. Bunu yapabileceğim en uygun şekilde yaptığımı düşünüyorum. Çünkü bu iki dil arasında çok fazla fark var.