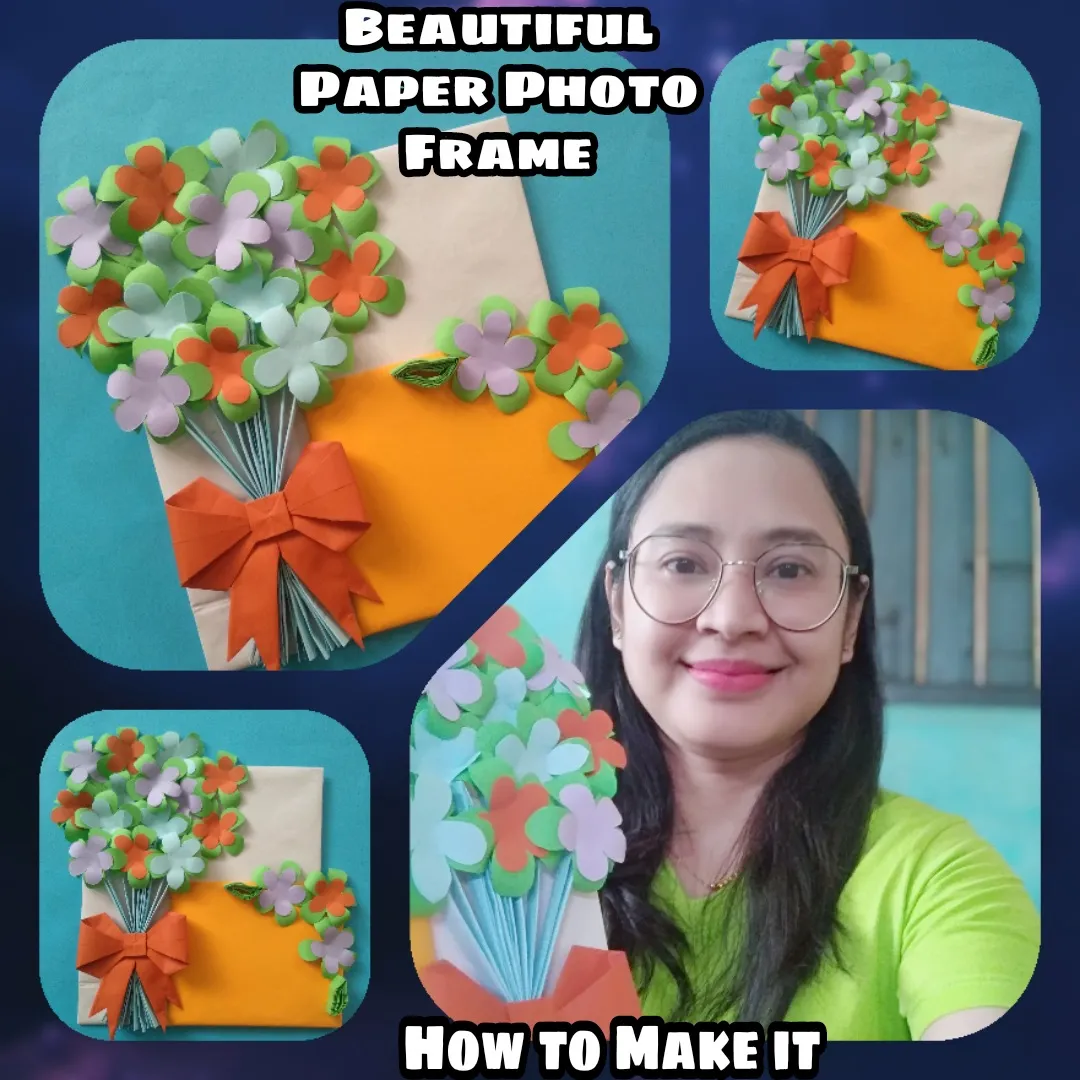
Hello Everyone!
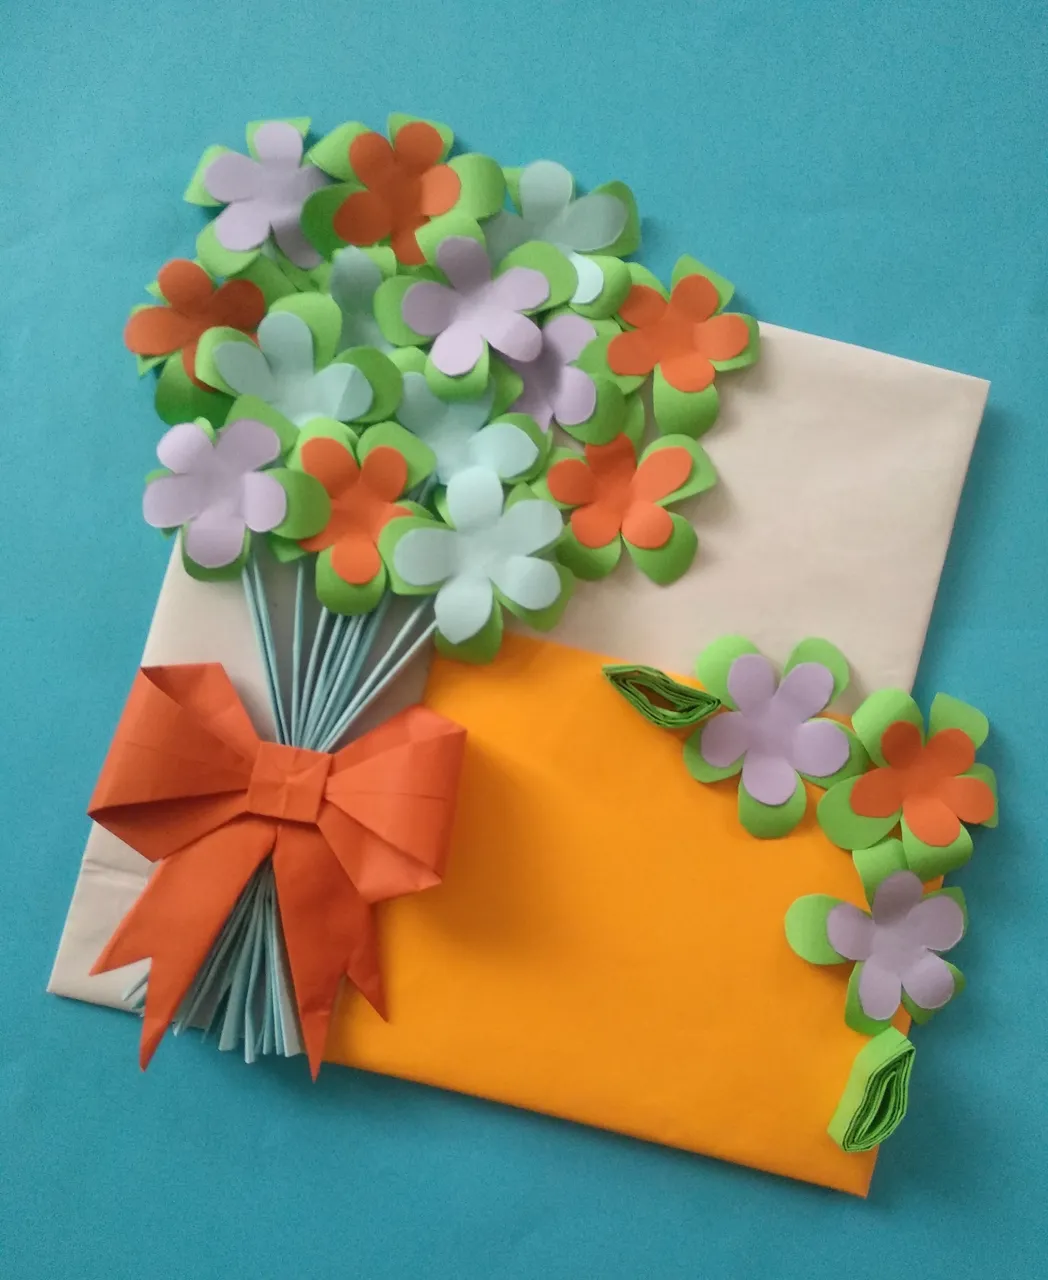
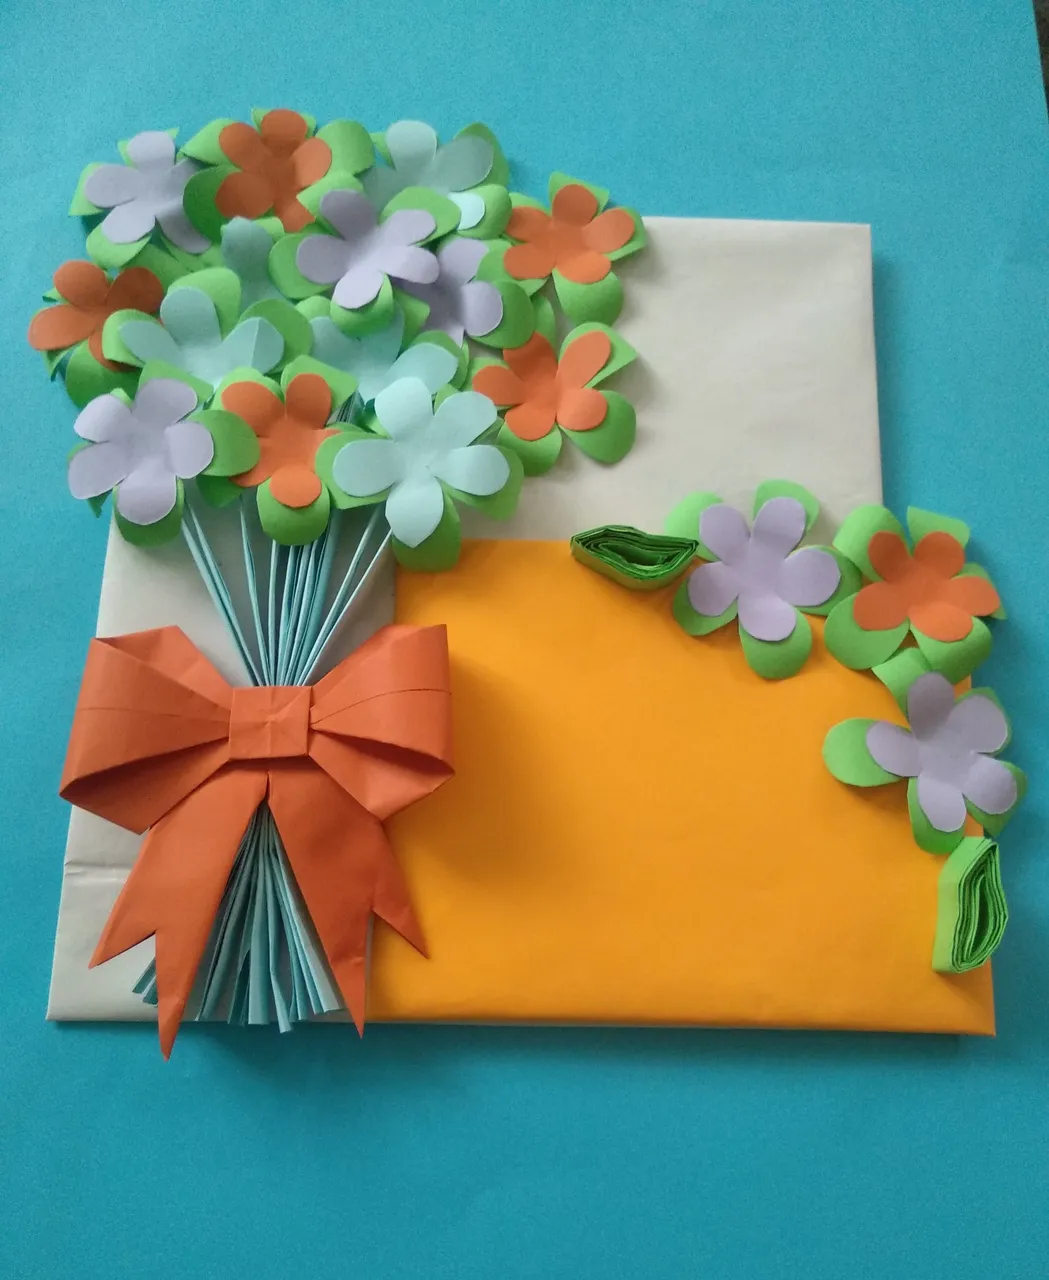
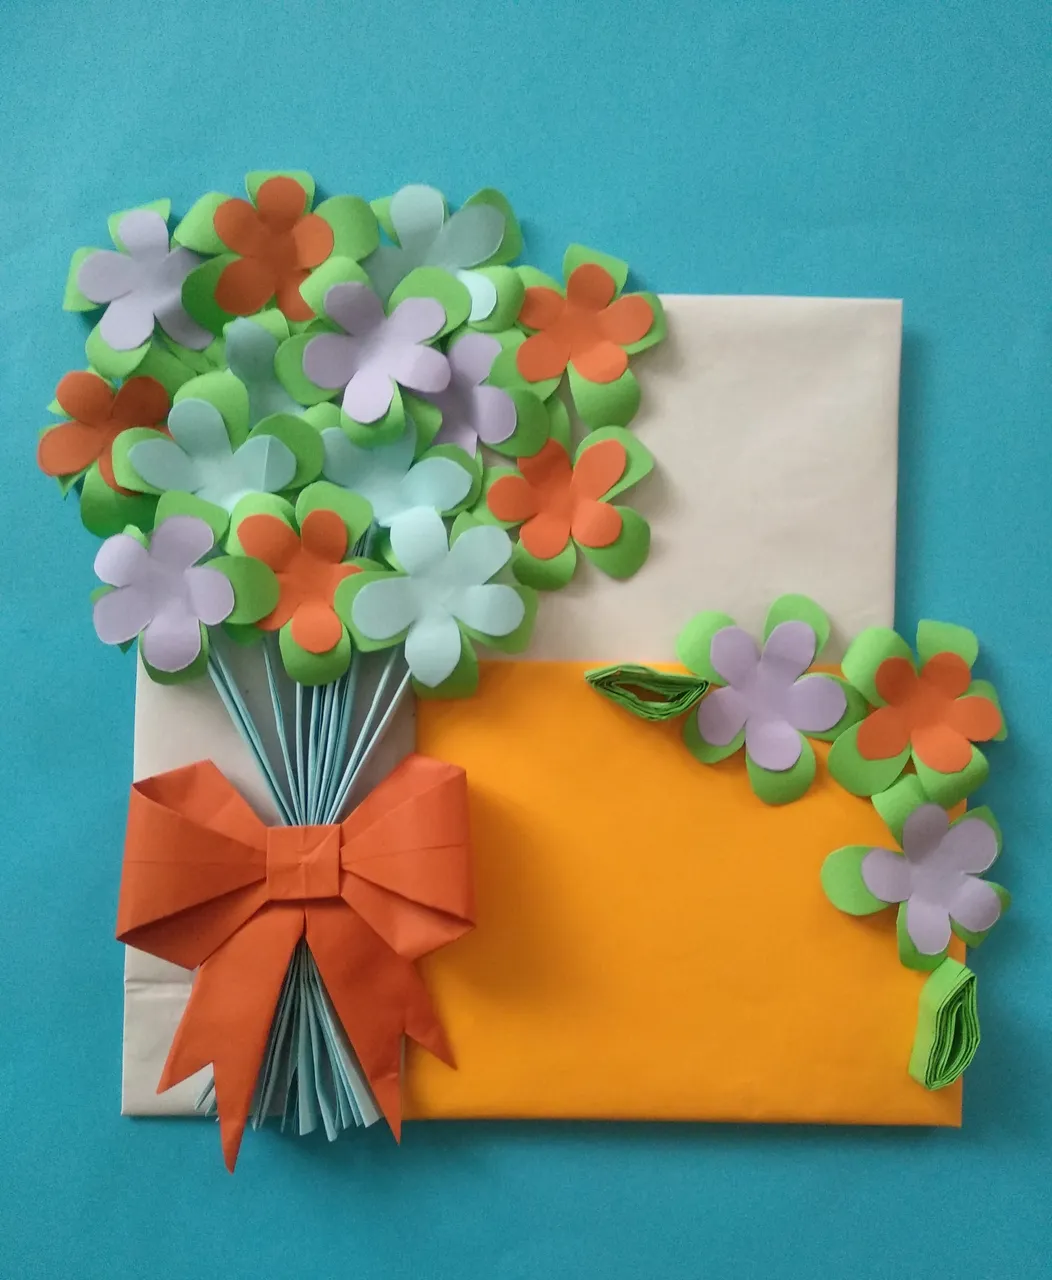
I make a really nice paper photo frame today. This one has a bouquet pattern on white cardboard. It is decorated with a paper bow. I need to make a lot of flowers for this. This one is not very difficult to make, but it takes a long time. There are many steps involved to make it. I think it will be a little more special than the usual flower and leaf decoration.I make it with only colored paper and cardboard. I write with texts and show with pictures on how to make it step by step.
Needed materials
colored paper
cardboard
glue
scissors
pencil
ruler


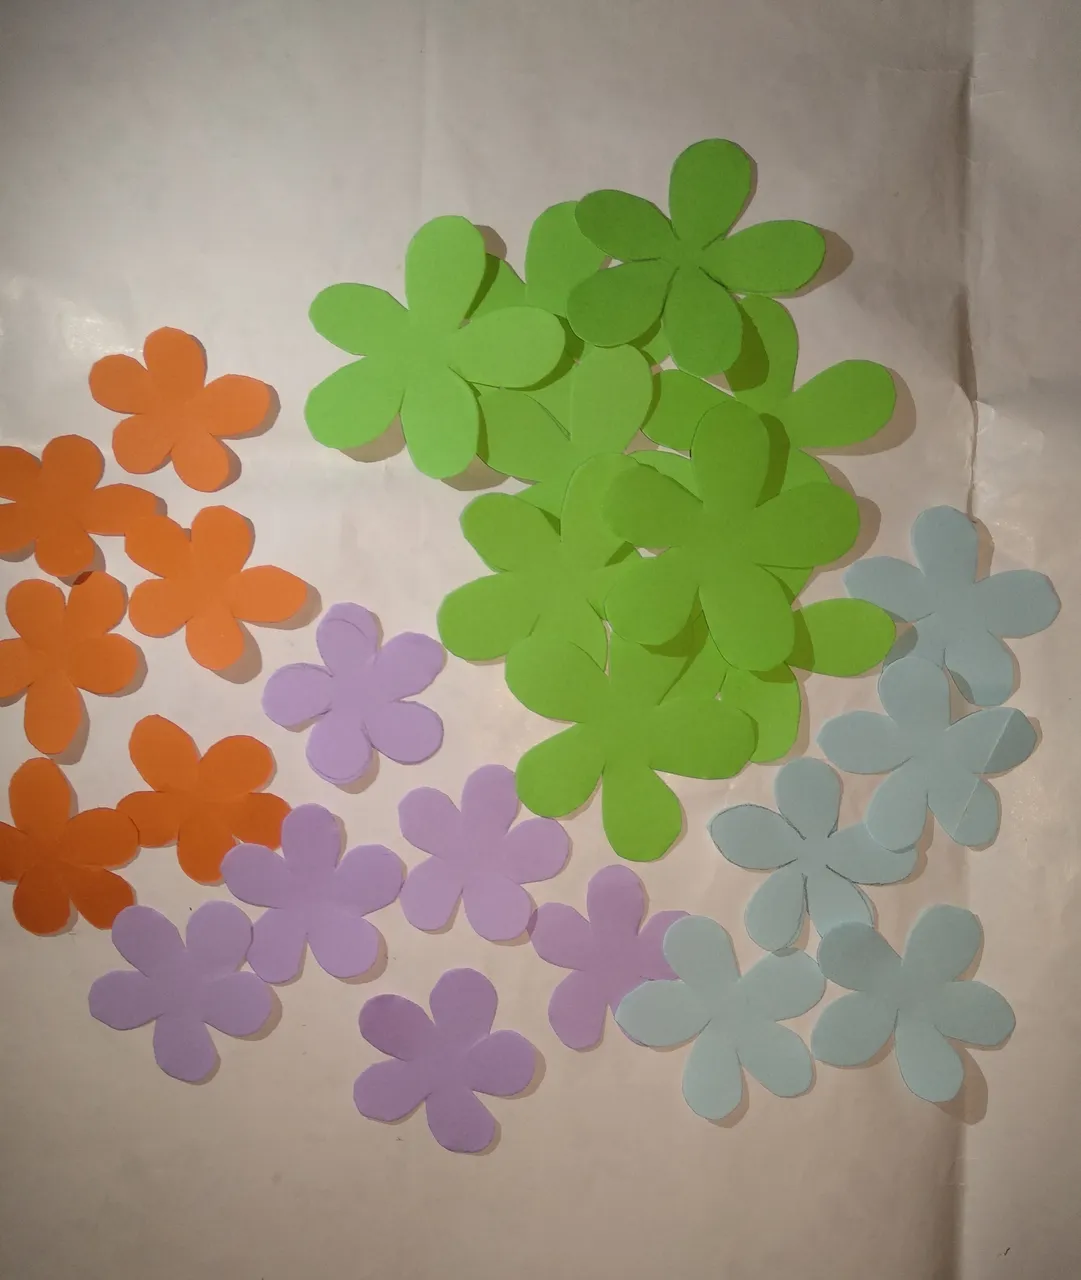
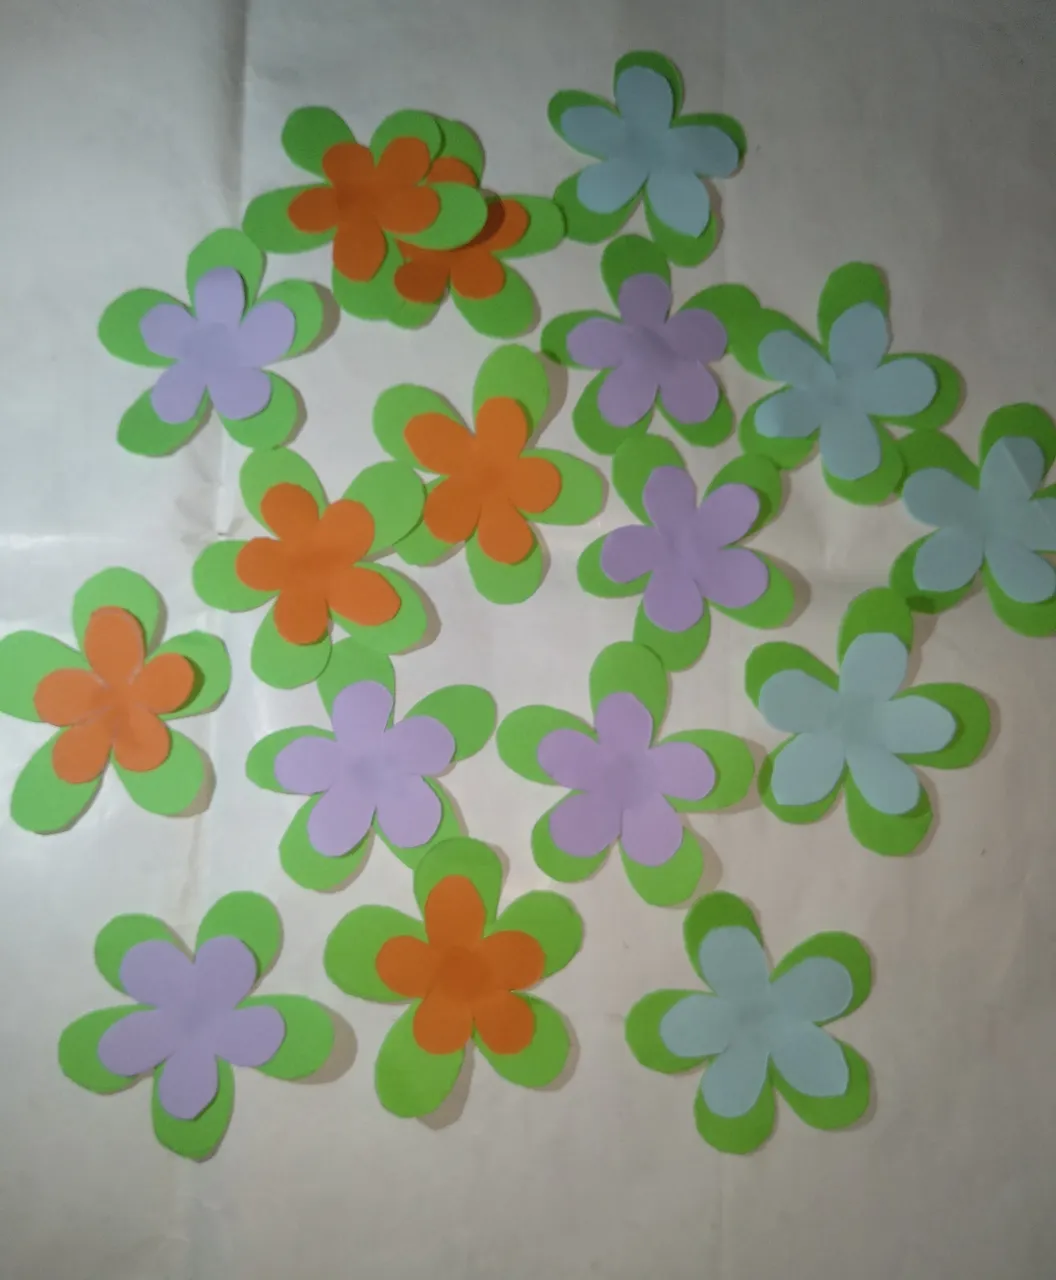
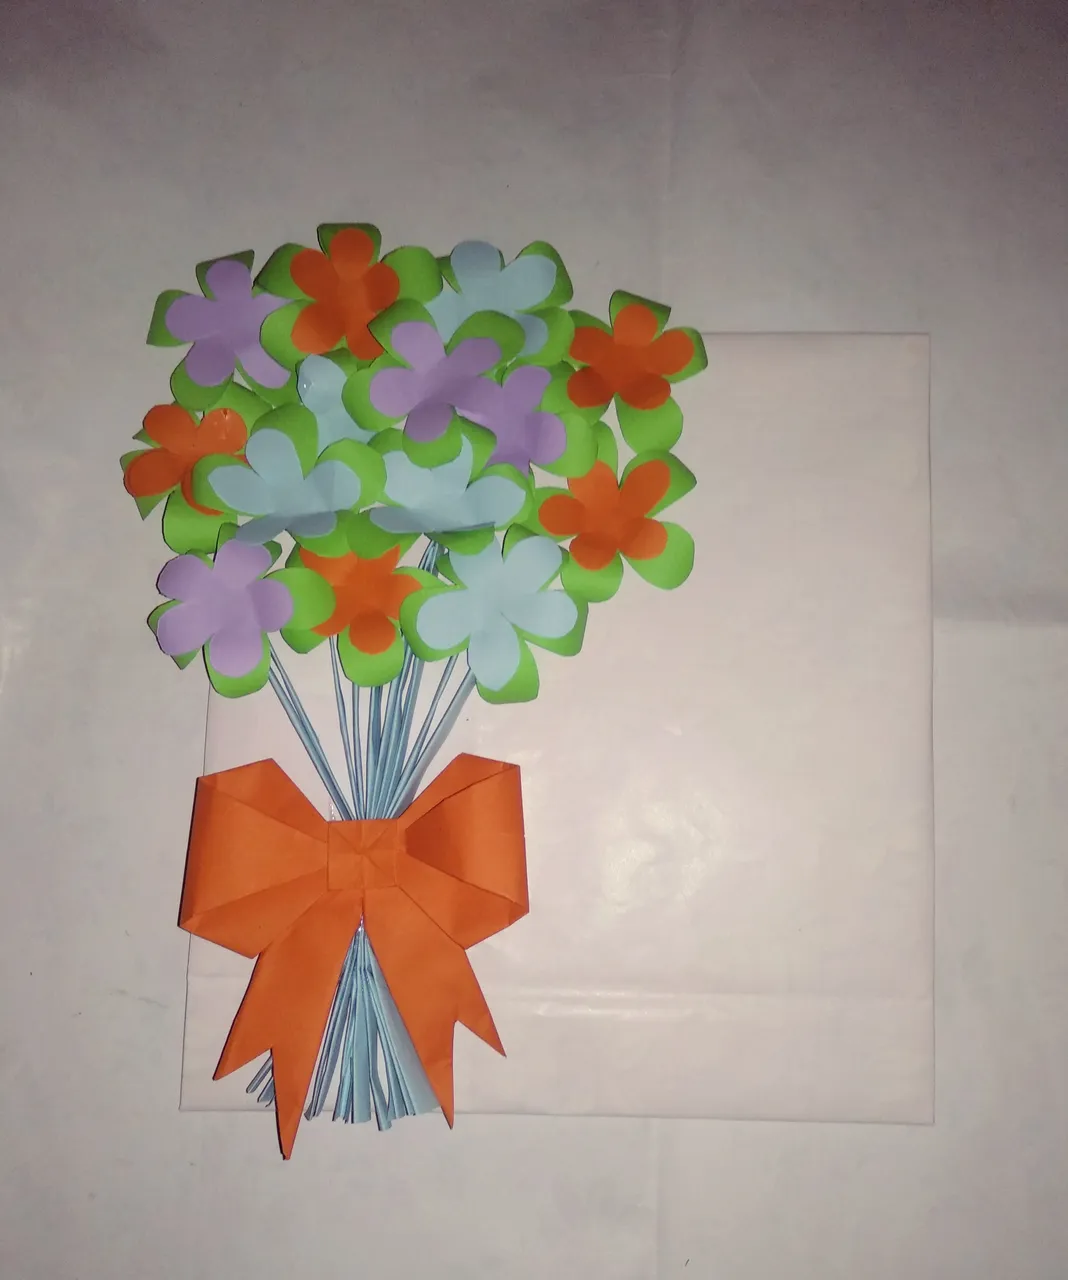
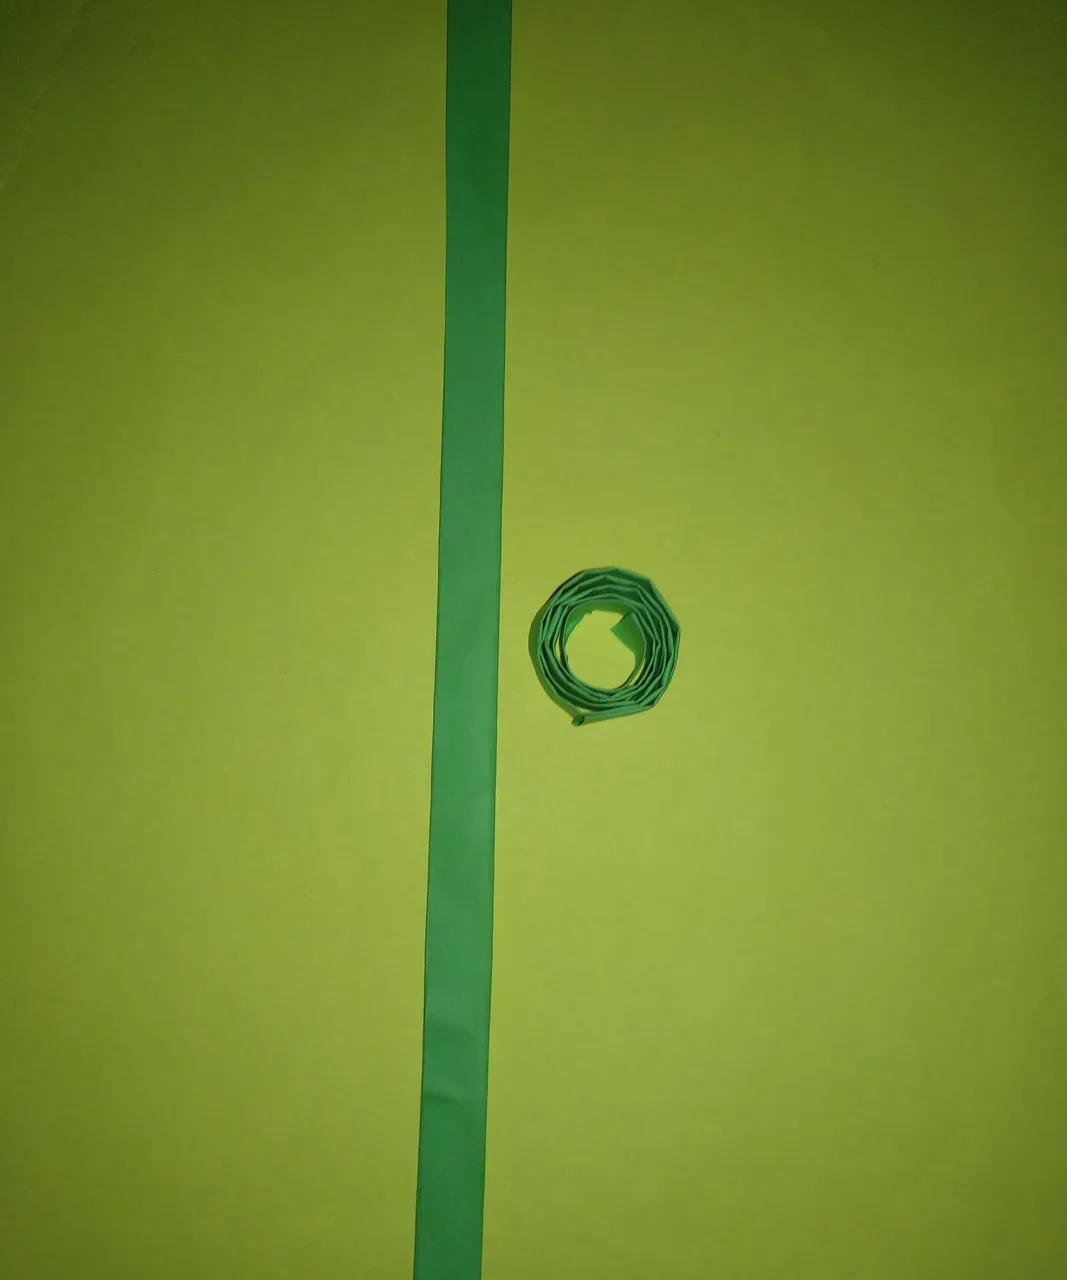
In the first step, I make the flowers. I draw and cut the flowers on the colored paper. I also make the larger green flowers by the same way. I glue these two flowers together. Then I bend the edges with a ruler.
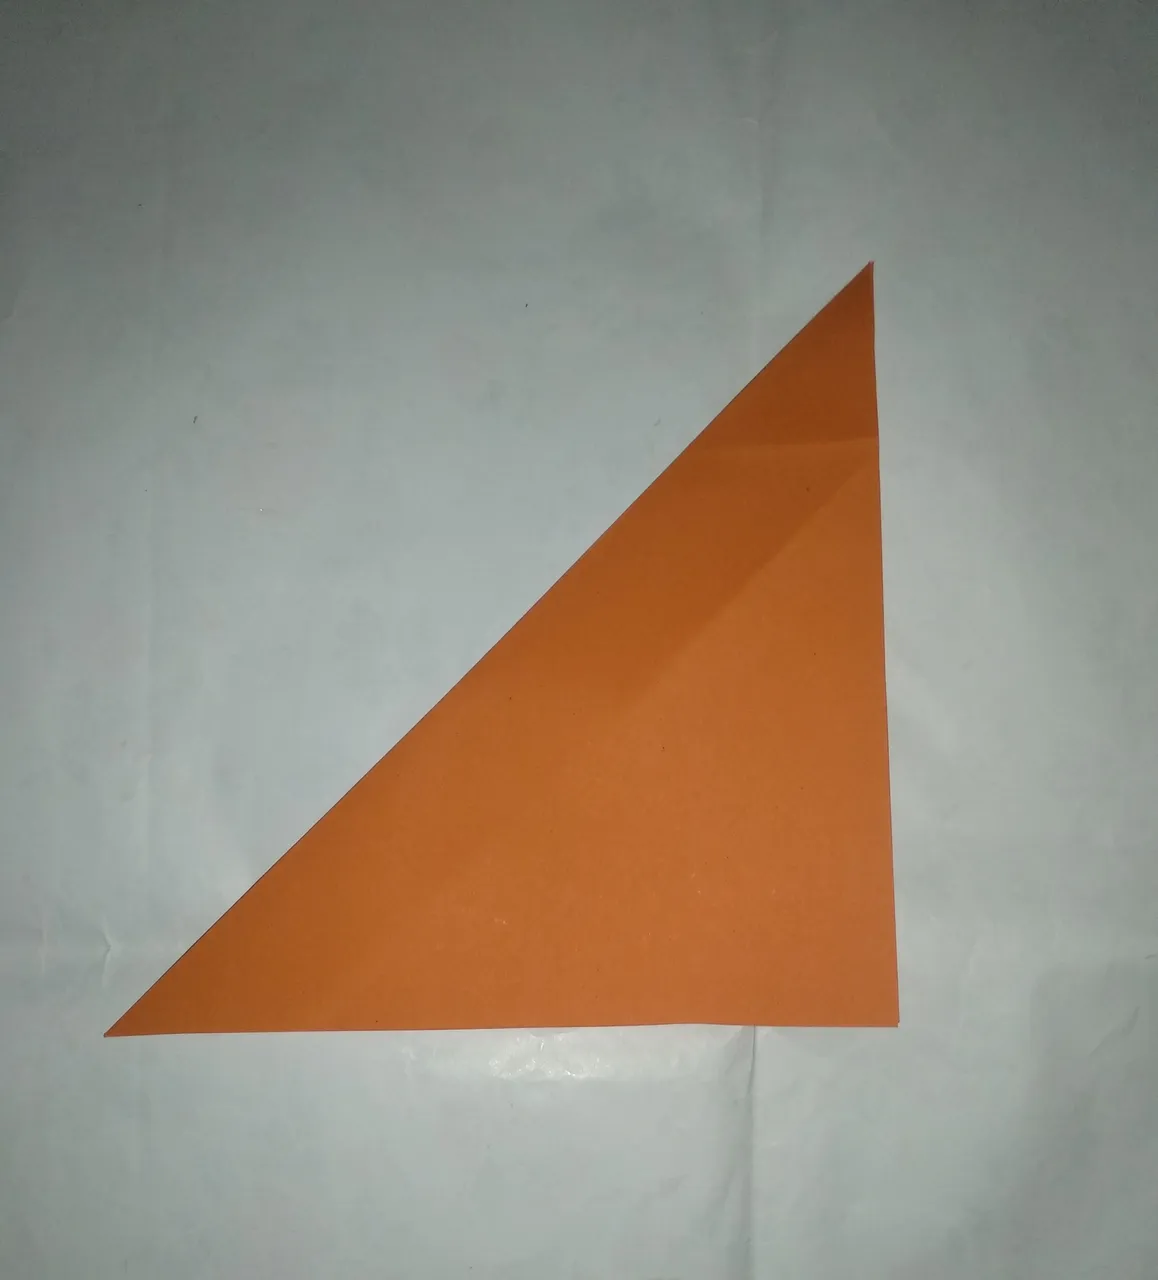
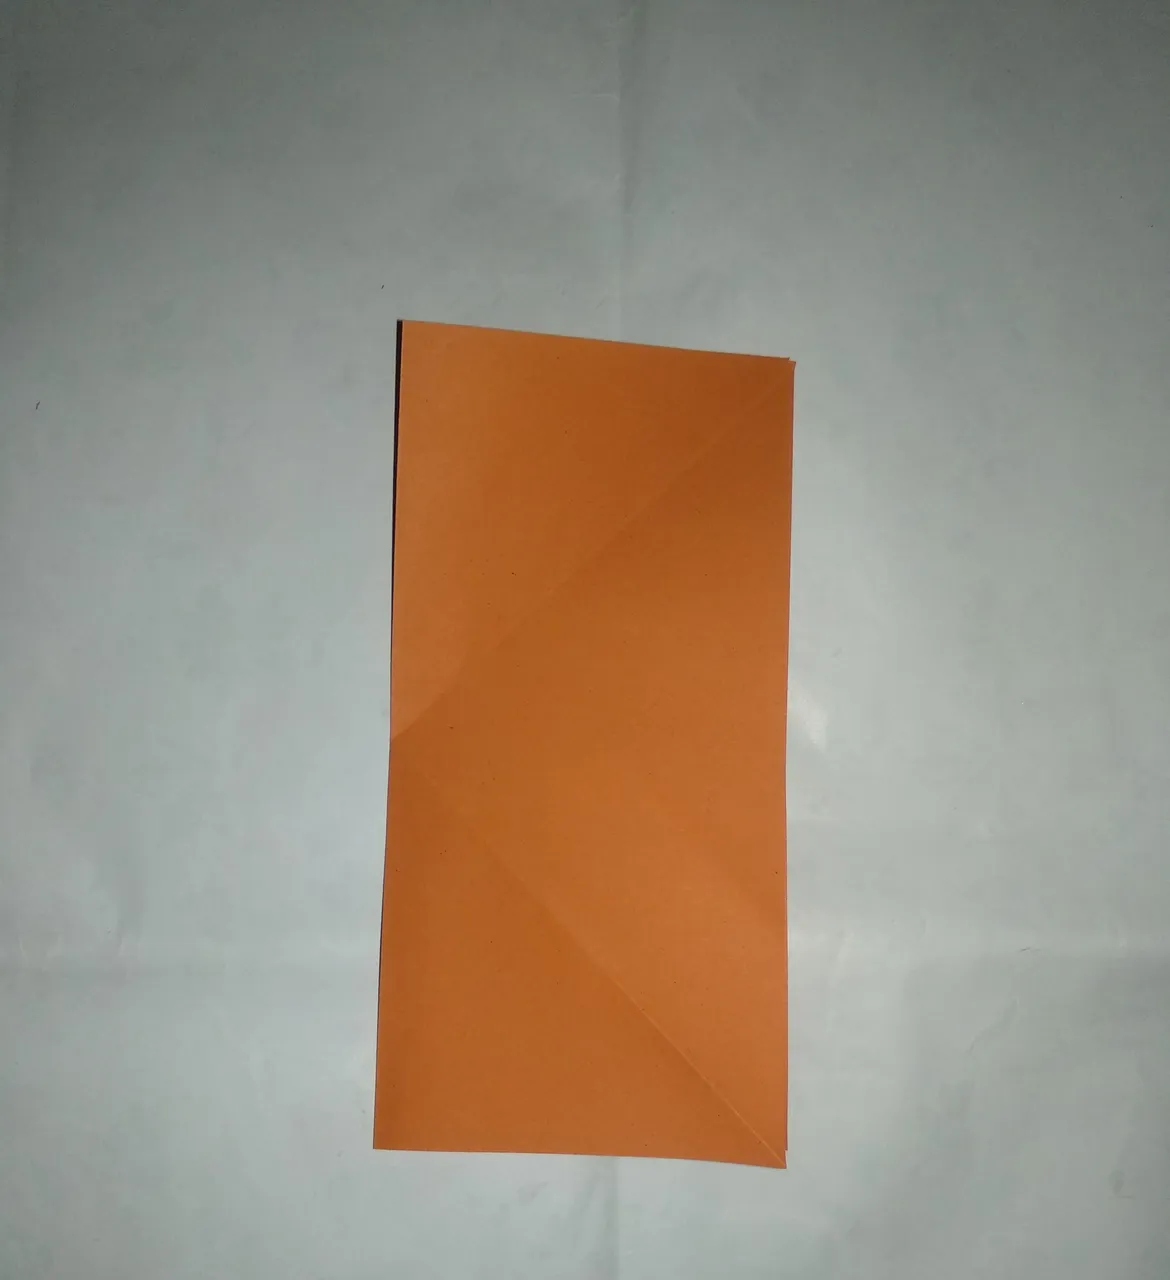
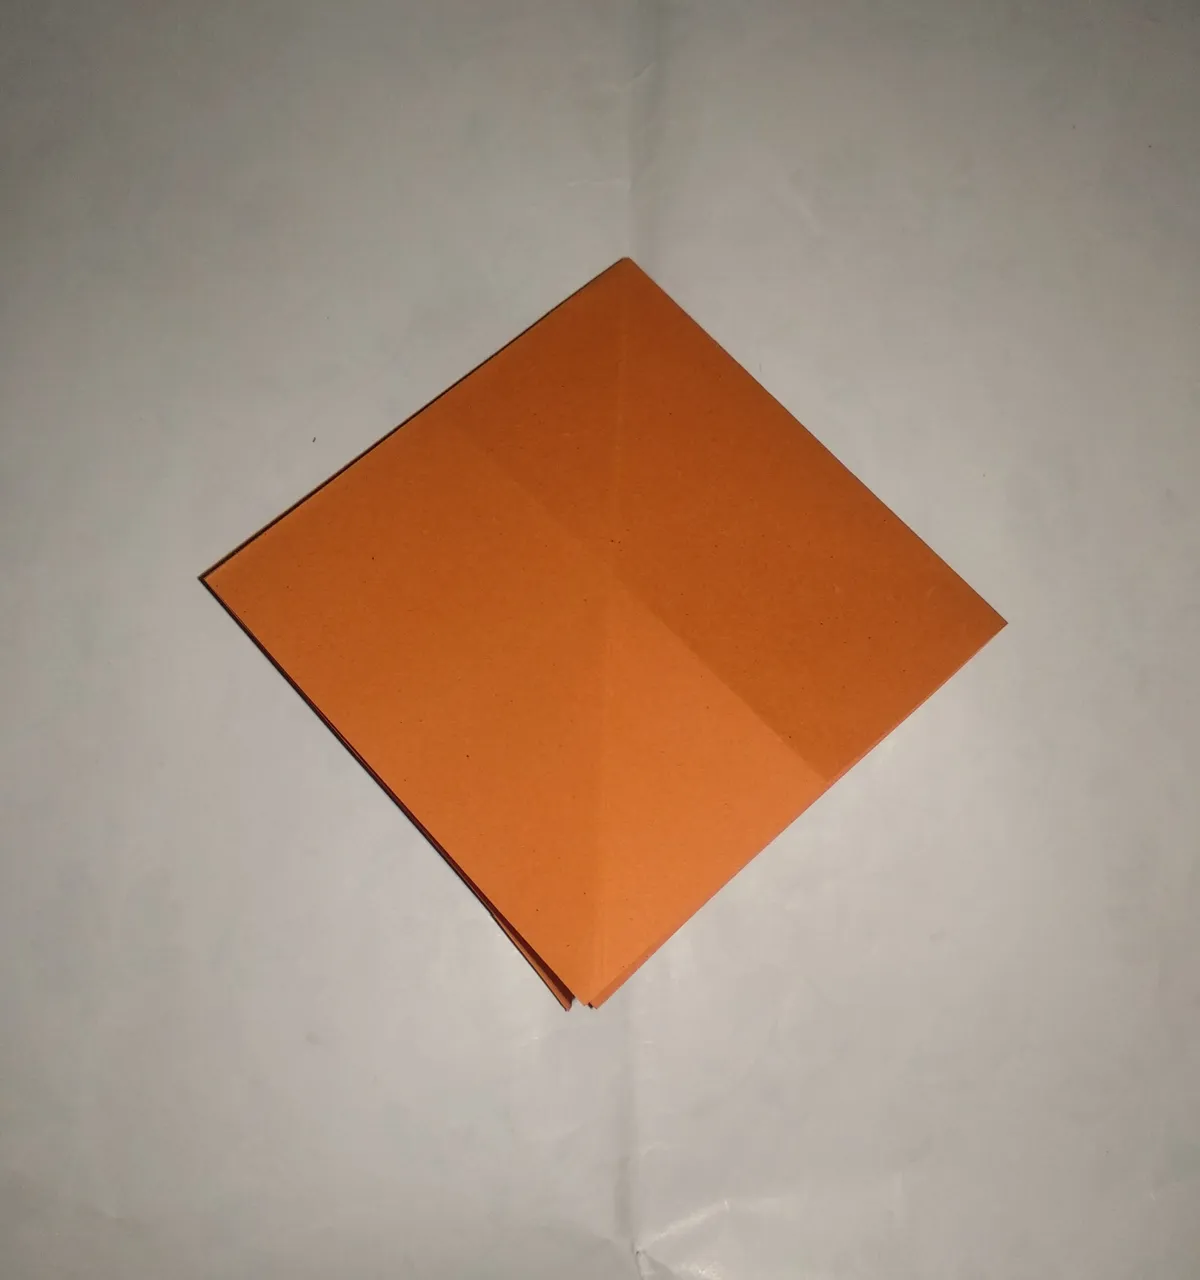
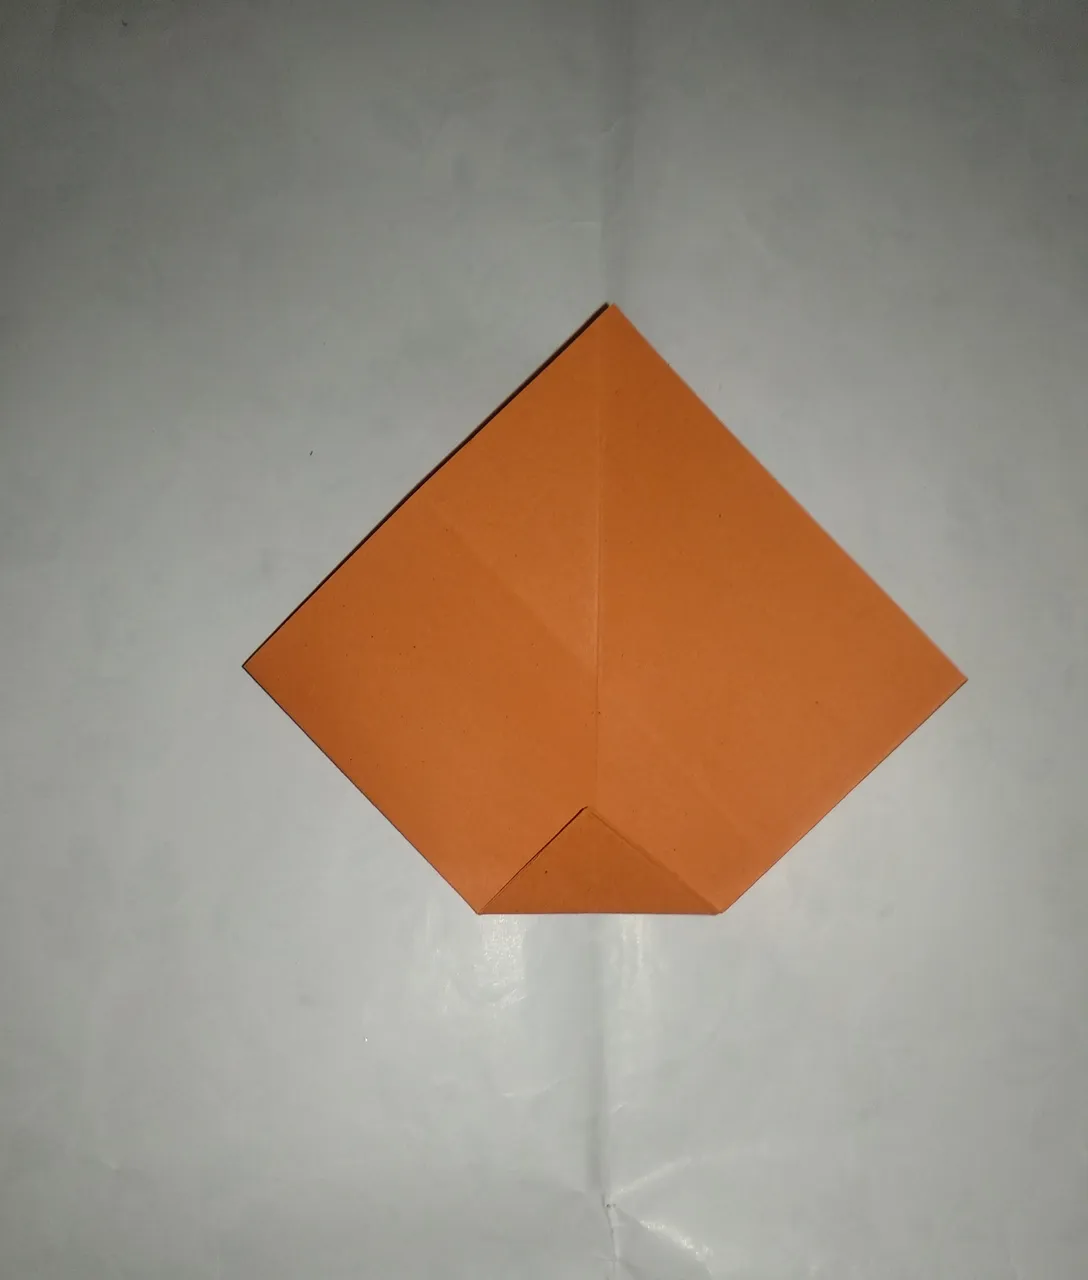
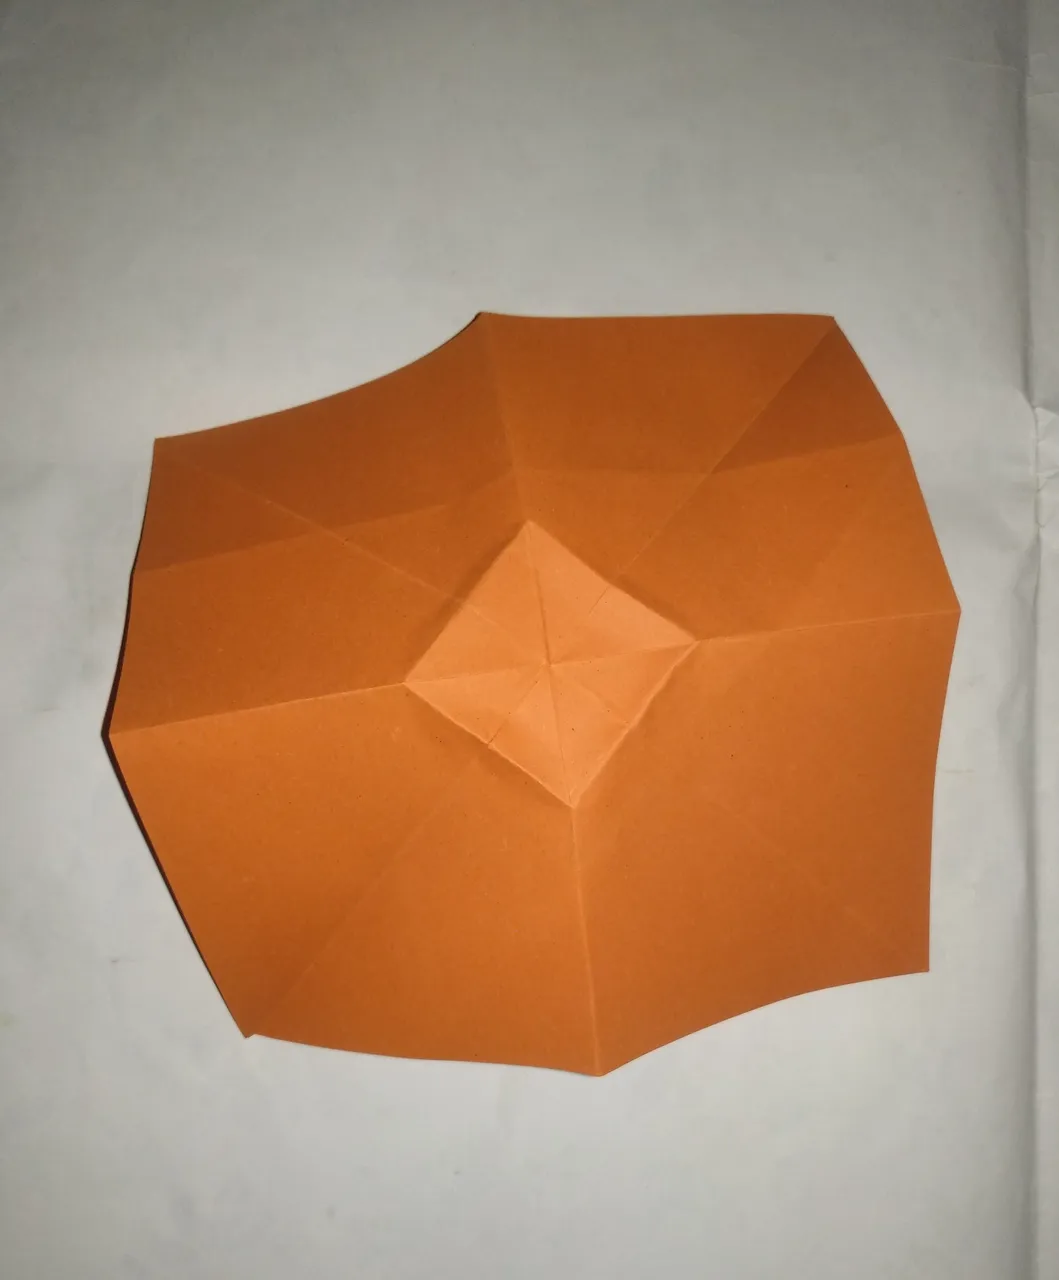
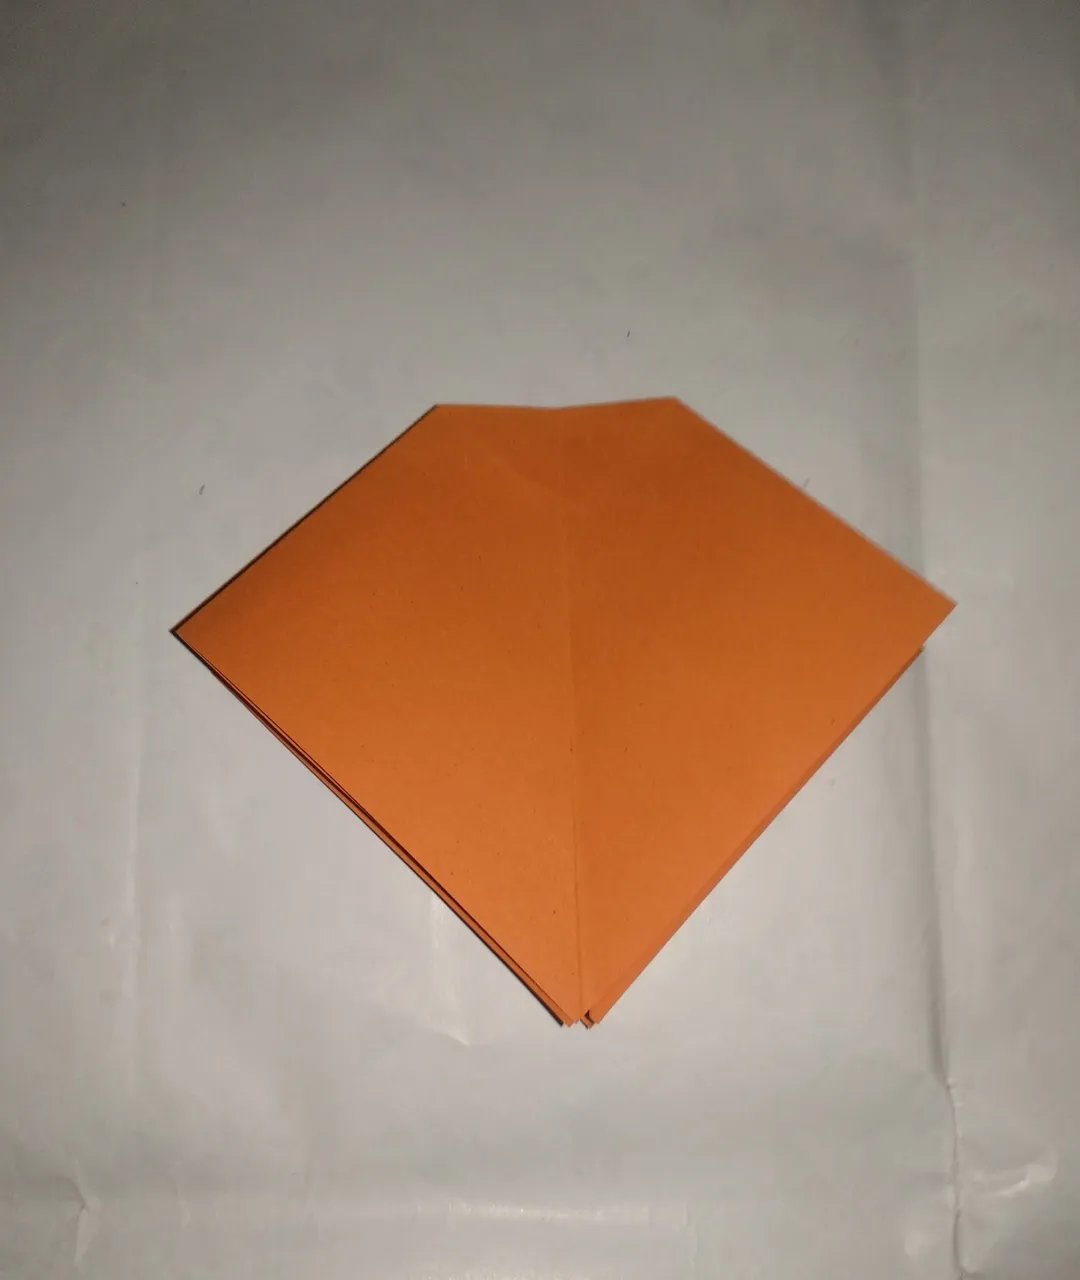
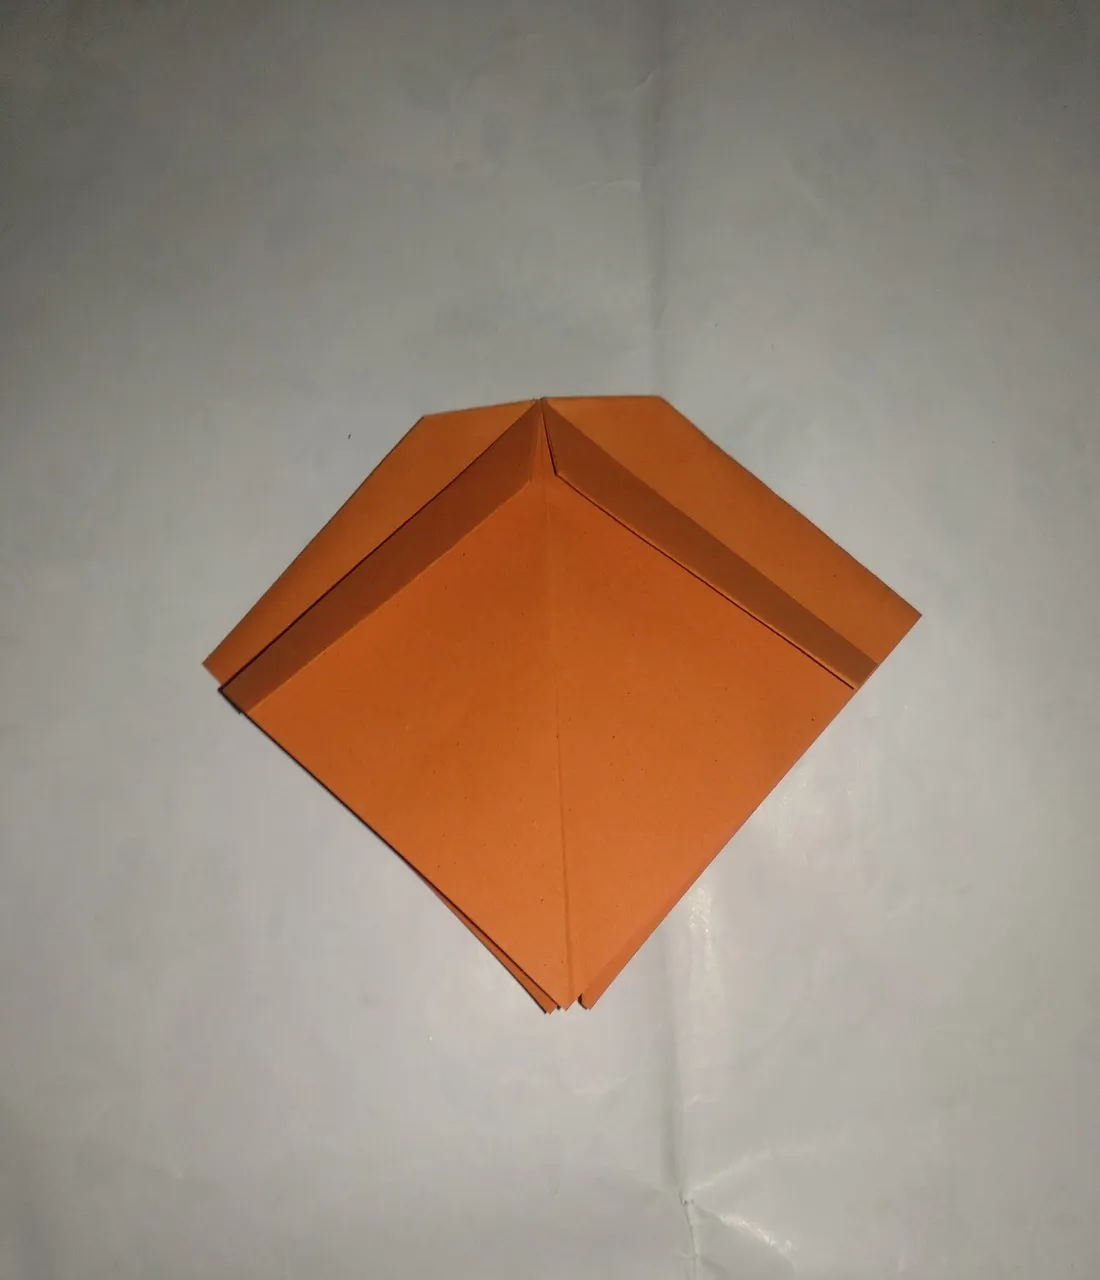
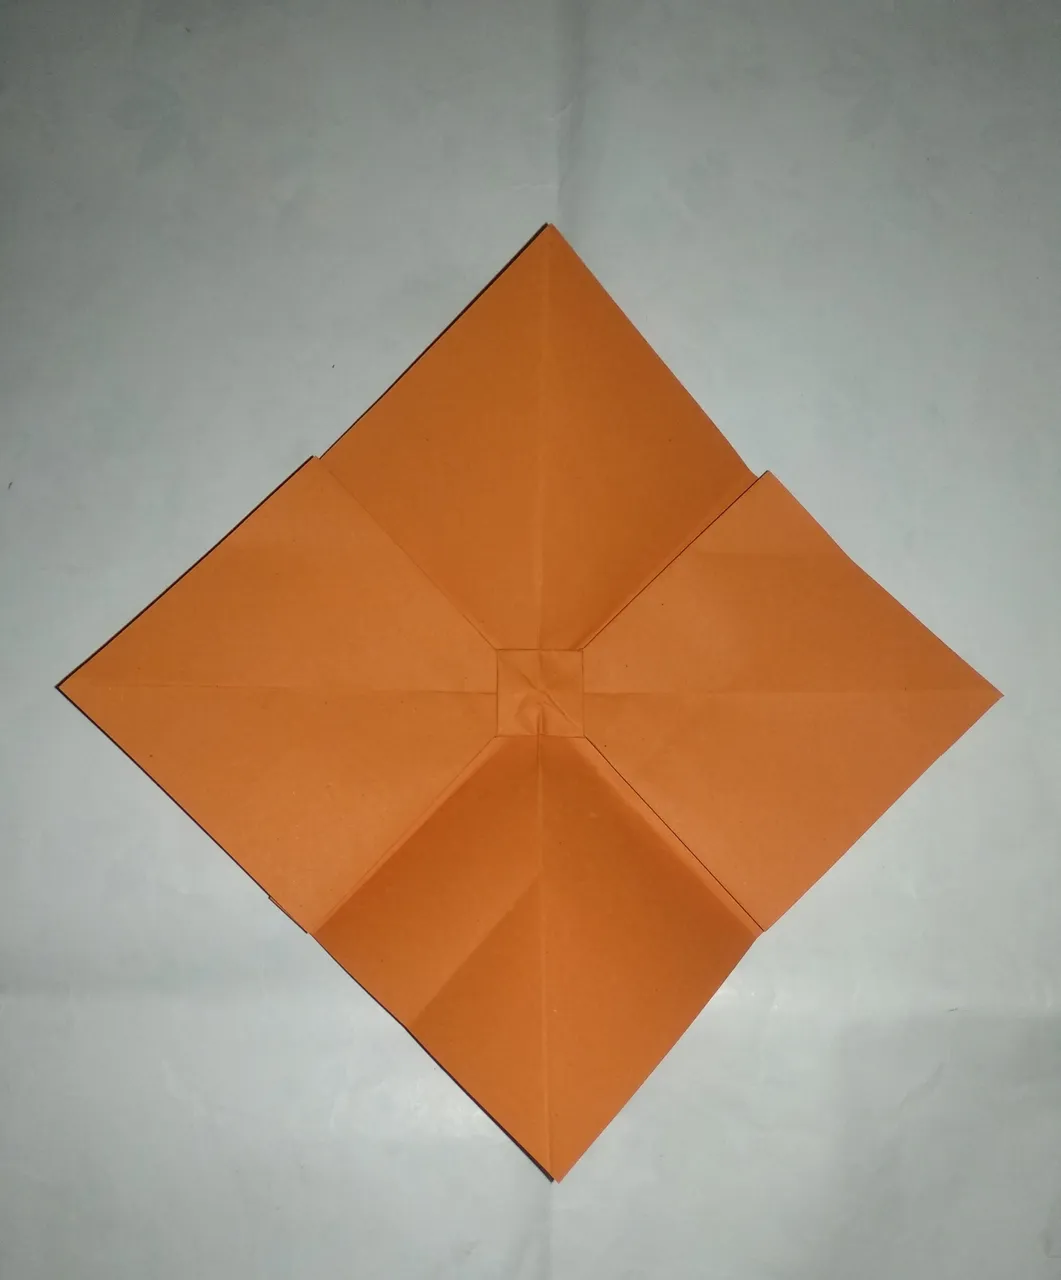
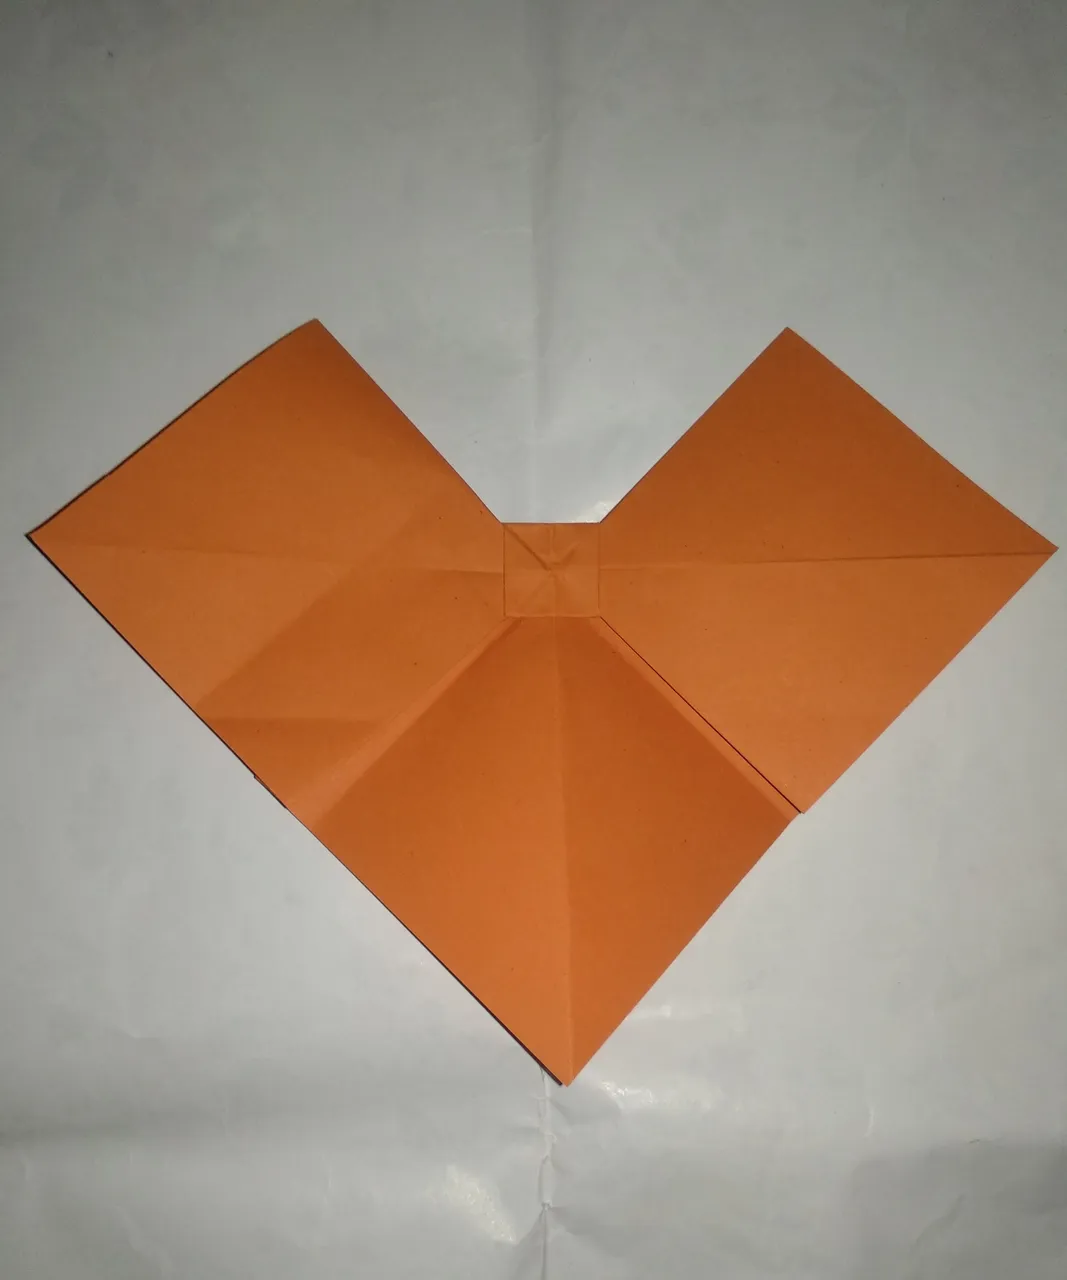
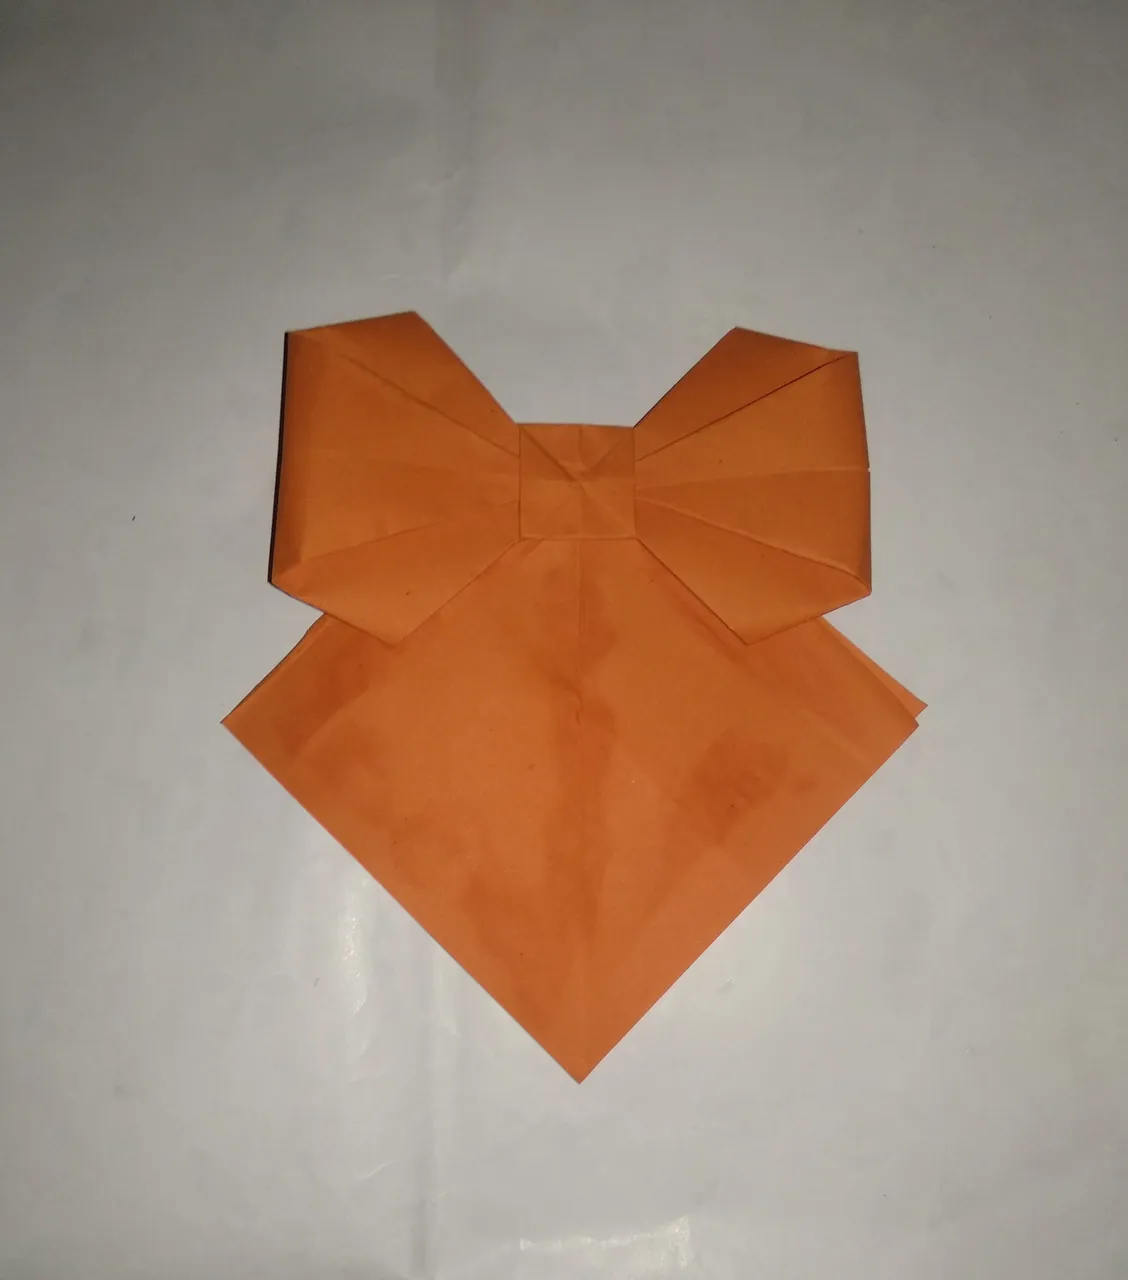
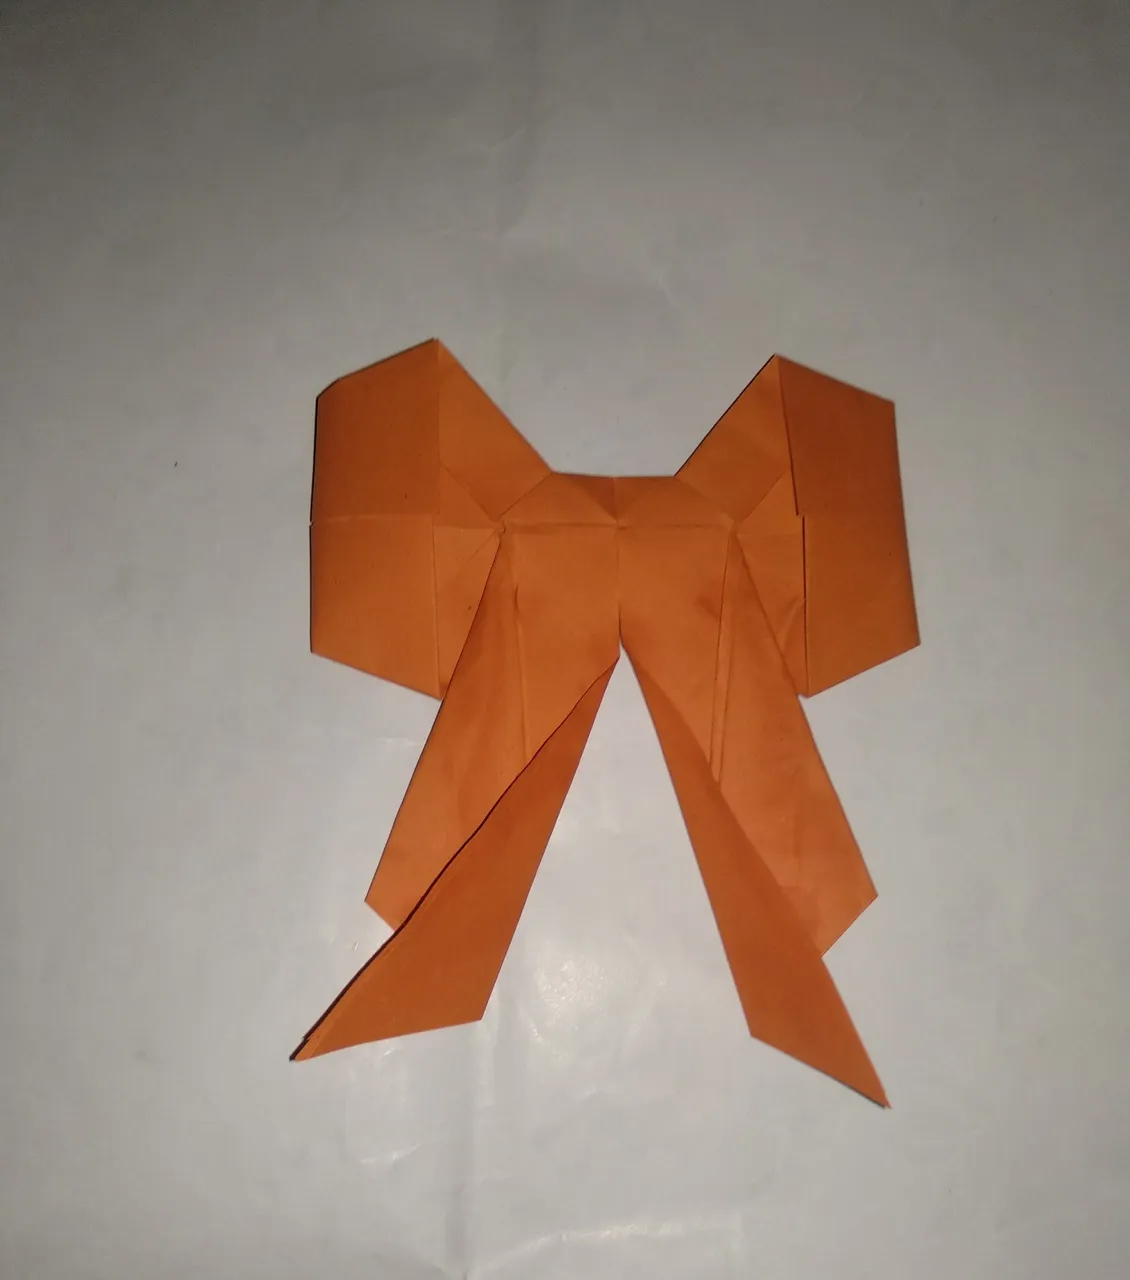
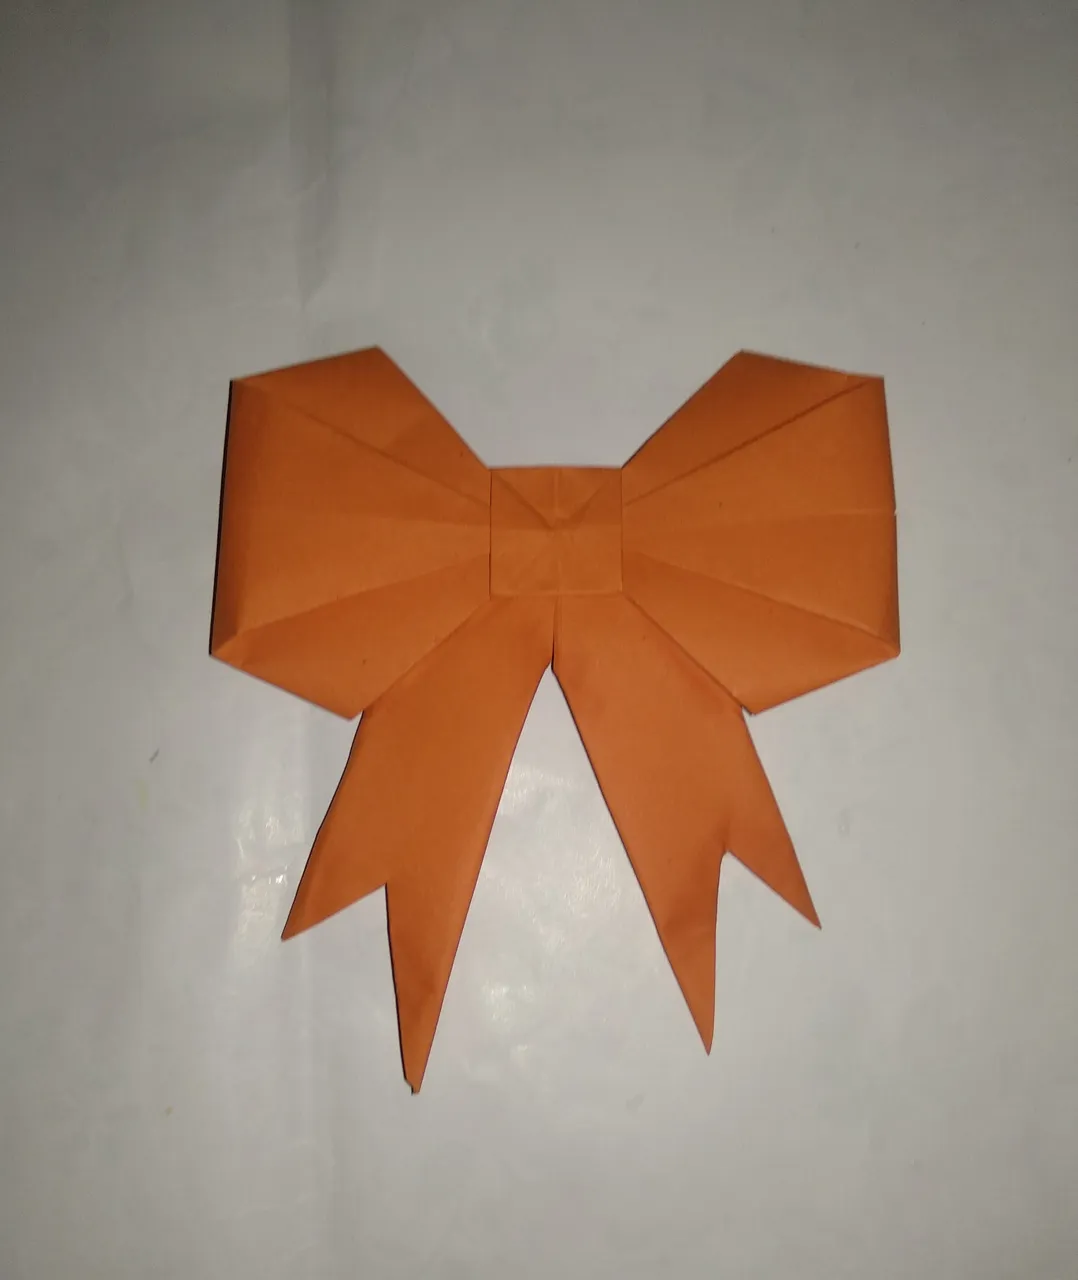
In this step, I make a paper bow. For this, I cut the paper by the same length and fold it in half four times. I fold it inwards according to the folding lines. Fold one corner a little bit. Spread the paper and fold it step by step.I cut some of the edges of that fold of paper. Fold one side of the paper to the other side and glue them together. I also fold the two edges to the middle. Then I make the necessary steps to get a bow.

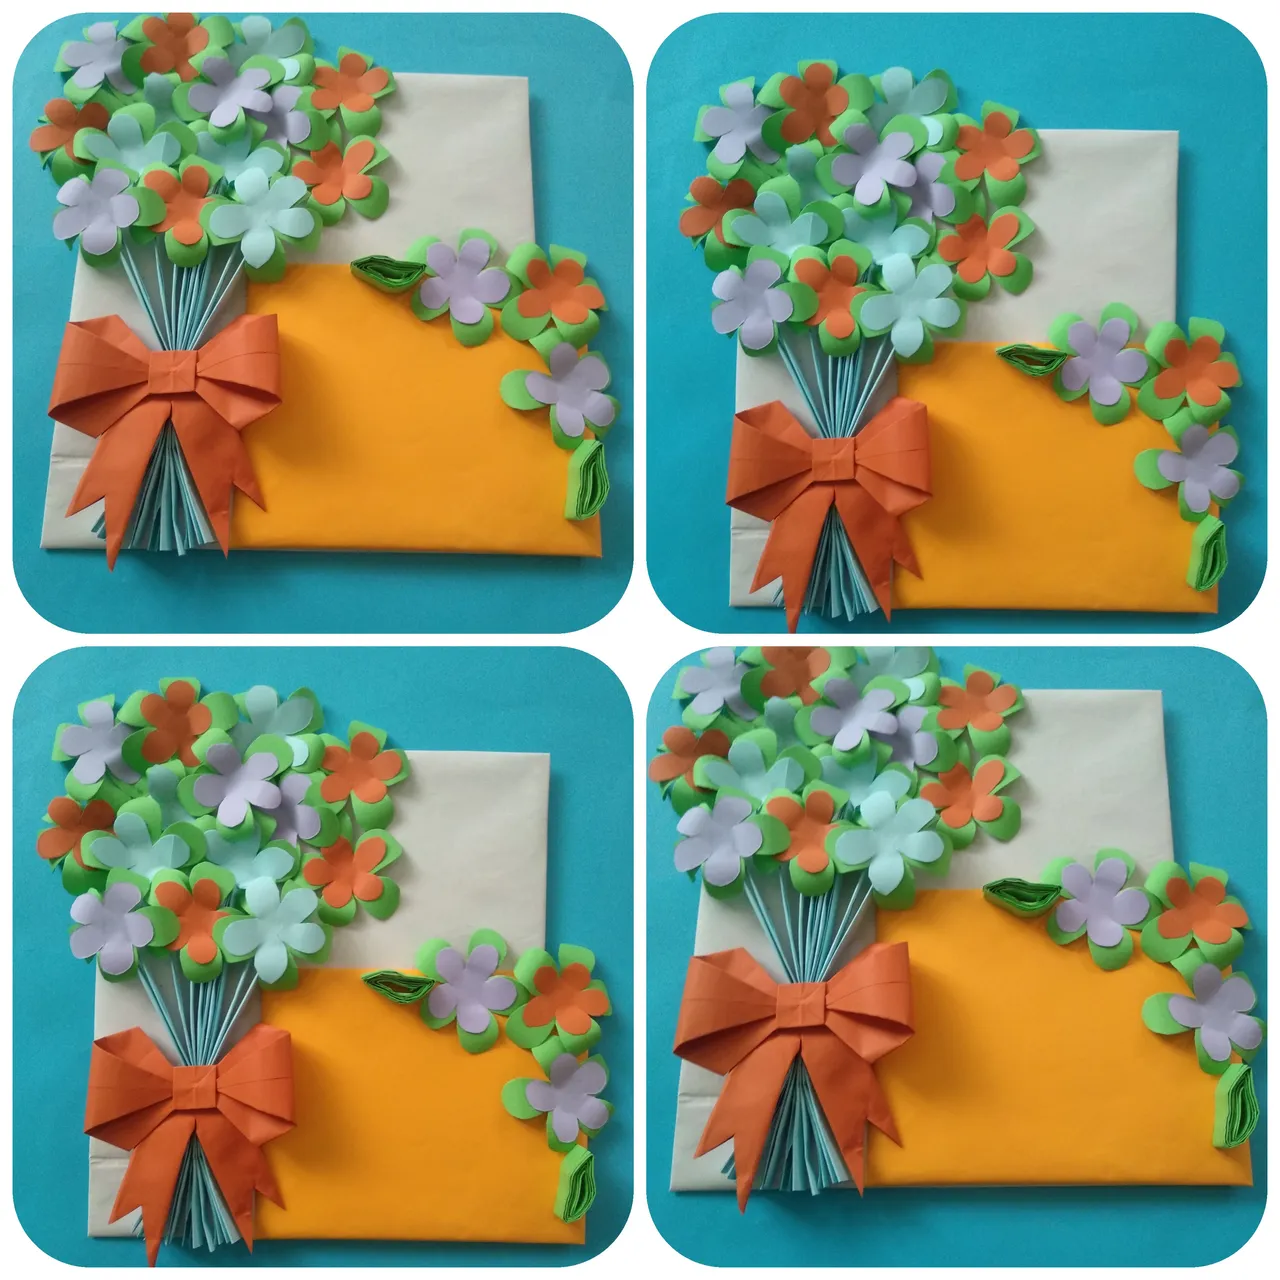
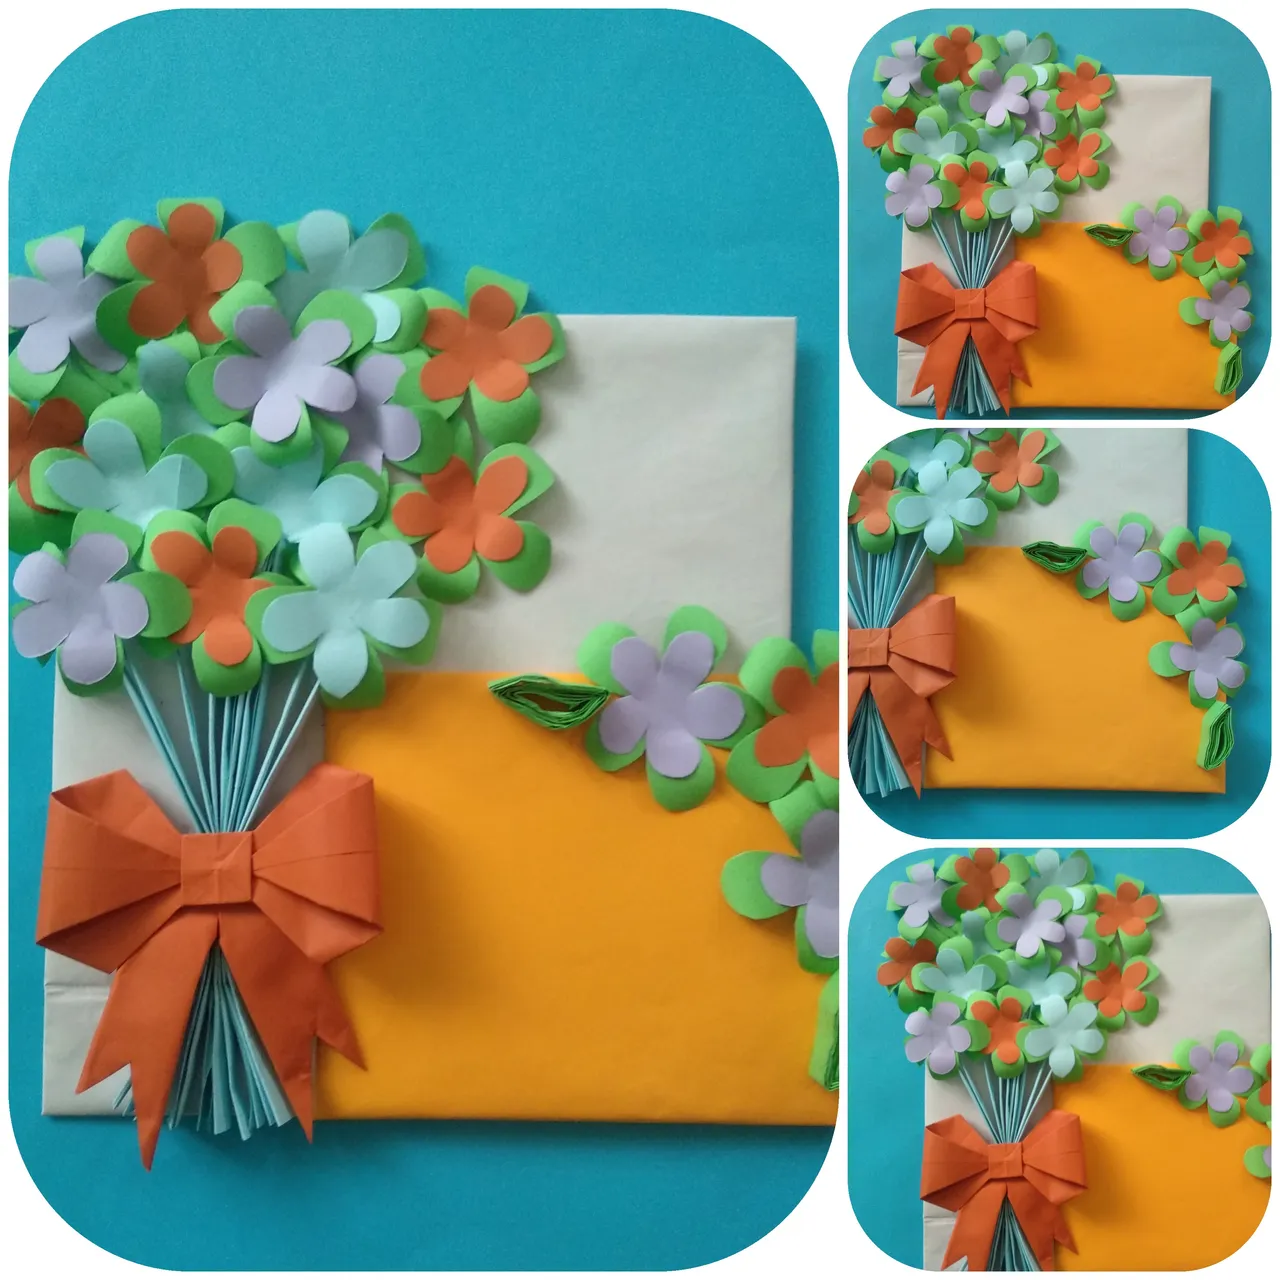
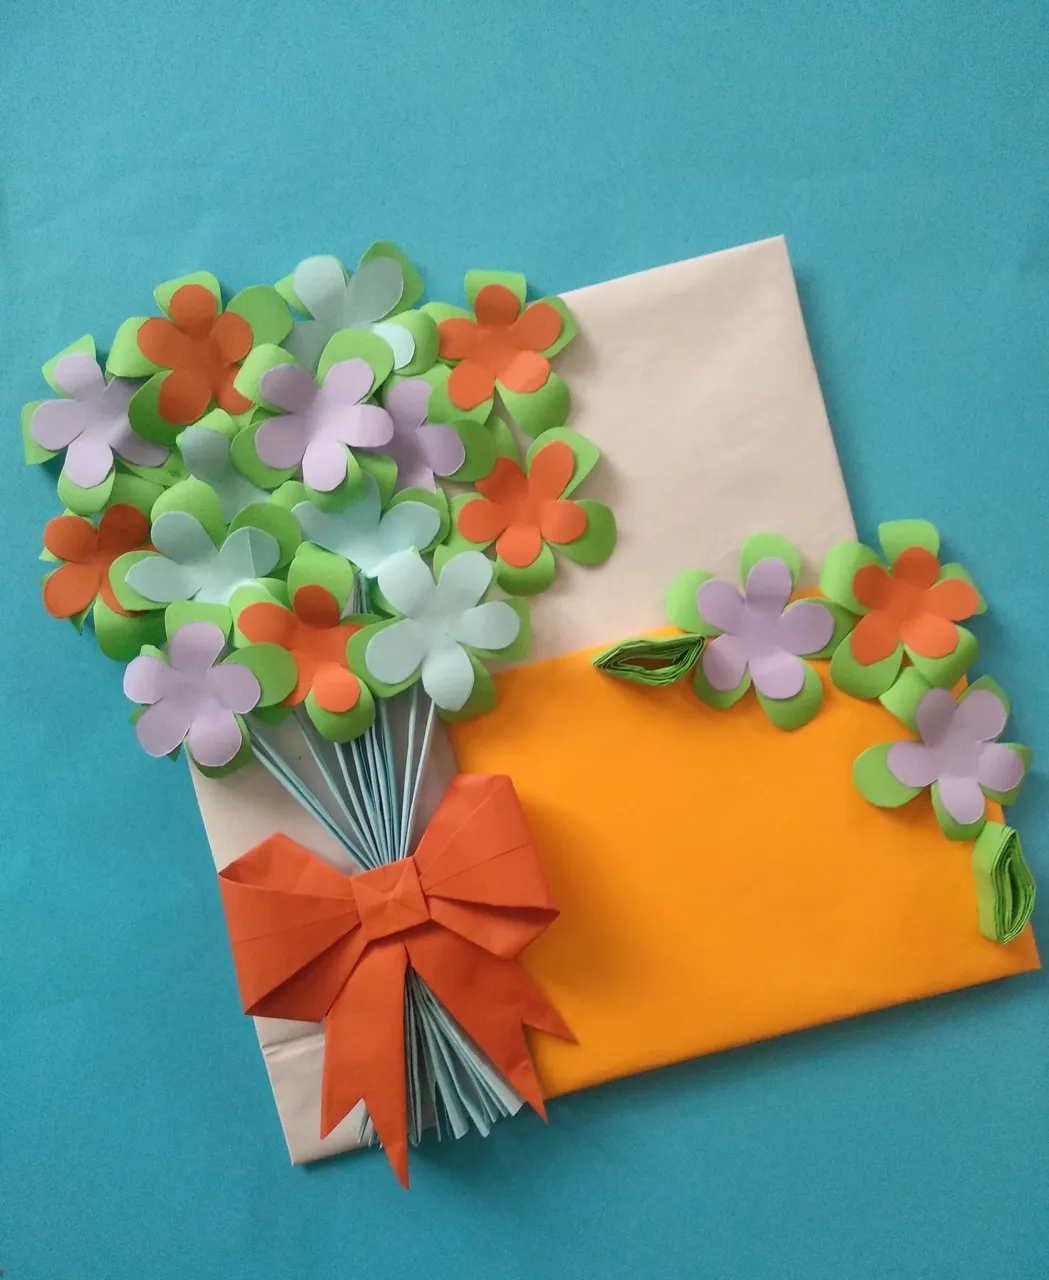
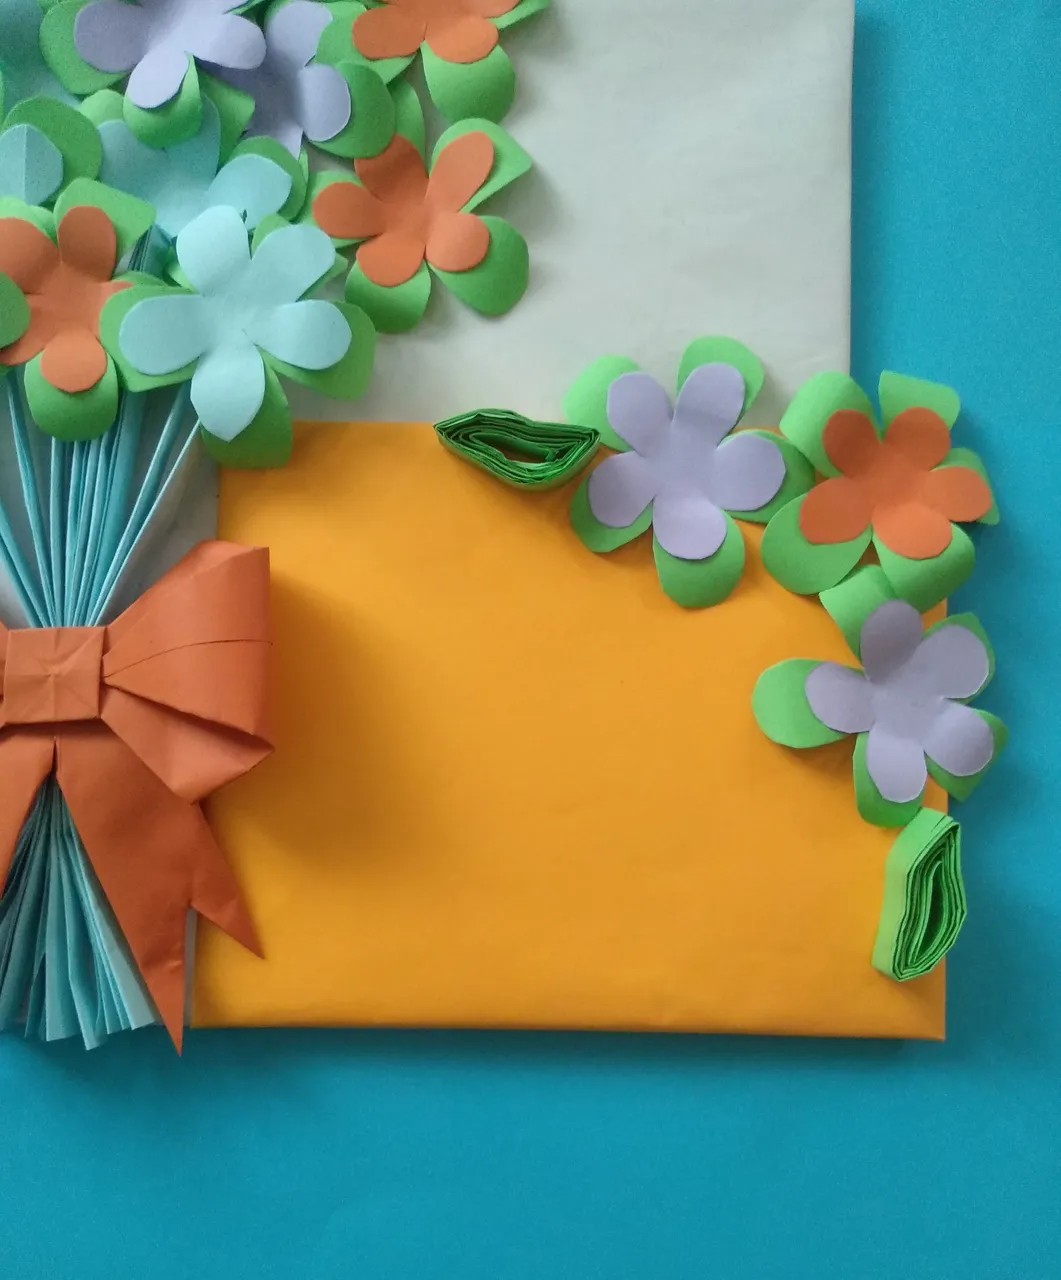
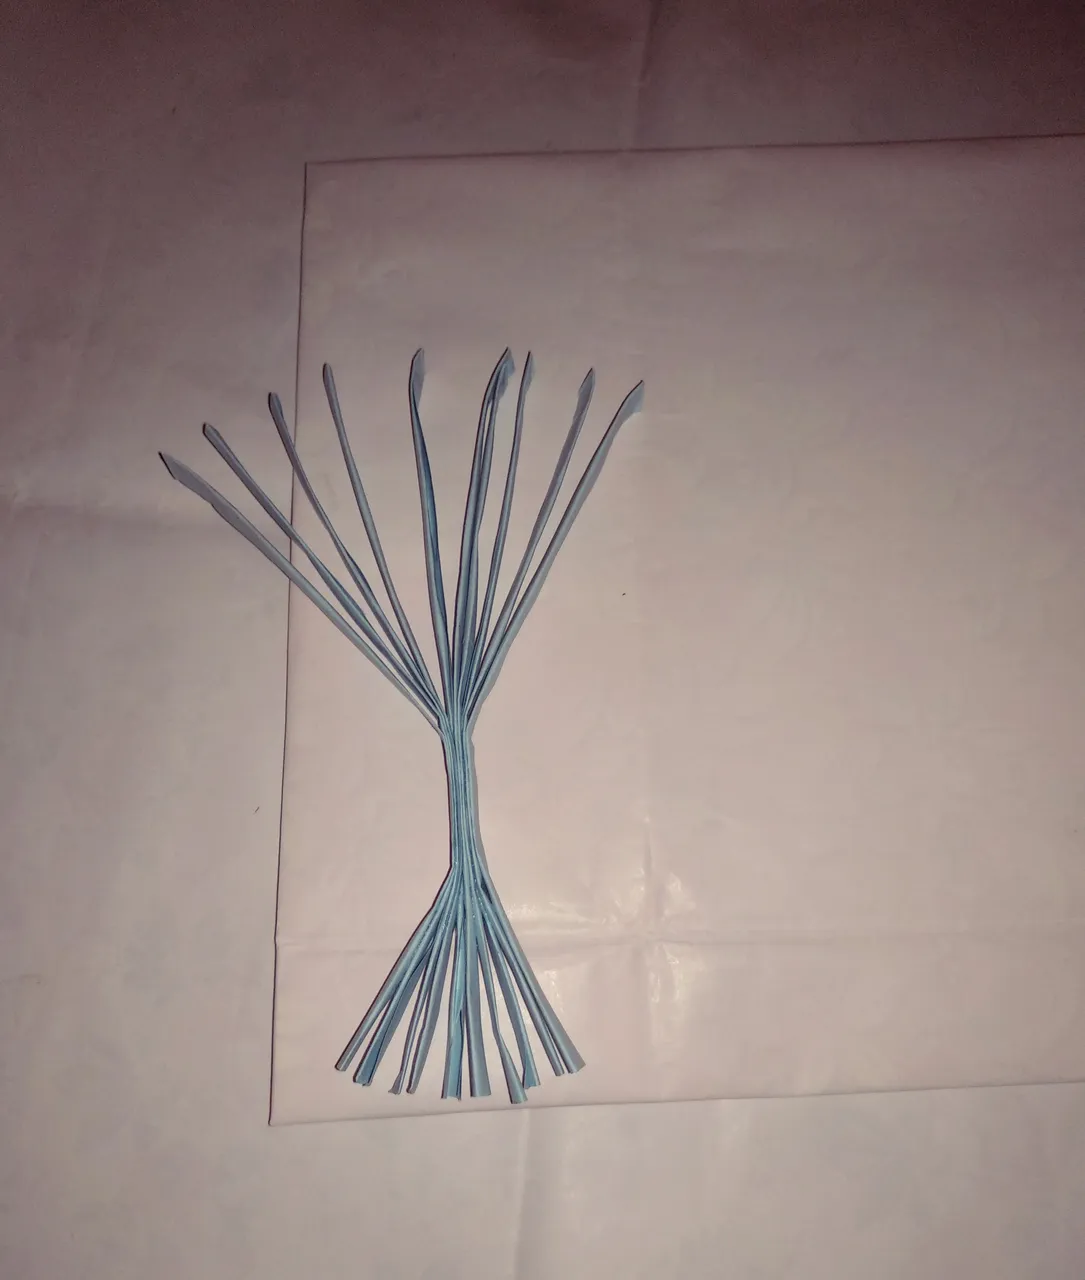
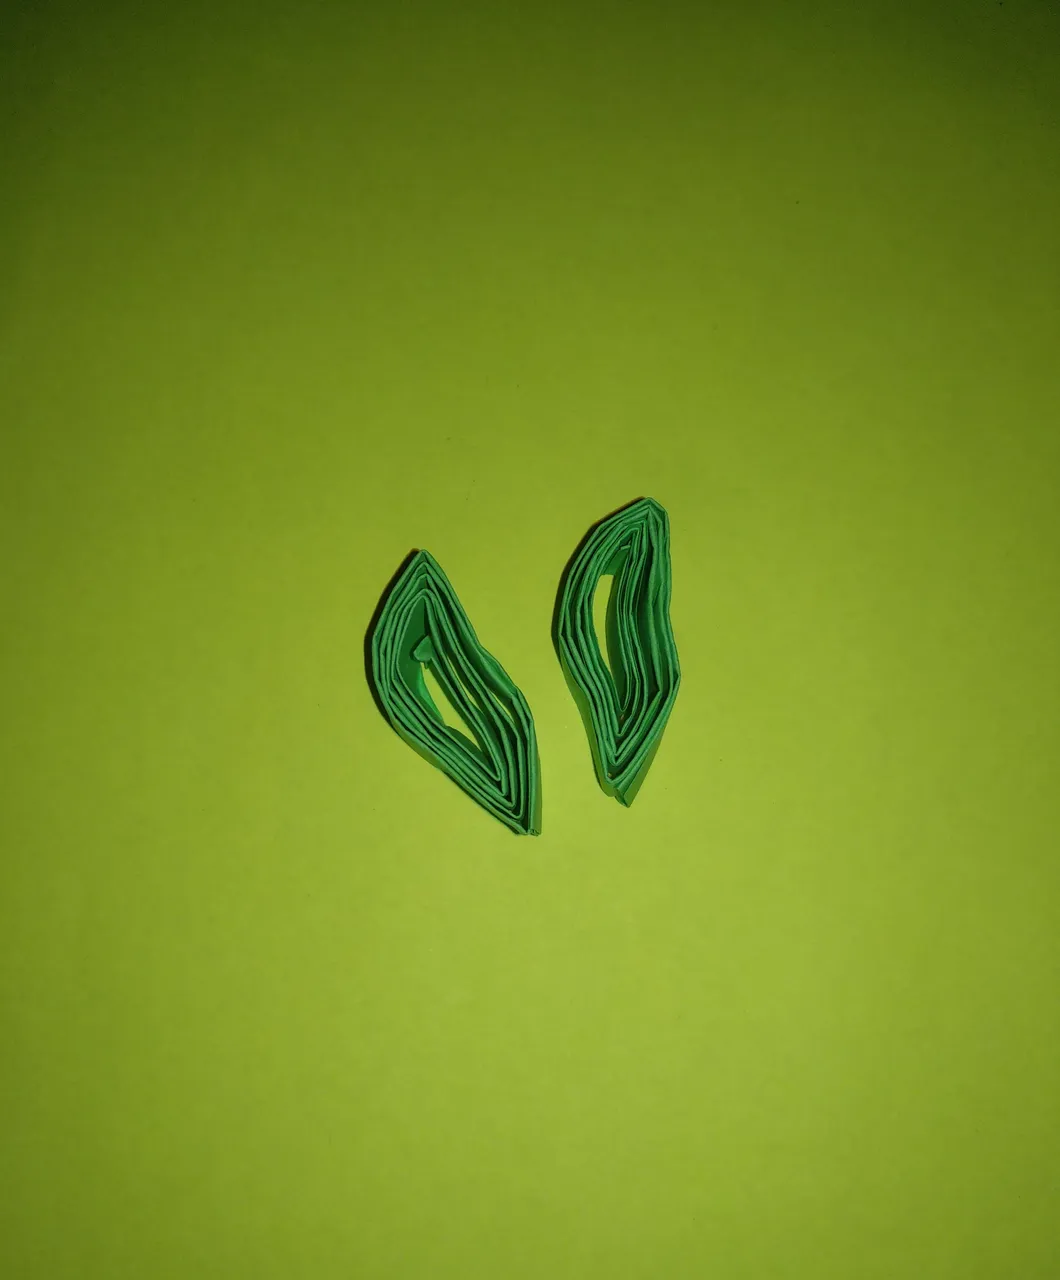
In this step, I cut the cardboard as a square shape and glue it with white paper. I also fold small pieces of blue paper and glue them together. Then I glue this on the white cardboard. I also glue the flowers again. I also decorate it with a bow. I cut another square of cardboard and glue it with orange paper. I also decorate it with flowers. I make two pieces of green paper and fold them as leaves. Then I glue them on the frame.
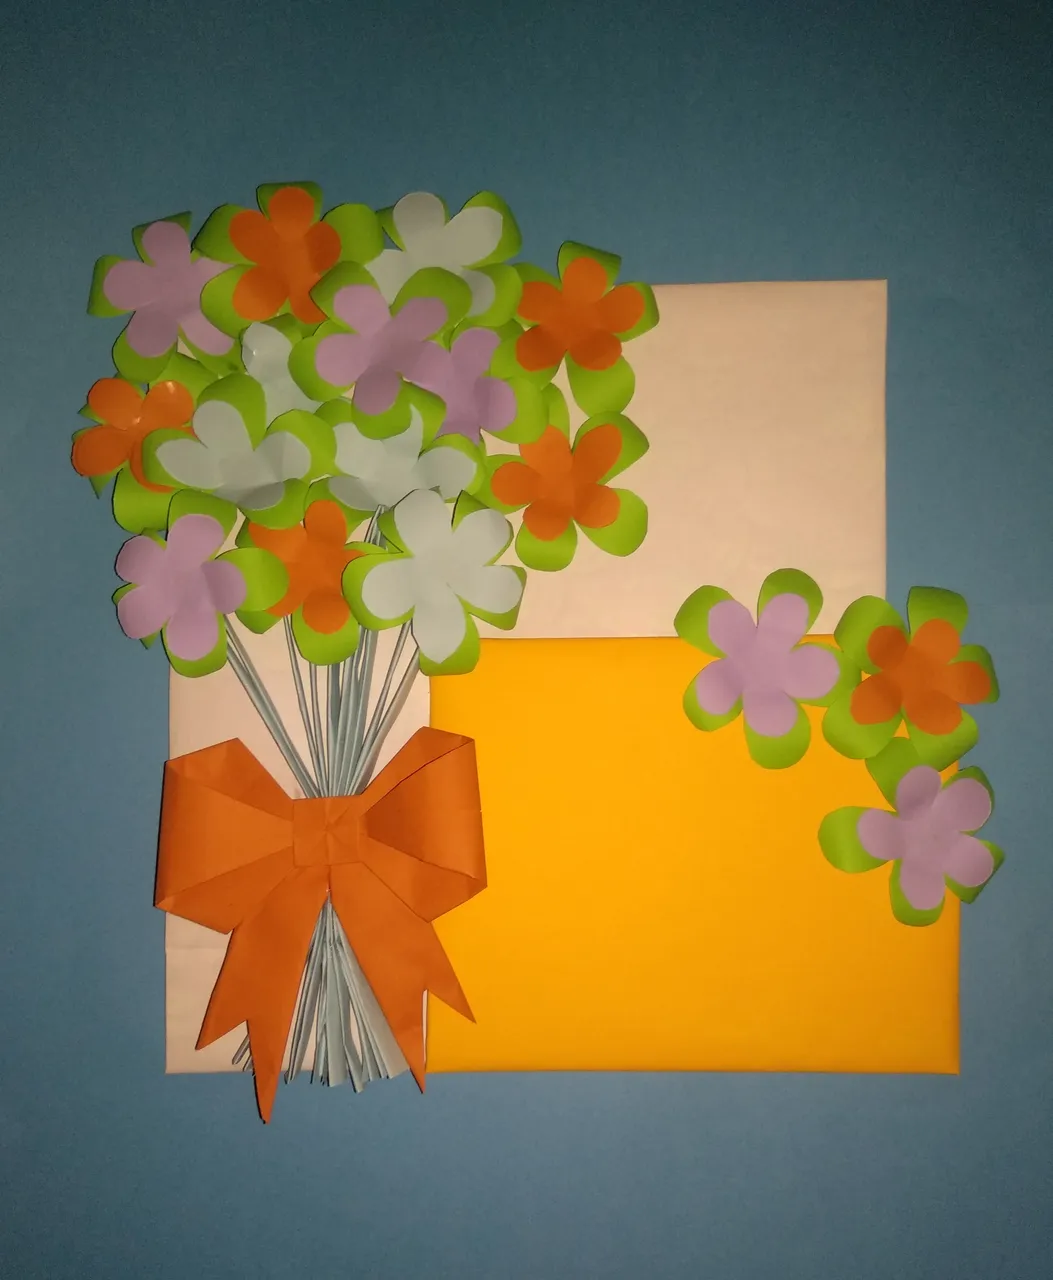
I really like it after making it. It's useful and very beautiful . I take nice pictures too.Thank you so much for your reading my post to the end.

October 20,2022
Written by @asterkame
By my photo & made by me