Every year here at ArborVilla, we end each season talking about all the things that we hope to start earlier next season, then promptly fall behind in our planting before anyone has even forgotten their New Year's resolutions. Well, this year fate and synchronicity slept off their hangovers in my living room, because I got some more seedling tray space finished and Hedge Witch got a head start on our seedlings!
Sorting out the extra space wasn't so much about the space exactly, but about the lights. The old fluorescent tube lights I've had on the basement plant stands work well enough for a few things, but not really at all for any of the vegetables. The old LED light arrays that I originally had on my simple adjustable seedling stands worked great with our vegetable seedling, but were in a sad state of disrepair.
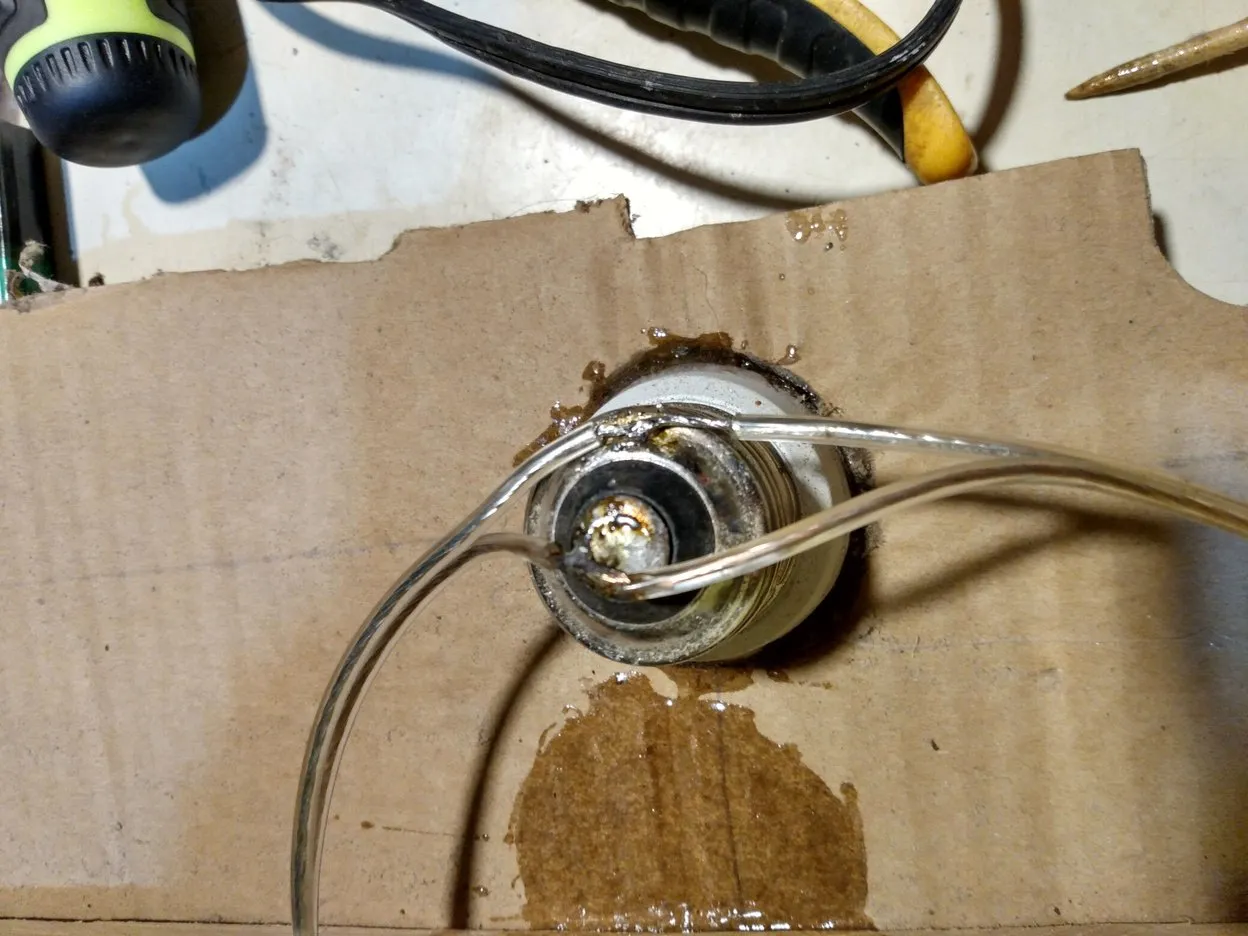
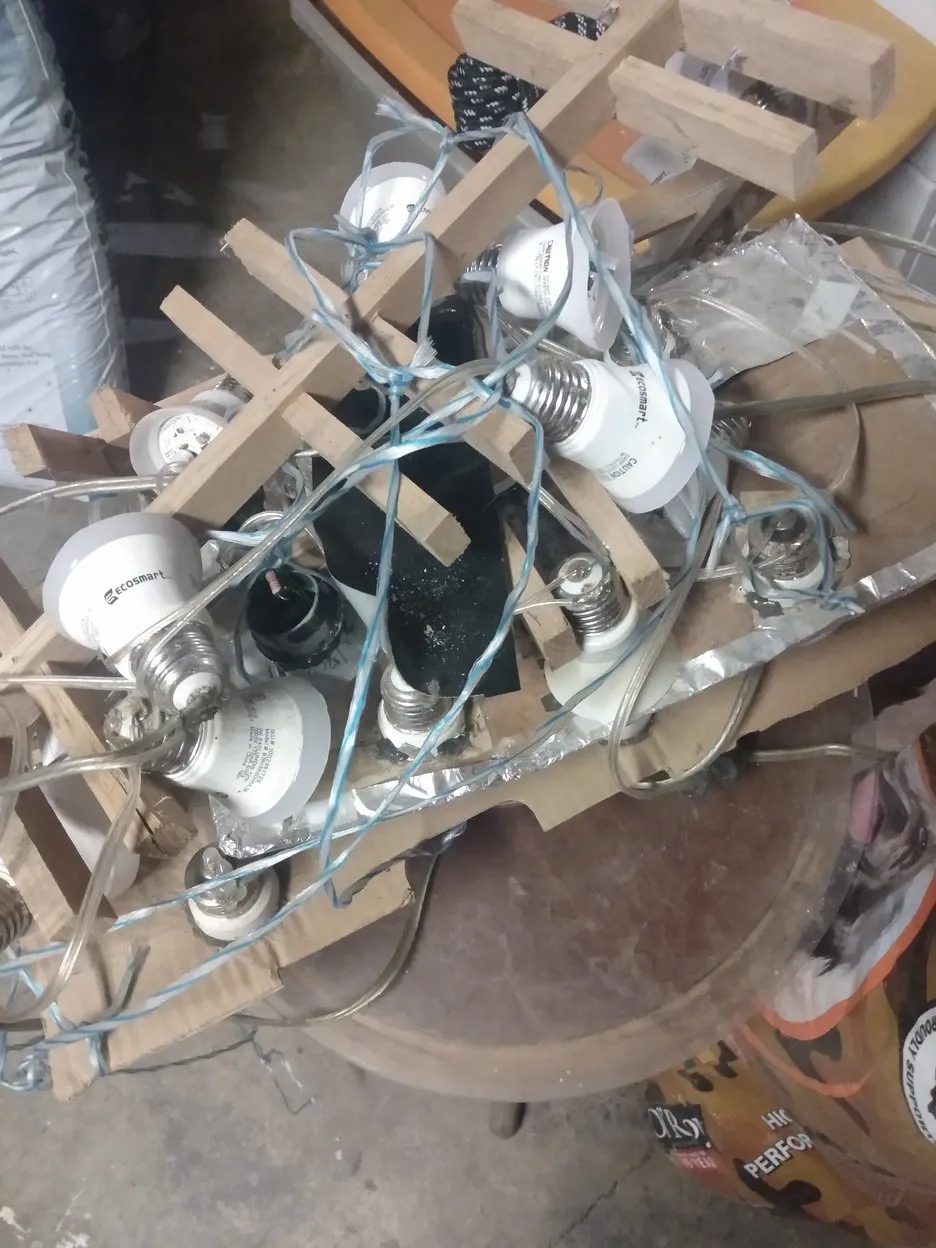
The lights mounted on cardboard were the very first DIY grow lights I tried building, back when cheap LED grow lights cost about $100. I made these simply by gutting the globes (the 'bulb') off from them, then wiring them together in parallel so I could get several lights on one plug. To get the solder to stick to the metal connectors of the light, I simply sand or file a rough spot on to the surface, then 'tin' the metal with rosin or flux core solder and a 30W soldering iron. I'm sure this could be done with a 15W iron, but I'm also sure it would be very frustrating.
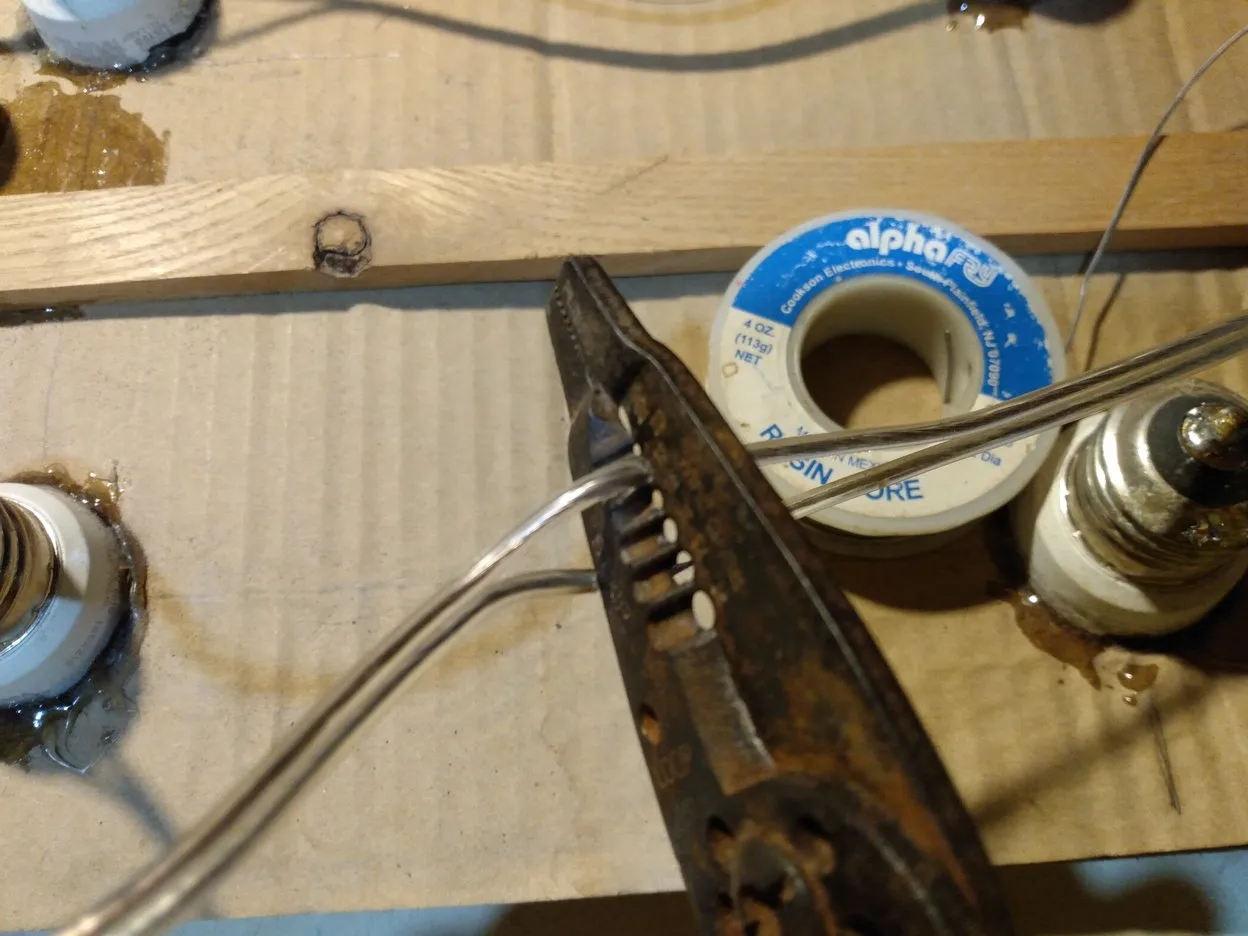
To strip the insulation from the wires in only the spots it is needed, I use wire strippers like this where the rises between the different sized hole pass through each other, because they tend to give a cleaner cut than the anvil style strippers. I make a cut like this at each end of the area I want to remove, then slice between the two cuts with a utility blade. If the insulation doesn't pull off easily after that, I'll soften it by heating it with a lighter for just a second or two.
The lights needed to be detangled, have a couple bulbs replaced, have new epoxy placed on several to keep them from falling out, and a bunch of solder connections redone. It took about 2 hours to get this set done from start to finish.

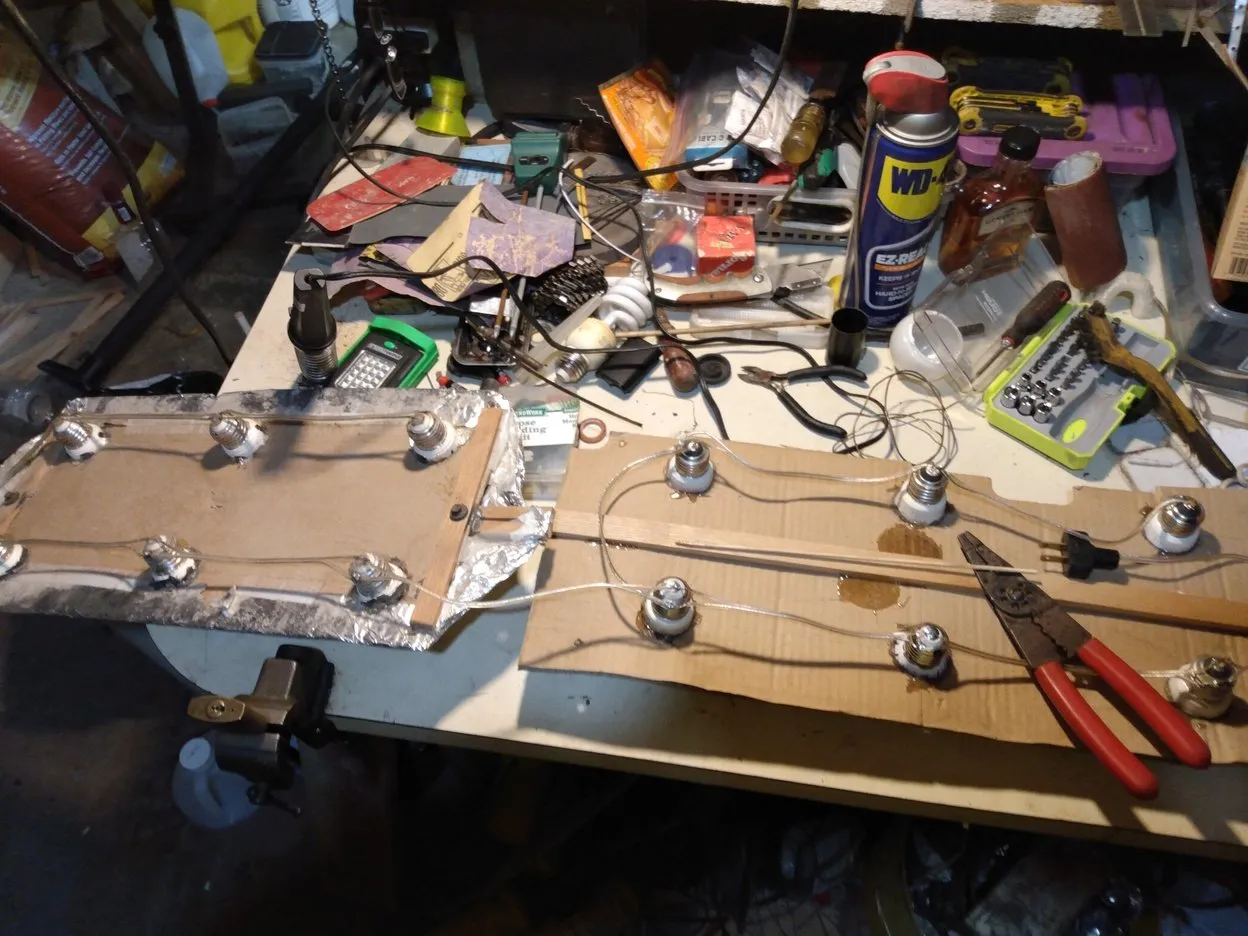
In later versions of my LED light arrays, I used scrap wood to make frames. In these ones, the lights are held in place by a slight spring force from the wood, so they're much sturdier and easier to make changes to than the cardboard ones. Now I can buy actual LED grow light for so cheap that it isn't really worth making more of these, although there are a few plants that really seem to prefer these lights, so I may yet build a few more.

Brassicas especially seem to like these lights, so they were the first things we put under them. They also shrug off the cooler temperatures in the basement, which stays pretty constantly around 58°F. This is more than enough for things to grow, but warmth loving plants like peppers and tomatoes will grow quite a bit slower in these cooler temps. In the pic above we have kale, red cabbage, broccoli, and cauliflower, along with the little succulent you see in the orange pot.
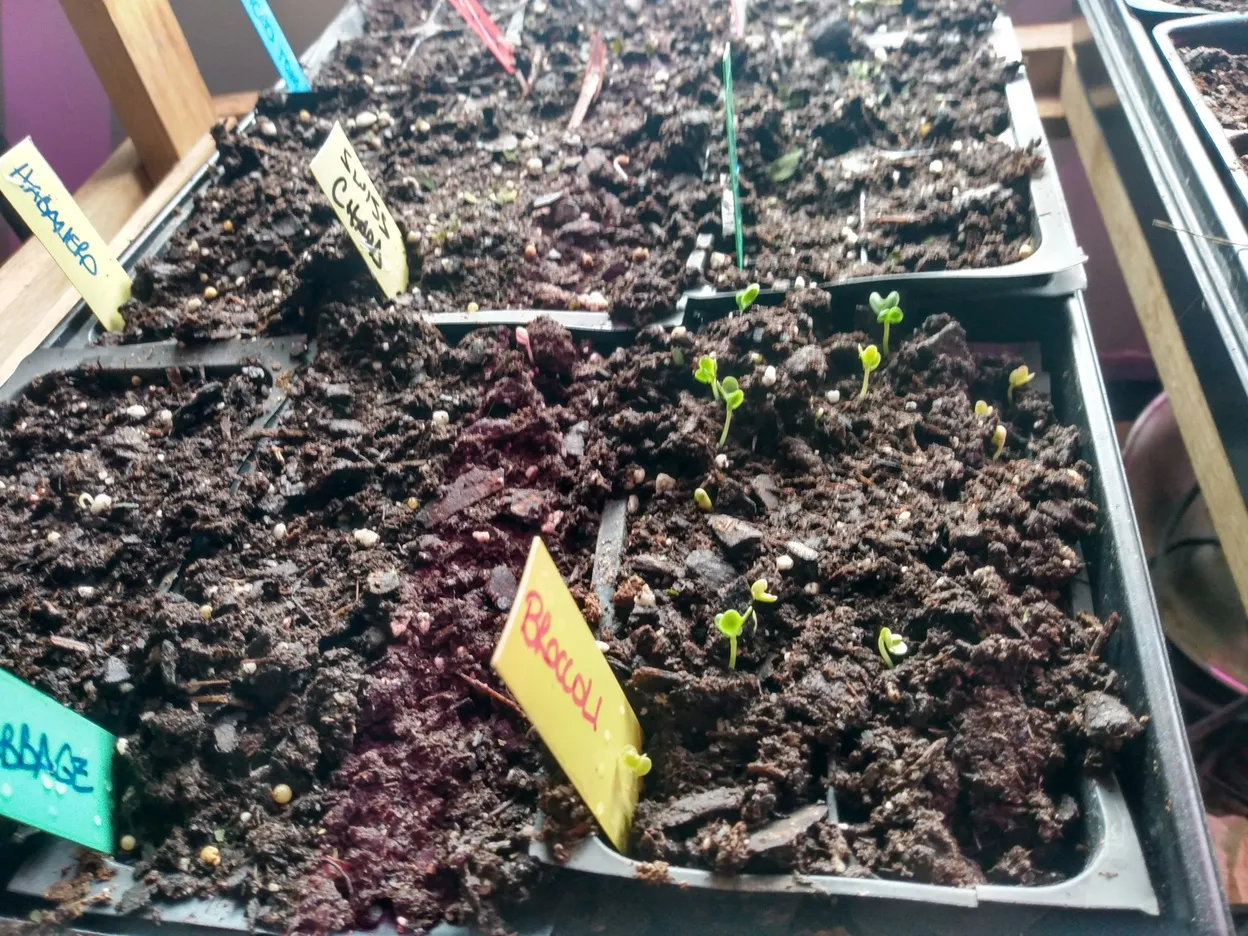
We still sprout everything upstairs, where the higher temps help everything pop up much faster. We also two seedling warming mats in use on the upstairs trays, which come in really handy for sprouting peppers, which very much prefer things to be over 70°. Habanero peppers were one of the things we've always wanted to start early, because they take so long to mature that we usually have to let them color indoors through the fall.
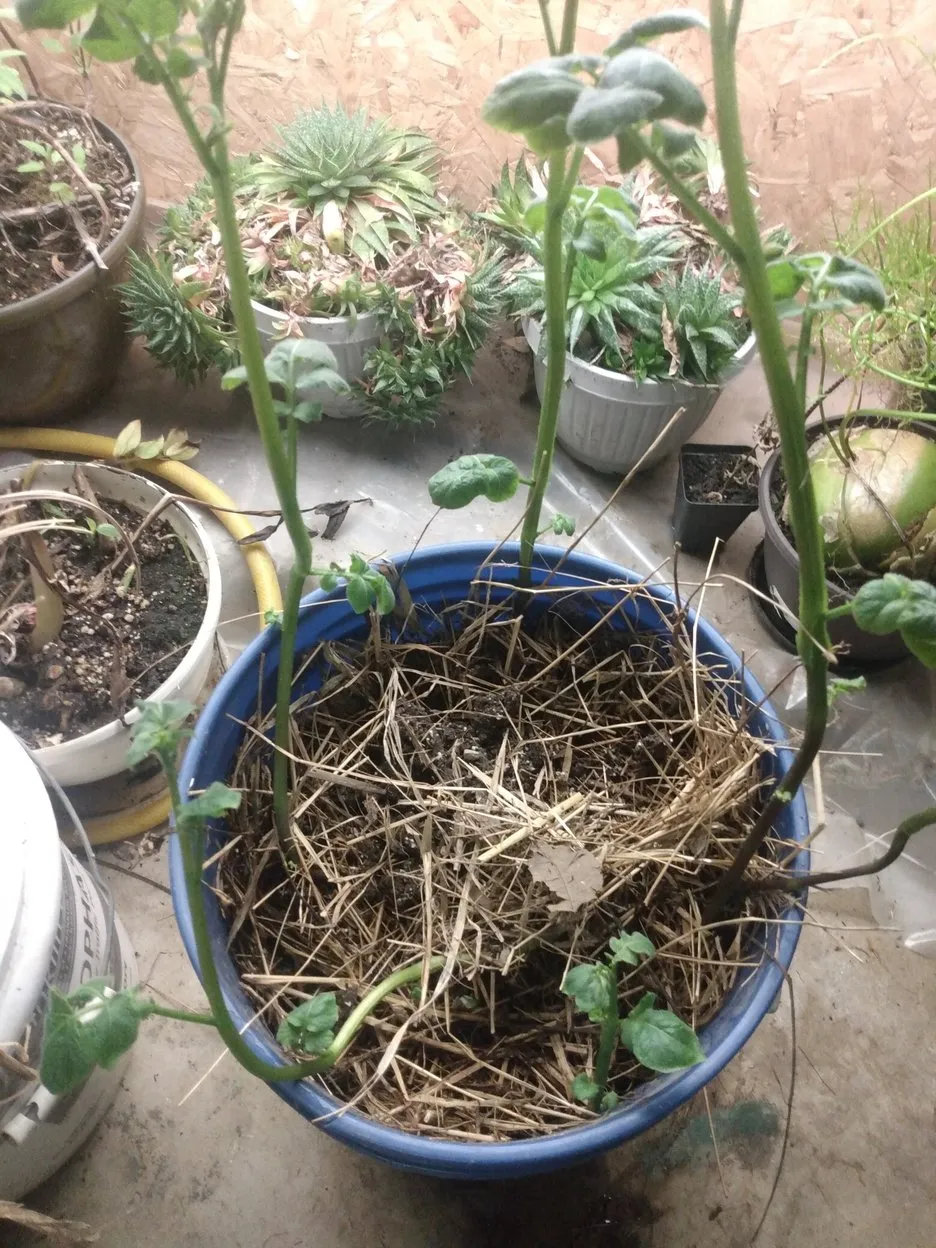
I also got an early start on some potatoes this year, because I had a great opportunity to toss some in my bucket. My first experiment with growing potatoes in a bucket went just okay, but they were started late and we kept forgetting to water them. I might actually leave this bucket right indoors, to get an idea of how feasible it would be to grow potatoes inside.
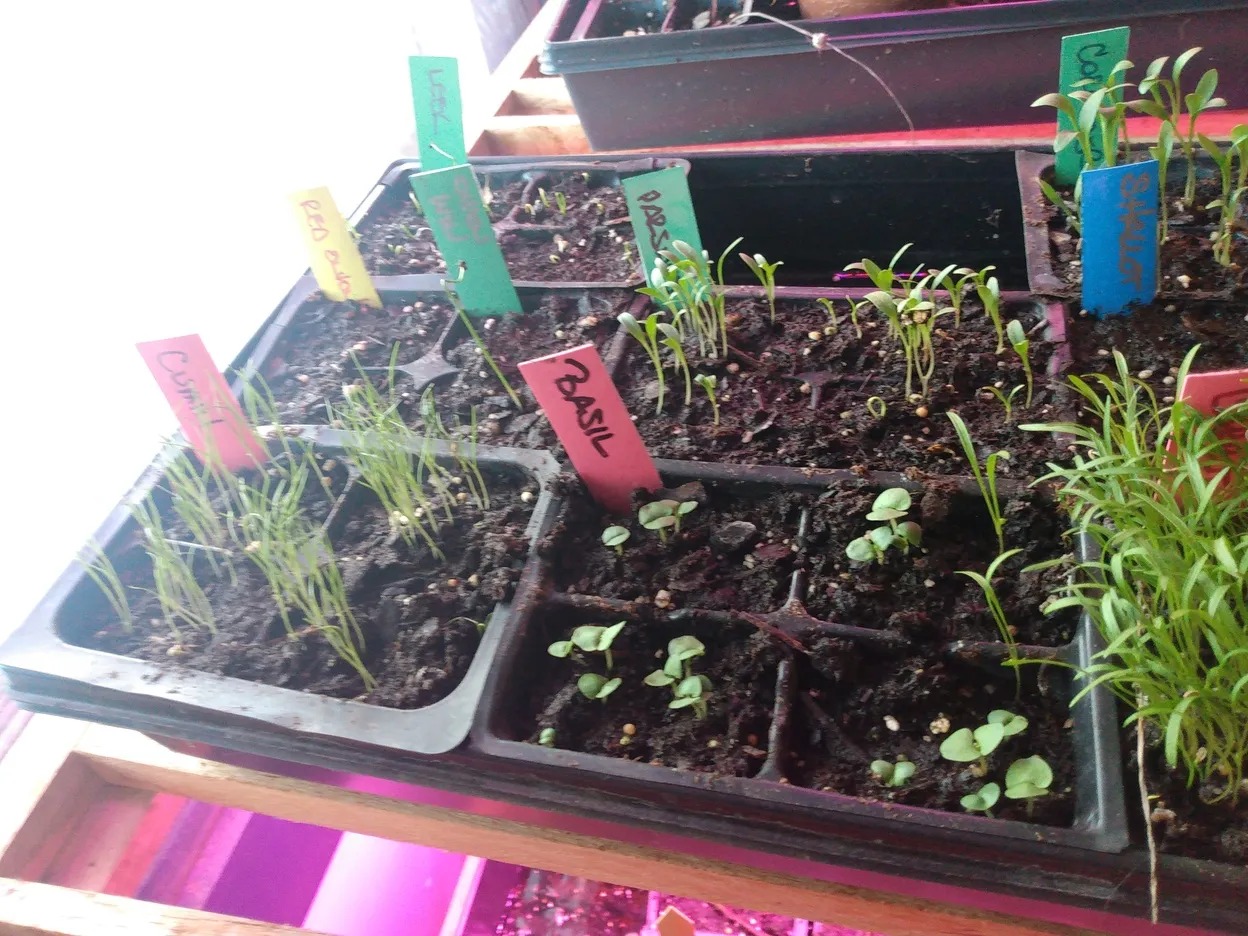
We normally direct sow our carrots and parsnips, but we've been having abysmal luck with that, so we're starting some of them early this year. The carrots are the bushy mass to the right of the basil, parsnips are directly behind the basil. The onion looking sprouts on the left are actually cumin. We tried growing cumin a couple years ago, and it started out great, but then tent moths appeared and ruined it all in a day.

Dill is another herb we haven't had a lot of luck with, so we're trying some of that on the early start list as well. The dill was getting a bit leggy, and roots were creeping out of the bottoms of the cells already, so I potted up about a dozen of these, as well as the cauliflower.

I generally try to avoid repotting, especially for dill, but I'm trying some different things this year with stuff that hasn't responded well to normal growing methods.
I'm also trying to get some brassicas in the ground outdoors WELL before last frost.
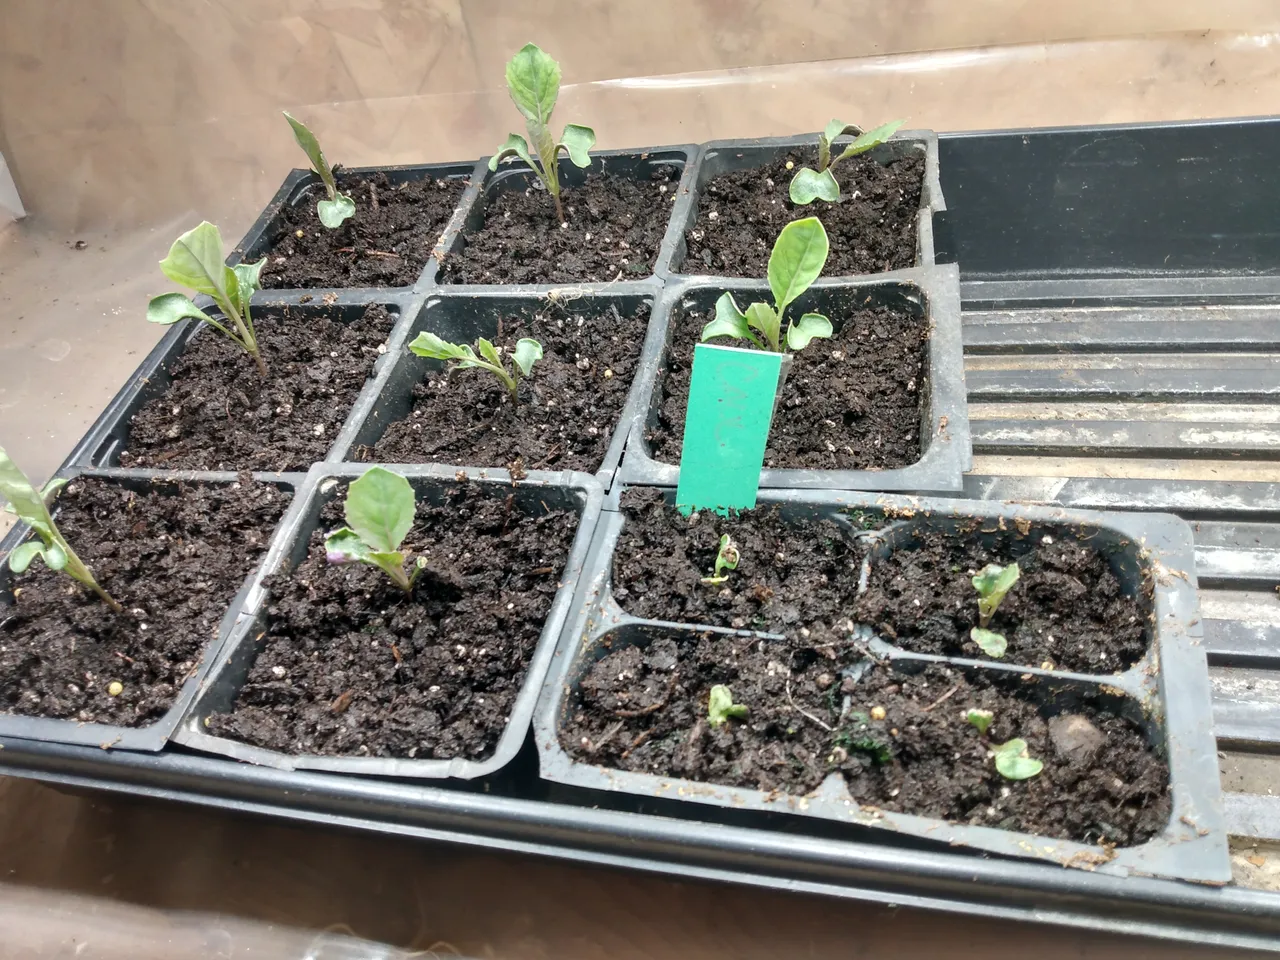
The dill and cauliflower have already responded well to the extra space, it's been just two days since I took these pictures, and they've all already doubled in size. I would absolutely love to restock the broccoli and cauliflower in the freezer this year, and to get a good surplus of dill dried out. Our reserve of hot dilly beans is starting to get a little low, and I'm thinking that this will be the year for a new batch.
I'll leave my post short and sweet for today, dear Hive friends. I'll do a more detailed post about the repotting of such delicate seedlings, and a little bit of NSFW (Not Safe For Woodworkers) sawmill porn in the very near future, so stay tuned in, if those things sound interesting to you.
Whether they do or not, I hope you are all well, and consciously choosing your own path.