Due to a messy divorce unfortunate circumstances, I no longer have photos of any of the work before April of 2014, which was when the first pic was taken. In the lower left of the pic, you can see the green surface of what we call the 'Middle Pond'. When I bought this place, that pond was just a consistly swampy patch of 'lawn' that was overgrown with weeds. The hillside you see here was covered in wild roses, which had killed one of the tall Arborvitae that someone before me had planted here. The upper flat area was also covered with roses, and small thorny hawthorne trees, and was also swampy. The first thing I did was dig out the swampy parts, and use that mud that I dug up to grade the area around my new ponds so that the ground all drained well.
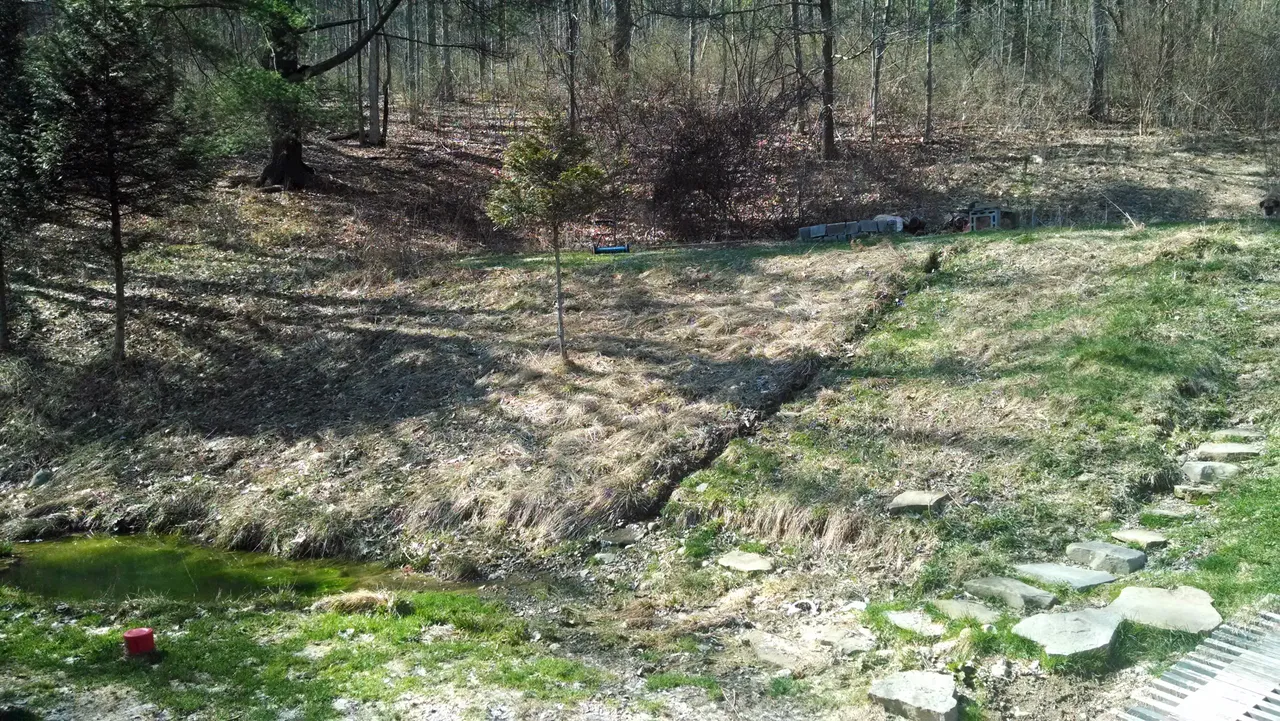
I let the ponds mature naturally, for a few reasons.
- It didn't cost anything to just leave them alone
- I wanted to observe them for a couple seasons, to be sure the ground around them would remain stable
- I didn't want to introduce any invasive species
- Systems that find their own balance are lower maintenance
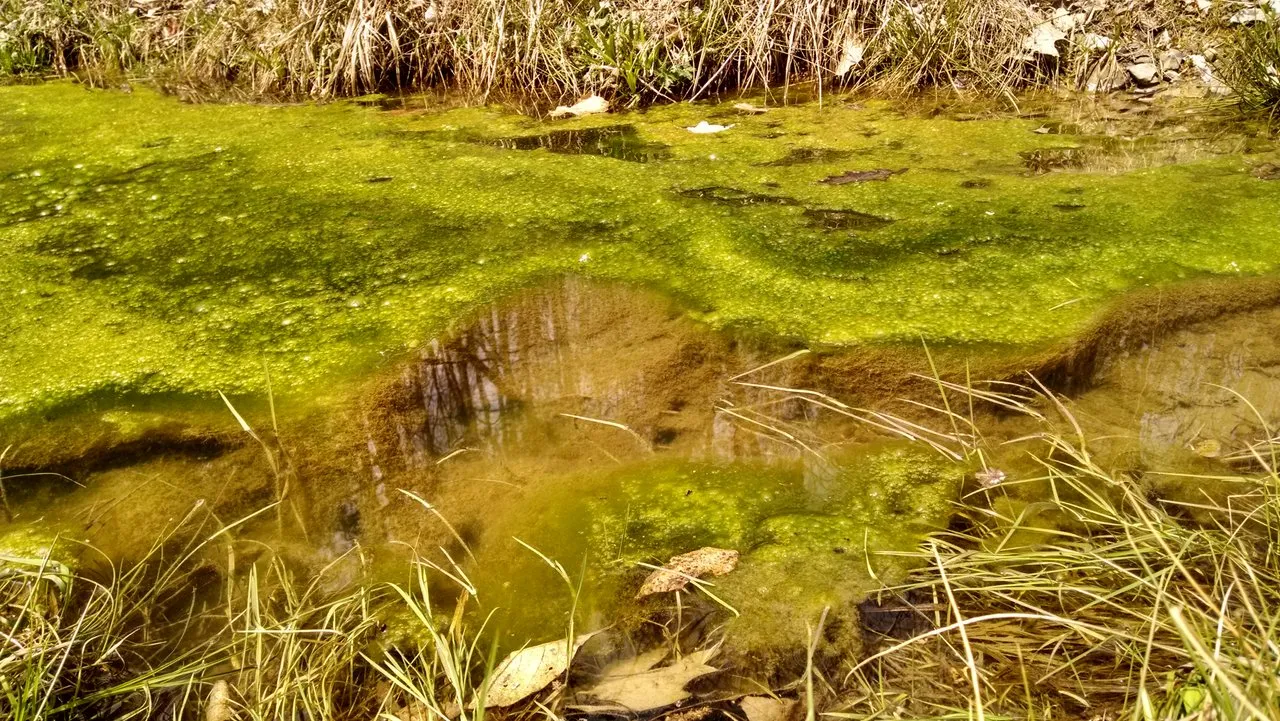
For the first couple years, it was mostly just bullfrogs (which moved in almost immediately) and their tadpoles. Black bear were still fairly common here when I first put the ponds in, and they would stop by frequently. It took most of the first year just for the mud to settle. Once the algae started growing, more bugs started dropping by, and the bullfrogs started getting big. I consider them survival rations at this point.
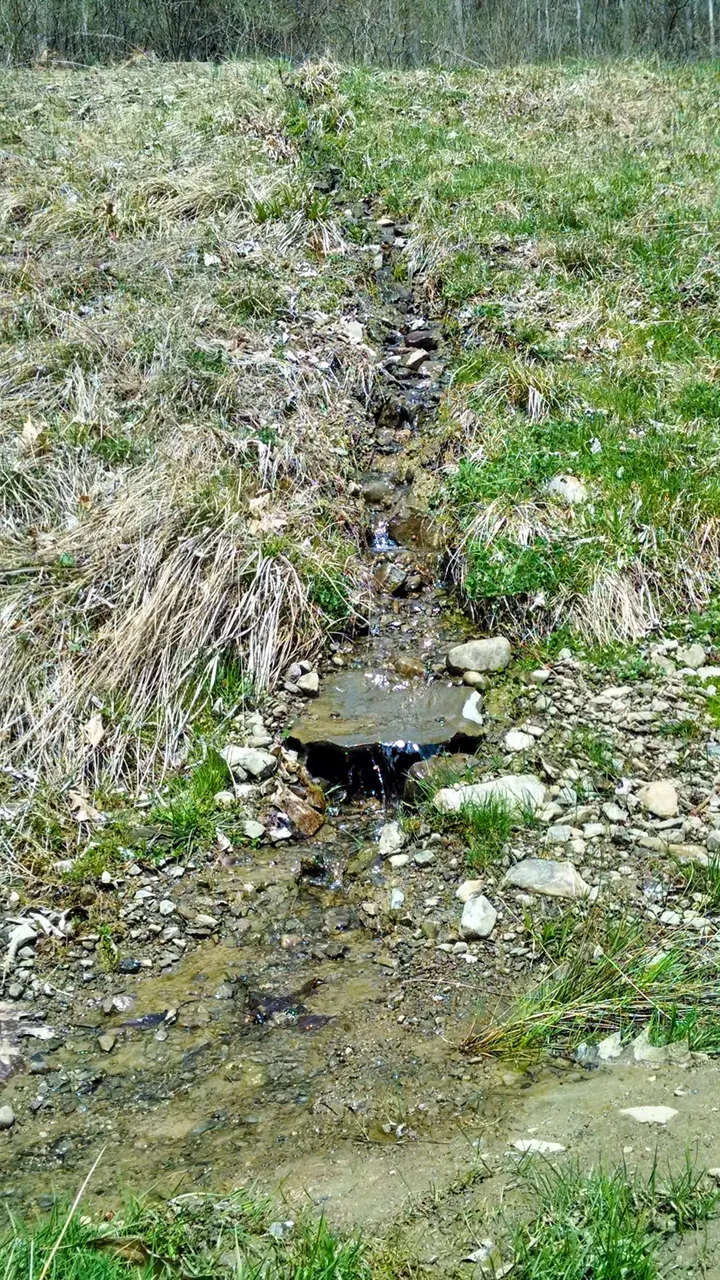
Because of the height difference between the two ponds, some kind of waterfall was inevitable. I was pleasantly surprised to find that once I had all the water getting channeled into one outlet, it would run all year, most years. It does occasionally dry up during very dry summers, and freeze during really hard winters. The big 'scoop' rock at the end was excavated while digging up the ponds.
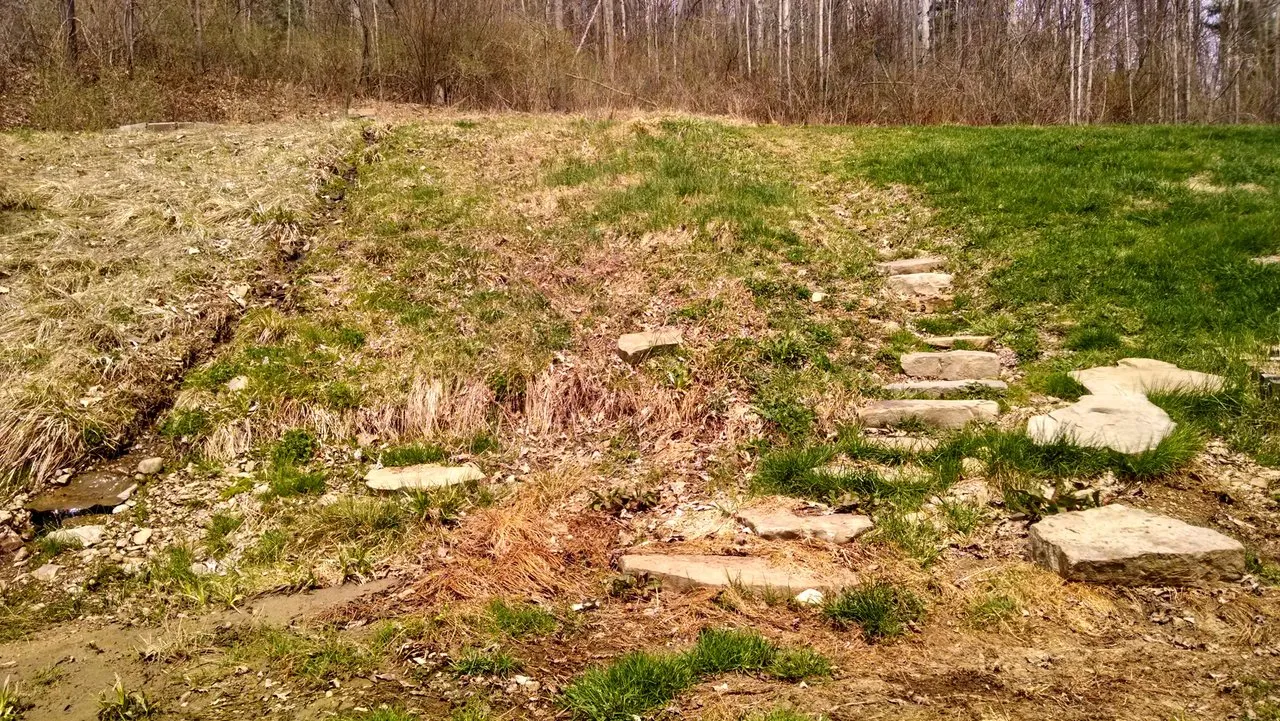
The stone steps were originally necessary as a way to get up the slippery hillside. As the lawn slowly dried out after installing the ponds, they became more decorative than useful. I thought about pulling them out a few times, because all those large rocks would be really useful on some of the stone walls, but it's too much fun watching the animals play on them.
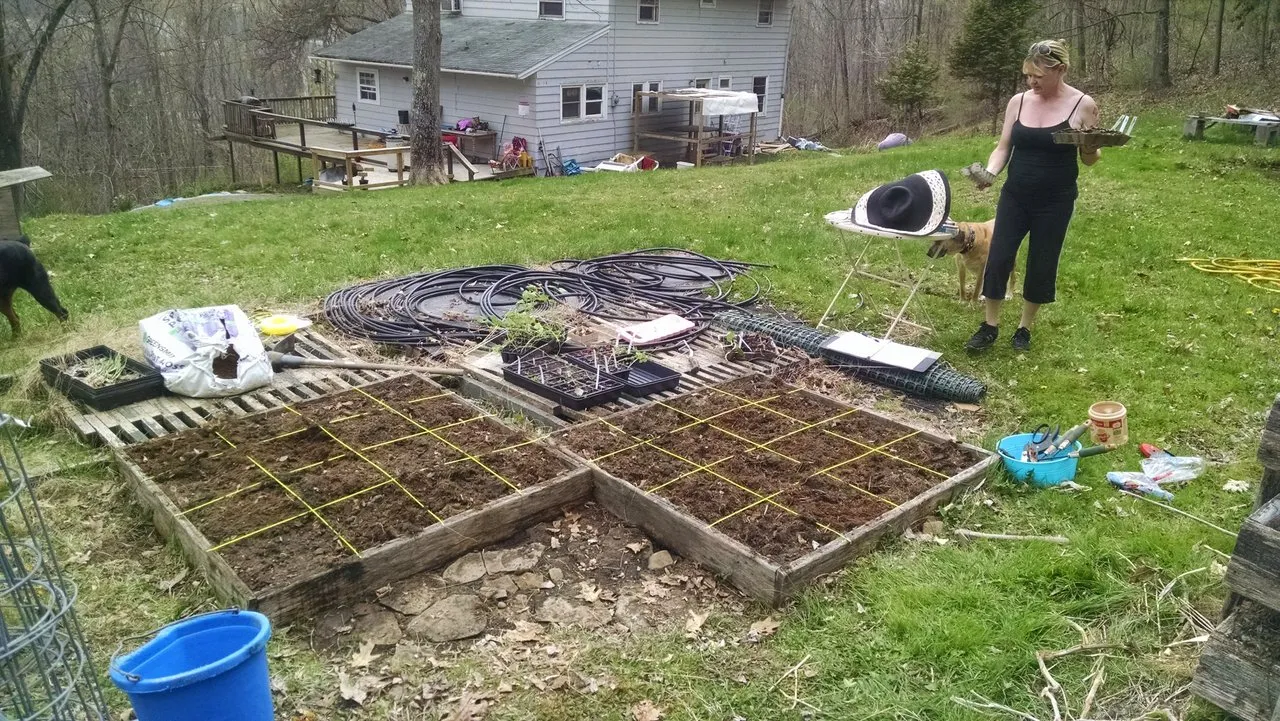
The spot where these garden boxes are was the flattest area on the property when I first cleared the roses and made the lawn, and I leveled a 16' circle of it for a pool that had been given me. When I upgraded the pool and moved it closer to the house, the area was the perfect spot to try out the Square Foot Gardening method I had just read about. These first two 4'x4' boxes were assembled with scrap lumber from the parts of the deck that the insurance company made me tear down when I moved in. The squares were marked with extra string trimmer line I was able to obtain at work. Hedge Witch was skeptical about Square Foot Gardening, but happy to try anything that let her stretch her green thumb!
With the ponds good and settled for about 5 years, it was time to start terracing the hillside between them. I was fortunate enough to be able to borrow a mini excavator from work to dig out the ponds and do the initial grading, but not so lucky for this project. The rototiller that I used as an excavator was a relic from a bygone age that my father gave me when he upgraded to a self-propelled rear tine model. It needed a little work and a $5 part, but it has worked for me without fail for close to 15 years now.
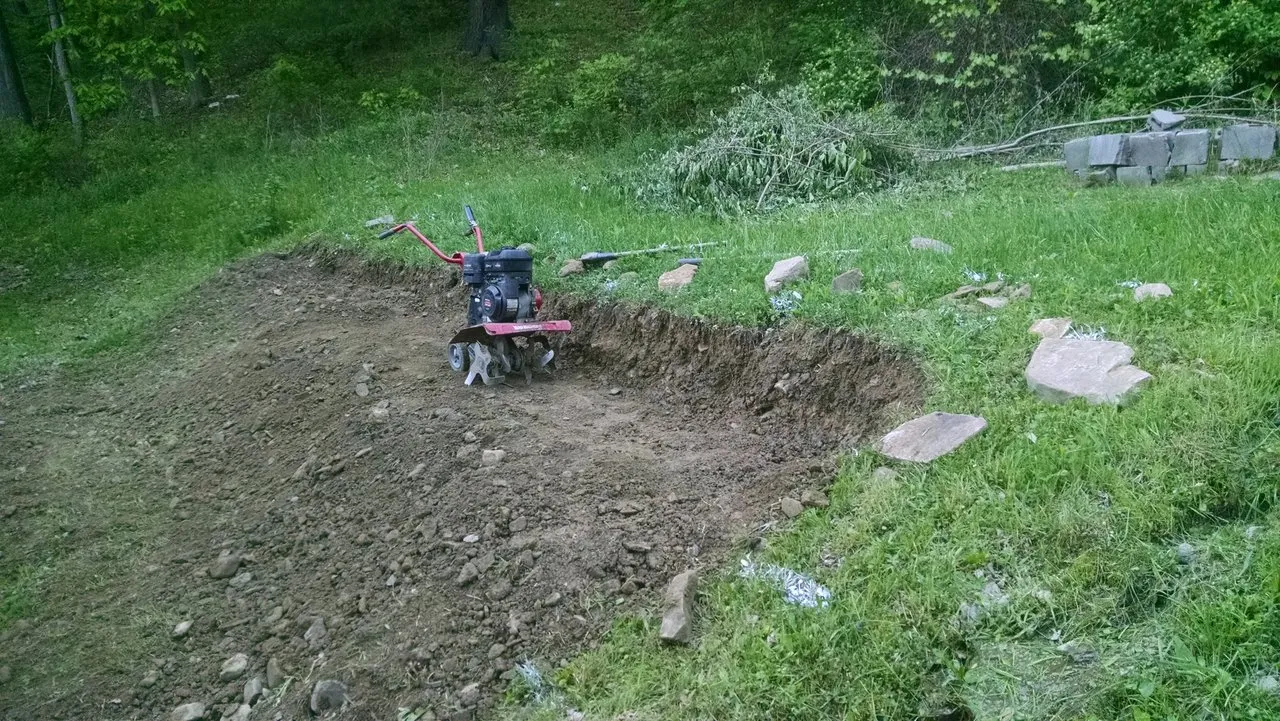
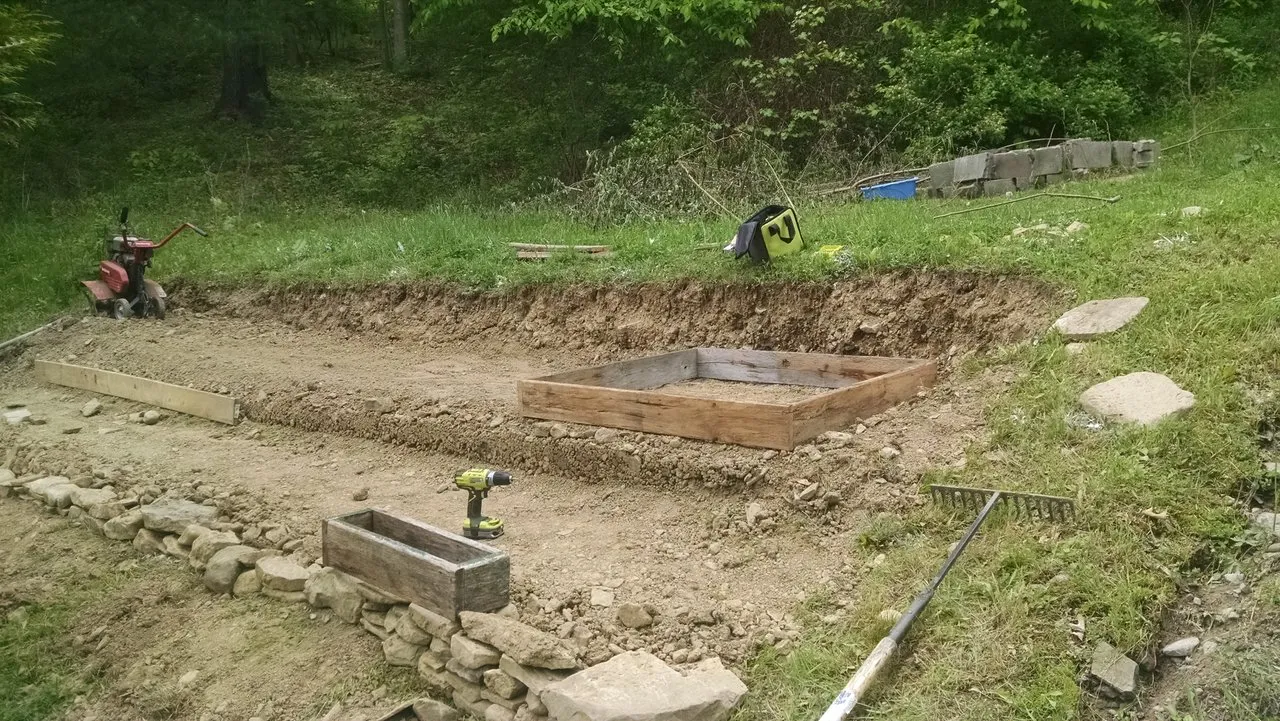
I had hoped to find more rocks than I did when excavating this area, but luck was not with me. This hill is so much clay that I was able to use that loose board you see in the picture along with a sledge hammer to pack the face of the ground. This area of the property is still pretty shady, and I've found that wood on my garden boxes decays about twice as fast back here as it does on the upper flat area.
The ponds and the waterfall are beautiful, but they were also necessary. When this was all swampy, the top few inches of the ground were wet all the time, making the area unusable. I couldn't even get a push mower on it during dry months, I had to 'mow' all this with a weed wacker before I put the ponds in. The whole hillside was actually slumping towards the house, and there is a slight bulge in the basement wall from it. The whole hill also used to slope straight towards the house, and when it rained a LOT of water would run in through the basement windows. Since I put in the pond and sloped the ground away from the house, I only get water in the basement when it rains so hard that it fills the window wells.

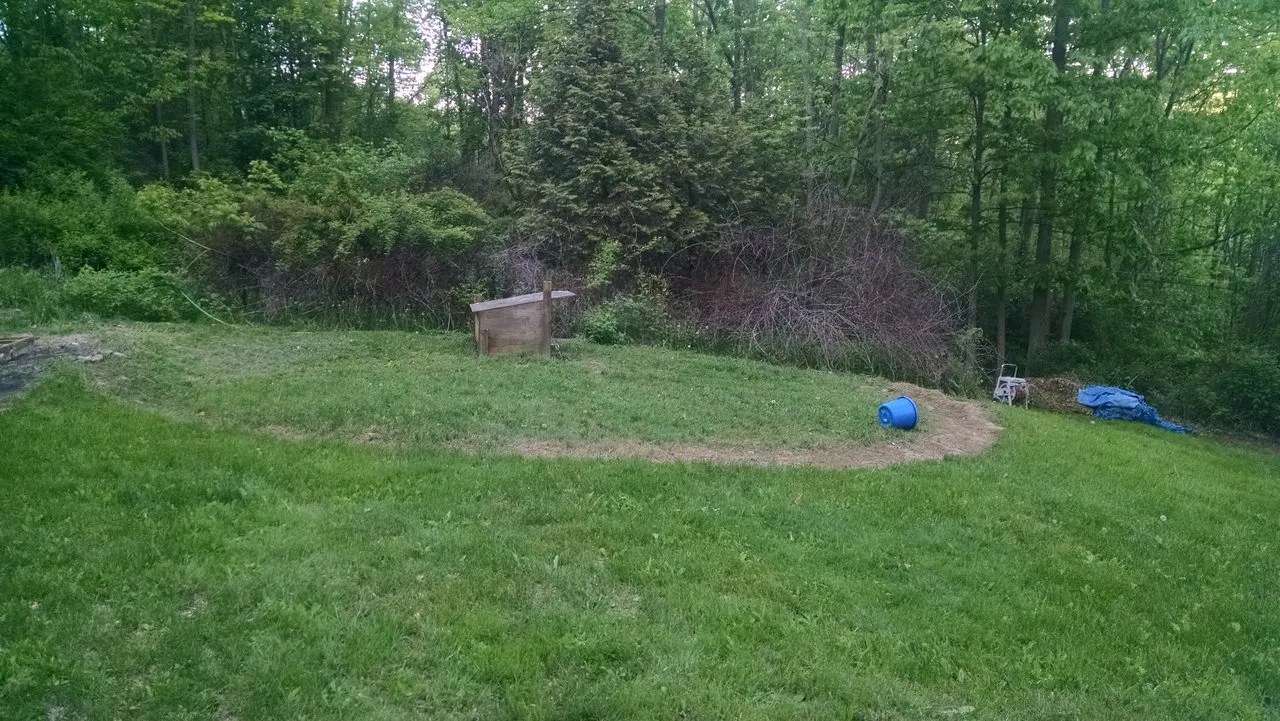
This area below the upper garden boxes was the second flattest spot when I bought the property, and we decided it would be good enough for our first tilled garden area. I set up a dog house out there just so we could tie them up once in a while and put them to work breaking up the grass! All that forest that you see beyond the little dog house is the neighboring property that I bought, where the orchard, chicken palace, and brassica bed are currently.
We'll get to all those places eventually, but at this point in my homesteading past, all that work is still quite some time in my future! Thanks for joining me on this little trip down memory lane, I hope it's been as fun for you as it has for me, and I hope to see you all back for part 2!