The weather is currently quite pleasant so sitting on the balcony/terrace at home with visitors is a no-brainer. However, before sitting down to drinks, my friends now prefer to see my garden first or maybe I am the one enthusiastically wanting to show it off. It is hard to miss however.
Carrots
Speaking of drinks – I made a healthy drink from my harvested carrots which I will share with you. However, first I will show you my first harvest.
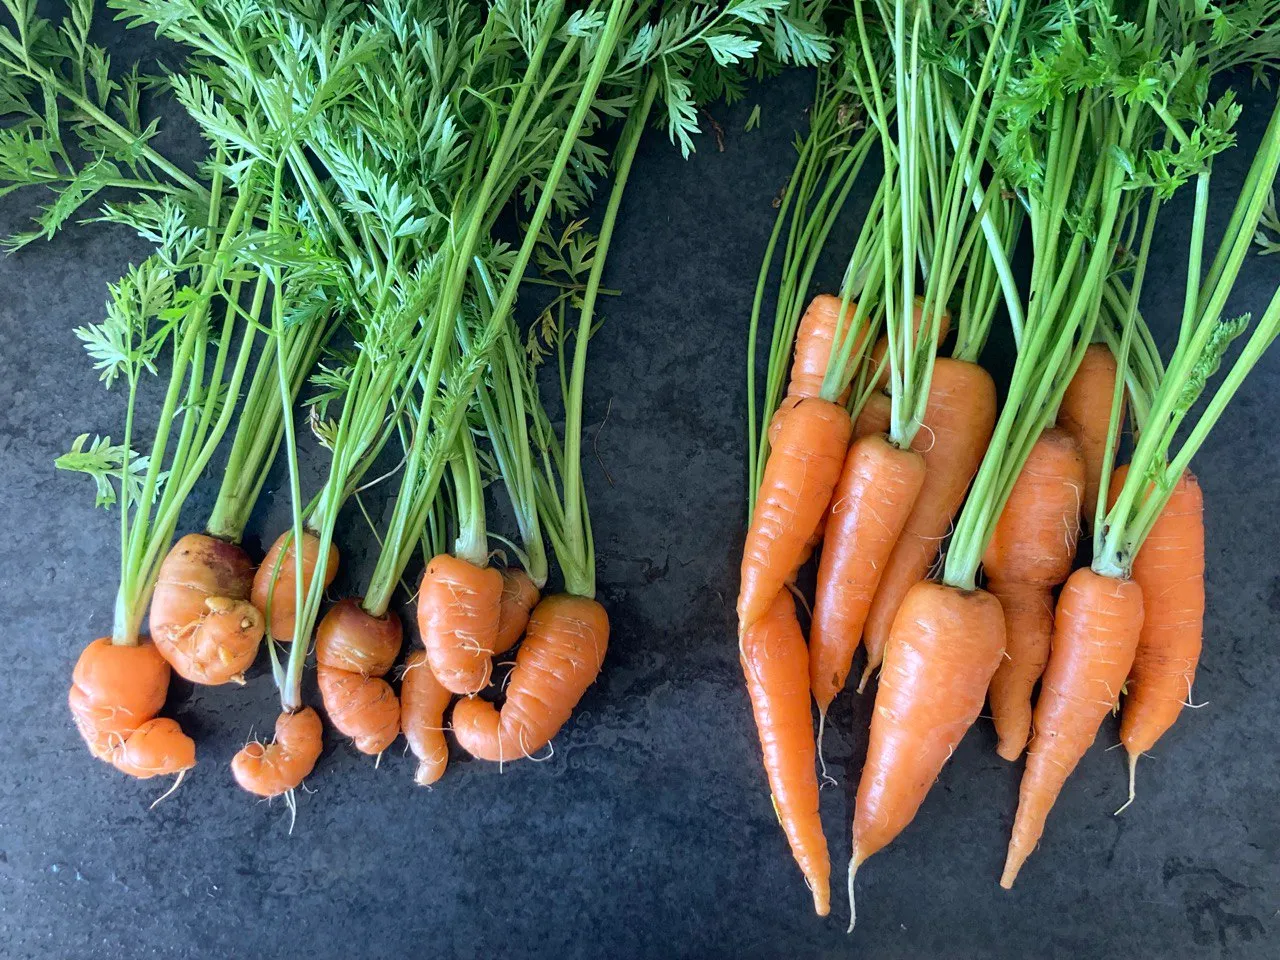
The carrots on the right of the photo, were grown in the table-garden. For this variety of carrots, a depth of 20 cm or more is needed.
The carrots on the left were seedlings removed when I thinned out the table garden. I thought it was wasteful to throw them away, so I planted then in a plastic container with about half the depth.
I was not surprised that they looked ill-shaped because I knew that carrots need loose rock-free soil and enough depth to grow. However, I figure it was better to get mis-shapen carrots than to throw away the seedlings.
Lessons learnt
-Plant carrot with adequate space in between seedlings - at least 4-5 cm apart
-Plant carrot with sufficient depth for them to stretch and grow - at least 20cm deep
Healthy carrot drink
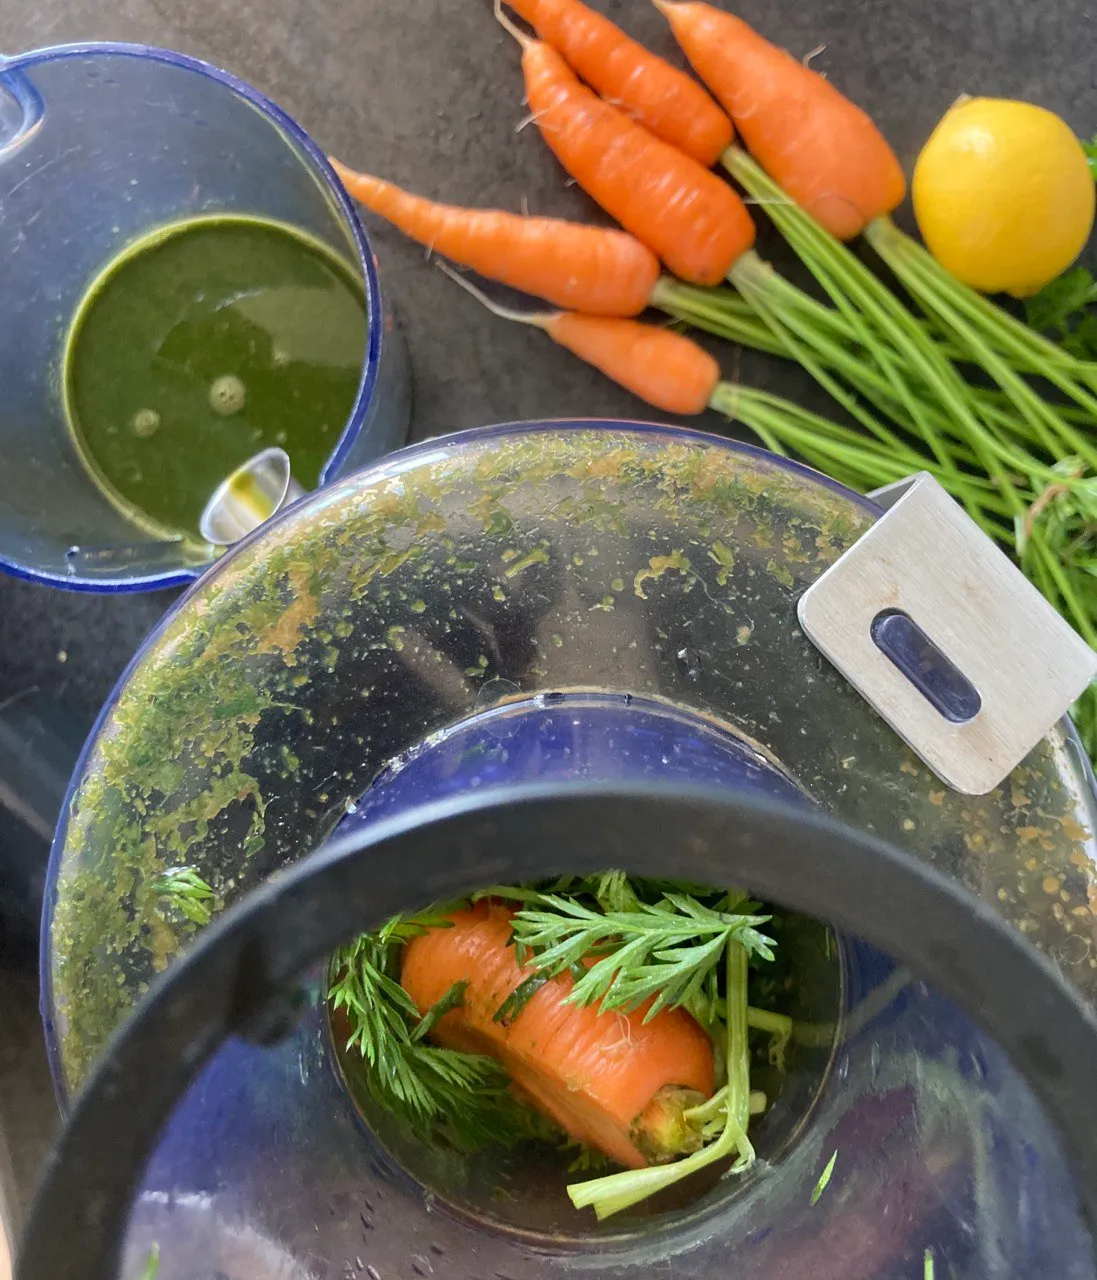
- Curled, straight carrots and carrot tops (which are also edible) were thoroughly washed and placed in a juicer. (An apple can also be added.)
- Add lemon juice to taste.
.
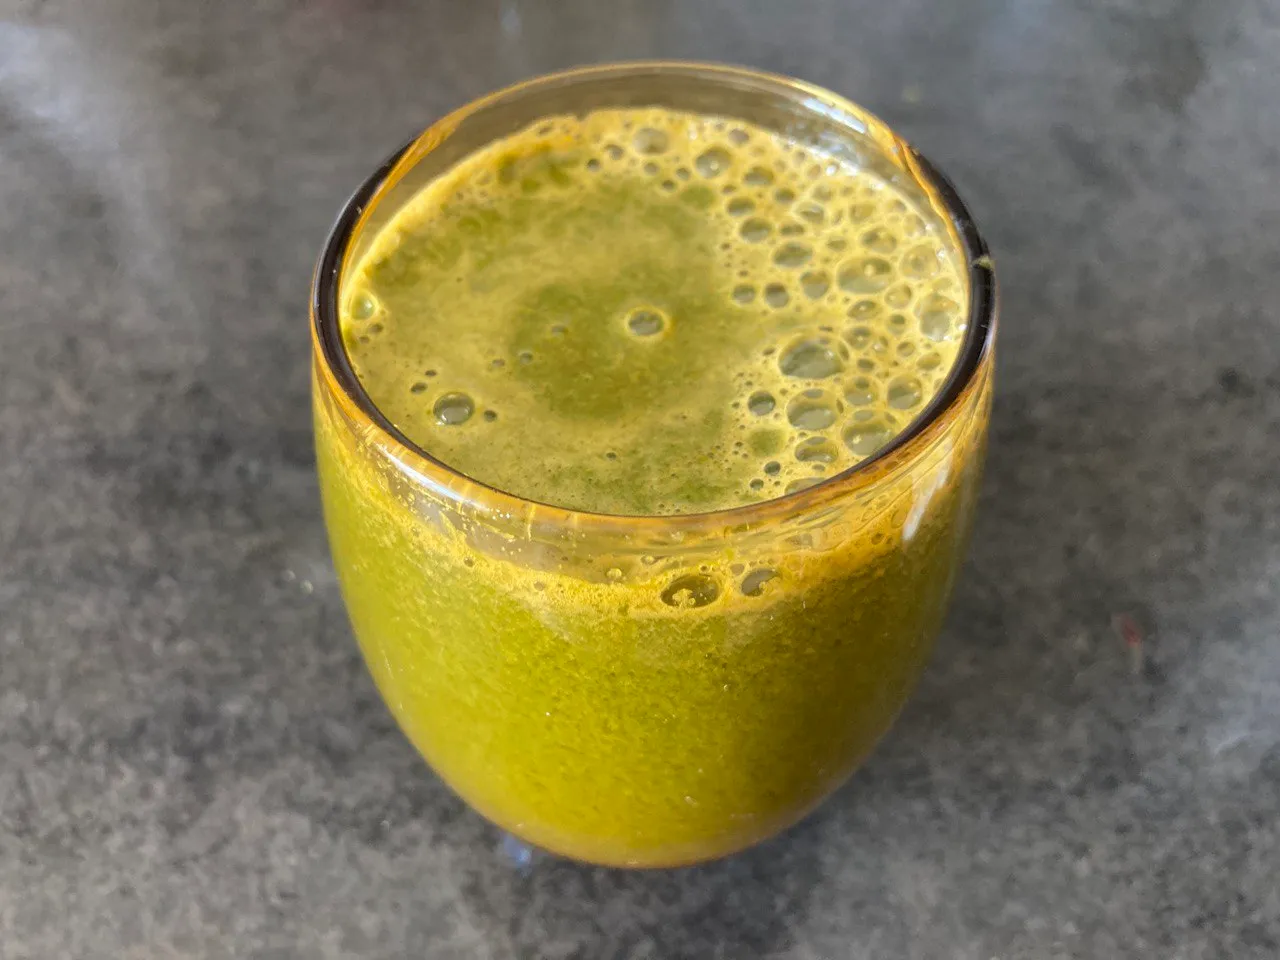
A healthy and tasty fresh carrot juice with the carrots tops.
.
Carrots are very versatile and can be combined with many different fruits and vegetables for delicious drinks.
Tomatoes
The tomato plants are looking well. They had many side shoots as the younger plants were not well pruned. Only the indeterminate tomato variety which grows tall needs pruning. I now ensure that side shoots are removed. They are appropriately called suckers as they demand or suck a lot of energy out of the plants - preventing fast and plentiful harvests.
If not remove, a whole plant can grow from the sucker.

A sucker in an axil of two stems on a tomato plant
The large suckers removed were place in water. They sprung roots, I placed them in pots and gave them to friends as gifts.

Some tomato plants
The bush tomato plants at the bottom of the photo do not need pruning. As its name suggests, it grows like a bush - the leaves and tomatoes. I have harvested tomatoes a few times. Luckily, I could protect the plants before the birds damaged all the tomatoes.


Lessons learnt
-start the pruning process early in order to maximize growth and production of the tomatoes
-cover the tomato plants with a mesh or other protective cover - to keep away birds
Curcubits
Pumpkin
The pumpkin plants are growing well in the table garden and grow bag. They are climbing the trellis.

I am curious to see how the mini umpkins will grow as usually they are on a vine on the ground. The friendly pollinator bees have been on many visit to the tomatoes and strawberries but I do not think they like the pumpkins. I have seen a few female pumpkin flowers become yellow and fall of the vine.
Self-pollination
I am afraid that I will constantly have beautiful male and female flowers which do not get pollinated - hence no mini-pumpkin. I decided to play the role of pollinator.
Here are the steps:
1.Remove the male flower which grows from the stem of the pumpkin plant;
2.Remove the outer petals to reveal and have access to the pollen;
3.Rub the pollen from the male flower directly onto the center of the female flower which has a bulging fruit at the base.

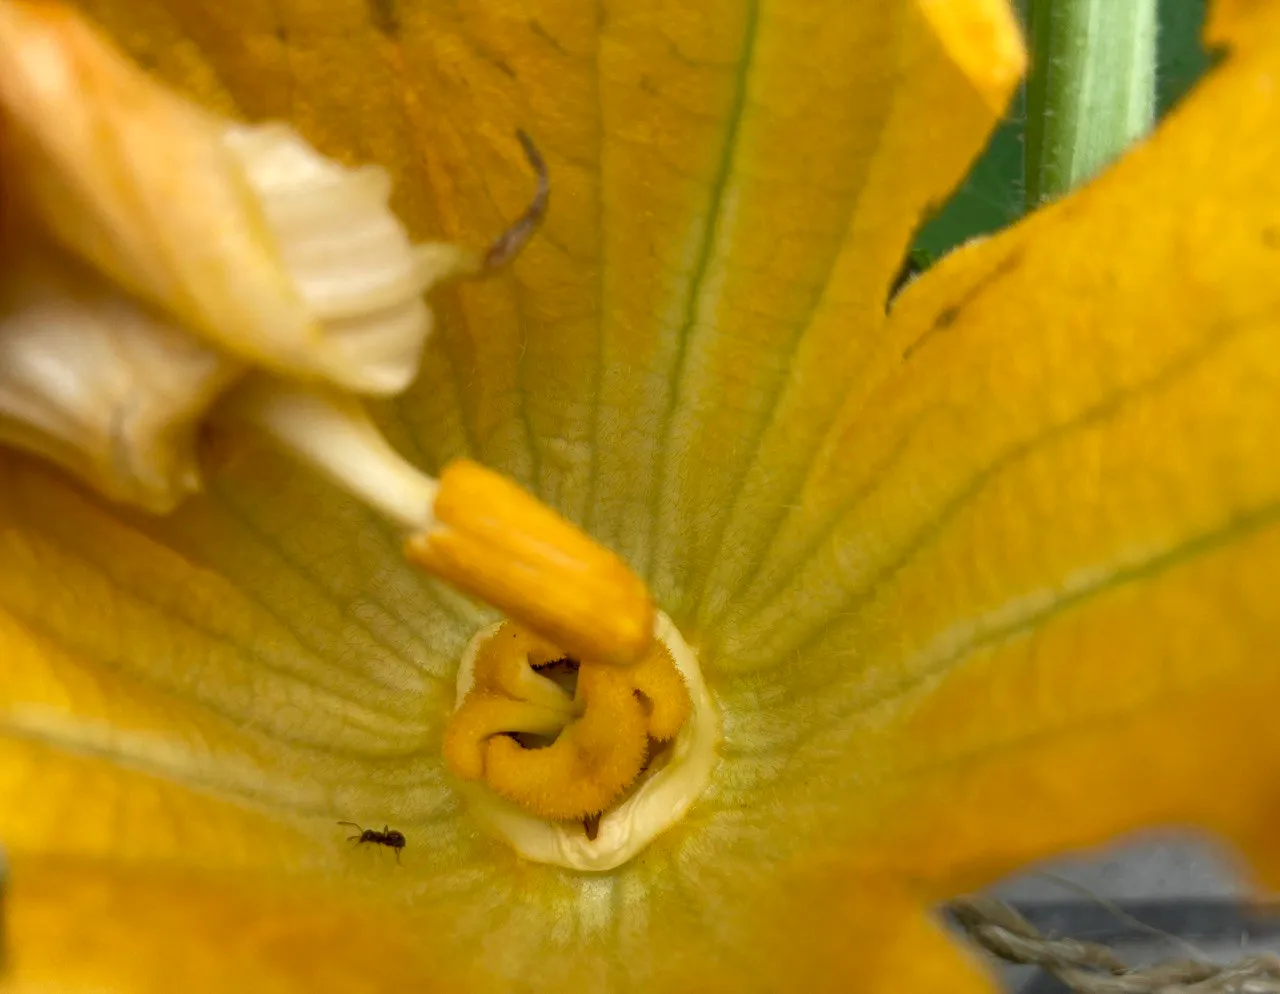
The male flower is now pollinated.
Cucumbers and courgettes/zucchinis
Self- pollination can be done for courgettes/zucchinis as well. It is not necessary for cucumbers whose flowers are both male and female.
The cucumbers and courgettes/zucchinis are growing nicely but downy mildew visited them.
It manifested as yellow dots on the cucumber leaves and a whitish areas on the courgette/zucchini leaves.

Downy mildew on cucumber plant leaves
I read that I could use hydrogen peroxide or baking soda as a possible solution. I only had baking soda at home.
The Solution
-Add 1 part baking soda to 10 parts water.
-Add a squirt of natural dishwashing liquid or oil to act as an adhesive. -Add to a spray bottle.
-Spray on plants.
This mild solution is an all purpose fungicide and pesticide which can also be used once per week to keep away cabbage worms, aphids and more
Despite the solution - I was afraid that the damage was already done. I should have started earlier. The weather made matters worse as it fluctuates between wet, to warm and humid quite frequently.
After a few days, I decided on another solution. I removed all the affected leaves. I was afraid the plant was suffering and that the mildew would affect its production. That was a good decision, I have since reaped one mini cucumber and 2 courgettes. New leaves have grown without the yellow spots.
Lessons learnt
-remain proactive and observant to identify issues such as pests etc. on a timely basis and find the best solution as quickly as possible.
-removing problem leaves early allows the plant to put energy into growing new leaves for a healthier plant
Garlic
After what seemed like forever (December until now) – garlic harvest time finally arrived. A few were planted in March using the vernalization process. I can no longer differentiate between them and those planted in December. There were 25 plants and I harvested approximately half the amount in garlic bulbs. There were mostly small bulbs but I am still very happy as it was a great first attempt.

Peppers
Last but not least is an update on the bell peppers. I am pleased that all 4 plants are bearing fruit!

I took seeds from a store-bought pepper, so the outcome was uncertain as there are many GMO varieties.
In general, my small balcony garden has been productive thus far. I think I am very lucky that the plants receive sunlight more than 8 hours per day. Although a small garden - I still have similar chores and issues as a big garden - just a different scale. However, the labour is not in vain.

Table garden in the sun
I am very happy as my garden is my little haven, here in the city.
All photos are taken by me with an iPhone 6S.
This is my first post in the @homesteading Community