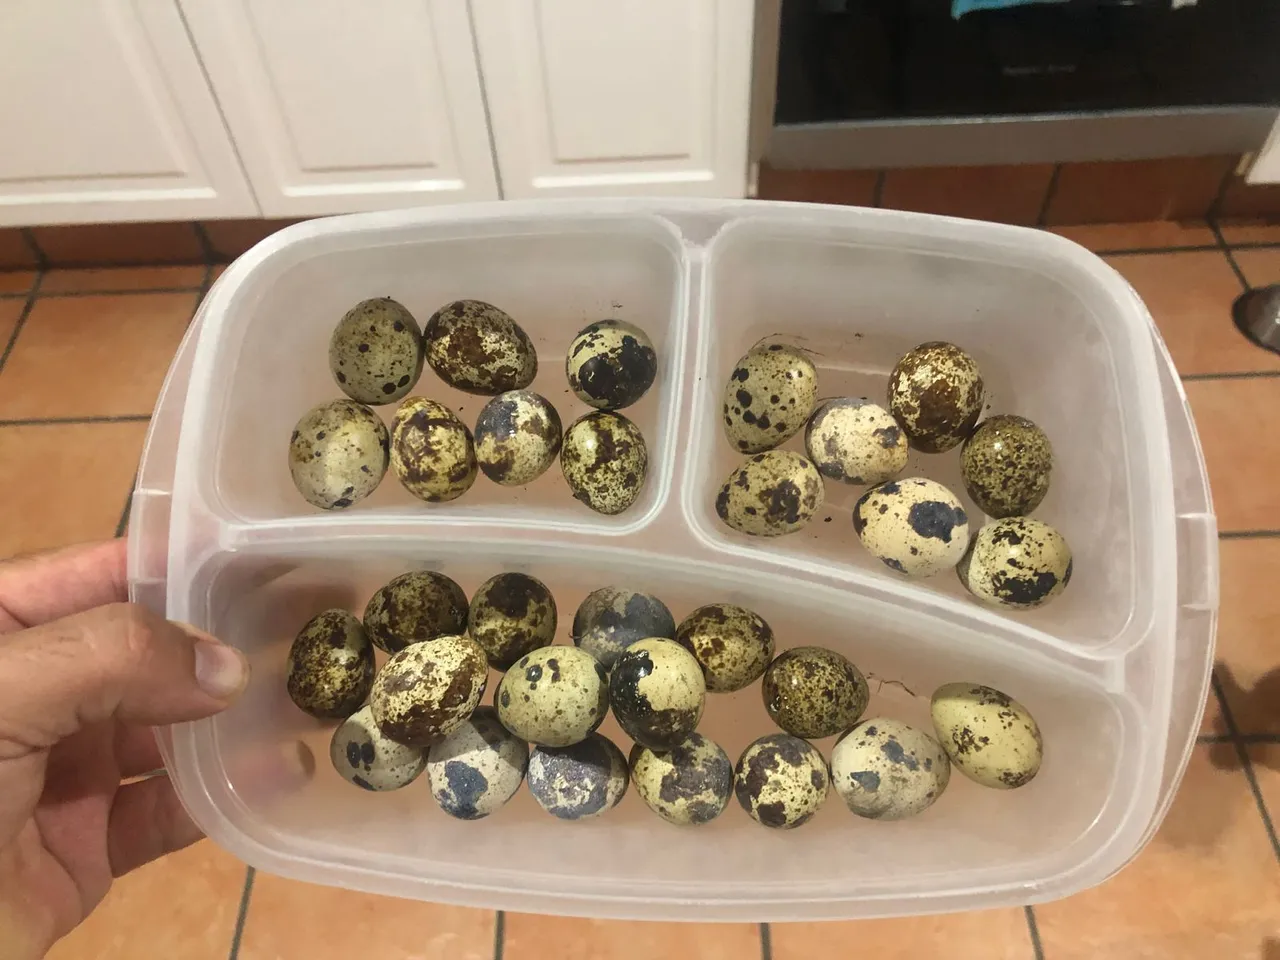
Eight months ago I shared a few posts about my Quails. These posts were mostly oriented into how I built their small habitat. This post will follow the same lines but with a budget oriented point of view.
If you want to check out my previous posts about this topic, here you go:
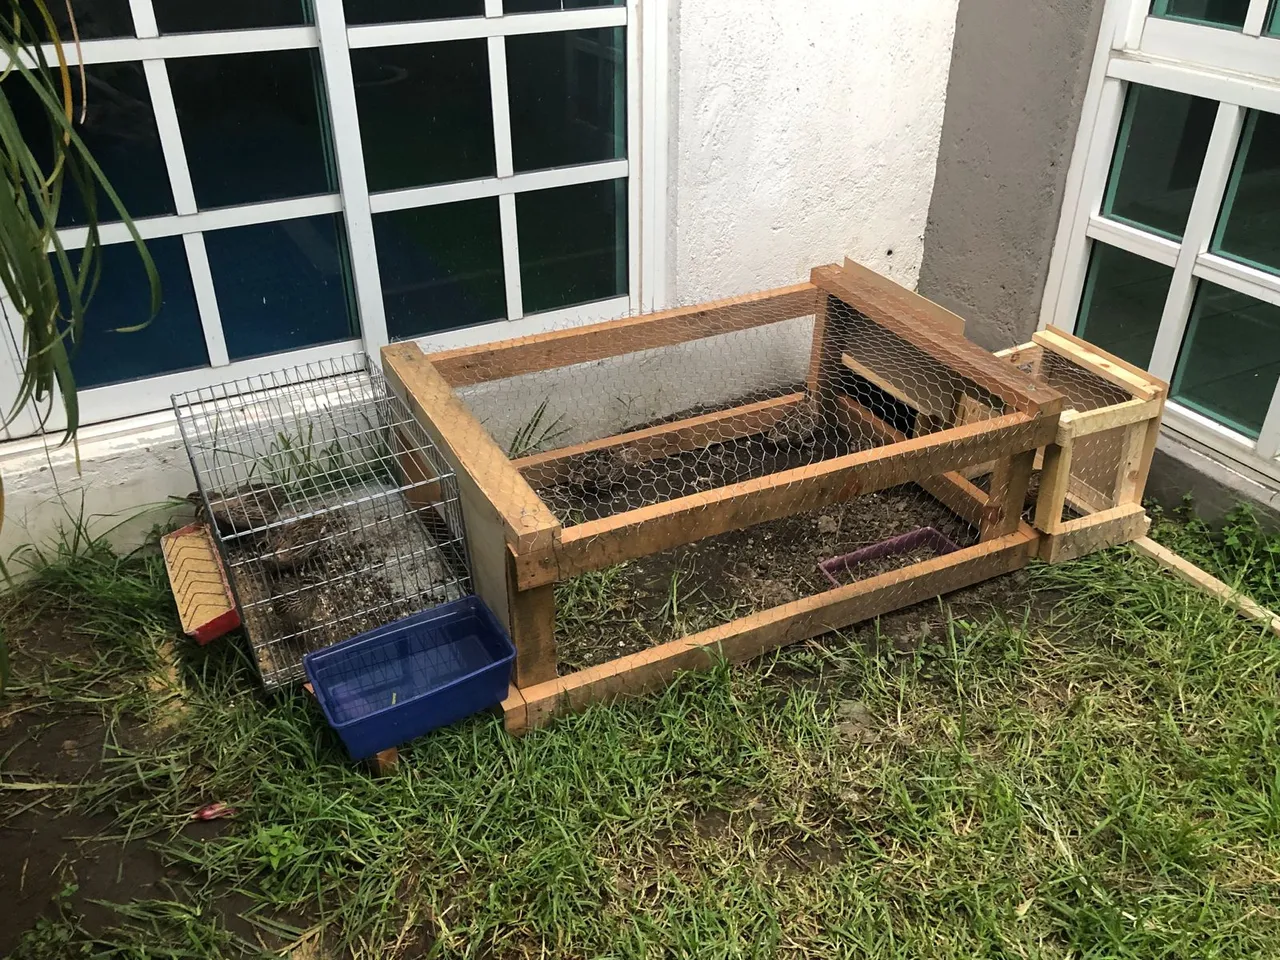
The small habitat I built for my quails 8 months ago was not efficient. Getting the eggs out was a pain in the ass and cleaning it was almost impossible. It was the first time I build something like this and I clearly was not ready for this easy yet experience-requiring endeavor. I also built it with scrap wood from the local carpentry, so the wood was of the worst quality.
But this time I was ready, I have some experience points regarding carpentry and habitat building, and I was decided to spend some money for this.
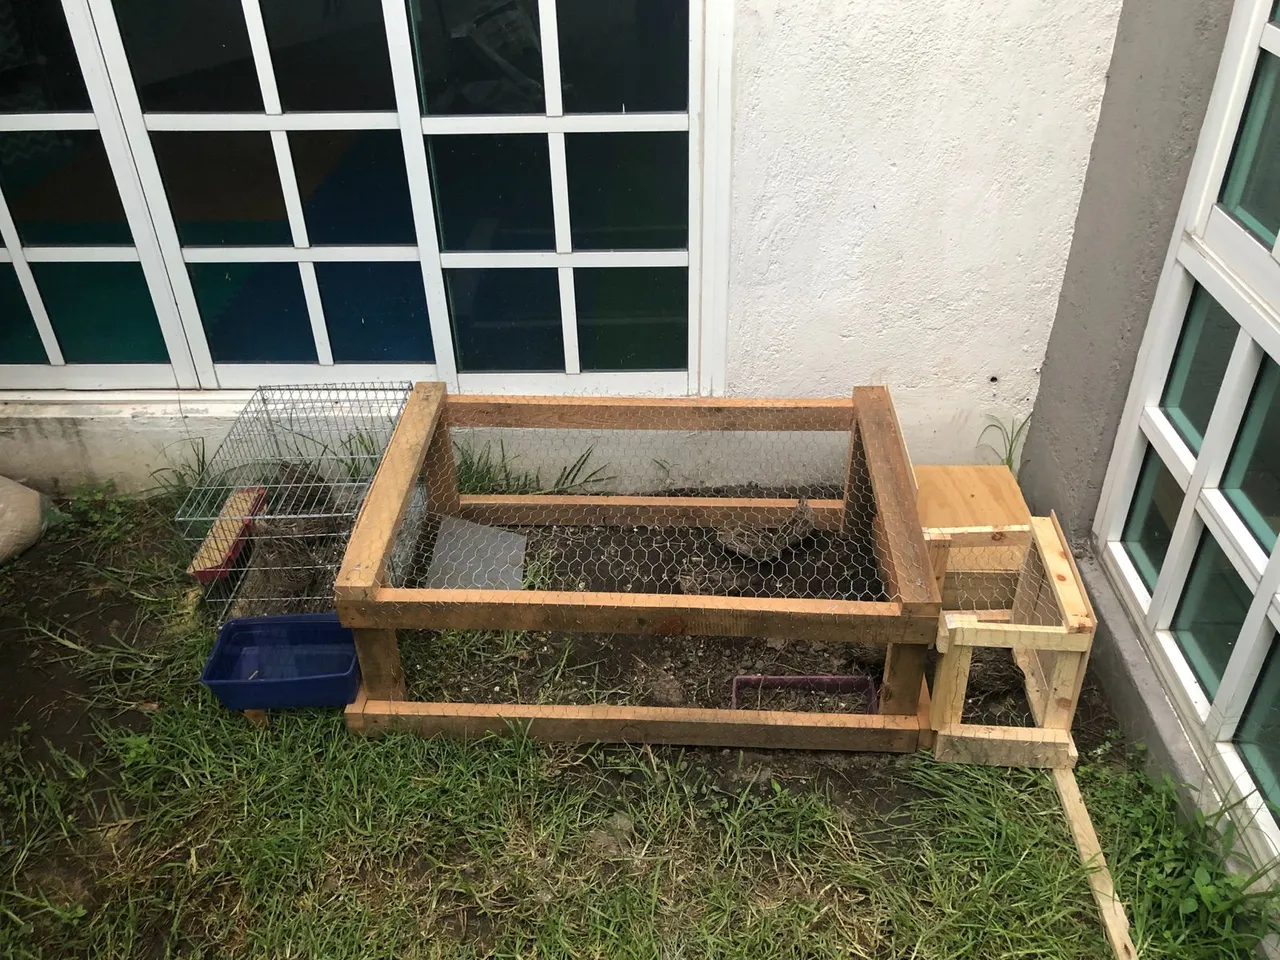
The end result is amazing and I'm pretty proud of it:
But let's deep dive into the process, shall we?
To build a Habitat like the one you see here you will need:
- 6 wood shims of 2.40m long - $6 each
- 40 Screws, 3 inches - $0.50 each
- 40 Nails, 2 inches - $0.10 each
- 50 Nails, 1 inch - $0.05 each
- 6sq meters of Chicken wire - $3 per M2
- Hammer - $15
- Slotted screwdriver - $8
- Quail Cage - $25
- Sand Box - $8
- Wood panel - $6
- Feeder - $5
- Water container = $4
- Pen and ruler - $2
- Simple Saw - $20
- 1L of Glaze - $15
- Brush for wood - $8
The process
First of all, the prices above are from Home Depot in Mexico. You can get them for cheaper prices in your local store or more expensive depending on where you live, but odds are you can build something like this for under $100 USD and you can start your journey into homesteading and self sustainability.
I got all the wood shims and panels there, and you only have to worry about how big you want your pen to be, and to calculate the measures correctly. You don't want to end up missing one shim, or with two extra shims at the end of your odyssey.

Then it's very important to hand draw a plan of what you want to built and how you want to built it. It's not enough to just imagine it, because things work differently in our minds than in practice. I didn't do a diagram the first time I built the quail pen and I ended up regretting it.
So, scheme out what raw materials you have and what you want to build, draw it out and then start measuring and cutting. You definitely want to use a ruler or anything you can get your hands on to measure correctly.

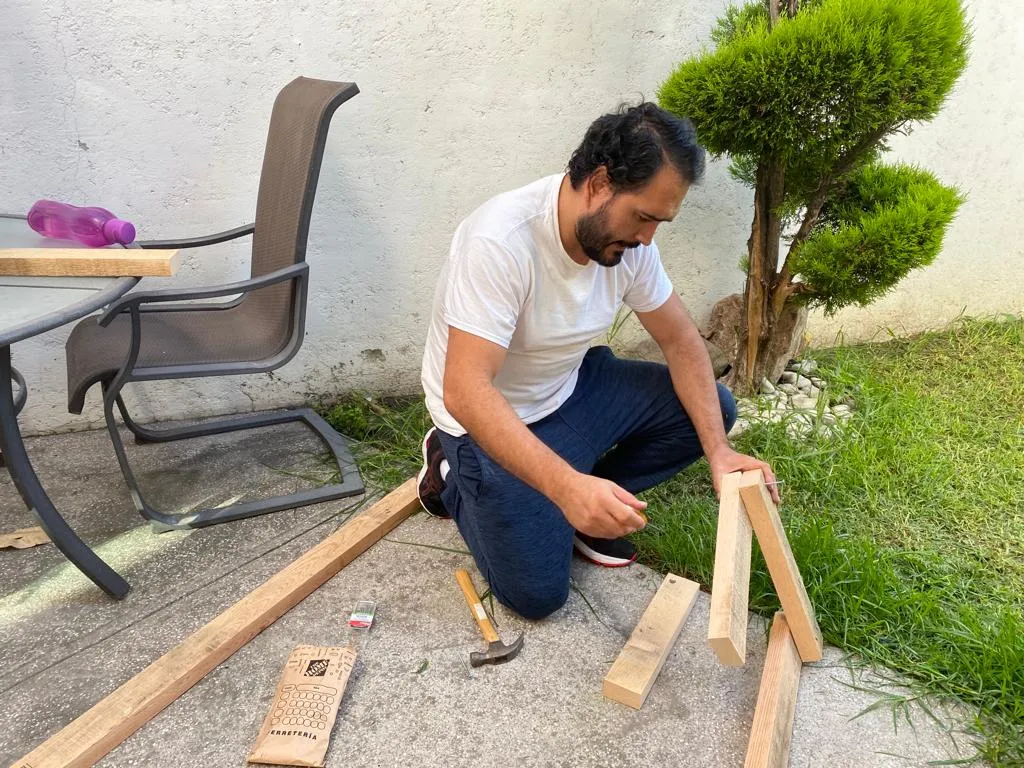
You must, and I can't stress this enough, must cut everything beforehand, don't cut and nail, cut and nail by steps. You have to have it all cut and ready so you can check if you missed anything.
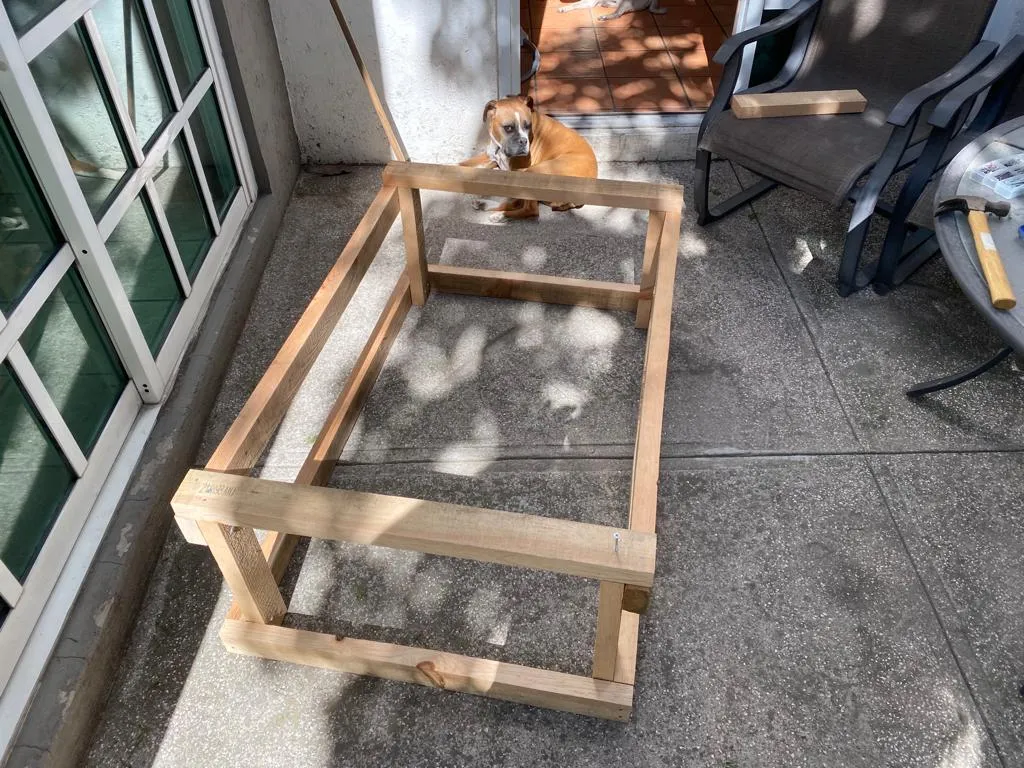
I did this process in my backyard in a concrete floor, but if you have a work table then you will have way fewer back issues and cutting/nailing obstacles than what I experience (lol).
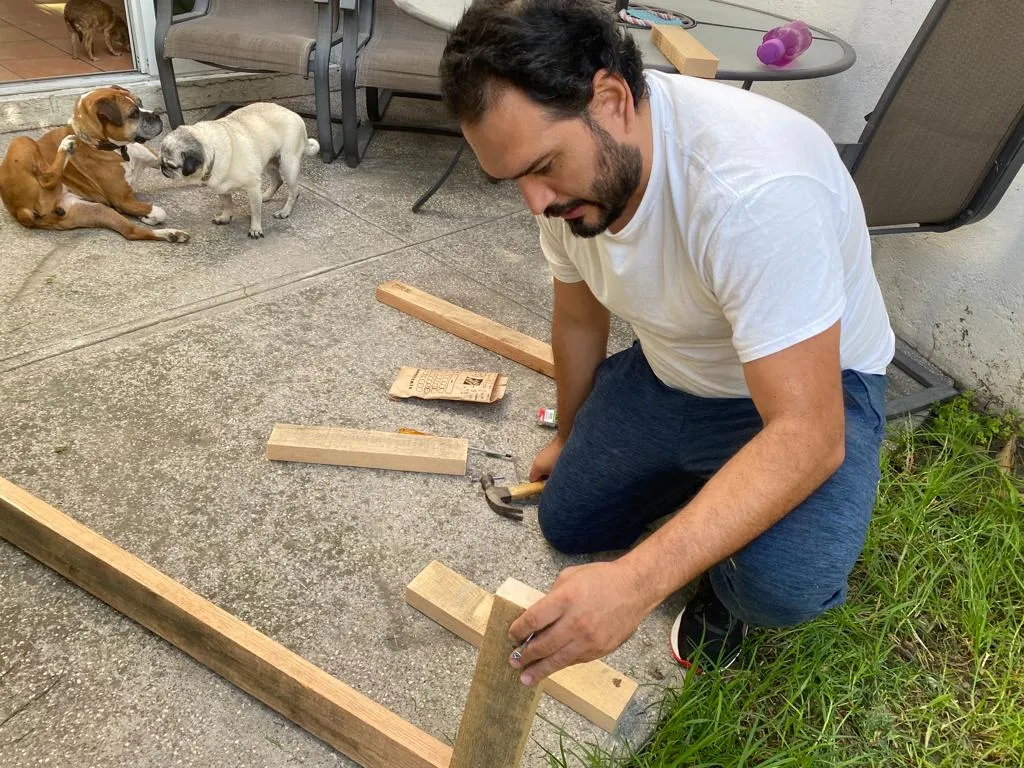
Extra points if you doggos watch your process. They get to learn and you get to have two useless assistants.
You have to construct this by steps or sections, you don't want to handle one corner altogether and then add the other sides, you actually want to nail one full side, then the other, and then just merge them into one once both structures are solid.

Having the two sides built, adding the connectors is easier. One thing you have to determine, is where you want your structure to be supported, and then nail the other shims horizontally. If you notice here, if I carry the pen from the vertical shims, the whole structure will endure any movement I make, because the shims are attached at the bottom directly into the vertical shim, and from below.
Then you have to add the chicken wire, which is probably the biggest pain in the ass of the whole process.
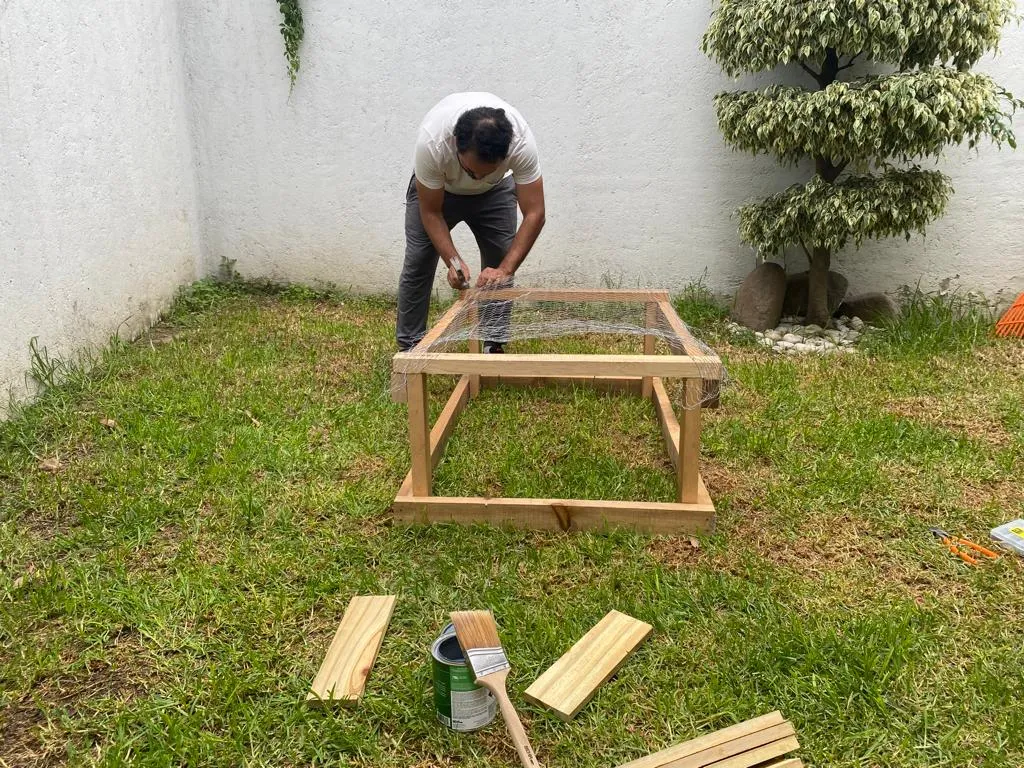

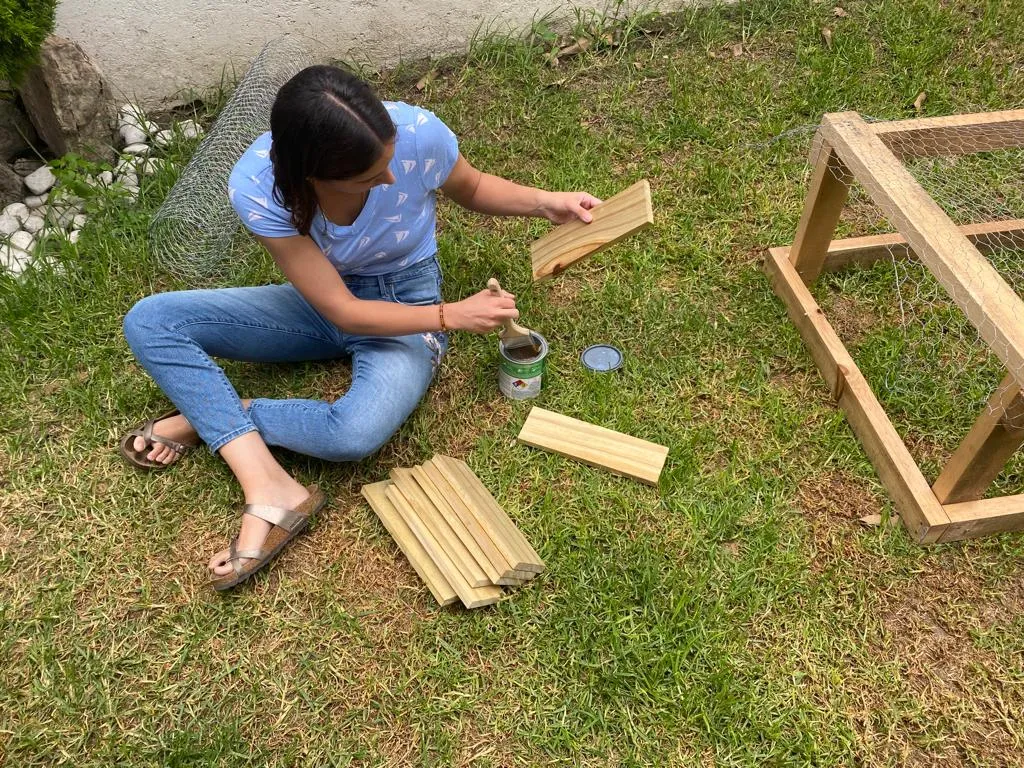
Bonus points if your girlfriend helps you glaze the wood so the structure lasts longer, especially if the sun and the rain are going to be constant visitors of your pen. Glazing your wood will 10x the lifespan of your wood. If you notice, we glazed the wood before building their little nesting house, and then we did it again once it was built. Adding two glazing hands to it makes the structure withstand any rainy season without the wood rotting.
Don't forget to take some pics for Hive of the process, this is extremely important (hehe).


Pick a side of your garden where there's sun during most of the day. Don't worry about your quails roasting, that's why you bought some wood panels, to provide them with shade during the day. But you want direct sunlight, fren, these animals need to have access to sunlight whenever they want to.
Well, I had to remove this amazing elephant's foot plant. Don't worry, I replanted it somewhere else in the garden.

First meal in the new pen. They are happy - and they were extremely hungry. One thing about quails an birds in general is that they need a constant sustenance inflow, and they always need water. I didn't take this into account so during the whole 6 hours building this took me, I forgot to provide them with food and water, so when I inaugurated their pen and let them in, they went straight to the feeder.
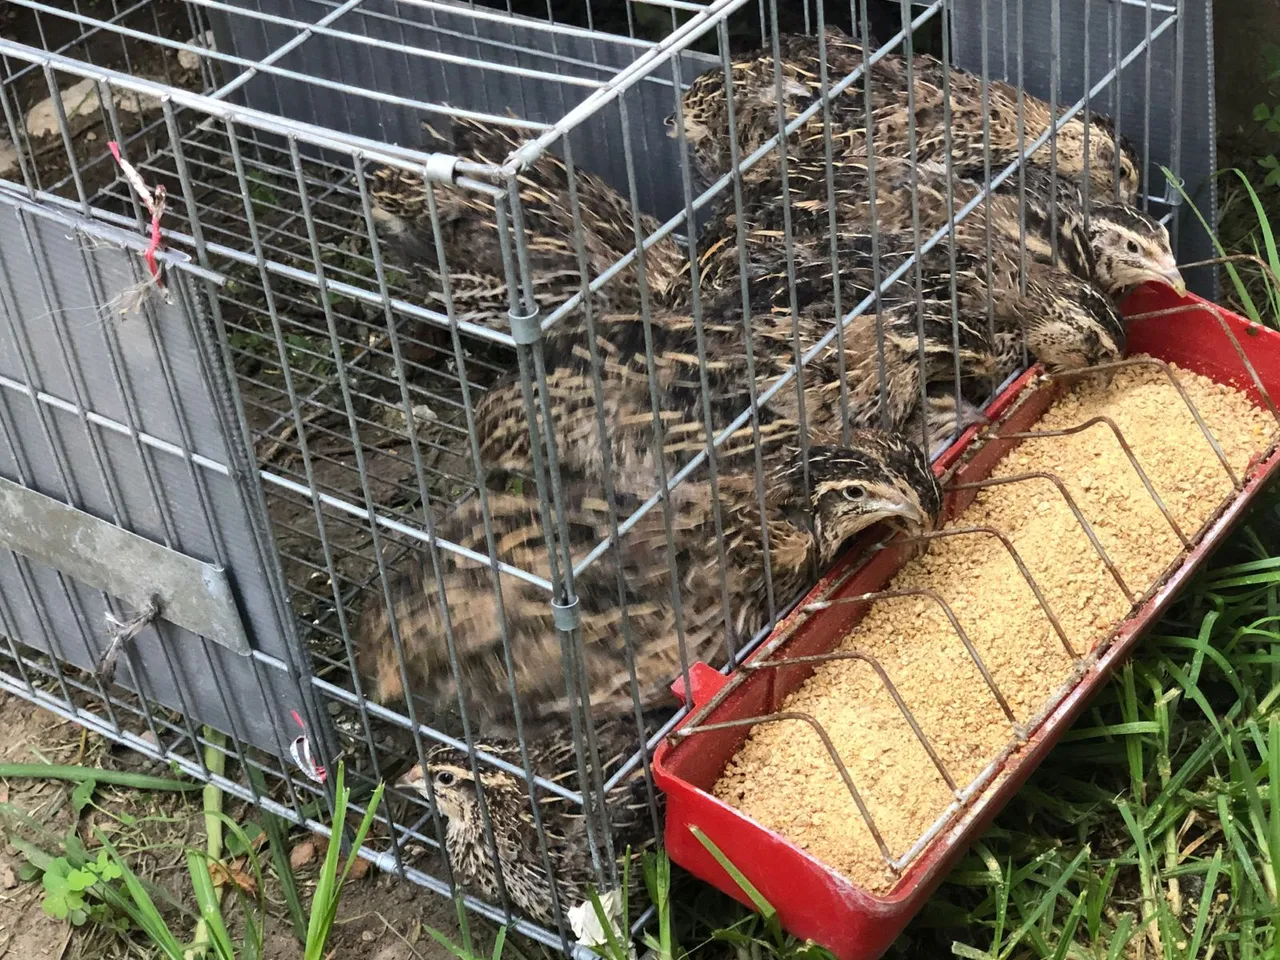
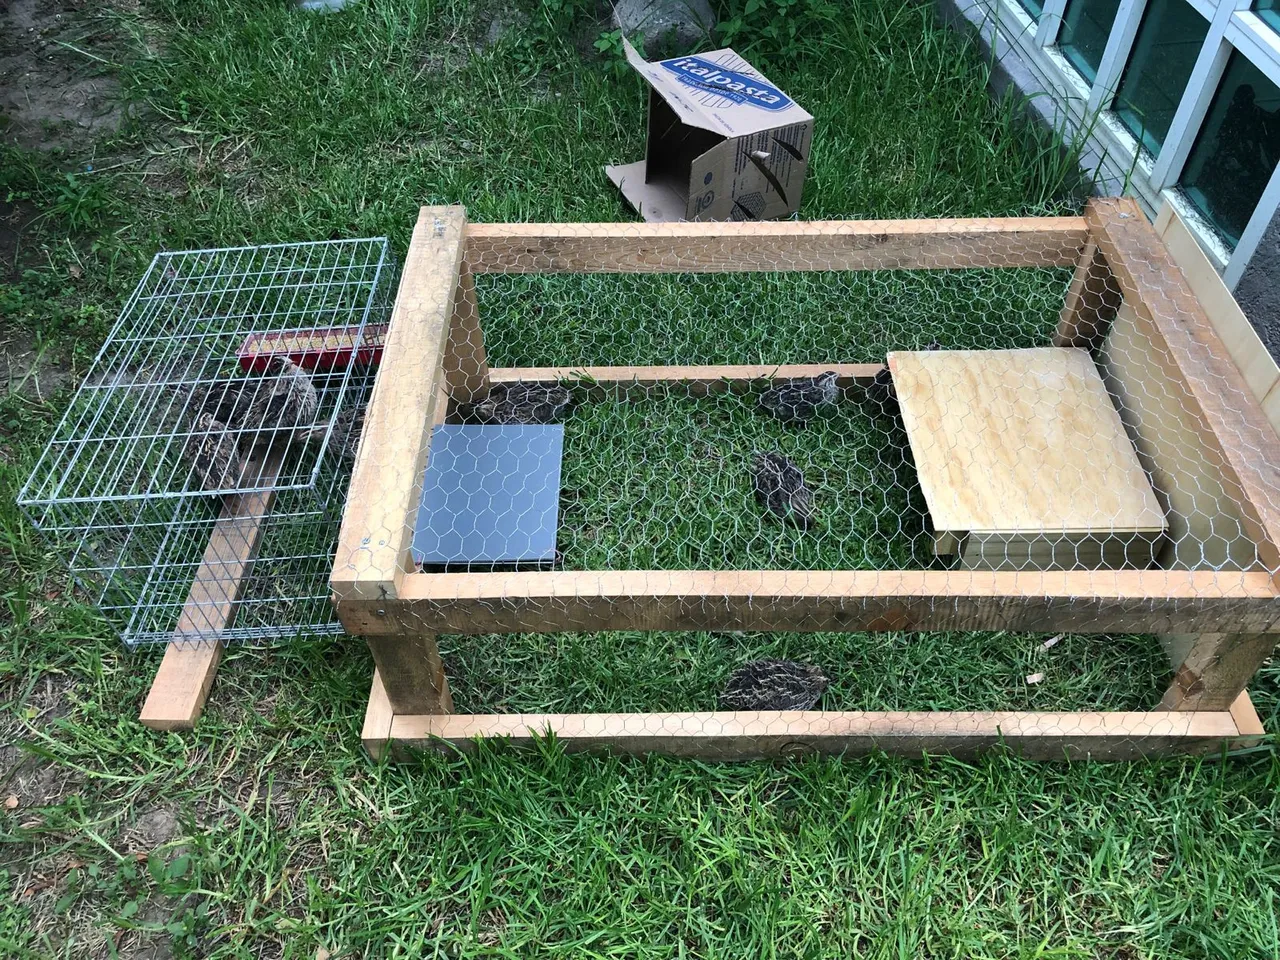
In the left side, there's the cage with the food and water.
On the right side, you can see their sandbox area, and behind the sandbox area there's the nesting house - they need something with a low ceiling to lay eggs in a closed, cozy area, they just feel better and lay eggs more frequently when they feel secure.
Both sides of the cage are removable, this way I can take the eggs that are inside the main structure.
The cage is connected to the main recreational structure in the middle, but it is removable so I can move the Quails into the cage, close it, and then move the main structure so I can clean the mess.
The nesting house and the sandbox are also connected to the recreational structure, but they are also fully removable.
And thus, the Quails for a massive upgrade!
If you have Quails I would appreciate any feedback you may have, and if you want to have Quails, leave a comment with any questions you may have and I will do my best to answer them!
I have ten Quails, and all I can say is...
It's worth it, frens