Retrato a lápiz / pencil portrait
Hola amigos / Hello friends
Good morning everyone, today I share with you the process for the realization of a pencil drawing of a face. It should be noted that there are many techniques to make a pencil drawing and each artist adapts to the one that gives the best results. I hope you like it.
Here I show you the drawing process:
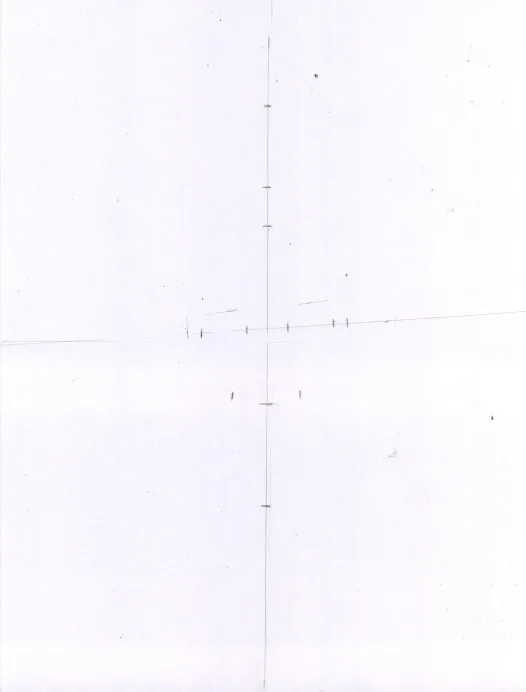
En este caso se realiza con el uso de la "cruz" . La línea vertical divide el rostro en dos mitades. La línea horizontal es la línea de los ojos y le di una inclinación de aproximadamente 10°. sobre estas líneas se colocan las marcas para ubicar la barbilla, la línea de la nariz, el ancho de la misma, los ojos, la altura de las cejas, el inicio del cabello, el alto y ancho de la imagen. Todas estas proporciones fueron tomadas de la imagen con el compas de reducción
The first step is to make the lace, to obtain the proportions of our drawing. In this case I made it with the use of the "cross". The vertical line divides the face in two halves. The horizontal line is the line of the eyes and I gave it an inclination of approximately 10°. On these lines are placed the marks to locate the chin, the line of the nose, the width of the nose, the eyes, the height of the eyebrows, the beginning of the hair, the height and width of the image. All these proportions were taken from the image with the reduction compass.
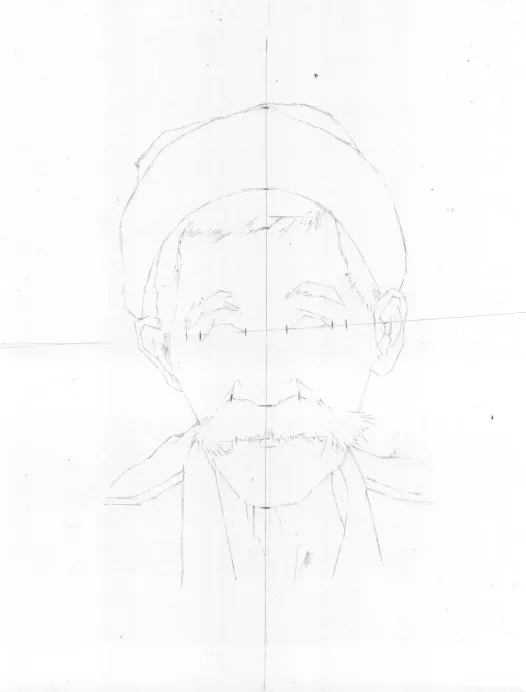
Teniendo como referencia las líneas del paso anterior, se realiza el dibujo de los componentes del rostro sin detalles de forma abstracta.
step 2: drawing contours (HB pencil)
Having as reference the lines of the previous step, the drawing of the components of the face without details is made in an abstract way.
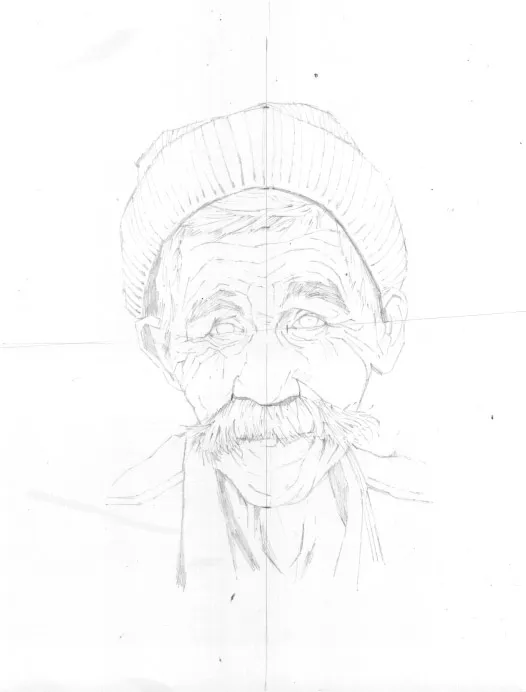
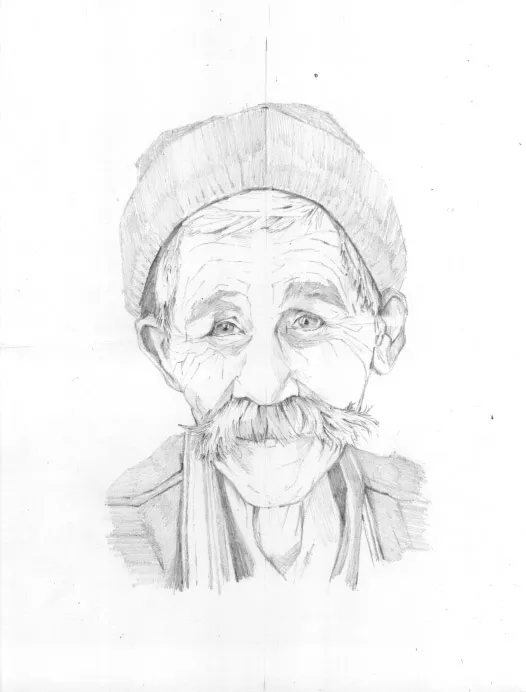
Se realiza un dibujo más detallado. En este paso se definen las zonas de luz y las sombras, y se define un poco el cabello
Step 3: Outlining (HB Pencil)
A more detailed drawing is made. In this step the light areas and shadows are defined, and the hair is defined a little bit.
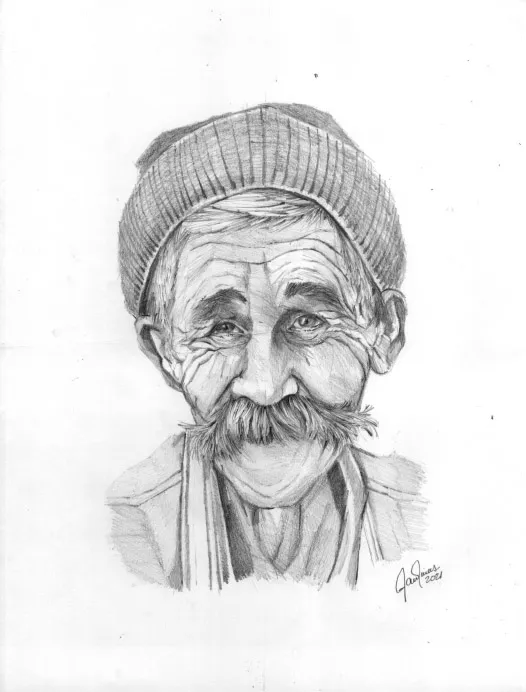
Step 4; Overall assessment (Pencil 2B)
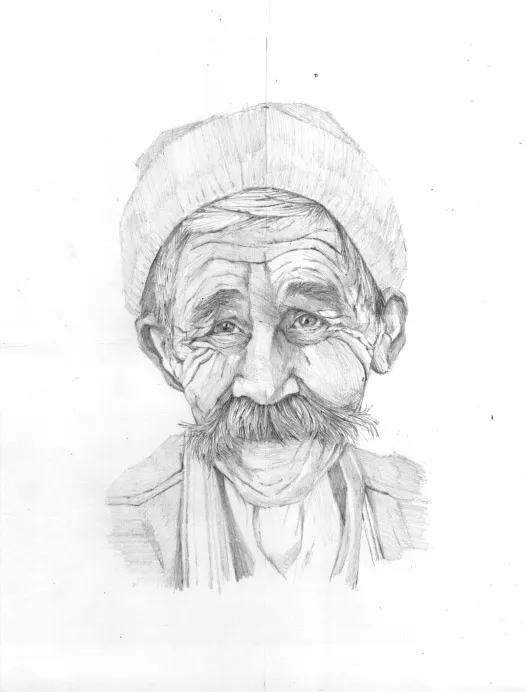
step 5: Assessment by area (Pencil 2B)
Step 6: Final shading ( Pencil 9B)
Hoja blanca tamaño 8.5 x 11 in
Lápices HB, 2B, 9B
Borrador
Compas de reducción
Foto de referencia
Materials used:
White sheet size 8.5 x 11 in
Pencils HB, 2B, 9B
Eraser
Reduction compasses
Reference photo
/center>
imagen de referencia
Gracias por ver mi publicación
Thank you for viewing my publication