Este mi primer video maquillándome... ¡Ay Dios mío!
¿La verdad? estoy un poco nerviosa... No es lo mismo un paso a paso a través de fotos que un vídeo... Pero, ¿Qué es lo peor que puede pasar? ¡Que el vídeo no les guste! 😁
Así que como dice una querida amiga... ¡Sin miedo al éxito! Aquí vamos...
Este maquillaje lo vi hace bastante tiempo atrás en la web y el día de hoy quise recrearlo a mi gusto.
También se parece mucho a uno de mis primeros maquillajes en Hive.
En el vídeo se muestra bastante fácil de realizar y de hecho así es... Sin embargo todavía no entiendo cómo metí 2 horas en 2 minutos jajajaja...
Esta es mi participación en la iniciativa #10 de @Glowupart.
This is my first makeup video.... Oh my God!
The truth? I'm a bit nervous? It's not the same a step-by-step through photos than a video.... But what's the worst that can happen, that they don't like the video! 😁
So as a dear friend of mine says..... No fear of success! Here we go...
I saw this makeup quite some time ago on the web and today I wanted to recreate it to my liking.
It also looks a lot like one of my first makeovers on Hive.
In the video it looks pretty easy to do and in fact it is.... However I still don't understand how I crammed 2 hours into 2 minutes hahahahaha.....
This is my participation in @Glowupart's #10 initiative.
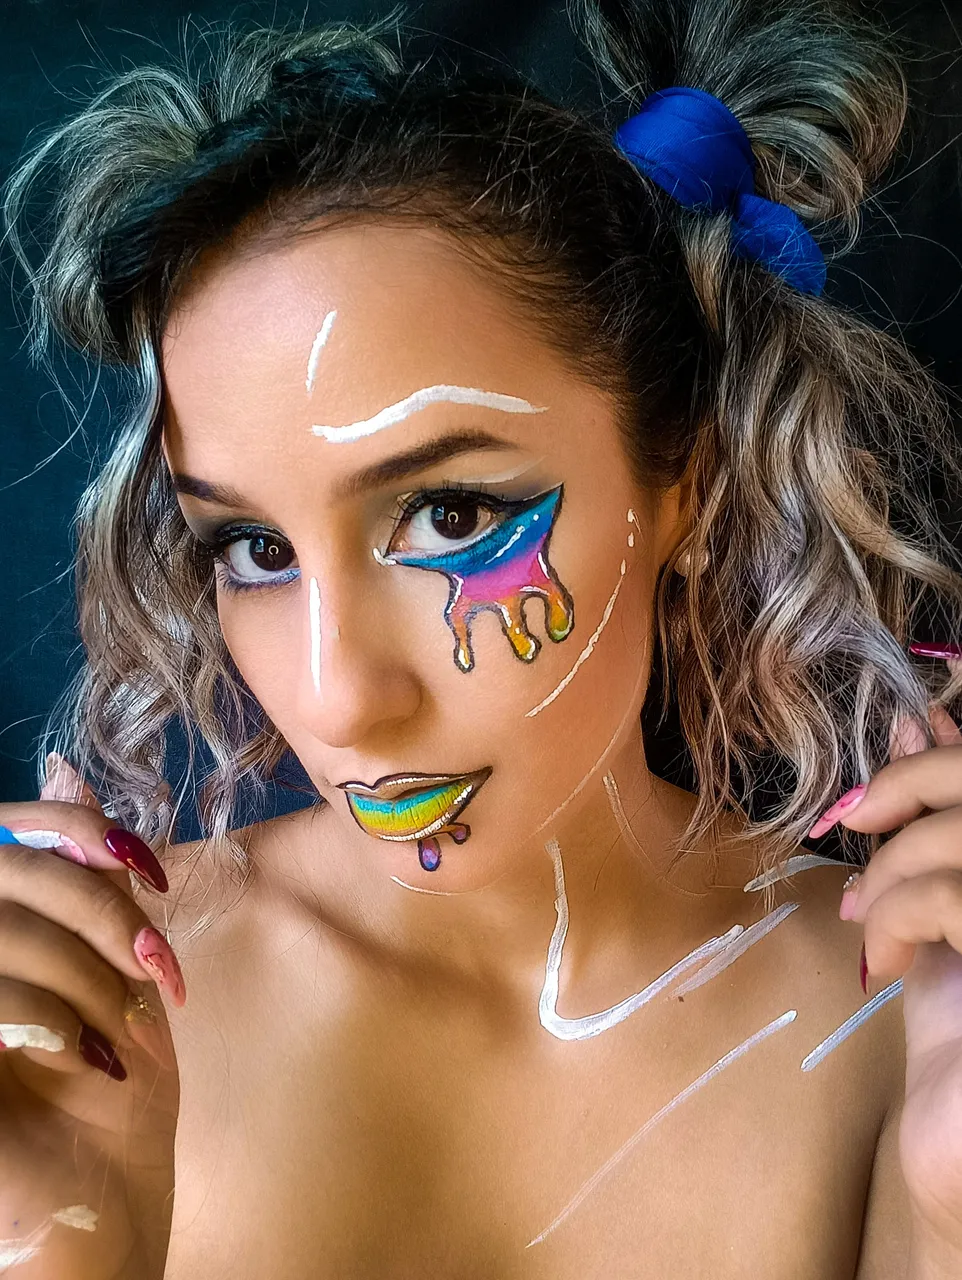
Esto son los pasos, que aunque los vieron en el vídeo, no está de más que se los deje escritos 😊
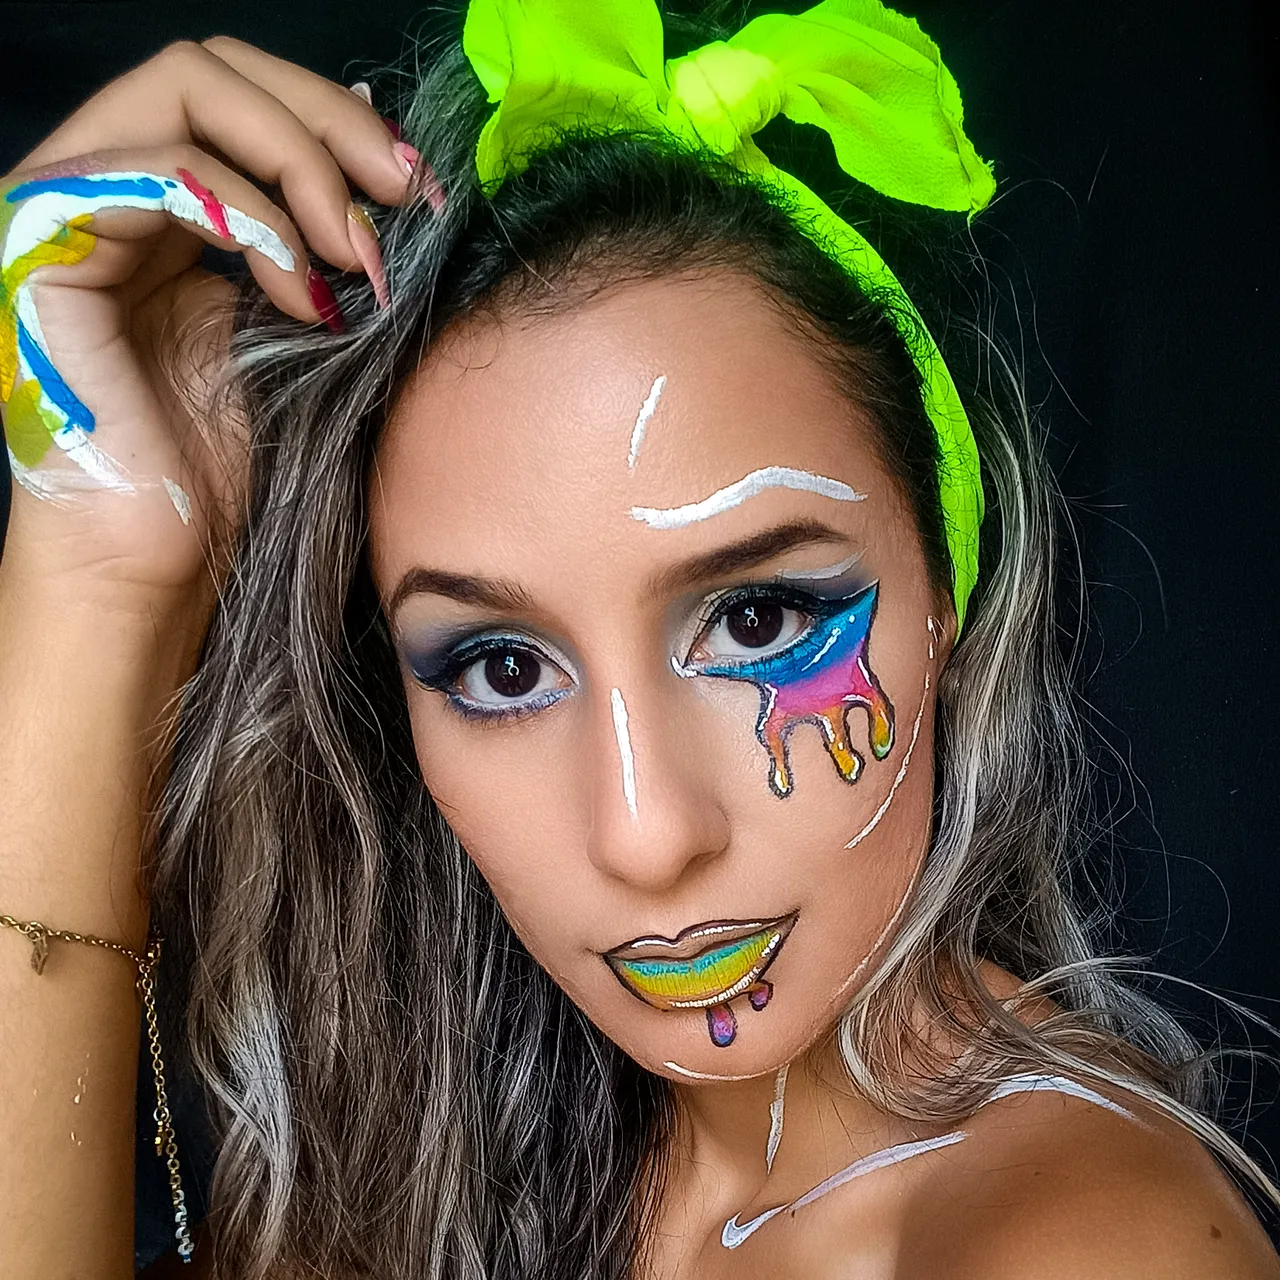
Inicié con el corrector... Lo apliqué en ciertas zonas de mi rostro y lo dejé por un par de minutos para que se asentara el producto. Luego lo difuminé con una esponjita húmeda y dándole toquesitos lo esparci por mi cara.
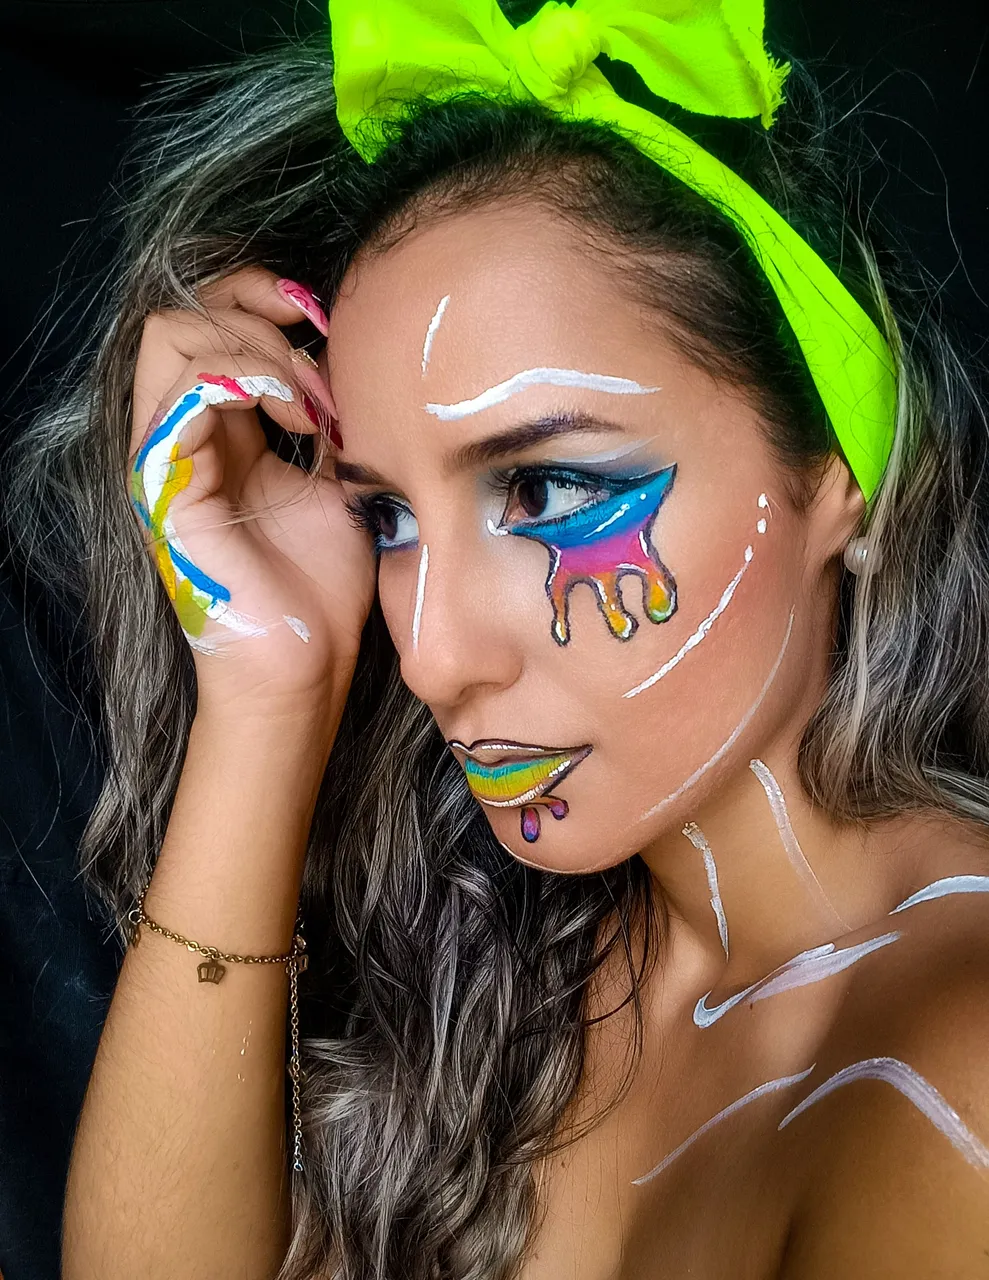
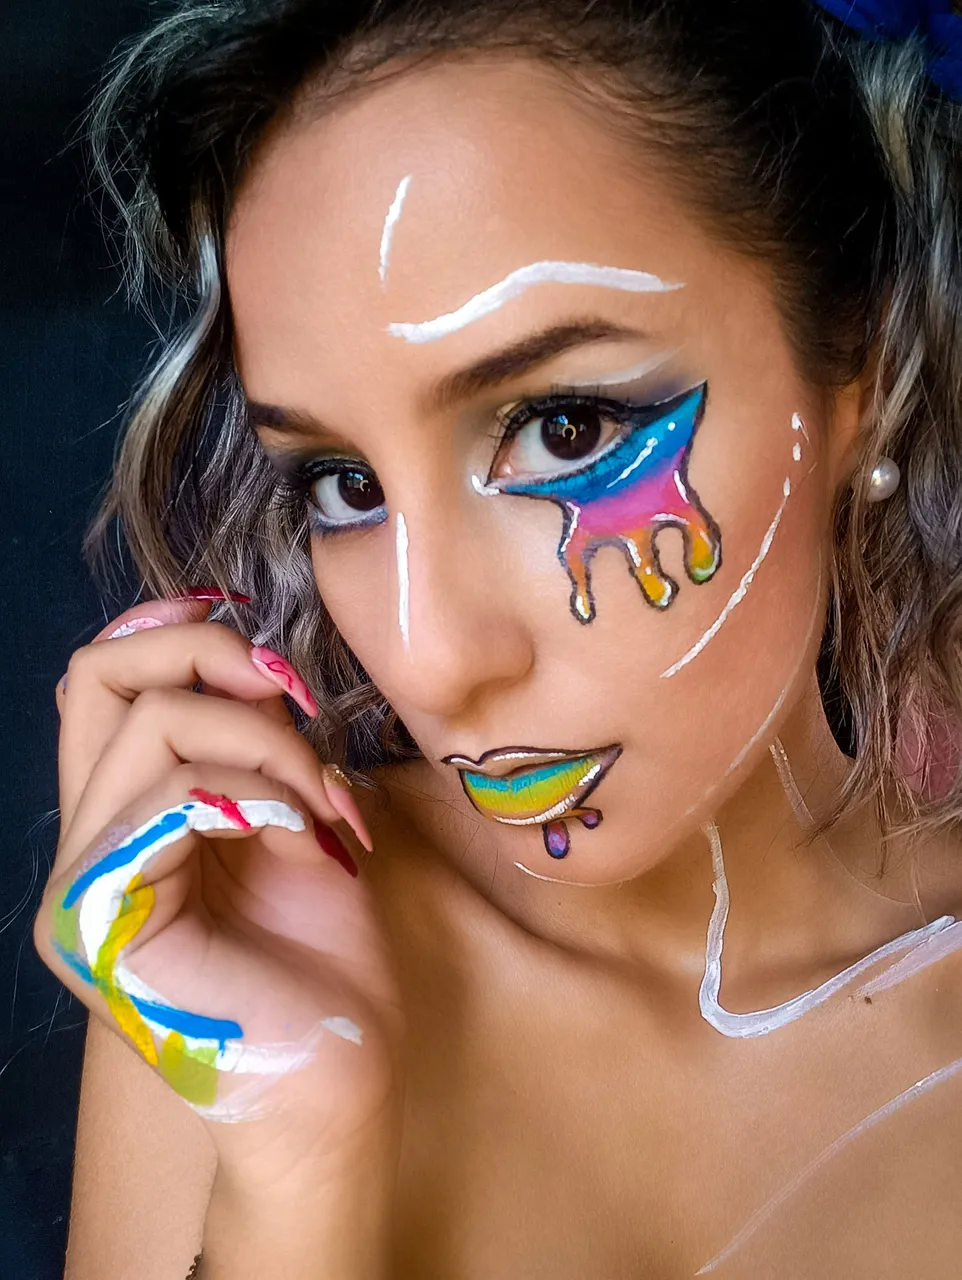
Me centré en los ojos... Escogí esta vez para trabajar la gama de los azules. Empecé con un tono blanco perlado, seguido de un azul claro, uno mediano y así en degrade hasta el final del ojo.
Me realicé un delineado, (Delineado que no grabé porque la verdad es bastante estresante 😁) Apliqué lápiz blanco en la línea del agua.
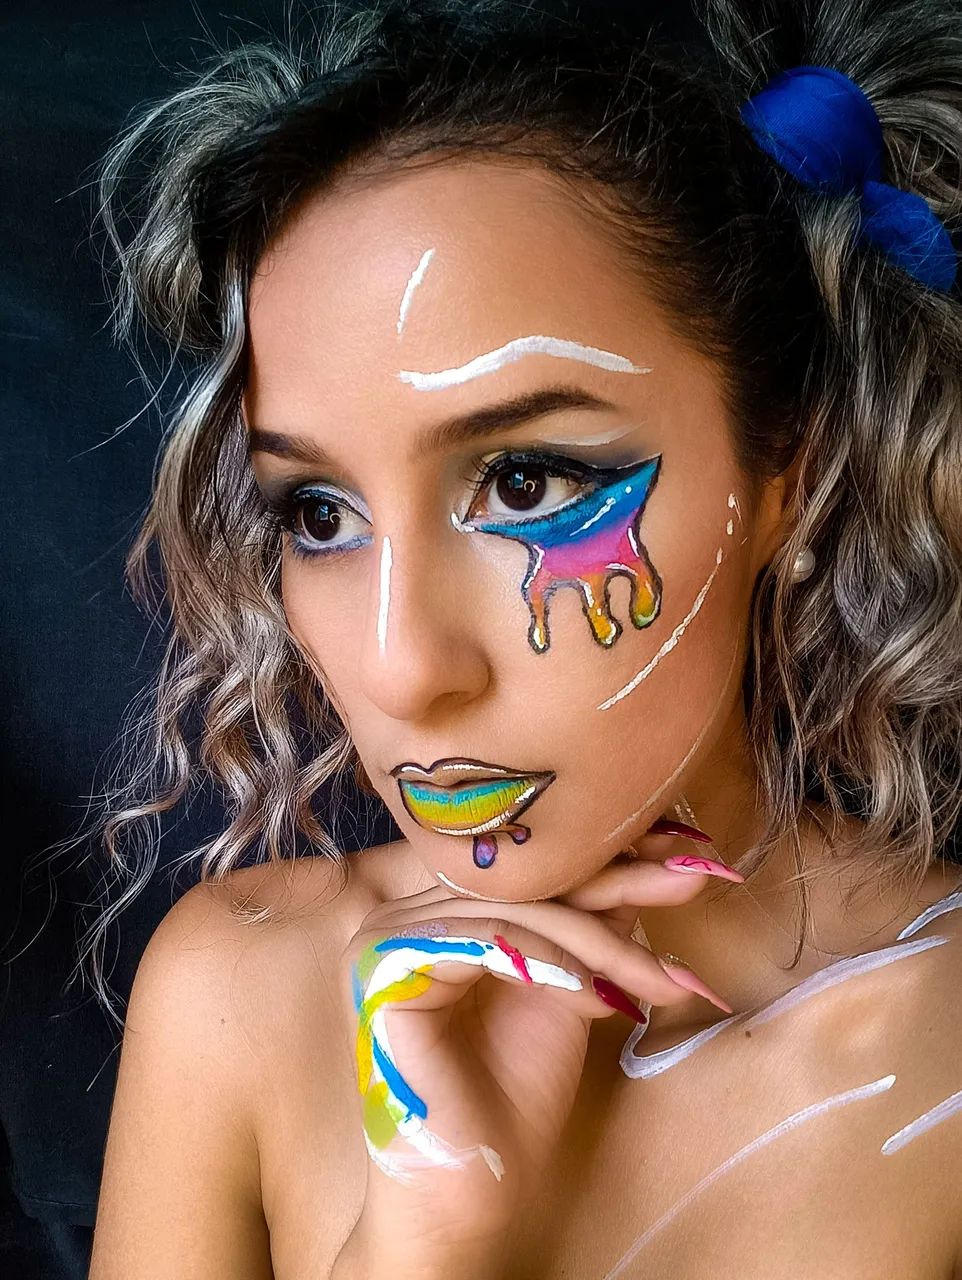
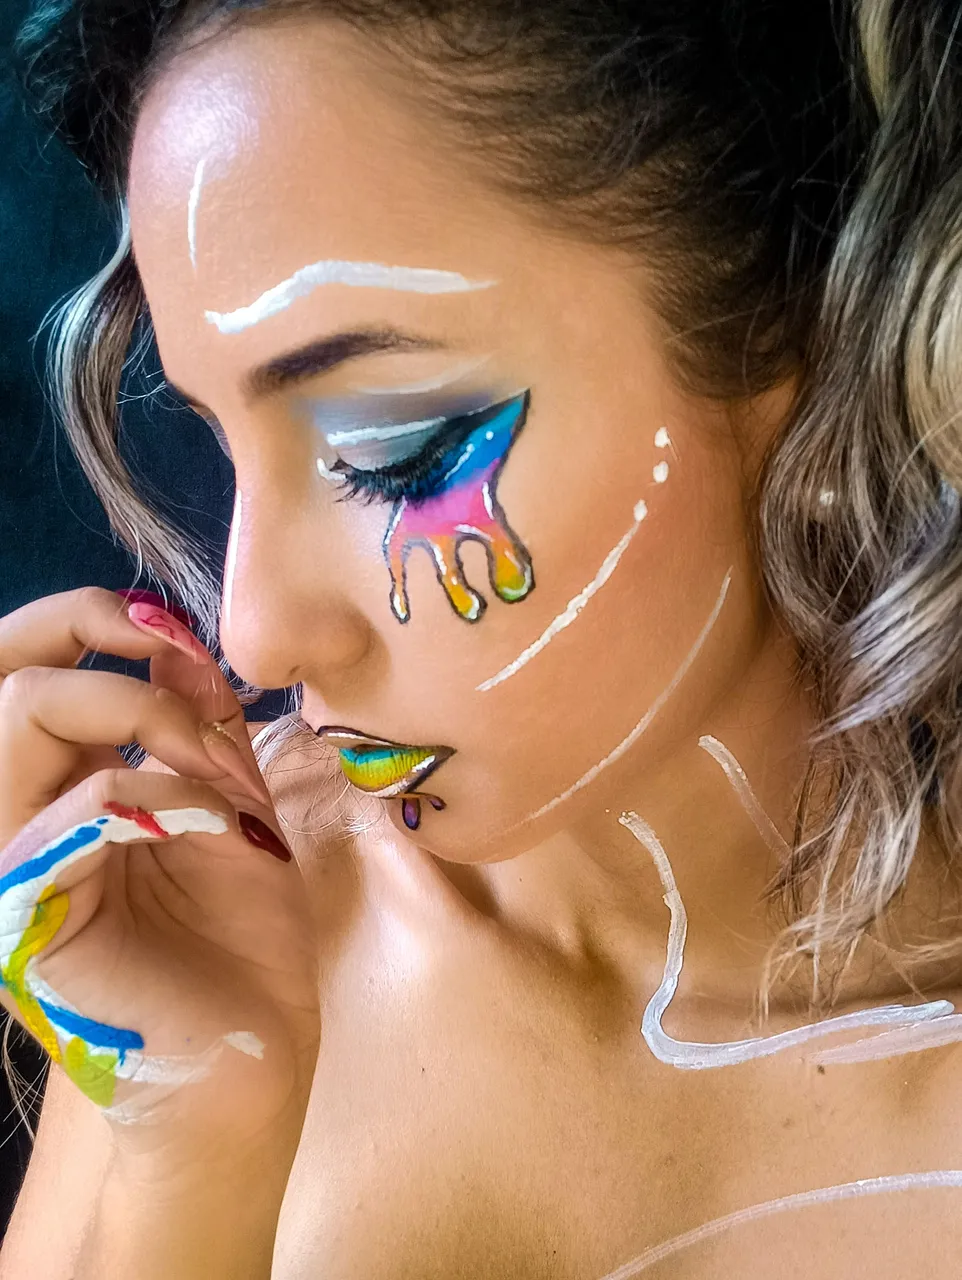
Luego tomé un lápiz negro y realice el borde de lo que serían las lágrimas que más tarde llenaría de color con pintura con ayuda de un pincel. Con un pincel más fino y pintura negra delinee los bordes.
Tomé pintura blanca y coloqué ciertos detalles en las lágrimas y ojo. Me coloqué la máscara de pestañas (esta parte tampoco la grabé porque las caras que uno hace son bien feas 😁)
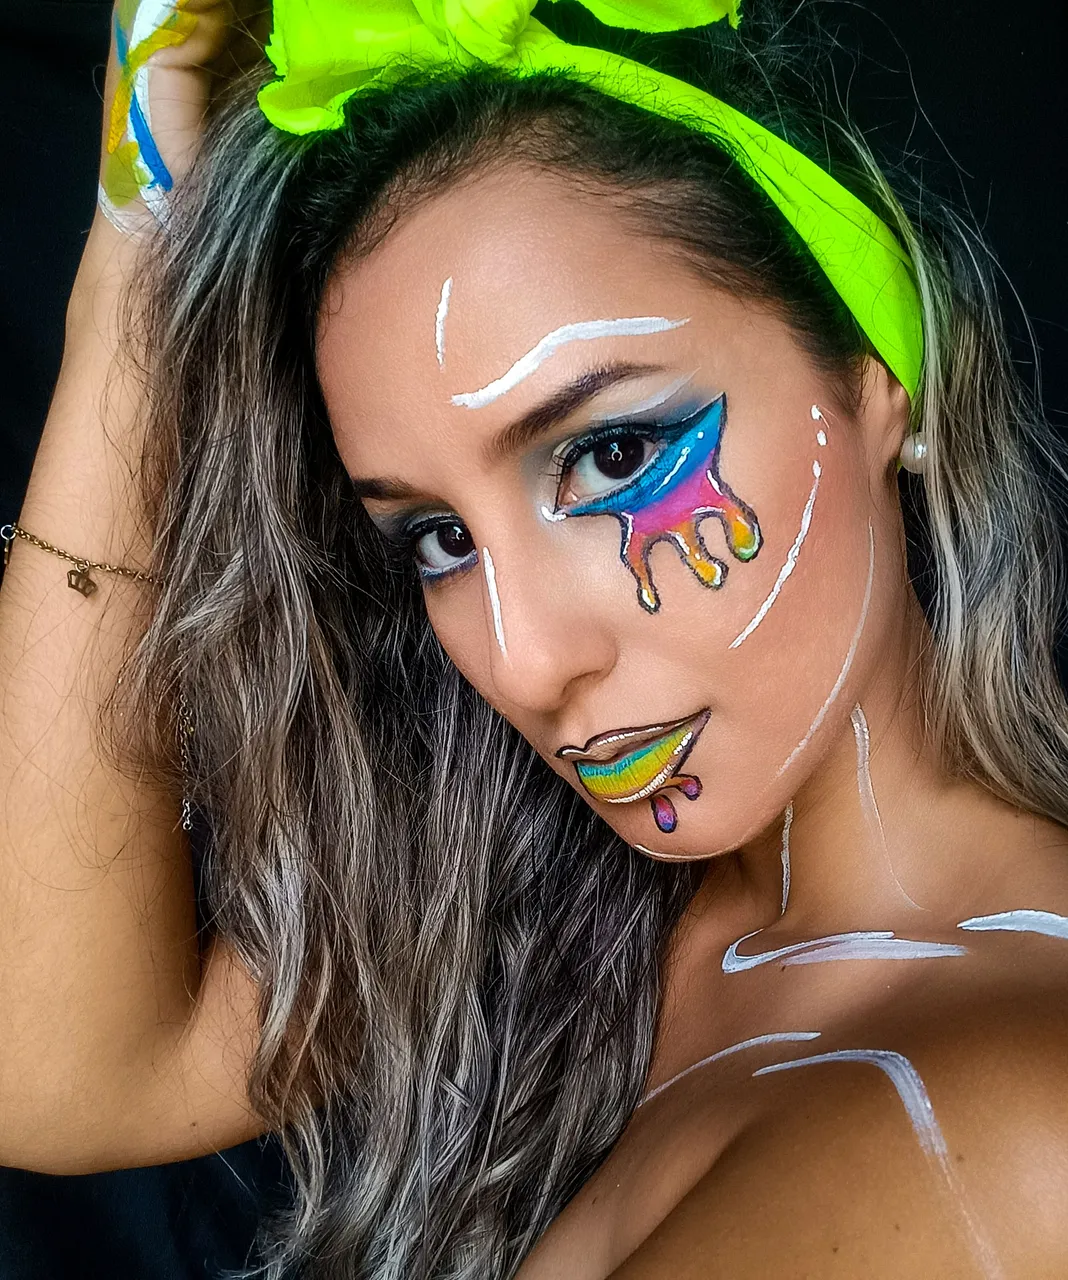
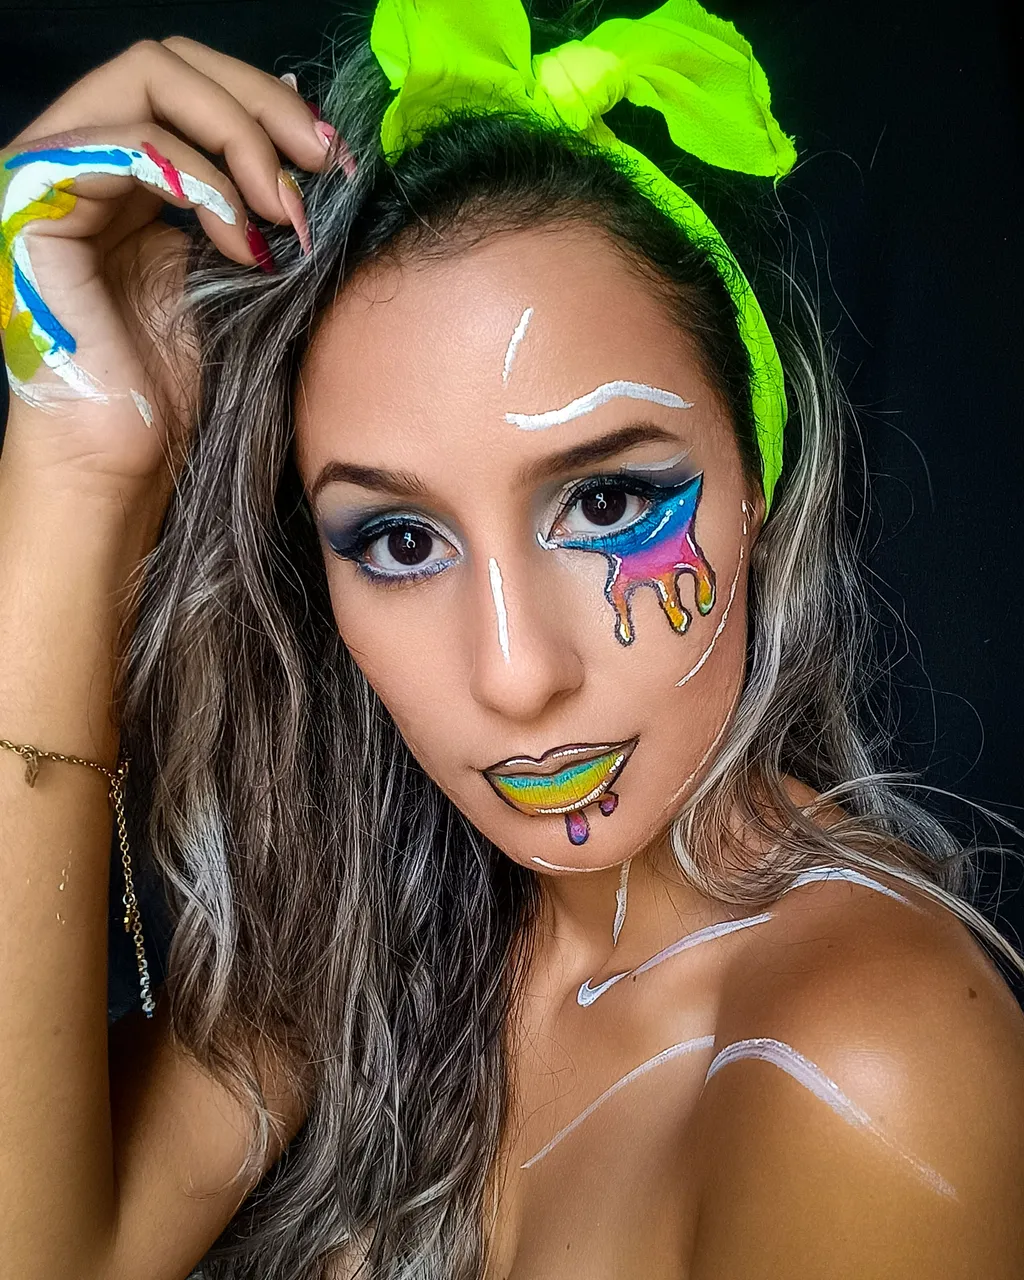
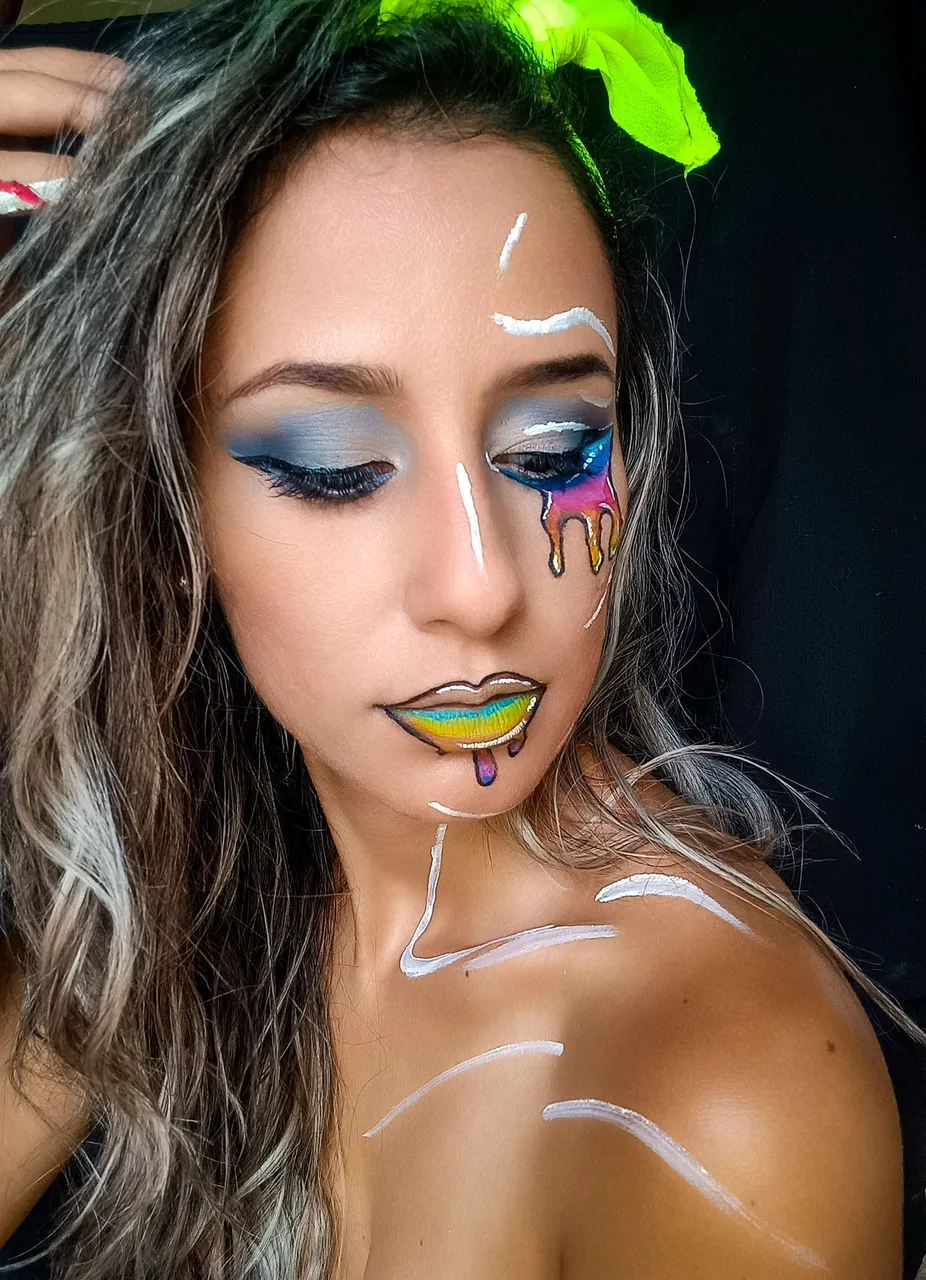
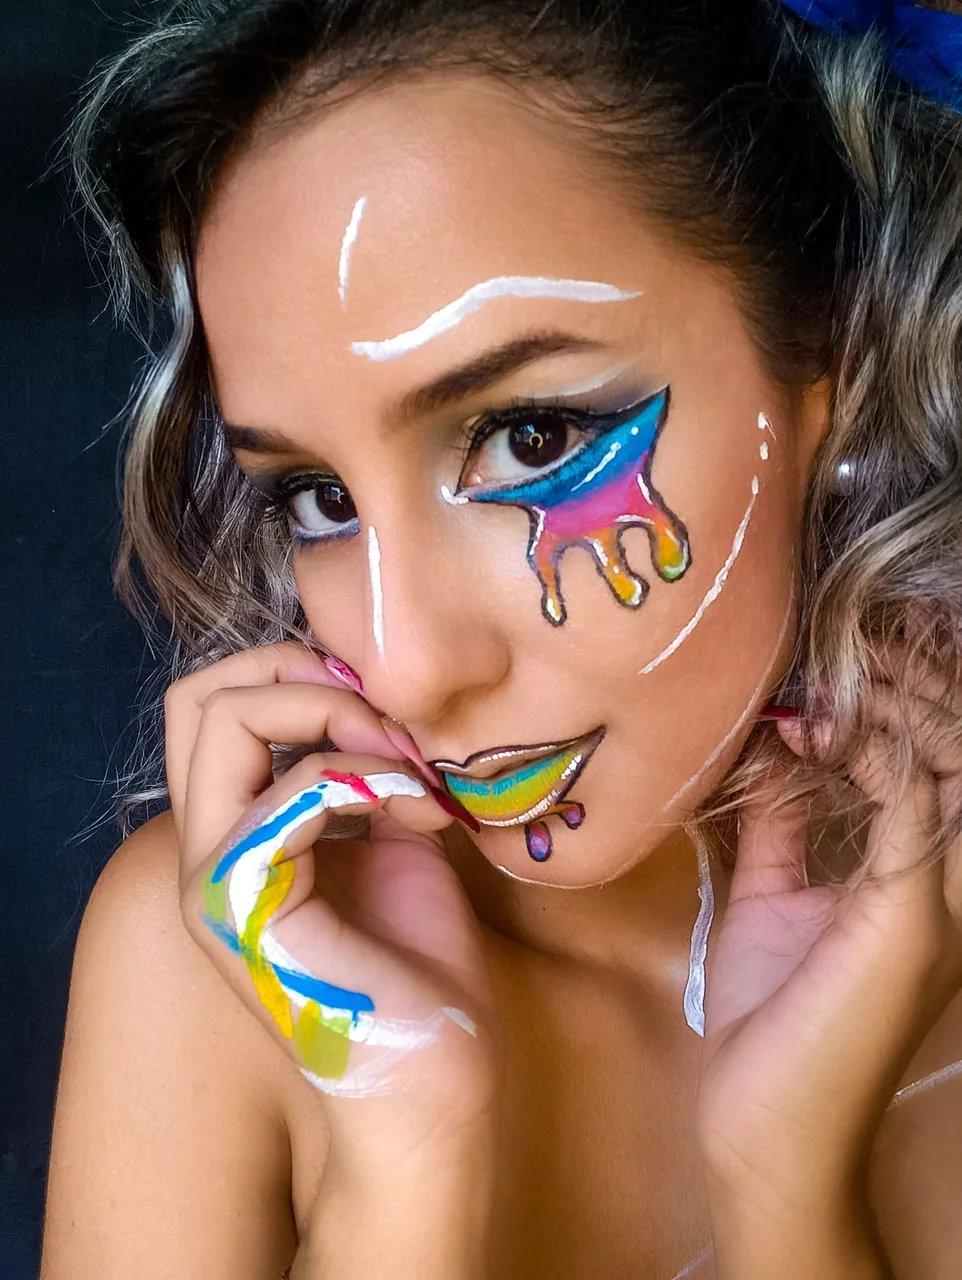
Apliqué el polvo compacto y rubor... Luego delinee los labios con el lápiz negro y solo di color al labio inferior... Agregué unos detalles en blanco y walaaa...
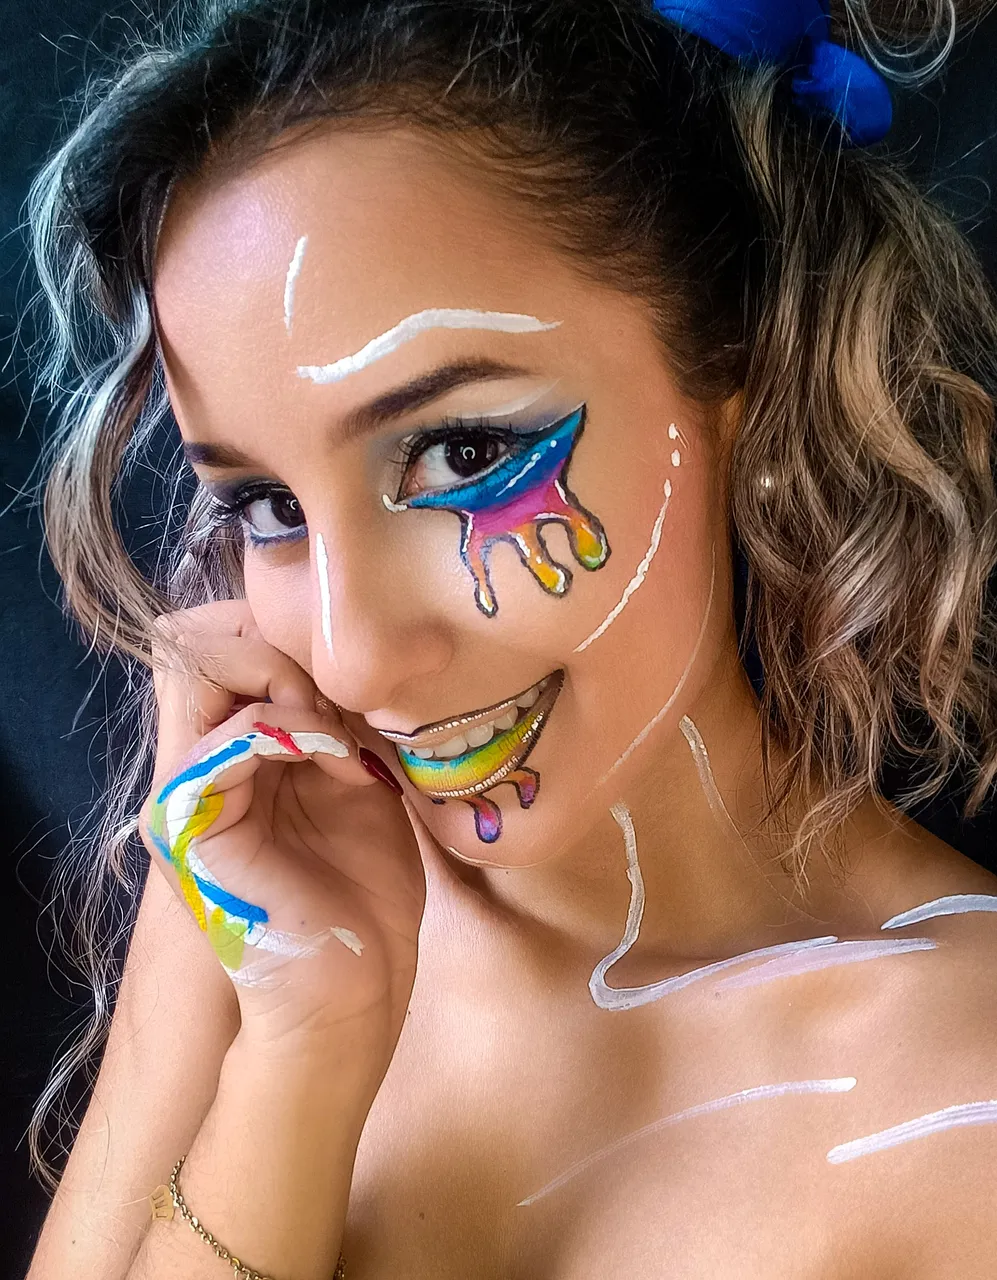
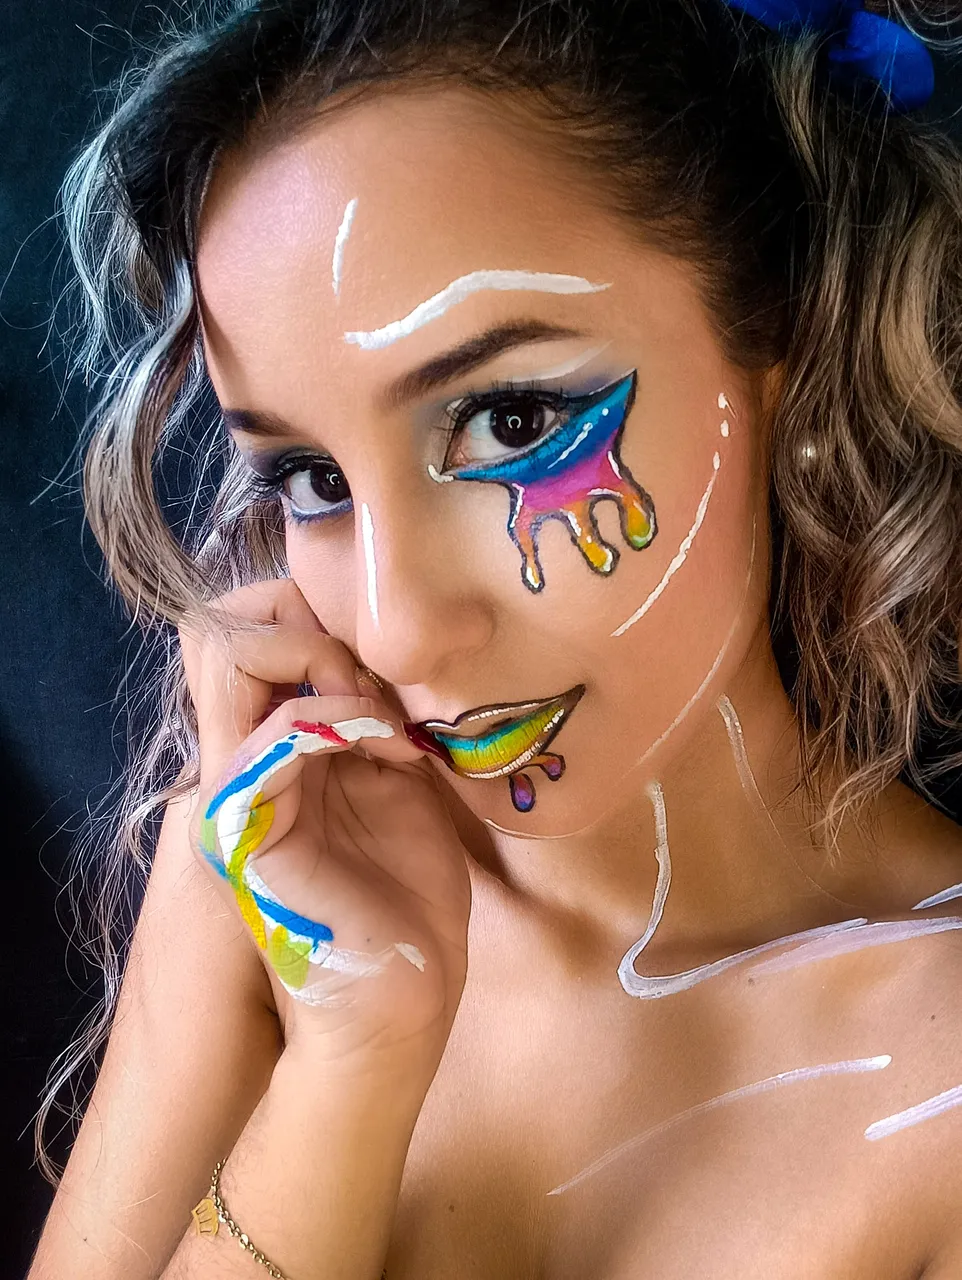
Me arreglé el cabello para las fotos y este fue el resultado 💄✨
These are the steps, although you saw them in the video, it is not superfluous to leave them written 😊
I started with the concealer.... I applied it to certain areas of my face and left it on for a couple of minutes for the product to set. Then I blended it with a damp sponge and dabbed it all over my face.
I focused on the eyes.... I chose this time to work in the blue range. I started with a pearly white shade, followed by a light blue, a medium blue and so on in gradient until the end of the eye.
I did an eyeliner, (Eyeliner I didn't record because it's actually quite stressful 😁) I applied white pencil on the water line.
Then I took a black pencil and made the edge of what would be the tears that I would later fill with color with paint with the help of a brush. With a finer brush and black paint I outlined the edges.
I took white paint and placed some details in the tears and eye. I applied the mascara (I didn't tape this part either because the faces you make are really ugly 😁).
I applied the pressed powder and blush.... Then I lined the lips with the black pencil and only colored the bottom lip.... I added a few details in white and walaaa....
I styled my hair for the pictures and this was the result 💄✨.
CRÉDITOS // CREDITS
EDITOR DE VIDEO: Youcut video.
MÚSICA DE FONDO: Sonido Original.
Artista: Tones and I
Tema: Dance Monkey, descargada a través de la aplicación Snaptube. LINK
▶️ 3Speak