Hola a todos, amigos de la comunidad dedicada al hogar, como lo es @homesolutions aunque es mi primera vez publicando por acá sean todos bienvenidos a mi blog.
Hello everyone, friends of the community dedicated to the home, as it is @homesolutions although it is my first time posting here are all welcome to my blog.
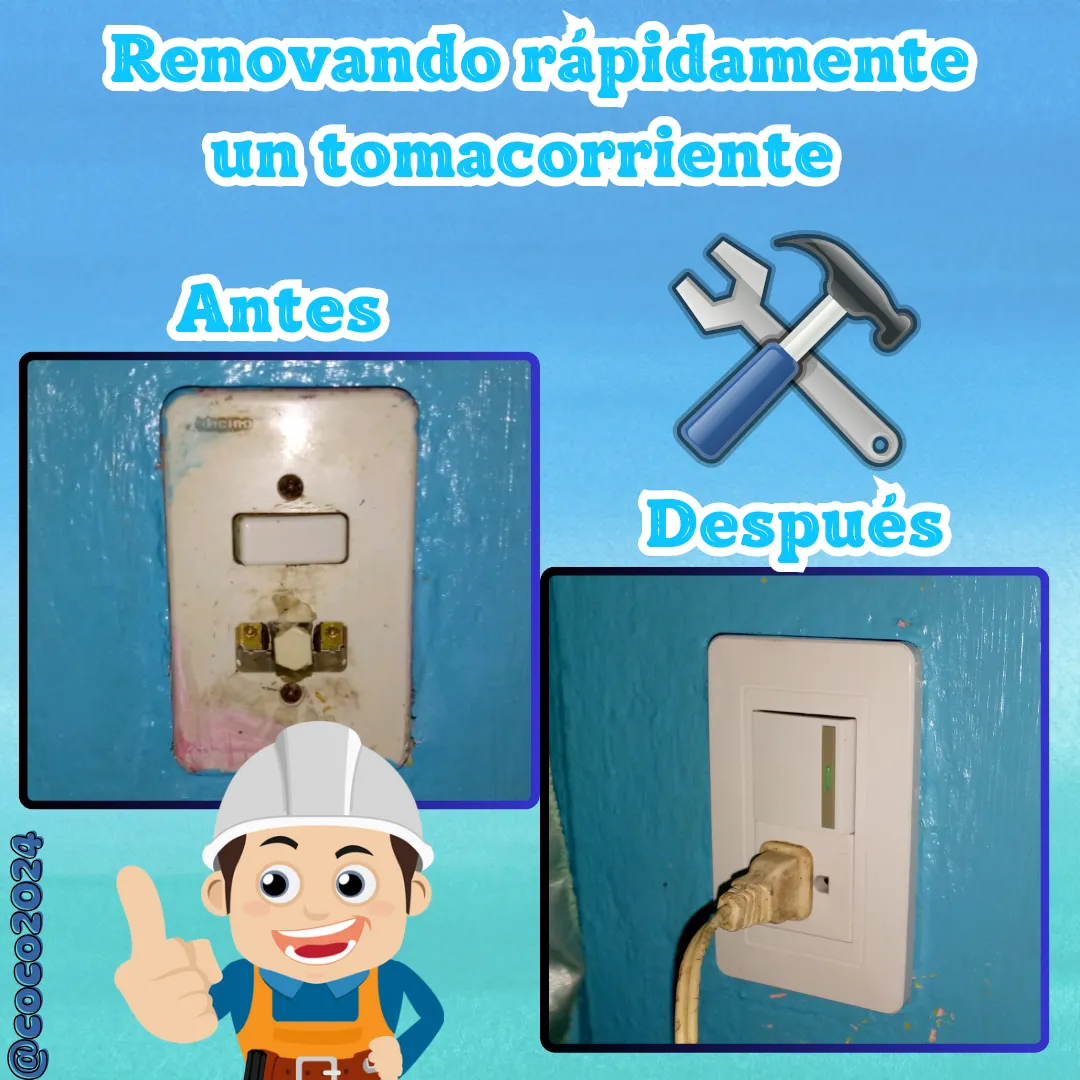
Hoy estuve haciendo unos pequeños arreglos en casa y aproveché la oportunidad para mostrarles como de una manera fácil y rápida pude cambiar un tomacorriente en una de las habitaciones de mi casa.
Today I was doing some small repairs at home and I took the opportunity to show you how I was able to change an outlet in one of the rooms of my house in a quick and easy way.
A mí en lo particular me gusta estar pendiente de las reparaciones en casa, ya que tengo un poco de conocimiento en cuestiones de reparaciones del hogar; en este caso en electricidad.
I particularly like to be aware of home repairs, since I have a little knowledge in home repair issues; in this case in electricity.

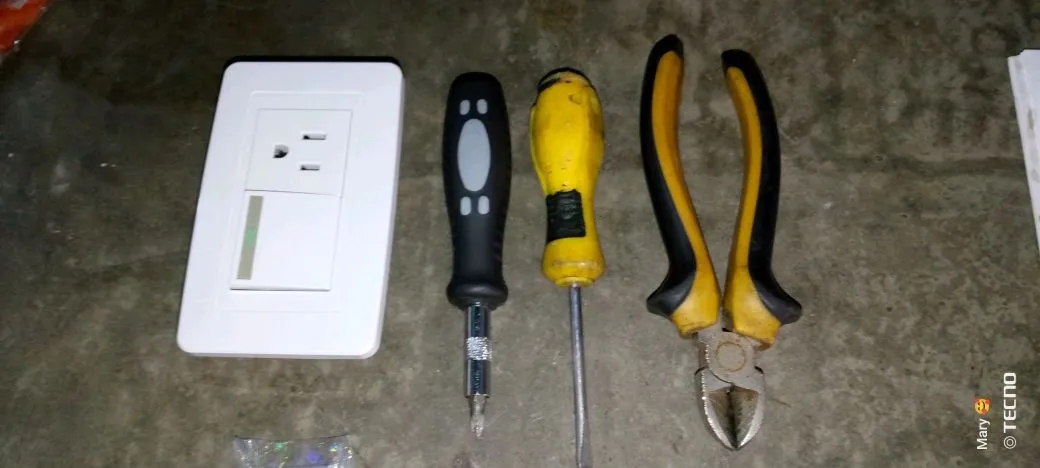
- 1 Destornillador de estrías o de estrella como también se le conoce en otros países.
- 1 Destornillador de pala o plano.
- 1 Pinza para cortar cable.
- El tomacorriente que se va a cambiar.
- 1 Phillips screwdriver or Phillips screwdriver as it is also known in other countries.
- 1 Blade screwdriver or flat screwdriver.
- 1 Cable cutter.
- The outlet to be replaced.
Por acá tenemos el tomacorriente que vamos a sustituir.
Over here we have the outlet that we are going to replace.

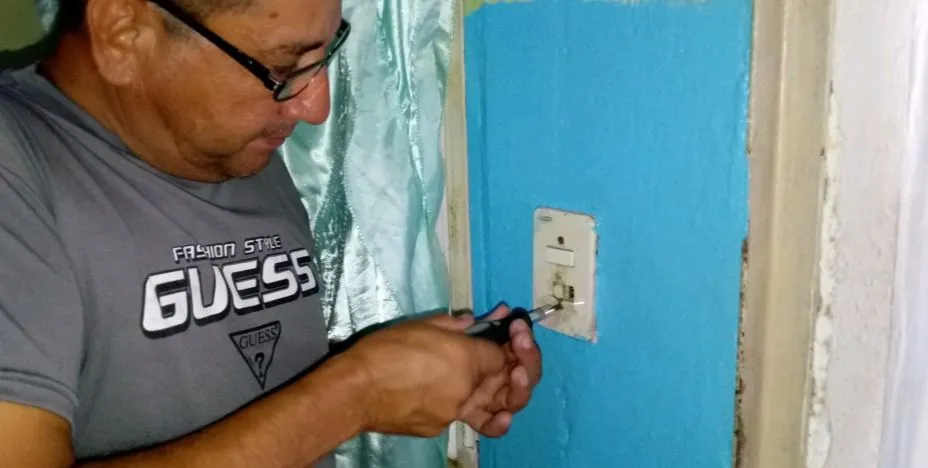
Paso 1
Retiramos el tomacorriente dañado con la ayuda de un destornillador de estrías sacando los tornillos que lo sujetan.
Step 1
Remove the damaged socket with the help of a slotted screwdriver by removing the screws that hold it in place.
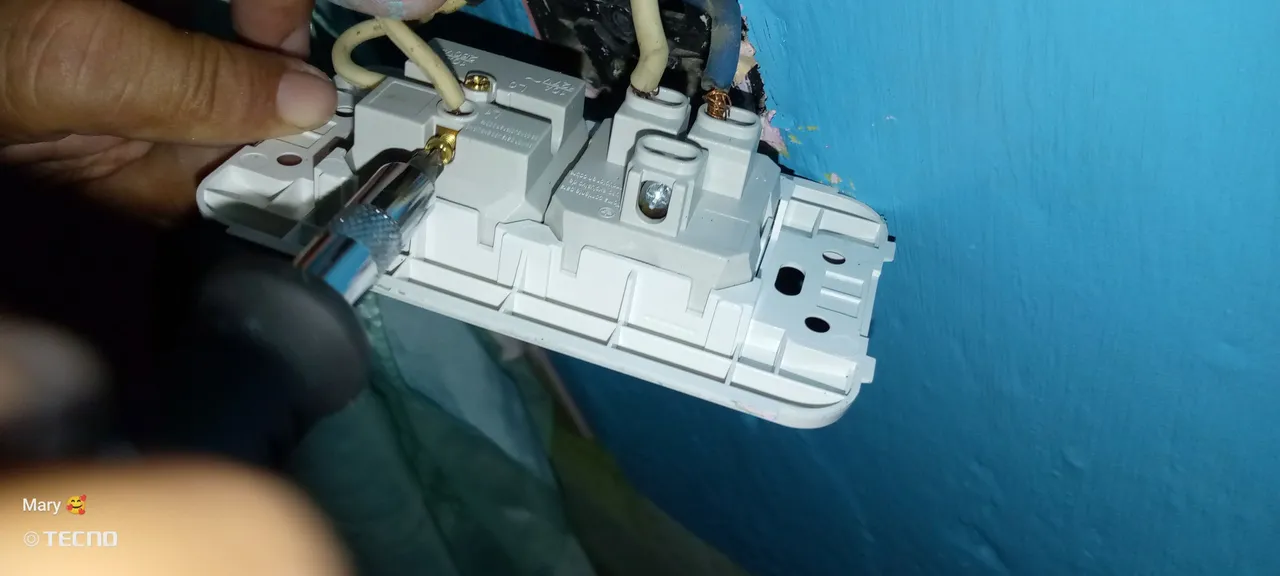
Paso 2
Revisé en qué posición estaban los cables positivo y negativo tanto del enchufe como del interruptor de la luz ya que al tener este ambos sistemas las conexiones son distintas, para al momento de apagar la luz no se corte la corriente del enchufe.
Step 2
I checked the position of the positive and negative wires of both the plug and the light switch, since both systems have different connections, so that when the light is turned off, the current from the plug is not cut off.
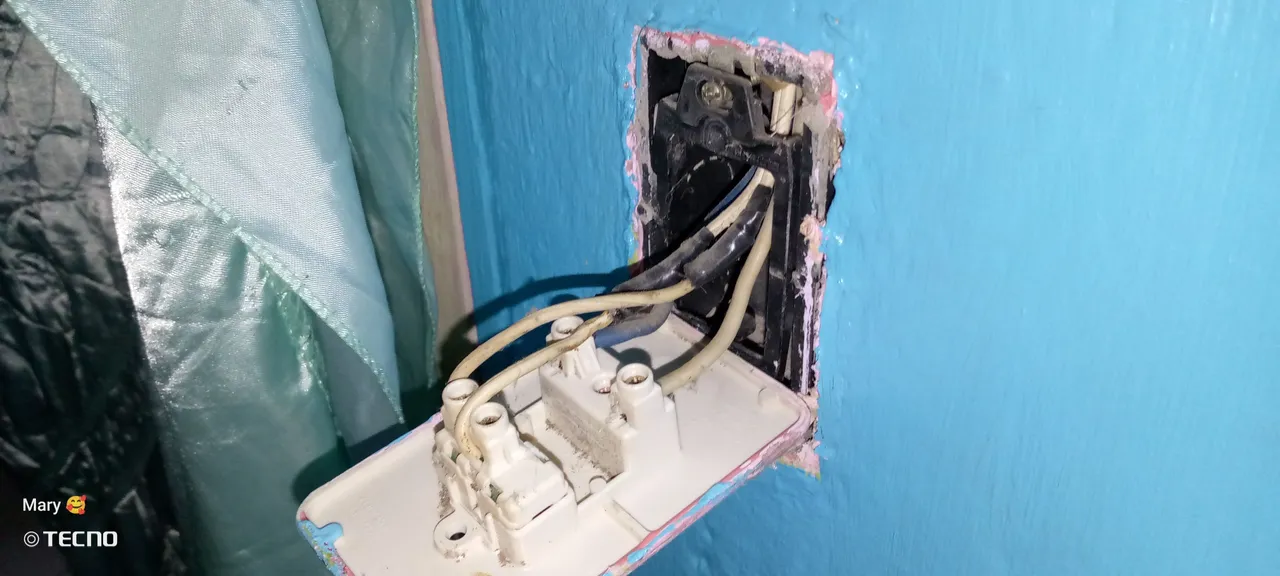
Paso 3
Procedemos a retirar los cables del tomacorriente dañado.
Paso 3
We proceed to remove the wires from the damaged outlet.

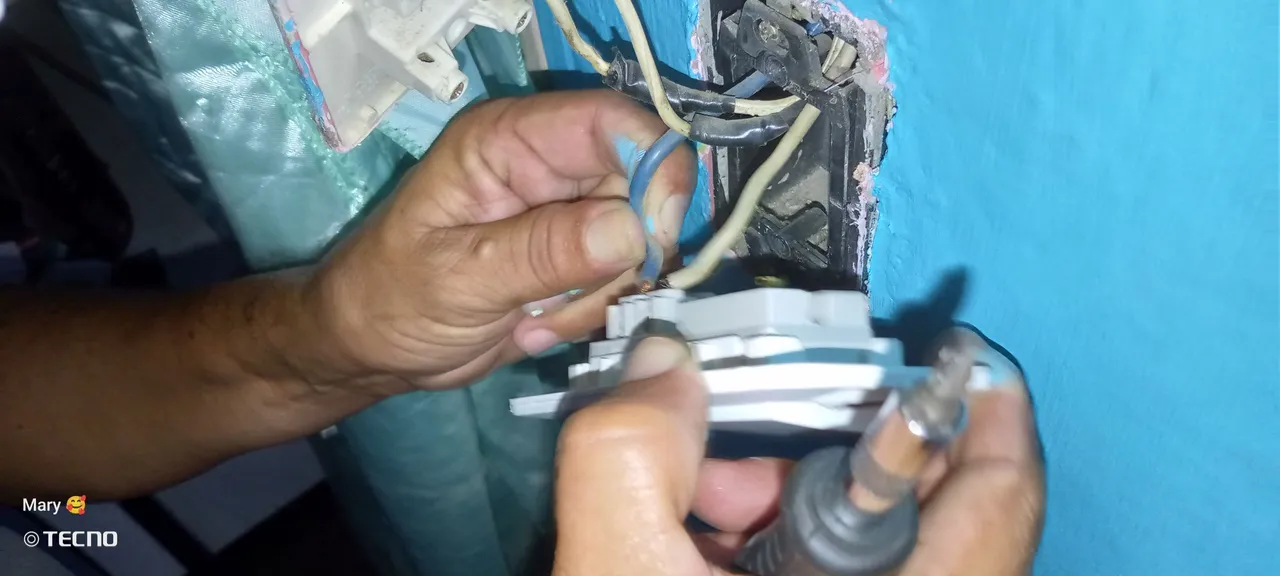
Paso 4
Primero sustituimos los cables del interruptor cuya función es prender y apagar el bombillo; y de una vez hacemos la conexión al nuevo dispositivo.
Step 4
First we replace the wires of the switch whose function is to turn the bulb on and off; and at once we make the connection to the new device.
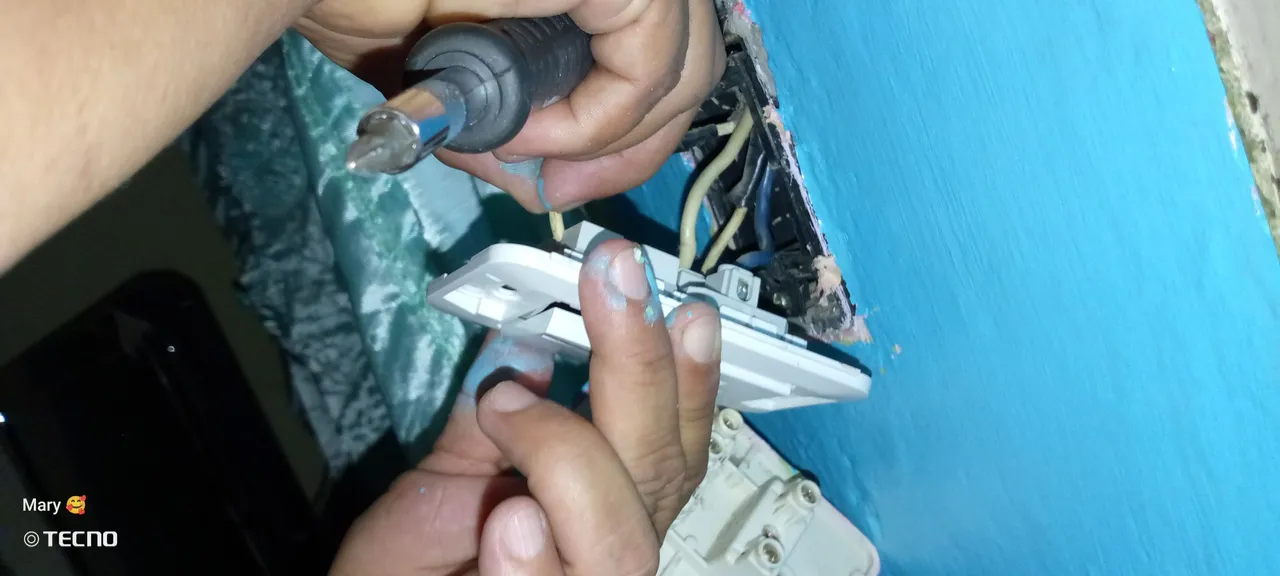
Paso 5
Hacemos el mismo procedimiento con el lado del enchufe, retiramos las conexiones y las colocamos al nuevo y enchufamos el ventilador para verificar que exista paso de la corriente.
Step 5
We do the same procedure with the plug side, remove the connections and place them to the new one and plug the fan to verify that there is current flow.
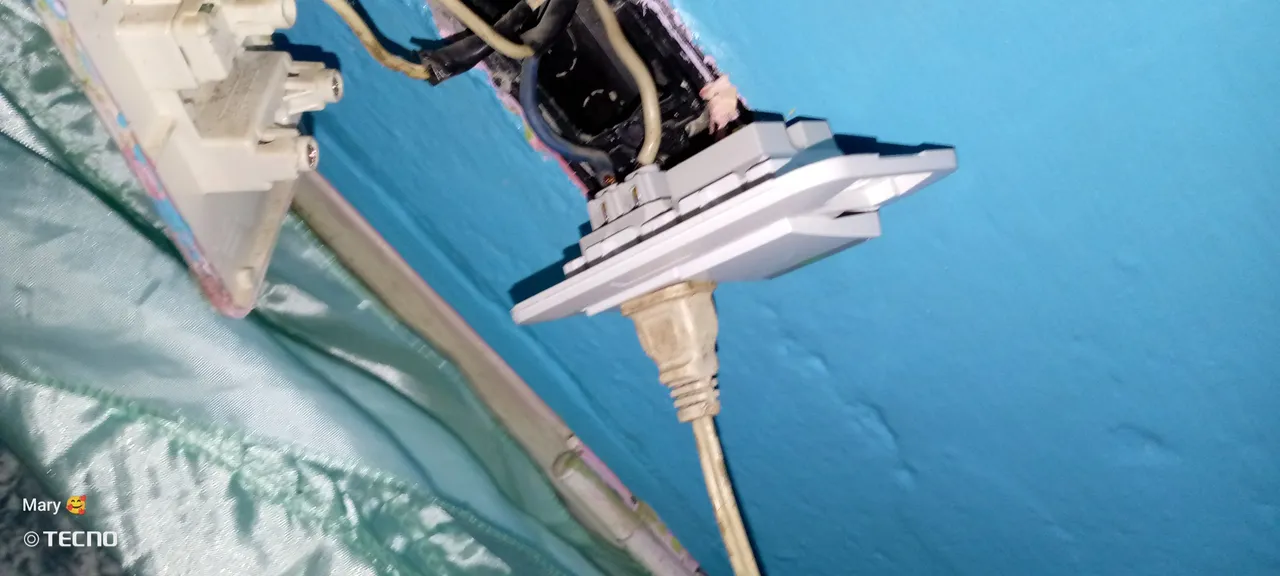
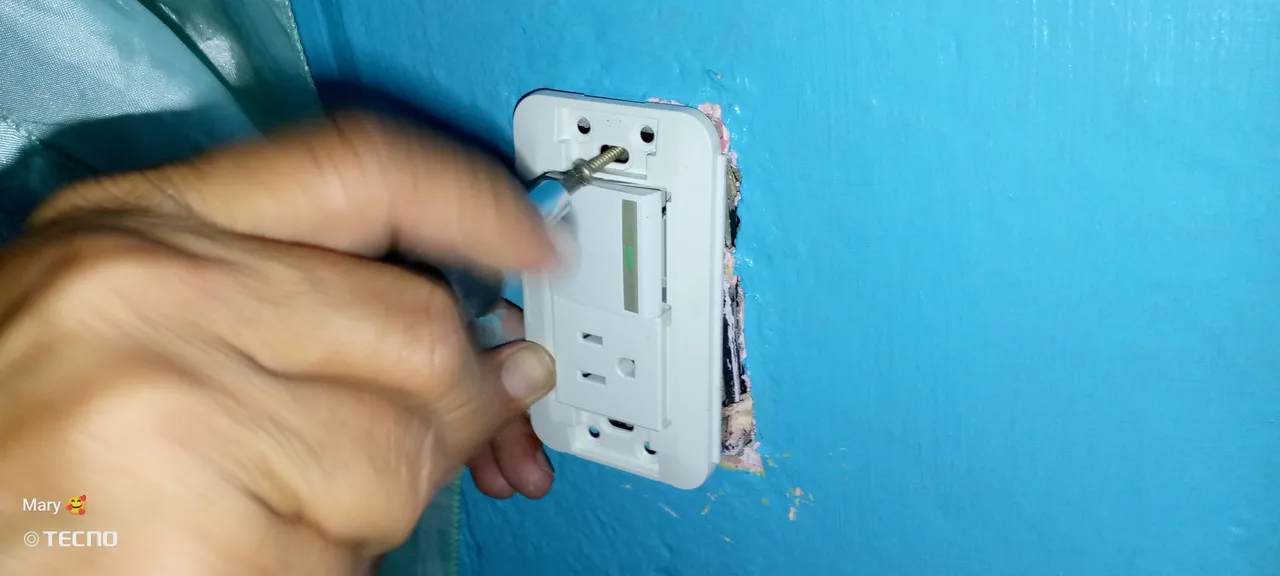
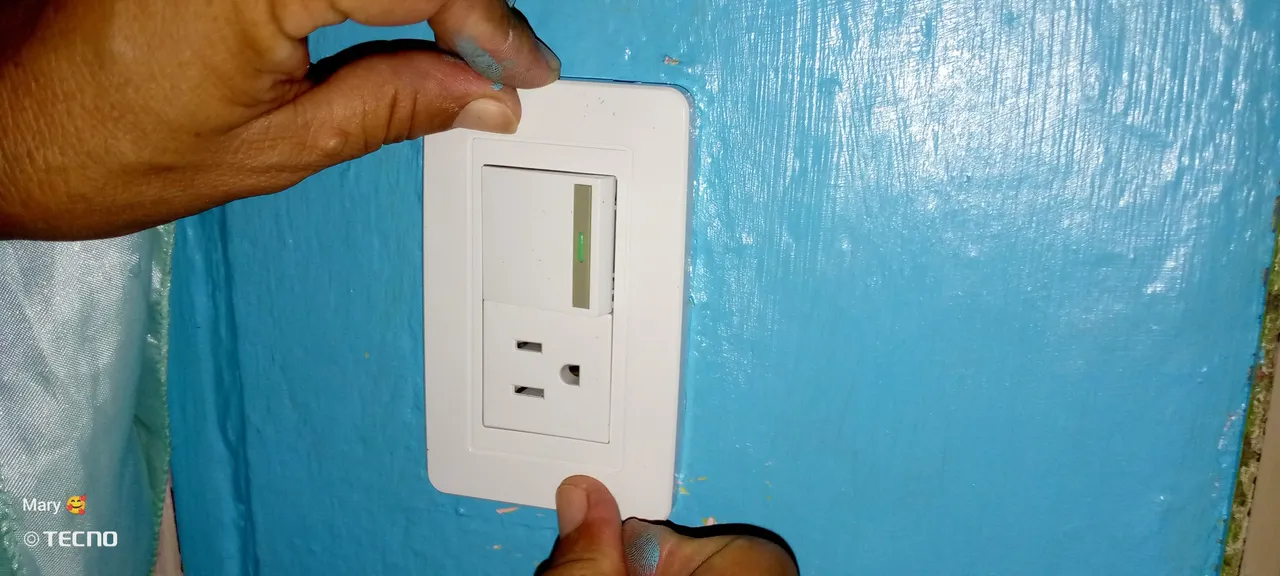
Paso 6
Una vez que ya todo está en perfecto funcionamiento lo llevamos al cajetín para fijarlo de nuevo a la pared; ajustamos sus 2 tornillos de nuevo.
Step 6
Once everything is in perfect working order, we take it to the box to fix it again to the wall; we tighten its 2 screws again.
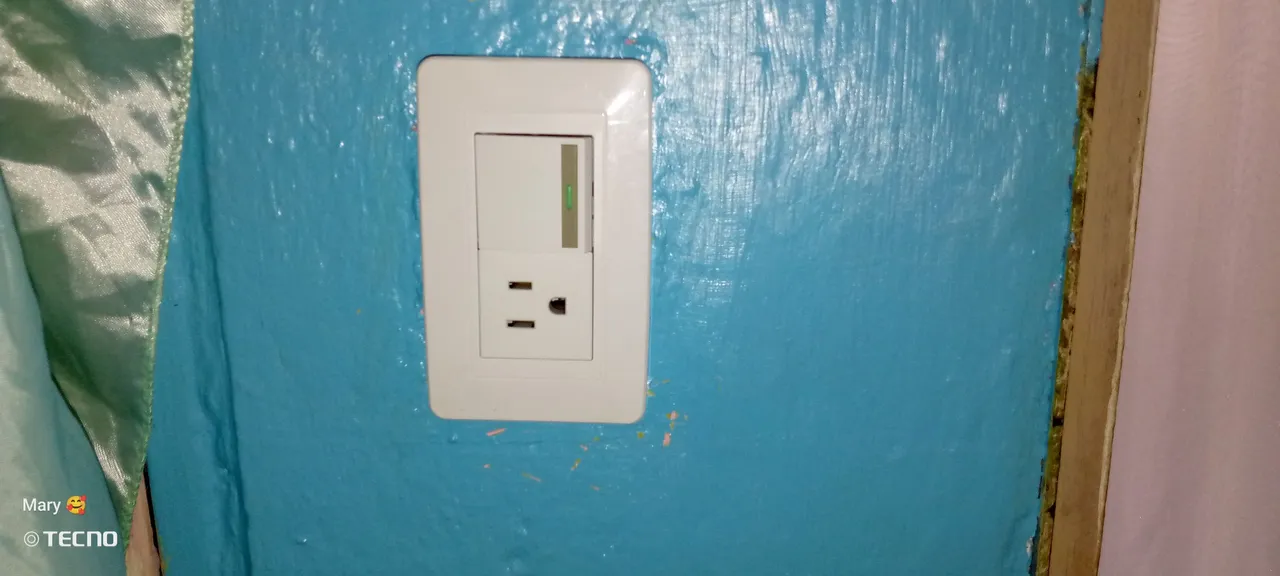
And that's it; that's how the outlet has been changed, see how easy and simple it is to change this type of device?
Texto de mi autoría
Fotos tomadas con Tecno GO2023
Editor de imágenes Canva
Traductor utilizado DeepL
Text by me
Photos taken with Tecno GO2023
Canva image editor
Translator used DeepL