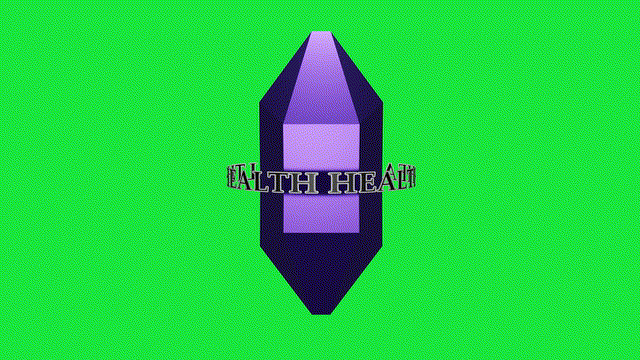
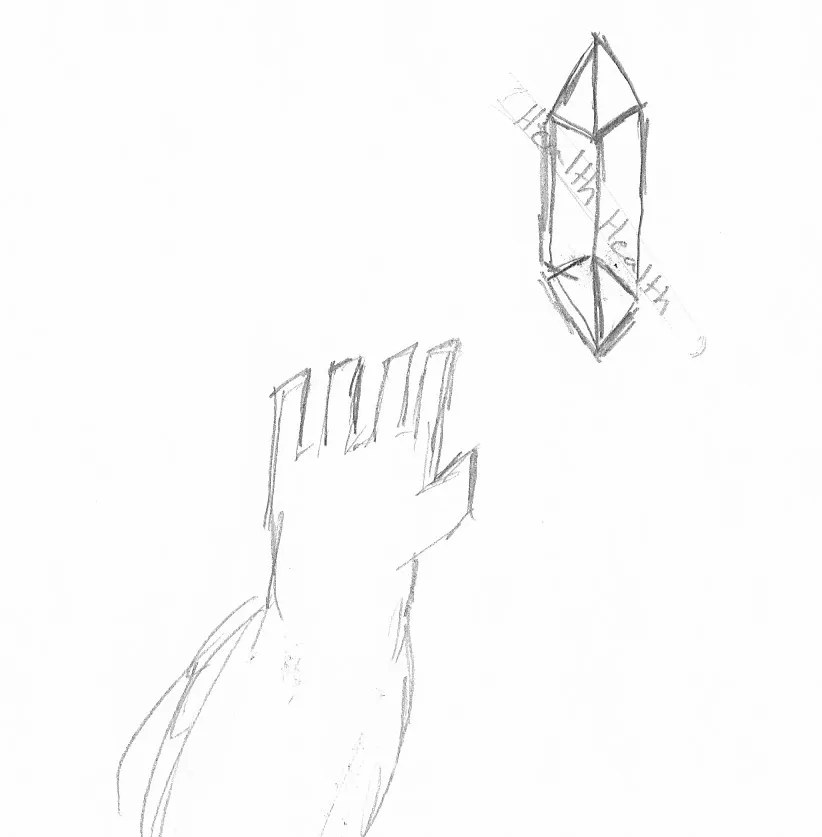
I have been working with Blender for a couple weeks now, and the learning curve is still as steep as ever. I was unsatisfied with my concept sketch for the pylons to be featured in Project Burner, so I remade it with Blender.
In the Project Burner game, pylons take the place of potions, offering characters temporary buffs. This one is going to offer a small boost to maximum health for a few rounds, hence the health label around it. I made the model for the crystal myself, and colored it with purple base color then made it metallic. Making the "Health" text was much more complicated. I started with a cylinder, then removed the top and bottom faces, then added the UV map for texturing. I started with a texture I made in Gimp, then from that made an opacity map to specify which areas were transparent.


I then plugged the opacity map into the Alpha node in the shaders panel, and then changed the alpha settings to alpha clip. From there there was a bit of positional animation on the crystal, and a rotation animation on the health banner. Afterwards, I rendered as a transparent image sequence, and then add a green background in shotcut, then rendered as a gif animation. I know the gif format supports transparency, but I do not know how to render transparently in shotcut. I am slowly getting better at Blender. It is the most powerful tool I have ever used for visual arts, but it is also the most complicated. It does make for more appealing concept art though, and that is a big upside.