

Hi! Friends, I share with you how I perform eyebrow waxing and pigmentation on a client.
I am happy to share this post with you. Next I will be showing you the step by step.
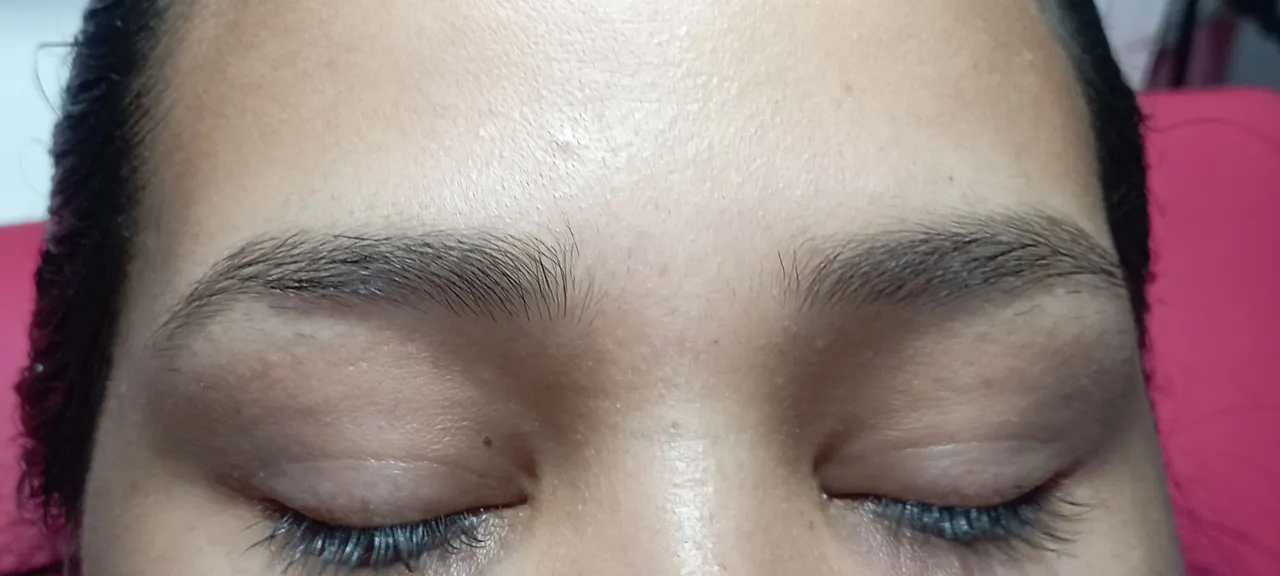
This is how her eyebrows looked like, she was a month after her last waxing.
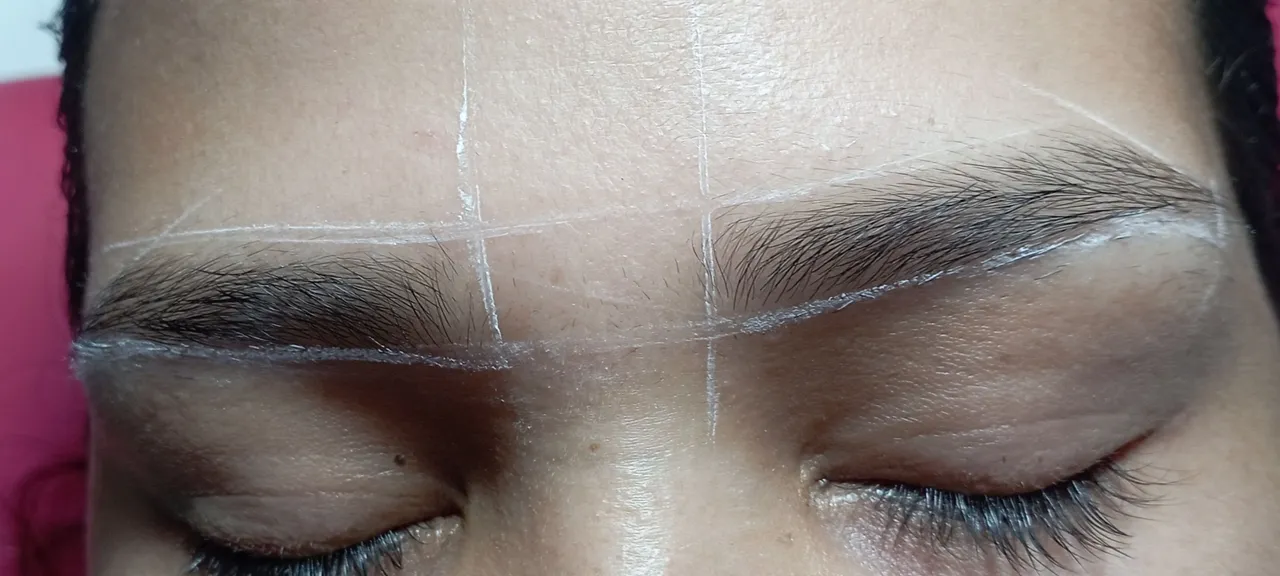
Then, I made the markings on her face to guide me in performing the hair removal.
In the next step I placed some talcum powder on the area where I was going to wax, as it forms a thin layer on the skin. Its function is to absorb moisture and grease, allowing the wax to adhere to the hairs and not to the skin. I then proceed to apply the wax.

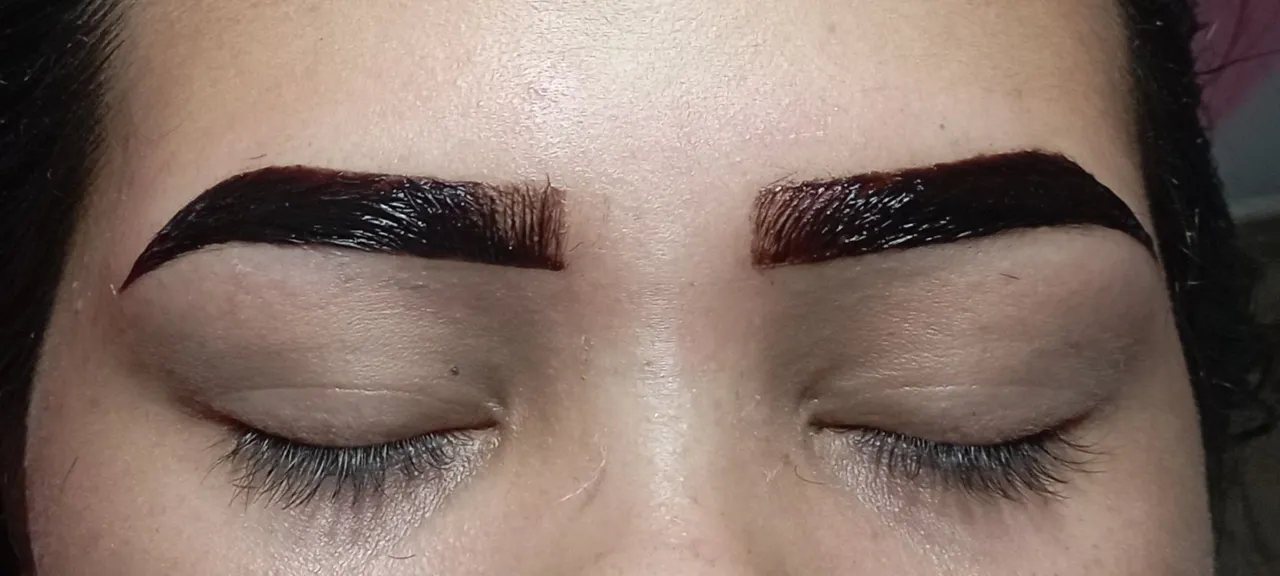
Then, I apply the pigment, its function is to give a shading effect to the skin and to shape her eyebrows. She likes her eyebrows dark.
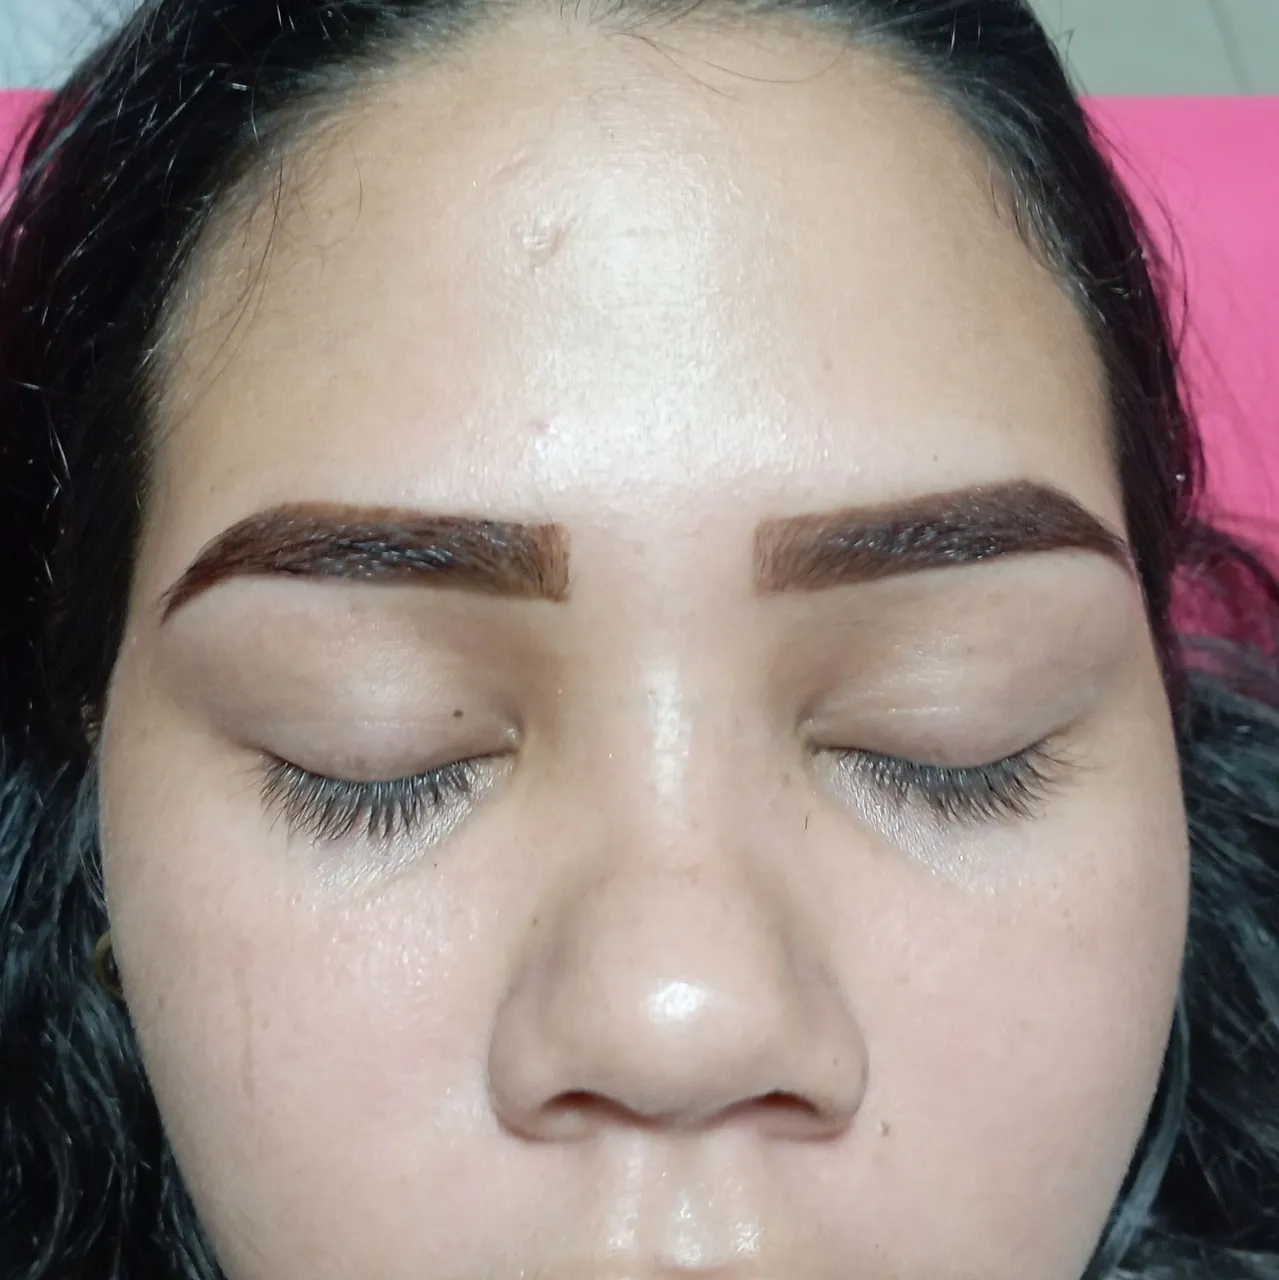
15 minutes later, I removed the pigment. I like the beginning of the eyebrows to be lighter so that it looks more natural, but the girl likes them well marked.
The duration of the pigmentation is approximately 5 to 7 days, this will depend on the skin of the person. If you have oily skin or tend to sweat more, this procedure will last less time.
For the pigmentation to last longer, you should not wash your face and wet your eyebrows before 24 hours, and do not use oily makeup removers or creams in that area so that the pigment lasts longer.
It is an easy technique to do, you can do it at home. I hope you liked my post.
I am fascinated with the art I have seen in this community. 🤩
Until next time, best regards. 🤗
👍Thanks for reading me😀.
🤓I'd love to read your comment.👀
- The main image, the separators and the banner were made in Canva.
- The text was translated in DeepL.
- I got the icon from Icons8.
- The photographs are my own.


¡Follow me !

¡Hola! Amigos, les comparto cómo le realizo la depilación de cejas con cera y pigmentación a una clienta.
Me siento feliz de compartir este post con ustedes. A continuación les estaré mostrando el paso a paso.
Así estaban sus cejas, ella tenía un mes de haberse hecho su última depilación.
Luego, hice las marcaciones en su rostro para guiarme a la hora de realizar la depilación.
En el siguiente paso coloqué un poco de talco en la zona donde iba a depilar, ya que éste forma una capa delgada sobre la piel. Su función es absorber la humedad y grasa, permitiendo que la cera se adhiera a los vellos y no a la piel. Luego procedo a colocar la cera.
Después, le aplico el pigmento, su función es dar efecto de sombreado a la piel y moldear a sus cejas. A ella le gustan sus cejas oscuras.
15 minutos más tarde, le retiré el pigmento. A mí me gusta que al inicio de las cejas queden más claras para que así se vea más natural, pero a la chica le gustan bien marcadas.
La duración de la pigmentación es aproximadamente de 5 a 7 días, esto va a depender de la piel de la persona. Si tiene una piel grasa o tiende a sudar más, este procedimiento le dura menos tiempo.
Para que la pigmentación te dure más tiempo, no debes lavar la cara y mojar las cejas antes de 24 horas, y no utilizar desmaquilladores aceitosos o cremas en esa zona para que la duración del pigmento sea mayor.
Es una técnica fácil de realizar, puedes realizarlo en casa. Espero que les haya gustado mi post.
Estoy fascinada con el arte que he visto en esta comunidad. 🤩
Hasta la próxima, un abrazo. 🤗
👍Gracias por leerme😀.
🤓Me encantaría leer tu comentario.👀
- La imagen principal, los separadores y el banner los realicé en Canva
- El texto lo traduje en DeepL
- El icono lo saque de Icons8
- Las fotografías son de mi propiedad.

¡Sígueme!