
Hola a todos,😊 les quiero mostrar paso a paso como hice mi makeup de corazónes de fuego. 🔥❤️
Hi everyone,😊 I want to show you step by step how I did my fire hearts makeup. 🔥❤️
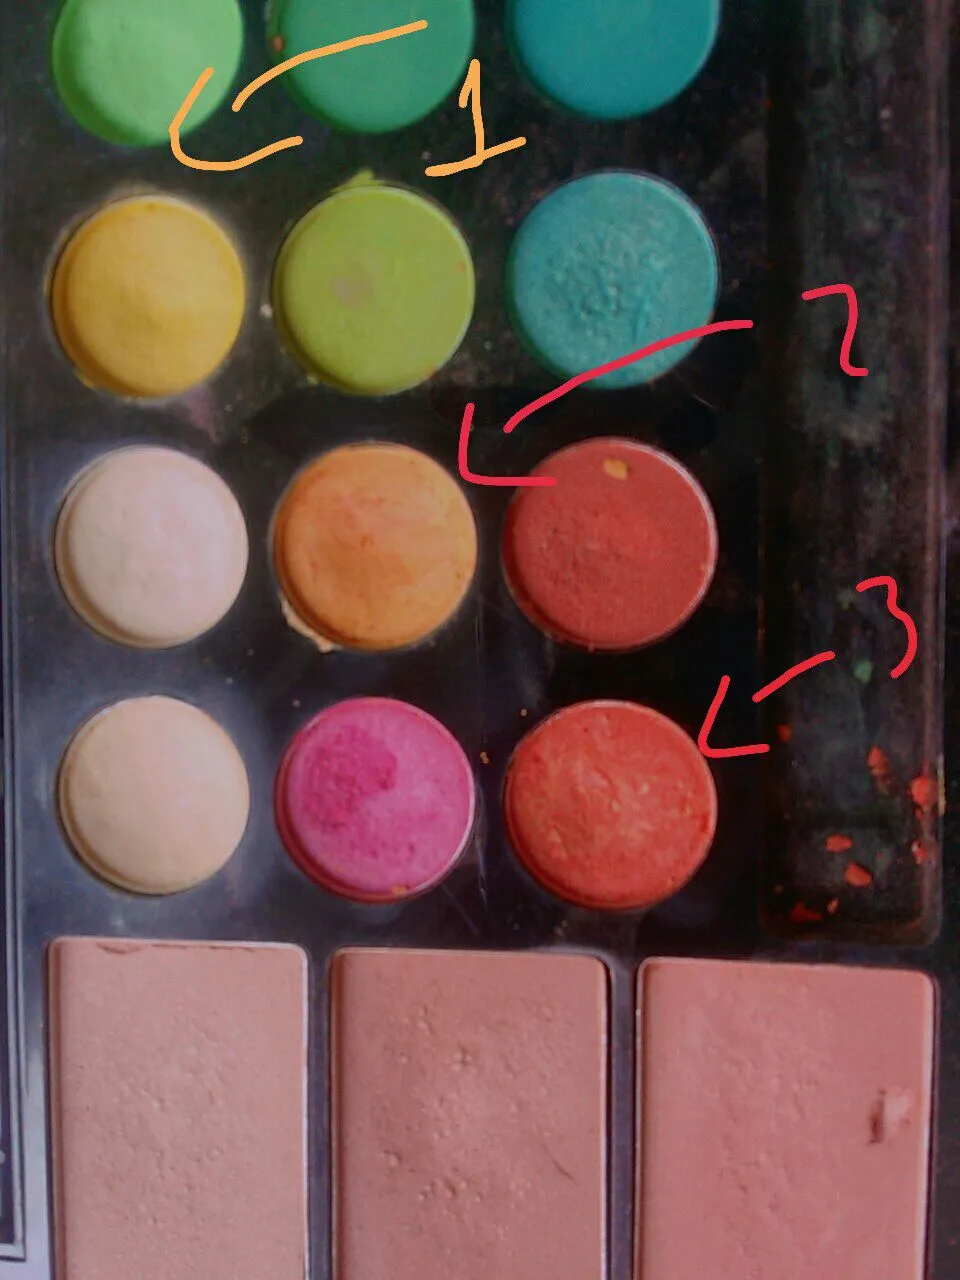
Me encanta realizar maquillajes en las tardes es un hobbie que me relaja mucho y en cuanto tengo el tiempo lo práctico; ahora que estoy de vacaciones me puedo dedicar a ellos nuevamente. Lo primero que hago es buscar una idea de lo que quiero realizar, puede ser una referencia u otro maquillaje similar, este por ejemplo me gusto por ser llamativo y utilizar colores muy vivos como son los colores cálidos del fuego. Los siguientes productos fueron los que utilice:
• Sombra para cejas
• Base
• Polvo compacto
• Rímel
• Sombras de colores
• Rubor
• Rotulador
• Delineador liquido
• Labial vino tintó y cobrizo
• iluminador
I love doing make-up in the afternoons, it's a hobby that relaxes me a lot and when I have the time I practice it; now that I'm on vacation I can dedicate myself to it again. The first thing I do is to look for an idea of what I want to do, it can be a reference or another similar makeup, this one for example I liked for being striking and using very bright colors such as the warm colors of fire. The following products were the ones I used:
- Eyebrow shadow
- Foundation
- Compact powder
- Mascara
- Colored shadows
- Blusher
- Highlighter
- Liquid eyeliner
- Tinted wine and copper lipstick
- highlighter
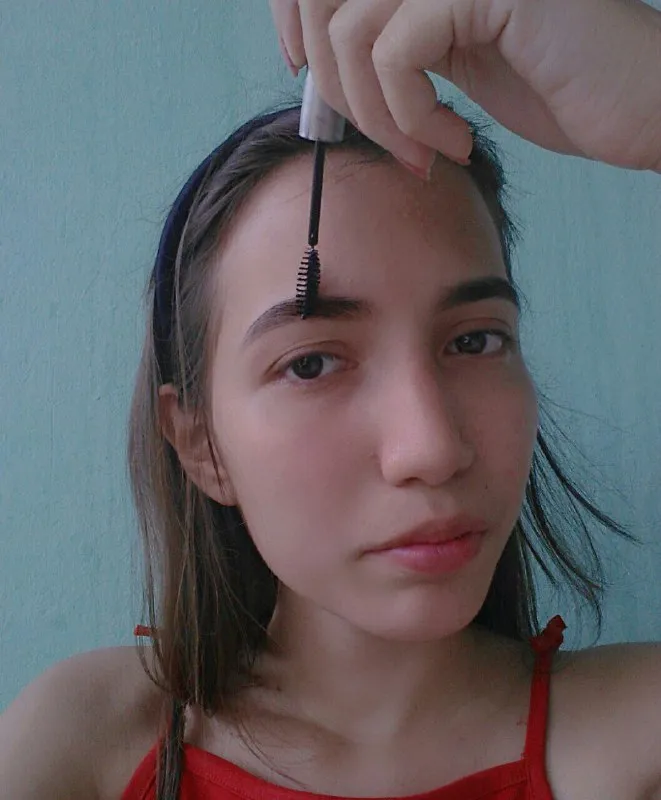
Antes de echar cualquier producto me lavo muy bien la cara y seco con mucho cuidado para no rasparla es muy importante preparar la piel antes de usar cualquier producto. Así paso a pintar mis cejas con un poco de sombra marrón en las partes más claras y luego las peino con el cepillo del rímel (uno que ya no tiene producto). Seguido de esto echo mi base que es de poca cobertura pero es debido a que mi piel está muy delicada últimamente, por lo tanto solo la aplico para corregir las cejas, ojeras y emparejar el tono. Al final puede parecer que las cejas sobresalen mucho 😅jejej pero luego de echar el polvo compacto se torna más natural.
Before applying any product I wash my face very well and dry it very carefully so as not to scratch it, it is very important to prepare the skin before using any product. I then paint my eyebrows with a little brown shadow on the lighter parts and then I comb them with the mascara brush (one that has no more product). I then apply my foundation which is low coverage but that's because my skin is very delicate lately, so I only apply it to correct the brows, dark circles and even out the tone. At the end it may seem that the eyebrows stand out a lot 😅hehehe but after applying the pressed powder it becomes more natural.
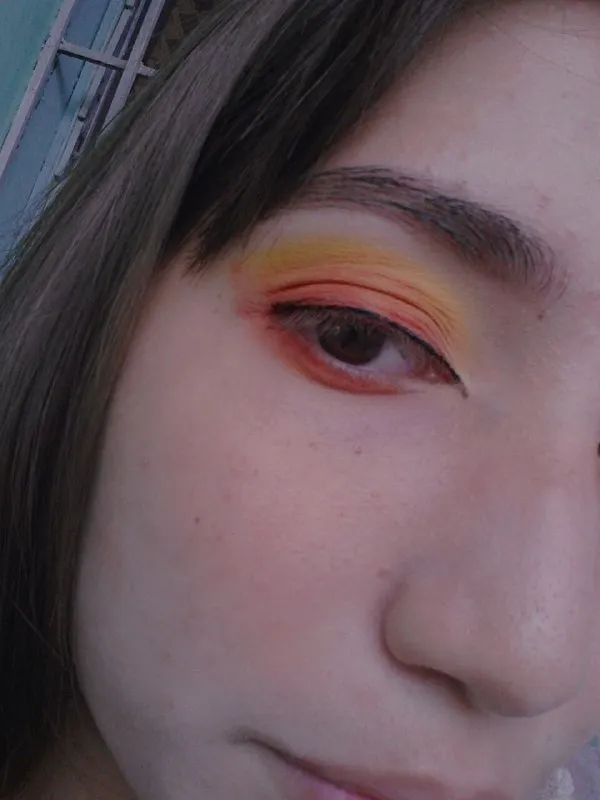
Ahora pasamos a los ojos una de mis partes favoritas💕, sobretodo aplicar las sombras; en este caso comenzamos desde el color más claro (el amarillo) y lo aplicamos alrededor de todo el parpado de forma redonda (almendrado), luego el naranja en el centro,mientras que cerca de las pestañas echamos el rojo el color más oscuro para finalmente difuminar y echar un poco también en la parte baja de el ojo.
Now we move on to the eyes, one of my favorite parts💕, especially applying the shadows; in this case we start with the lightest color (yellow) and apply it around the entire eyelid in a round shape (almond-shaped), then the orange in the center, while near the eyelashes we apply the red, the darkest color, to finally blend and apply a little bit also on the lower part of the eye.


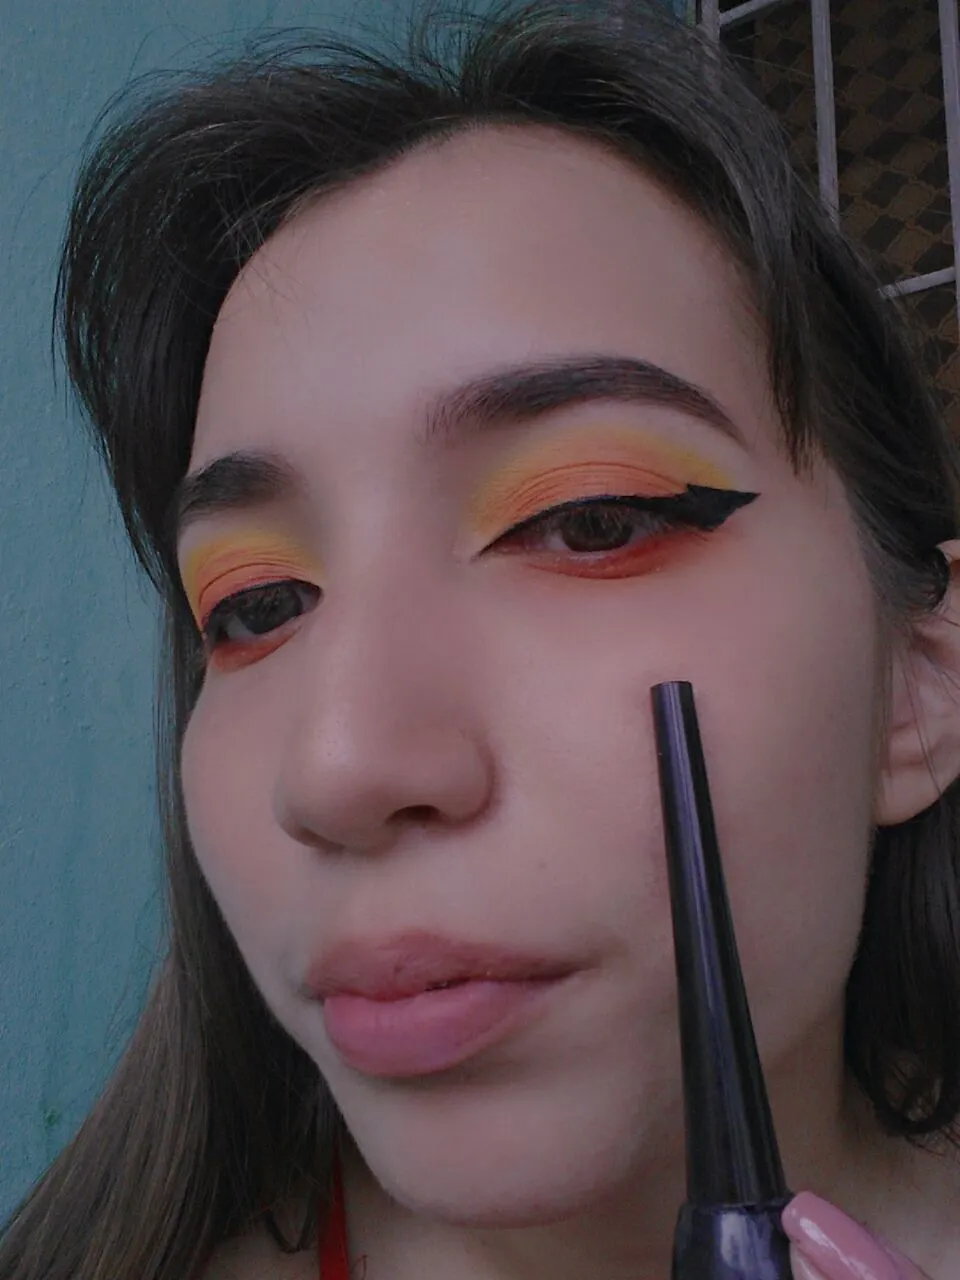
Otra parte muy importante es el “Eyeliner” que puede ser la parte más complicada, lo que yo suelo hacer es lo siguiente: primero marco con el rotulador, ya que es más claro y fácil de corregir o limpiar y luego marcando con mucho cuidado todo el contorno de mi parpado de forma muy finita. Segundo con el delineador líquido vuelvo a marcar el contorno pero ya al final hago la forma de una media flecha.
Another very important part is the "Eyeliner" which can be the most complicated part, what I usually do is the following: first I mark with the marker, as it is clearer and easier to correct or clean and then very carefully marking all the contour of my eyelid in a very fine way. Secondly, with the liquid eyeliner I mark the contour again but at the end I make the shape of a half arrow.
Casi siempre trato de delinear con mis ojos semiabiertos y viendo hacia el frente ya que mis parpados estan algo caídos. Entonces necesito que la punta de la flecha se junte con el centro sin doblarse. Aunque medios cerrados quedaran así:
I almost always try to line with my eyes half open and looking straight ahead since my eyelids are a little droopy. Then I need the tip of the arrow to meet the center without bending. Even if half closed they will stay that way:
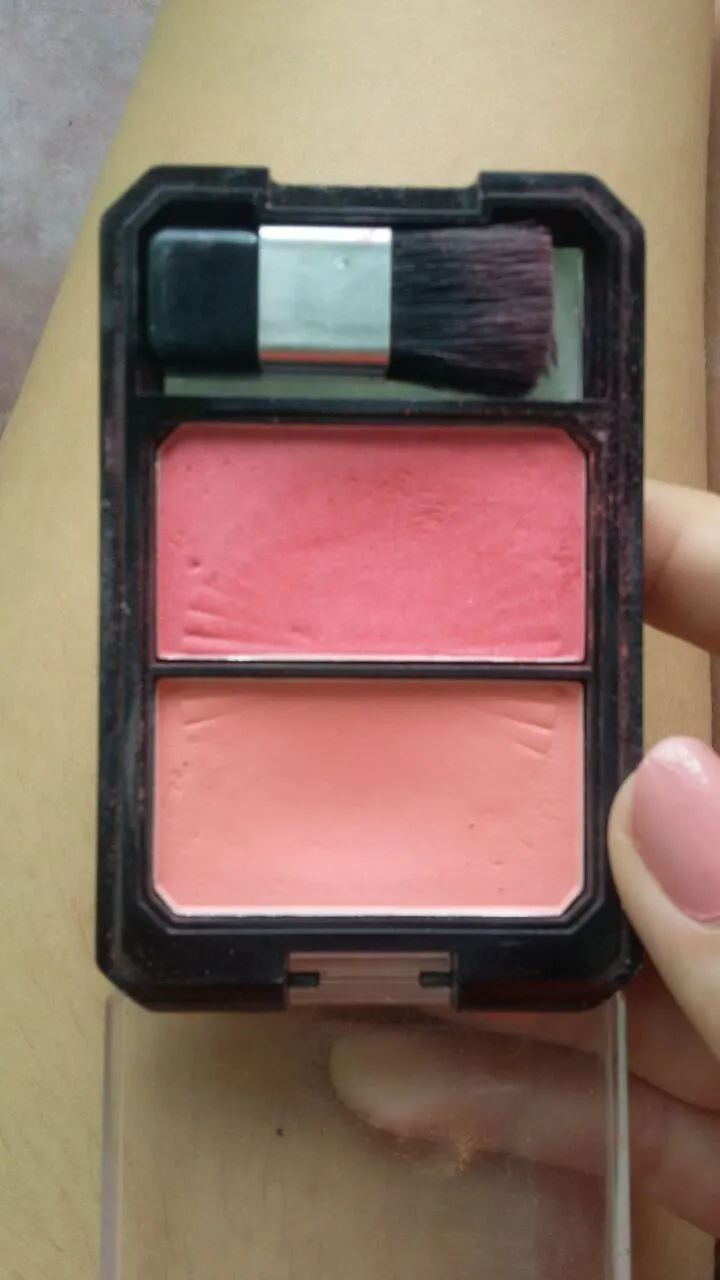
Paso aplicarme un poco de rubor aunque la verdad olvide tomar foto de eso😢. Solo lo hago de forma sutil ya que el centro de atención de este maquillaje son los corazones.💘
I applied a bit of blush although I forgot to take a picture of it😢. I only do it subtly as the focus of this makeup is on the hearts. 💘
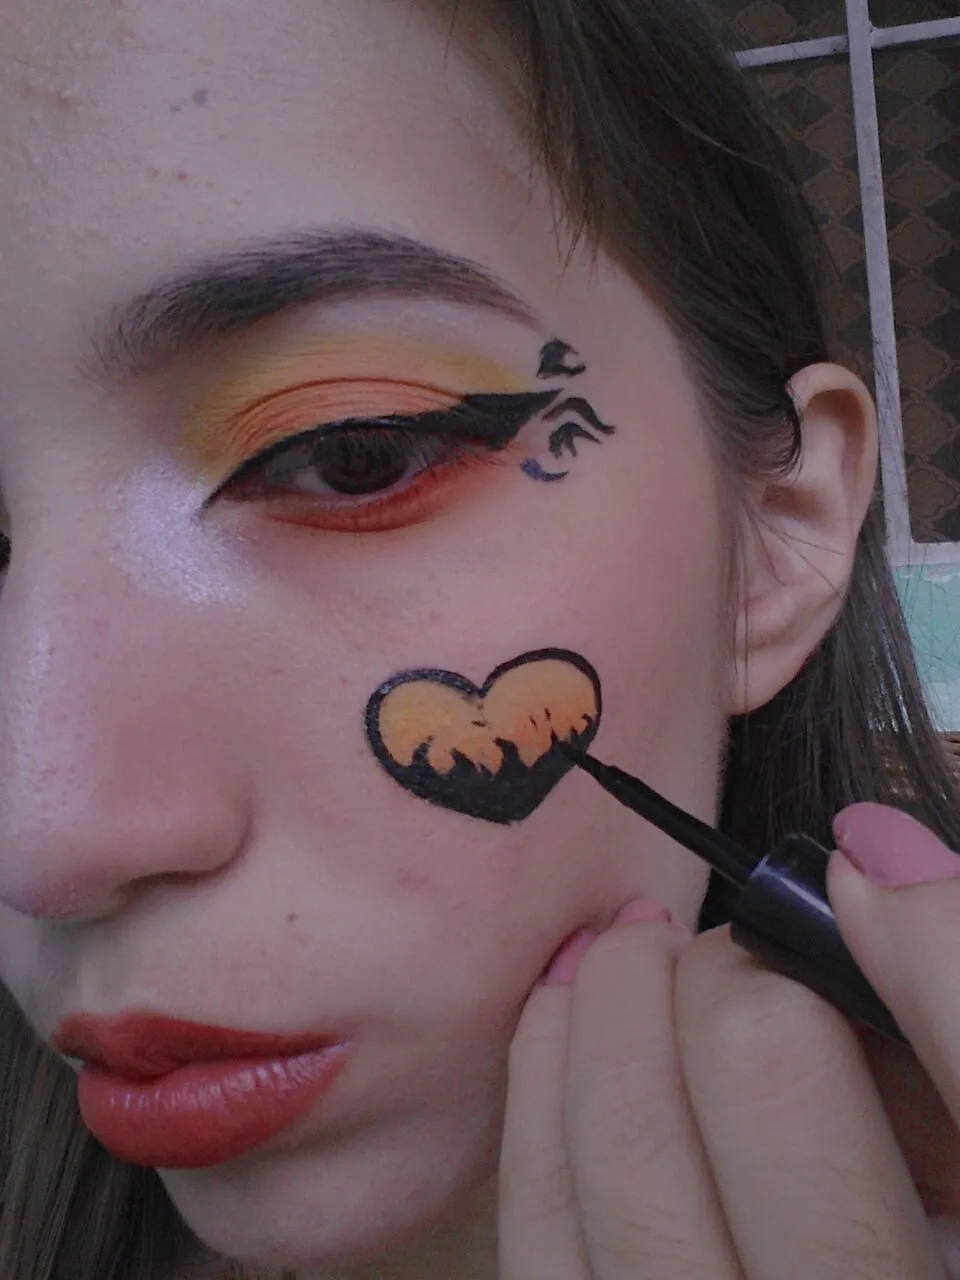
Con el mismo rotulador marco la forma de los corazones y cuando ya estaba conforme con ellos aplico las sombras de la misma forma que antes; primero, amarillo luego naranja y un poco de rojo. Sin olvidar difuminar un poco al final.
With the same marker I mark the shape of the hearts and when I was satisfied with them I apply the shadows in the same way as before; first, yellow, then orange and a little bit of red. Without forgetting to blend a little at the end.


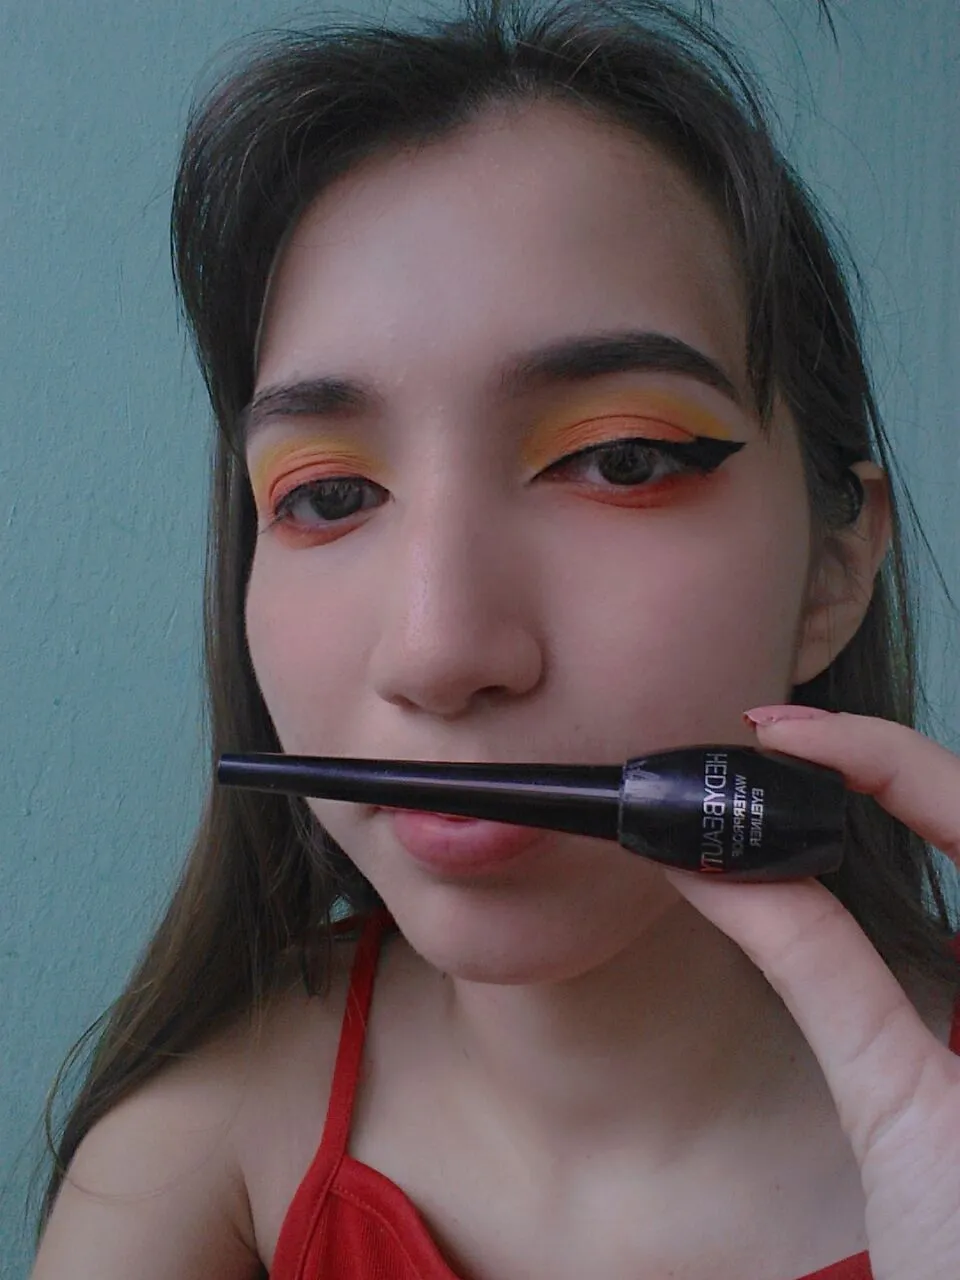
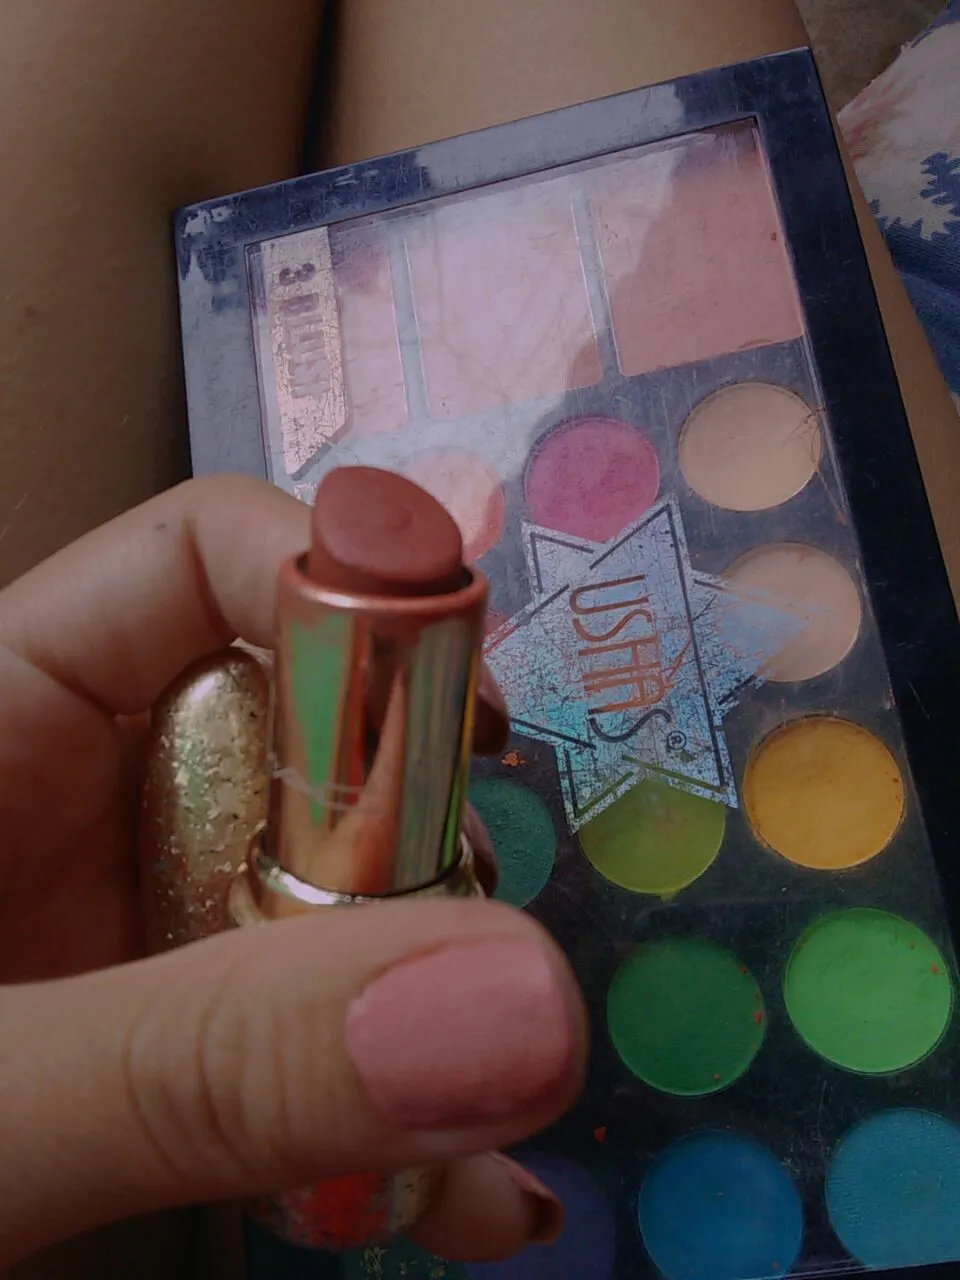
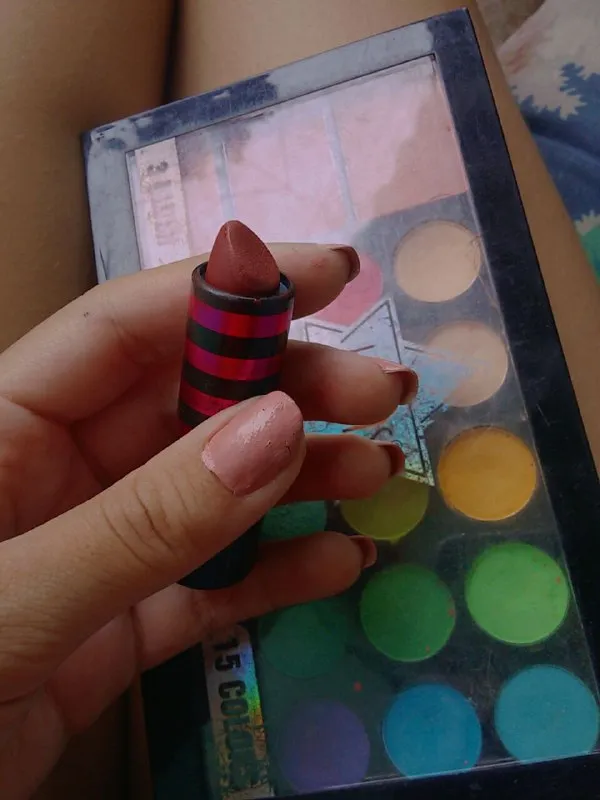
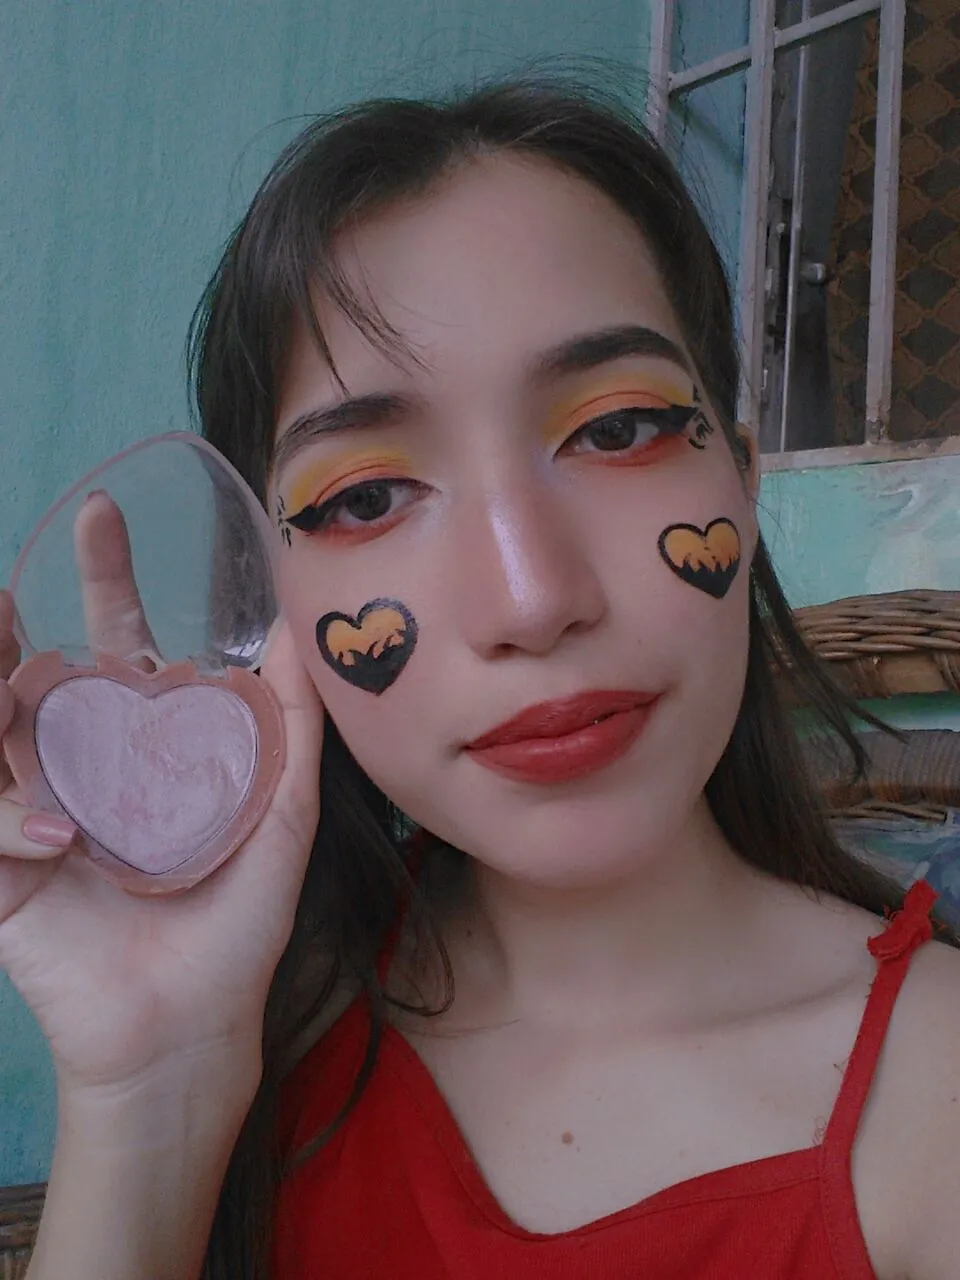
El Color de los labios lo conseguí mezclando dos tonos. Use un labial neutral (casi cobrizo) primero y después un tono vinotinto para darle más color, quería que quedara un rojo más claro pero sin llegar al rosado. Y al terminar con los labios no queda más que terminar los pequeños detalles como aplicarme el rímel, remarcar los corazones y hacer las llamas.
The lip color was achieved by mixing two shades. I used a neutral lipstick (almost coppery) first and then a vinotint tone to give it more color, I wanted it to be a lighter red but without going pink. And when I finished with the lips I just had to finish the little details like applying mascara, highlighting the hearts and making the flames.
Pero no solo quería hacerlas en el corazón si no también alrededor de mis ojos, para así pasar a echarme iluminador en mi nariz y en el lagrimal.
But I not only wanted to do them on my heart, but also around my eyes, so I could then apply highlighter on my nose and tear troughs.
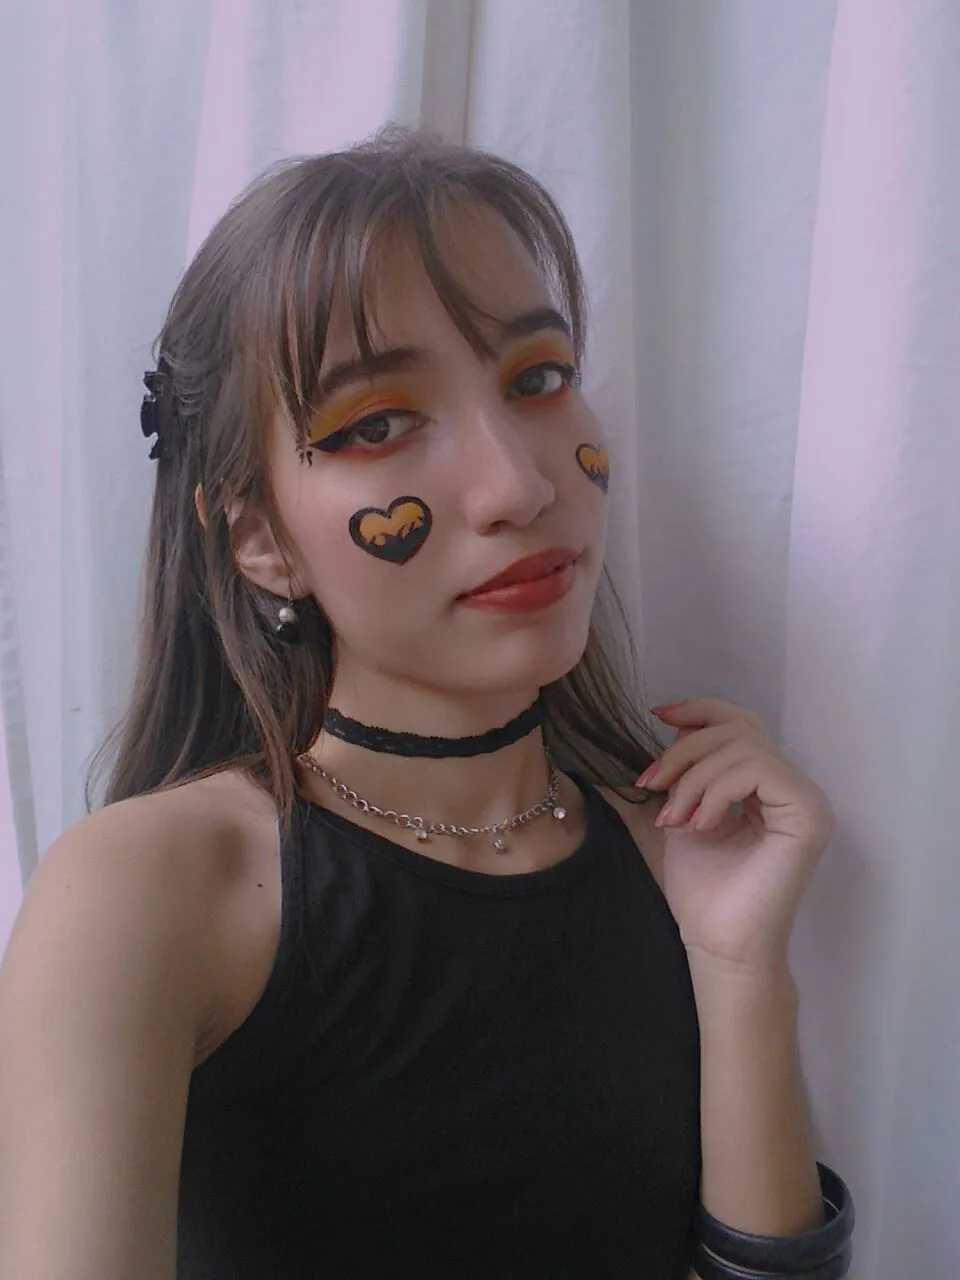
Bueno eso fue todo el proceso en resumidas palabras jeje😁 para mi fue muy divertido ir grabando cada paso es la primera vez que hago un post sobre maquillaje y lo disfrute como resulto todo al final. Espero que les guste también y se animen hacer otros. Si les gusta este tipo de contenido pueden seguirme como @tifany tengo pensado subir más tutoriales de maquillaje. Les deseo un buen día hasta la próxima.😊✨
Well that was the whole process in a nutshell hehe😁 for me it was a lot of fun to go recording each step is the first time I do a post about makeup and I enjoyed how it all turned out in the end. I hope you like it too and I encourage you to do others. If you like this kind of content you can follow me as @tifany I plan to upload more makeup tutorials. I wish you a good day until next time.😊✨

📸Las Fotos Son De Mi Autoría
🎞Edita en canvas y Picsart
📚Traducido por DeepL
📸Photos Are My Own
🎞Edited in canvas and Picsart
 📚Translated by DeepL