Hello.
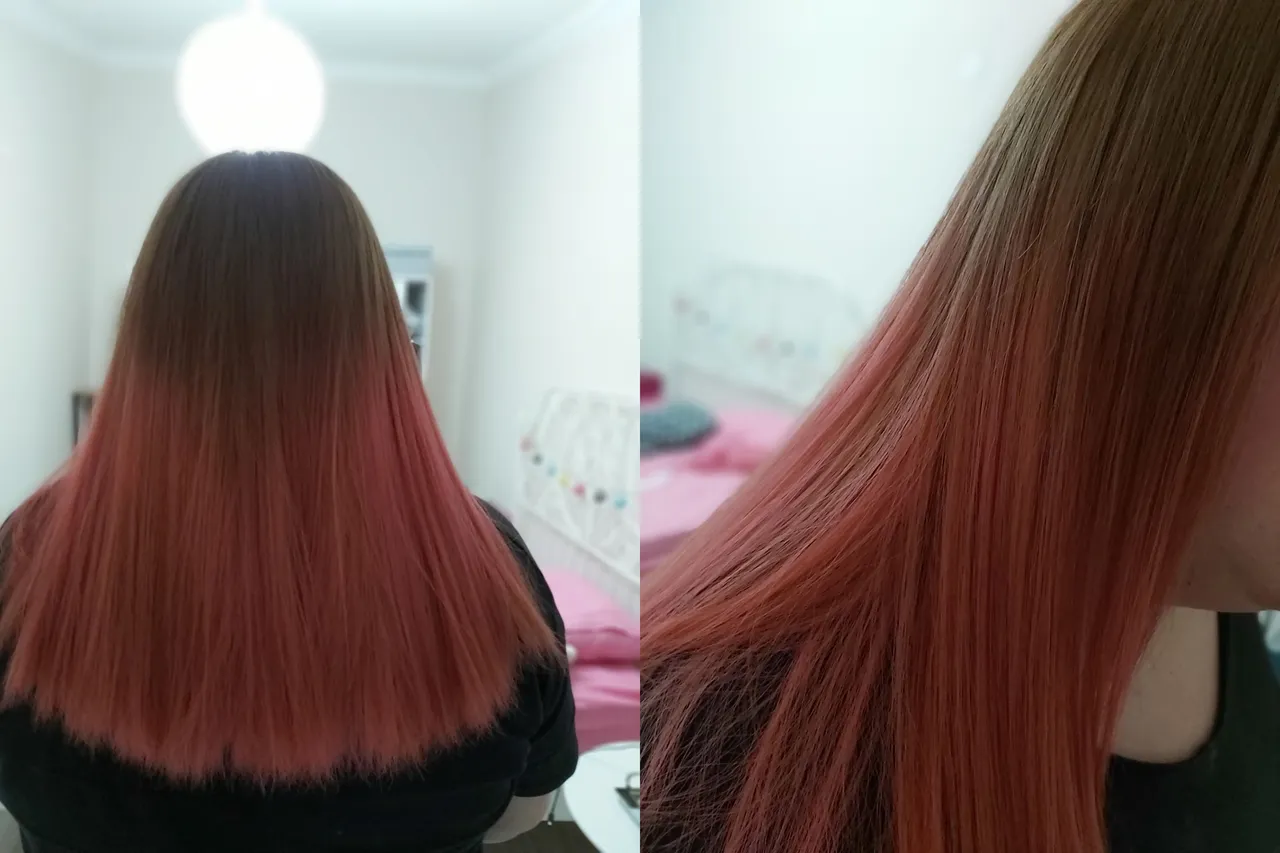
Since the day we entered the quarantine process, I have made great changes in my hair. First of all, I opened my jet black hair with a hair opener. Then I made a pink ombre, no matter how much you take care of it, it wears out the lightening hair. I also said that I would solve these wear and tear with keratin care. I have never had a Brazilian blow dry and keratin care before, neither for hairdressers nor at home.
I have been wanting to have a Brazilian Blow Dryer for years, but this process is very expensive at the hairdressers here. That's why I had to postpone it all the time. Later, while surfing the internet, I learned that I can do this at home at very low cost. I was very happy to learn about this, but I had question marks in my mind. I was wondering if I could really get a result like in hairdressers. Then I decided to give it a try. The total cost is 10 dollars with salt-free shampoo, keratin, hair mask.
Brazilian Blowout at the hairdresser; 80 dollars / Brazilian Blow Dry at Home; 10 dollars
I prepared this article in order to be a guide for those who want to make a Brazilian blow dry. I will share as detailed as I can. You can ask what you wonder in the comment section. Now let's move on to how I did it step by step.
Materials Required for Brazilian Blow Dry;
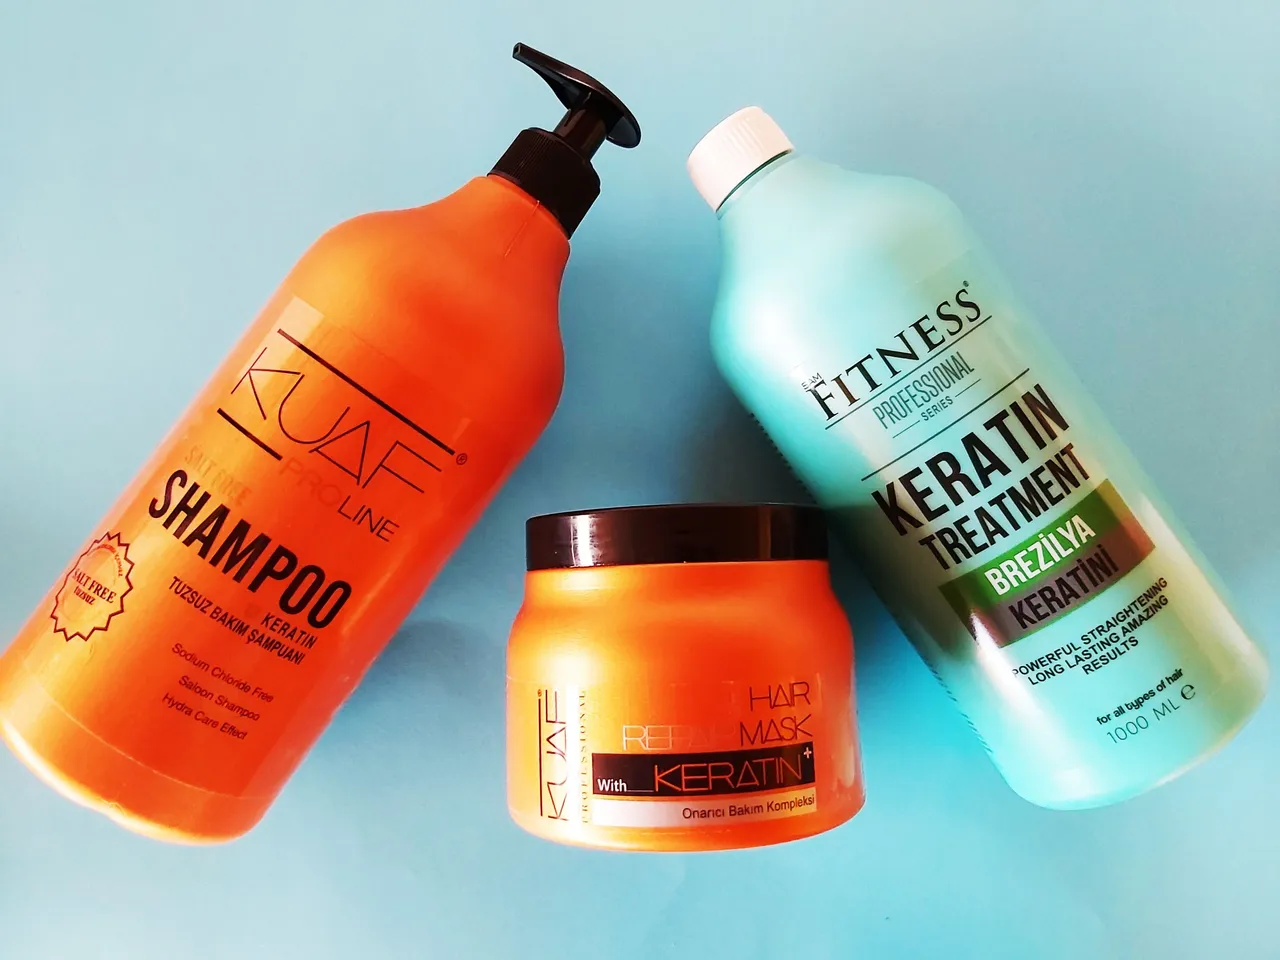
| Salt Free Shampoo and Conditioner | Liquid Keratin | Hair Straightener |
|---|
| Hair Straightener | Hair dryer | Comb |
|---|
Keratin Treatment
First of all, I washed my hair twice with salt-free shampoo. Salt-free shampoo is very important before and after the procedure. You should now use salt-free shampoo every time you take a bath. I bought a recommended salt-free shampoo on the internet. It was important for me to have 1lt. I wouldn't have to constantly buy it.Try to stay away from sulfate and paraben-containing shampoos so that the blow dryer lasts longer on the hair.
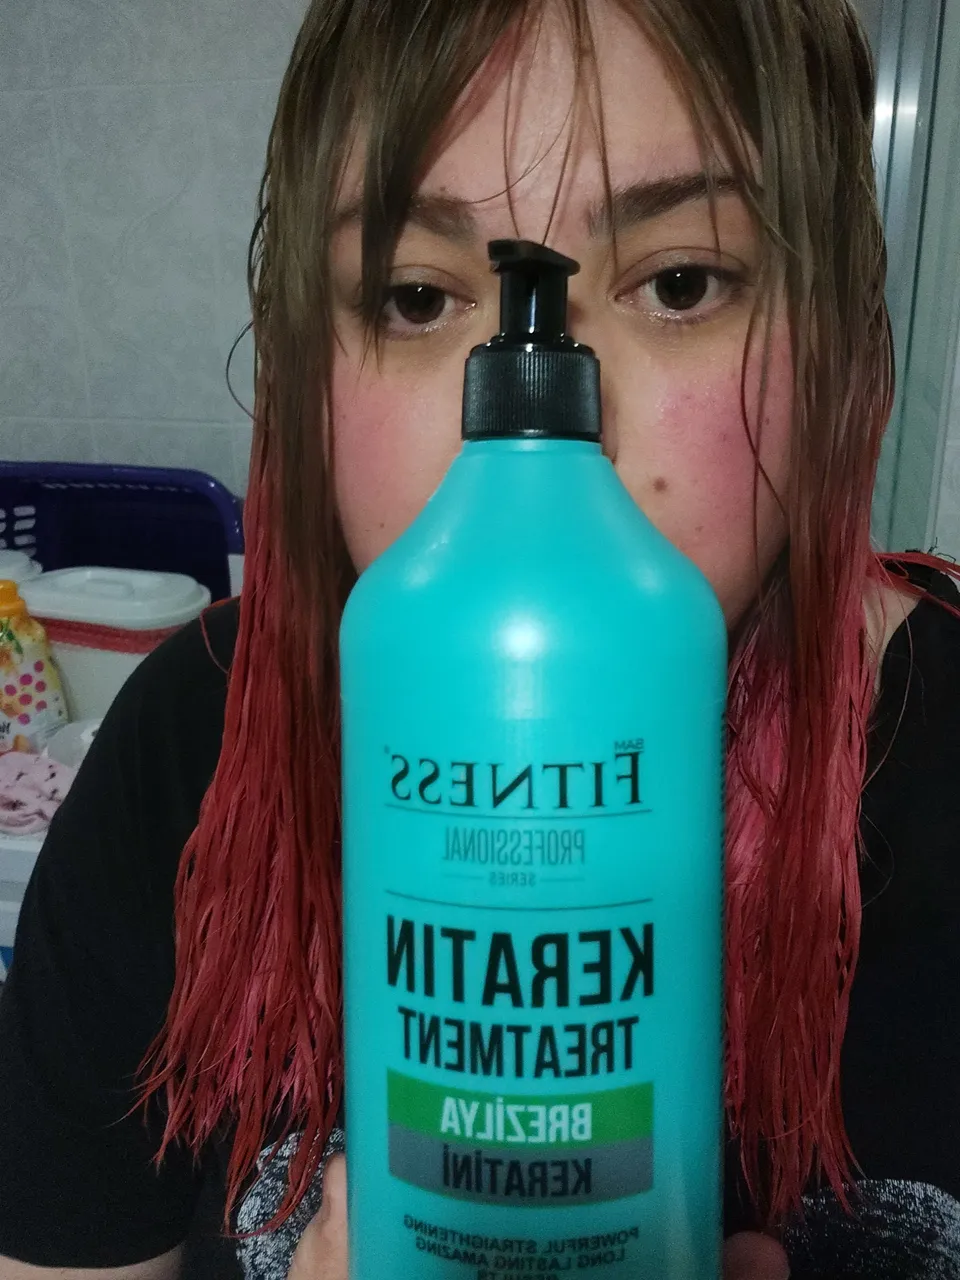
After washing my hair, I removed the excess water with a towel. Hair should not be too wet, but slightly damp. I poured keratin on a plate. With the help of a brush, I applied keratin on all my hair without touching my scalp too much. I did this by dividing my hair into tufts. It was easier that way. Then I waited for 25-30 minutes for my hair to absorb the keratin.
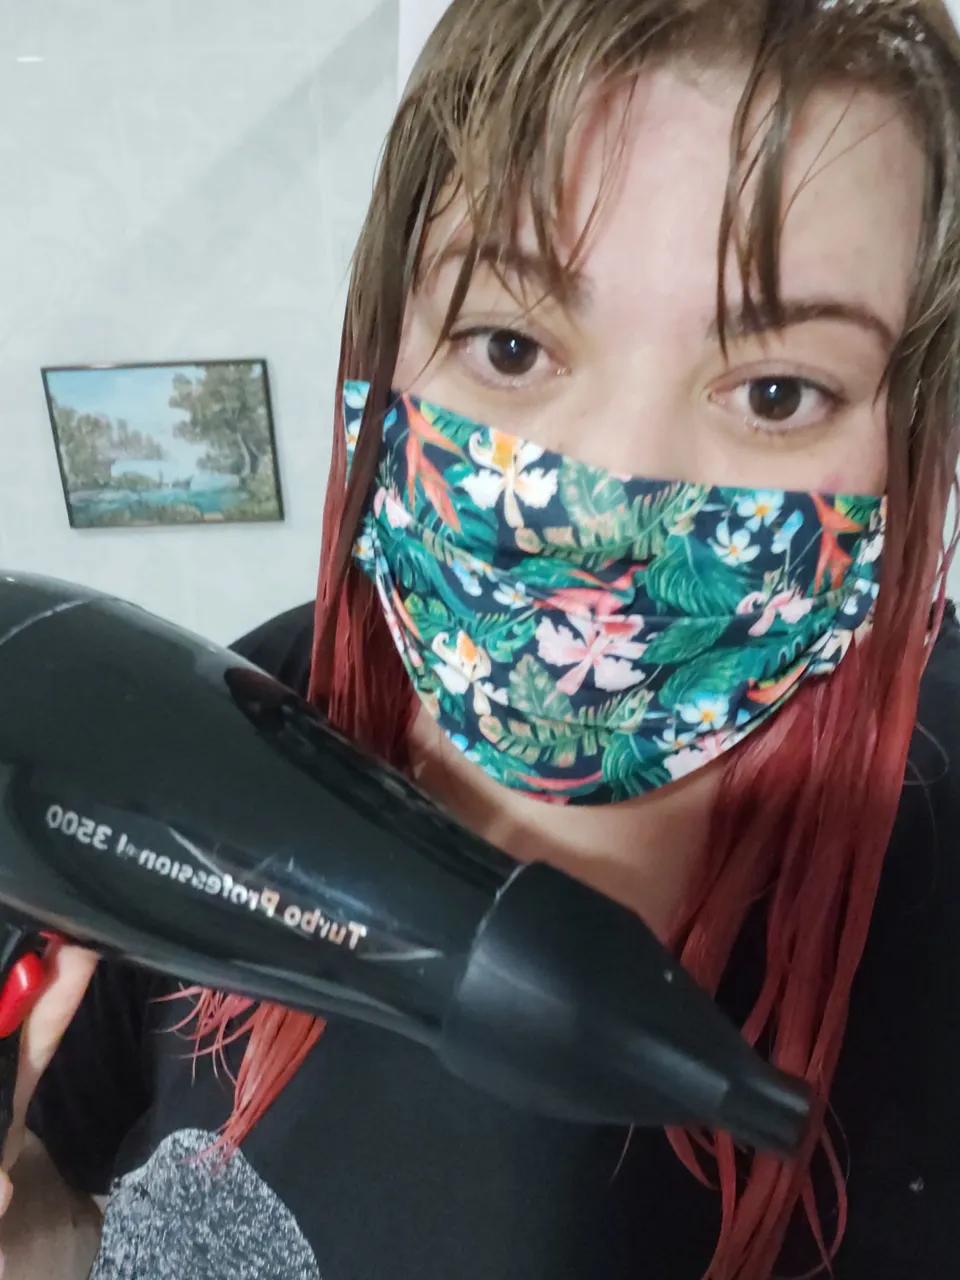
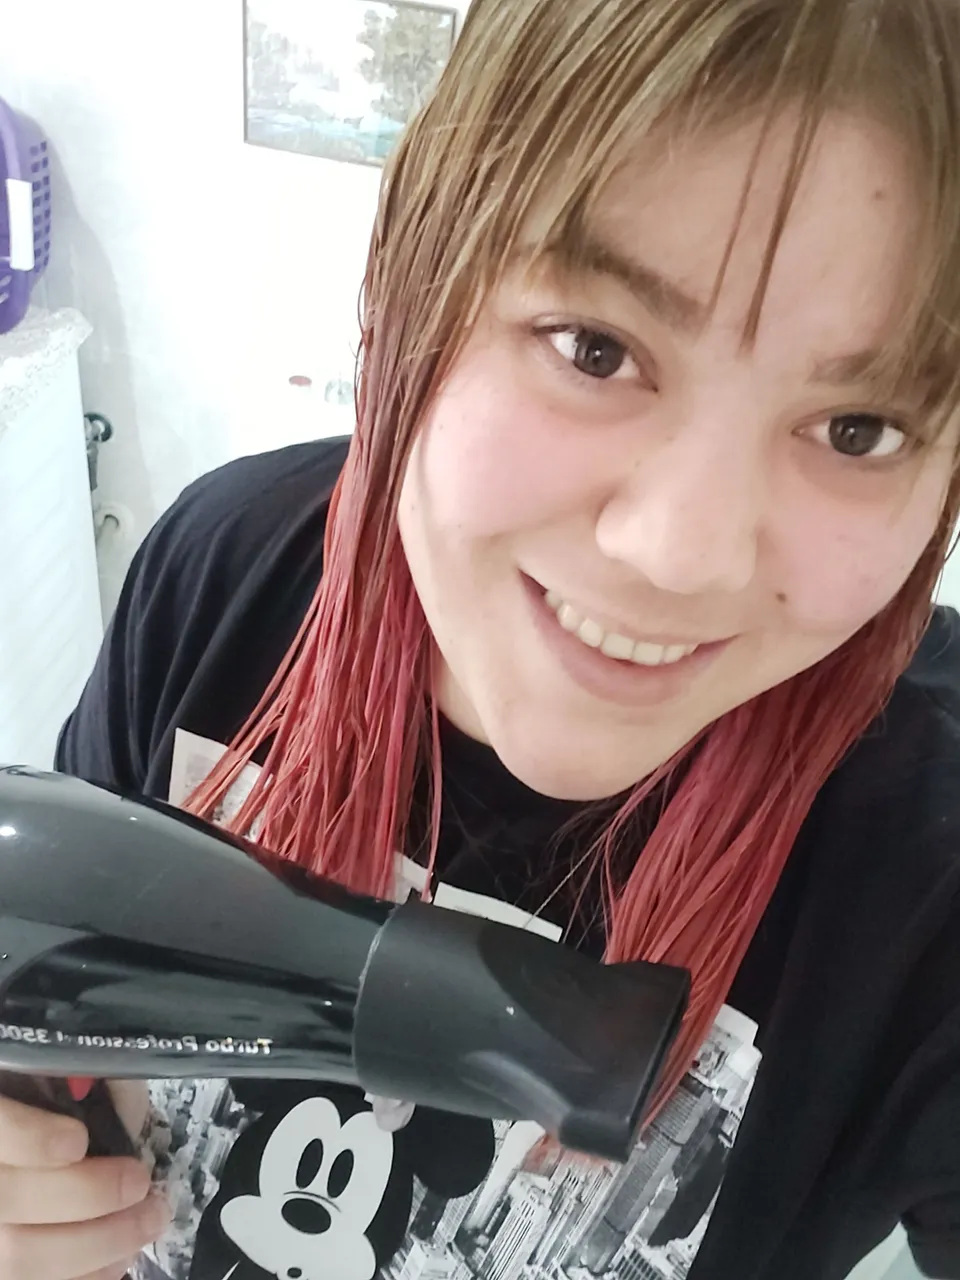
After half an hour, I started to blow-dry my hair. Take care to wear a mask before proceeding with this process. In fact, if you can, do this in a breezy place. I did this in the bathroom and while I was drying with a blow dryer, the excess keratin that came to the hair evaporated, spread around in the form of smoke and started to smell very bad. You can see it from my eyes in the picture below. I took a break from time to time, breathing in front of the window and back to the procedure. I continued this process until my keratin hair was completely dry.
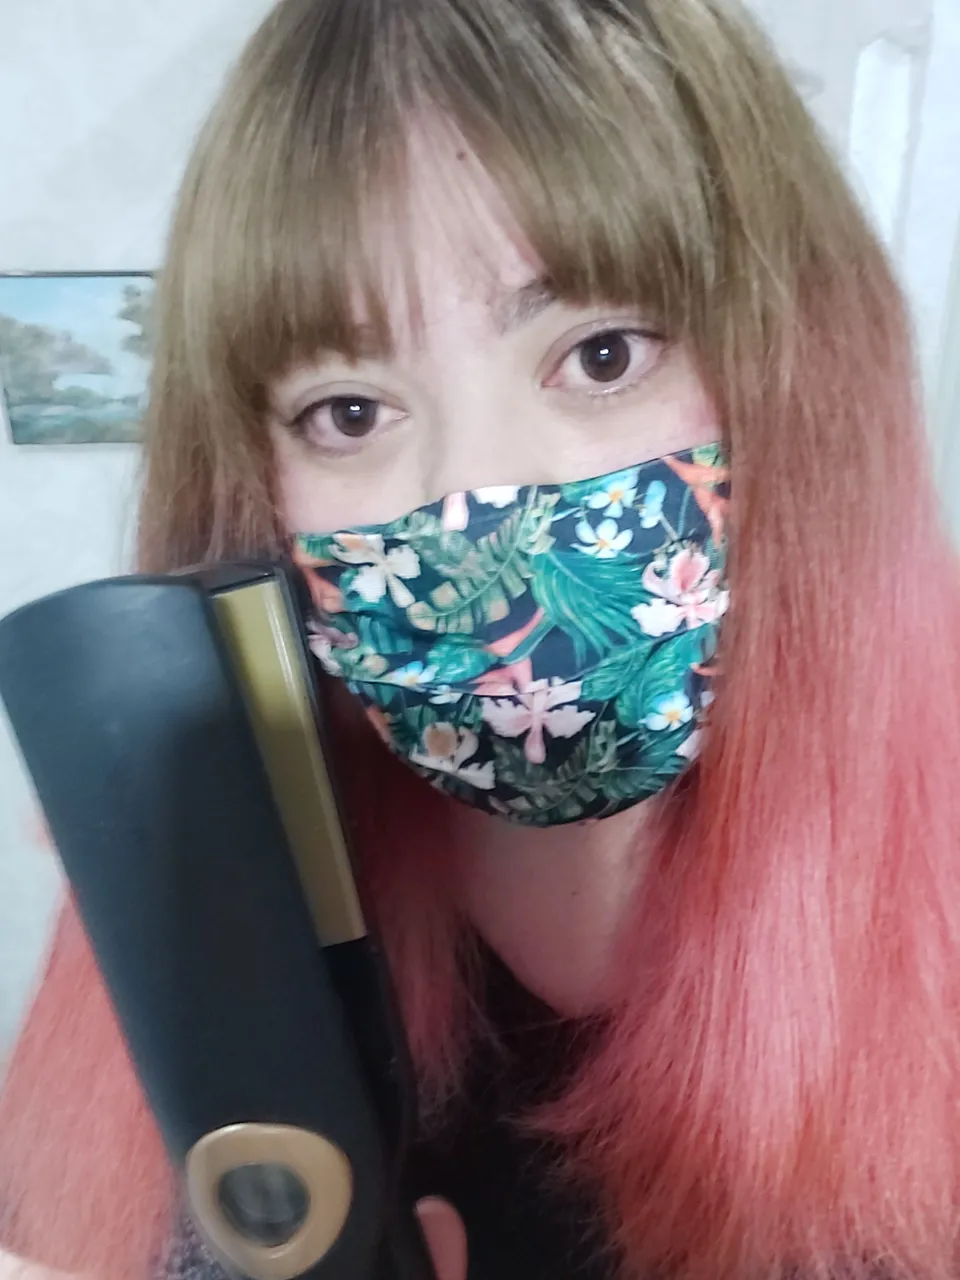
Our work with the blow dryer ends here. I divide the dry hair into tufts and switched to straightening with 280 degrees of heat so that the keratin can penetrate the hair well. To be honest, giving so much heat back to back into my hair just freaked me out. However, I continued this process. Somehow I had nothing to lose. :) I straightened all the tufts three times just to be sure.
After the Process;
After smoothing, all we have to do is just wait. Keratin needs to penetrate the hair well. Therefore, you should not touch your hair with water for at least two days. Don't even think about taking a shower during this time! If you can, straighten it back the next day indiscriminately. Even though I did not do it in too much detail, I straightened my hair once again.
In the first 48 hours, if your hair is accidentally wet or damp, dry it with a dryer or straighten it with a medium straightener.
Two Days Later;
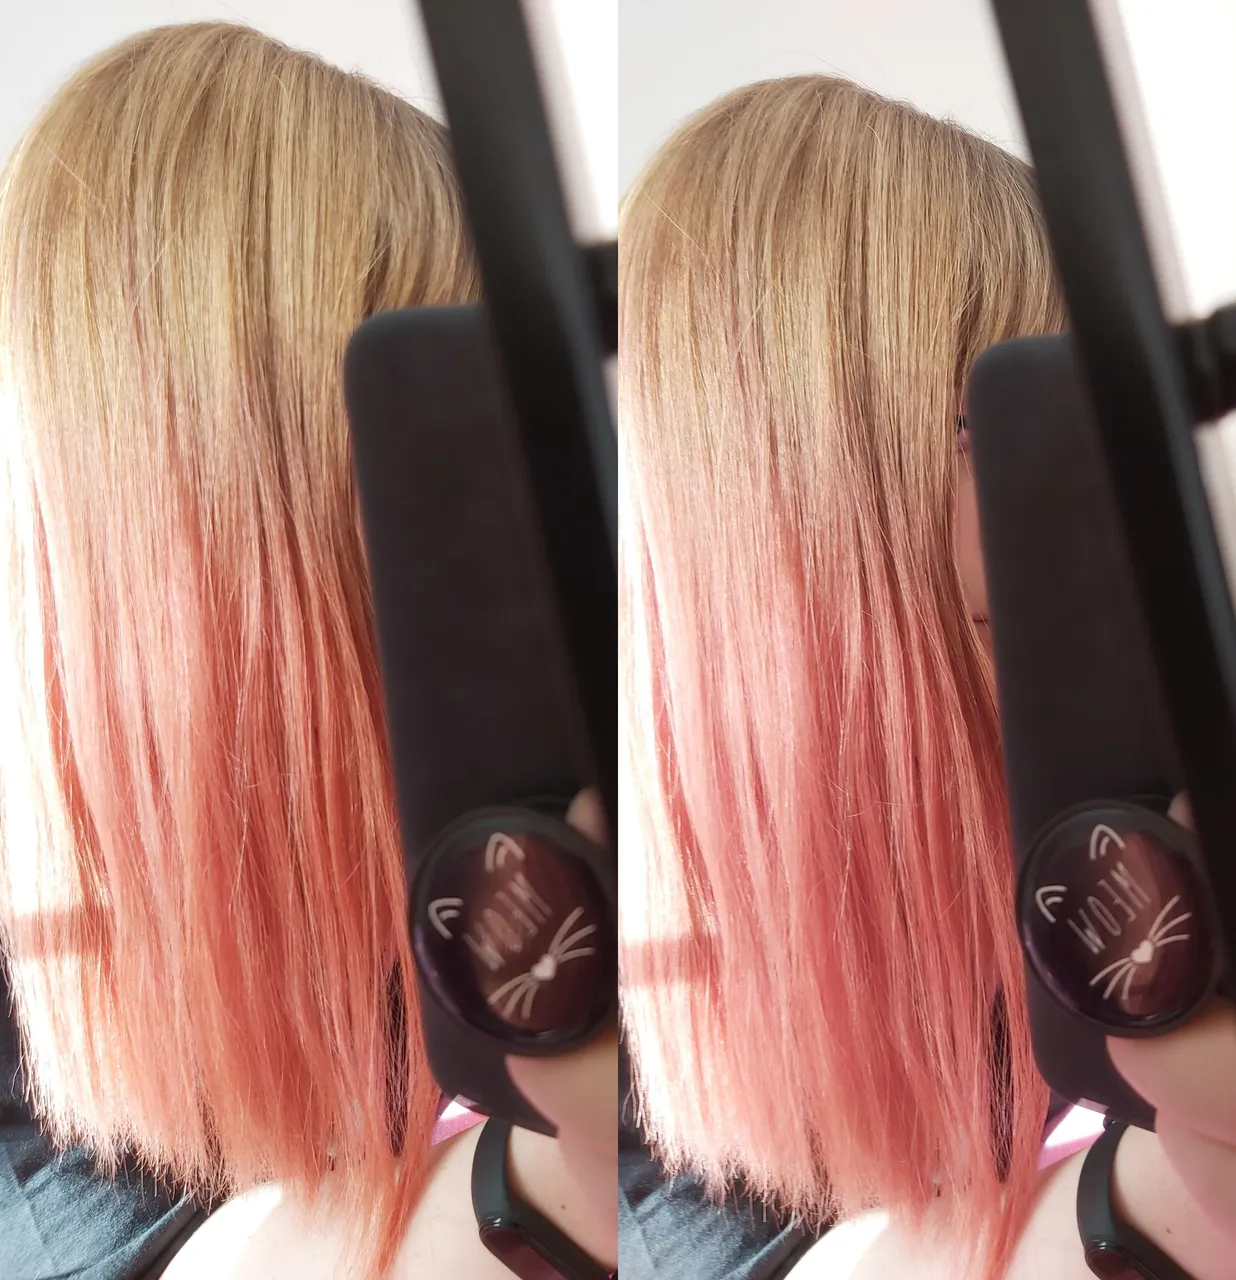
I did not touch my hair with water for two days. Although I was impatient while waiting, I managed to hold back. I washed my hair twice with salt-free shampoo and then applied the salt-free conditioner. After rinsing well, I got out of the shower. After that, the only thing to do is to dry the hair from the top with a blow dryer.
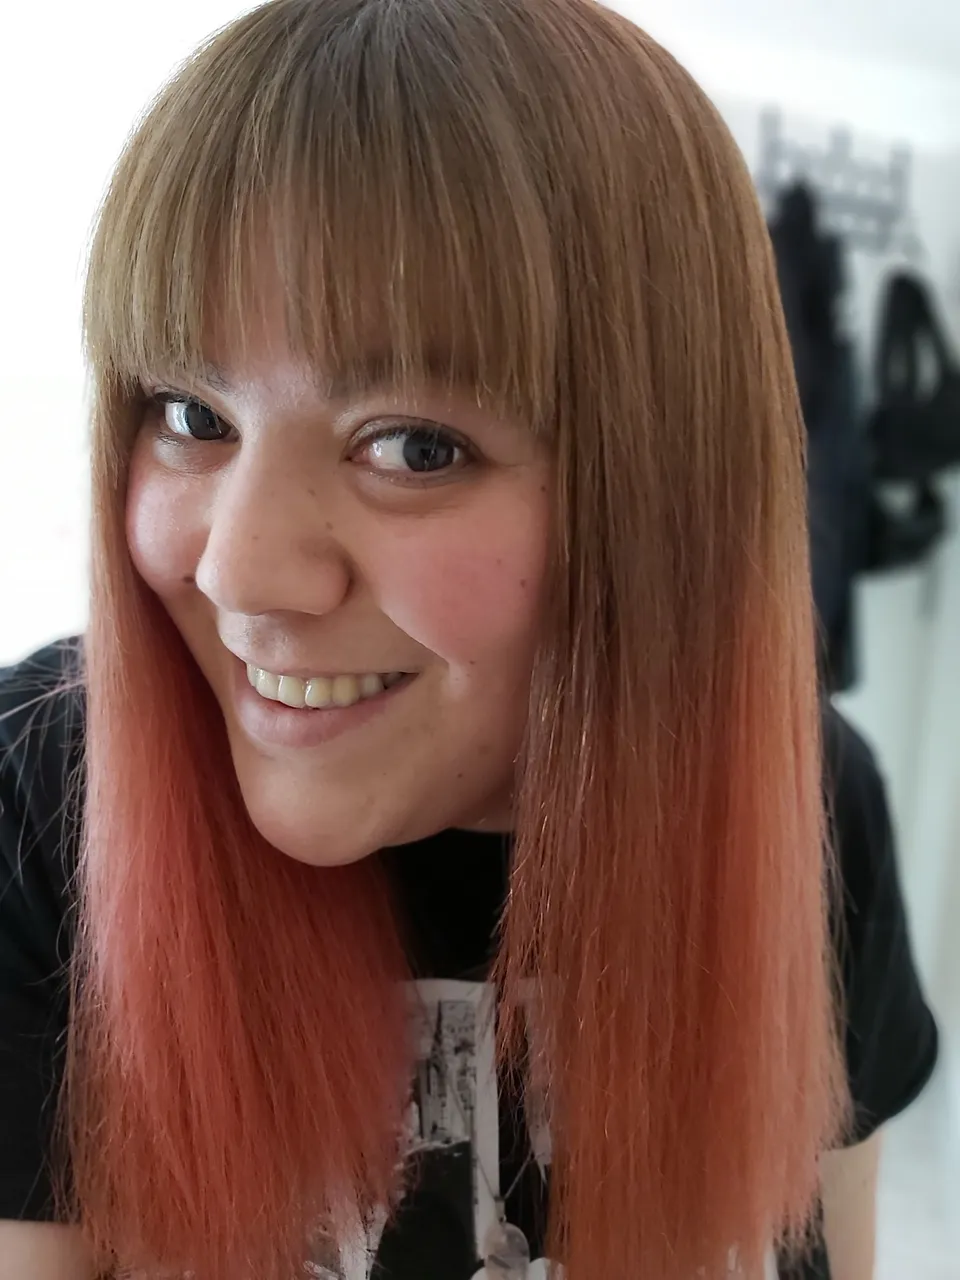
How impossible it sounds, isn't it, waiting for the hair to be flattened just by drying it. It seemed so impossible to me. As my hair started to dry, I couldn't believe my eyes. It flattened out as if it was blow-dried, without really having to touch it with a comb. Besides straightening, my hair became soft. It was as if I had not damaged my hair until yesterday.
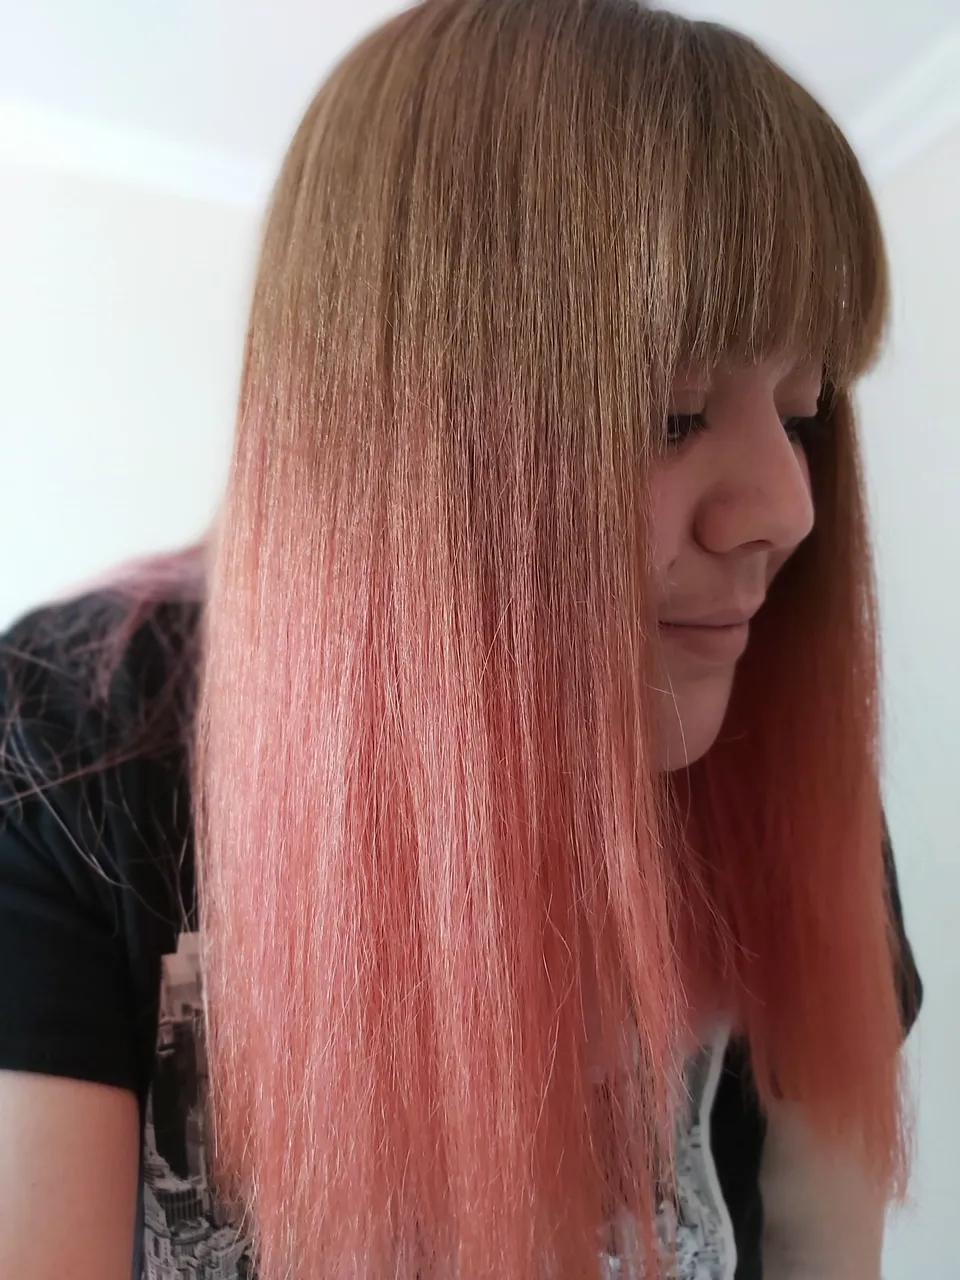
After seeing the result, I said why haven't I discovered this before. Now I was so happy that I wouldn't have to straighten my hair with a hair straightener in the sultry heat in the summer. I am glad that I got rid of this troublesome detail. My first attempt was very successful. Next time I will do it without skipping the ends. There are tufts that I forgot in some places, but they are unobtrusive.
Things to pay attention
- In the summer, we take a shower frequently because we are overwhelmed by the heat and we are sweating. Some of us can even take a shower twice a day. Stop taking a shower twice a day. If you do not stop taking a shower twice, keratin will separate from the hair much faster. This shortens the life of your brazilian blow dryer.
- Chlorine in pools is harmful to hair. When entering the sea and pool, wear bonnets on your hair.
- Make sure to dry your hair with a blow dryer after each wash. Do not let the hair dry by itself.
- Use sulfate-free shampoo, Conditioner and keratin aftercare products.
- Frequently dyeing your hair will make your brazil blow dry unstable. If your hair needs to be dyed, first do the dyeing process and then have a brazil blow dry.
If you pay attention to the above items and follow those rules, your Brazilian blow dry will be much more durable.
Thank you in advance for reading and supporting.