Amigos de Hive🌟
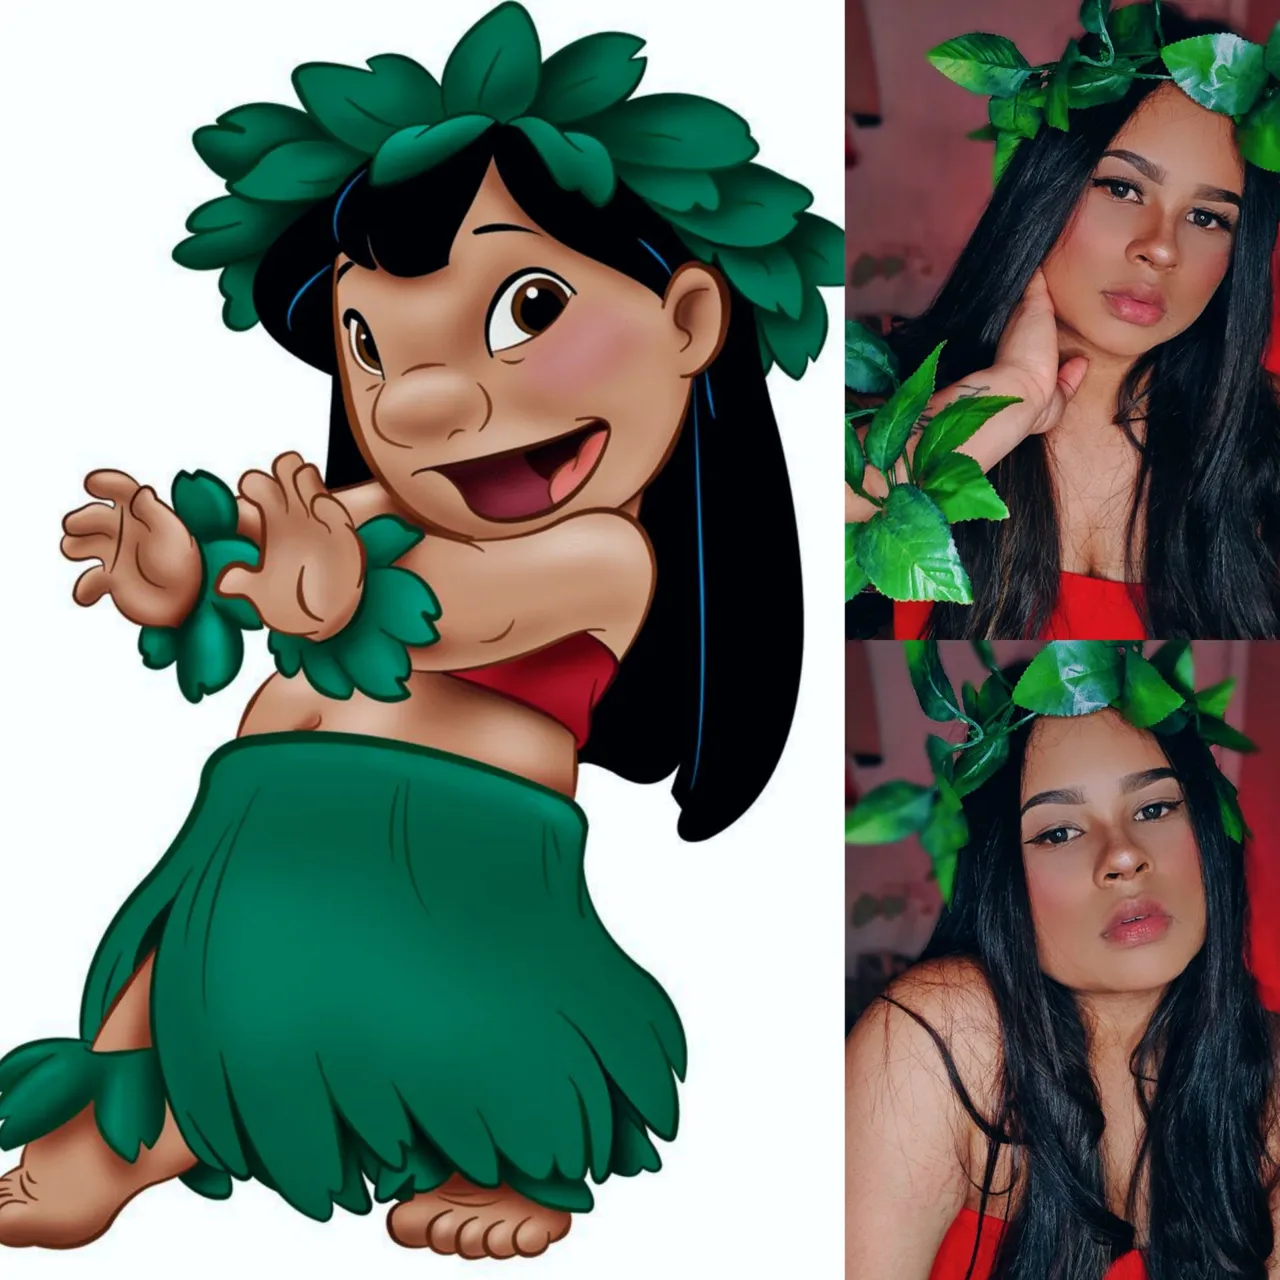
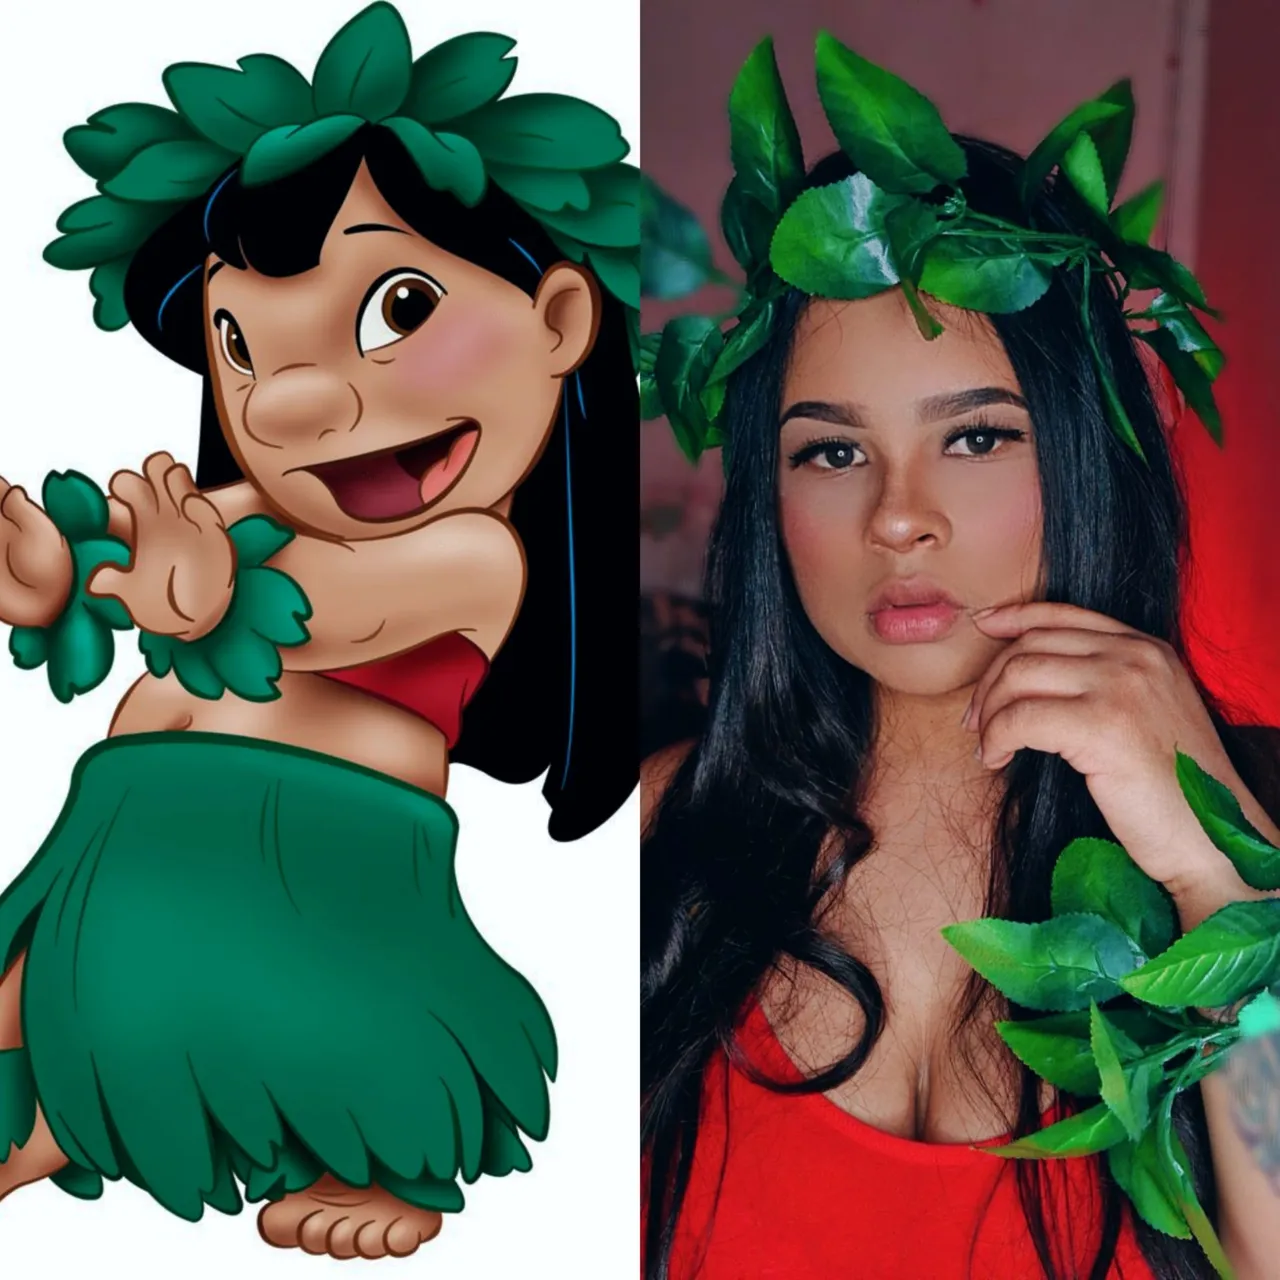
Hola amigos, ¡espero se encuentren muy bien!, mi nombre es Soraya y hoy les vengo a mostrar un makeup que me realicé inspirado en la serie animada "Lilo y stich". Dónde pasó a paso les muestro como me realicé éste sencillo maquillaje.
Cada Jueves me realizo maquillajes inspirado en algún personaje, le dicen "challenge". Espero les guste mucho❤
Friends of Hive🌟.
Hi friends, I hope you're feeling well, my name is Soraya and today I'm here to show you a makeup I did inspired by the animated series "Lilo and Stich". Where I show you step by step how I did this simple makeup.
Every Thursday I do makeup inspired by a character, they call it "challenge". I hope you like it a lot❤
proceso:
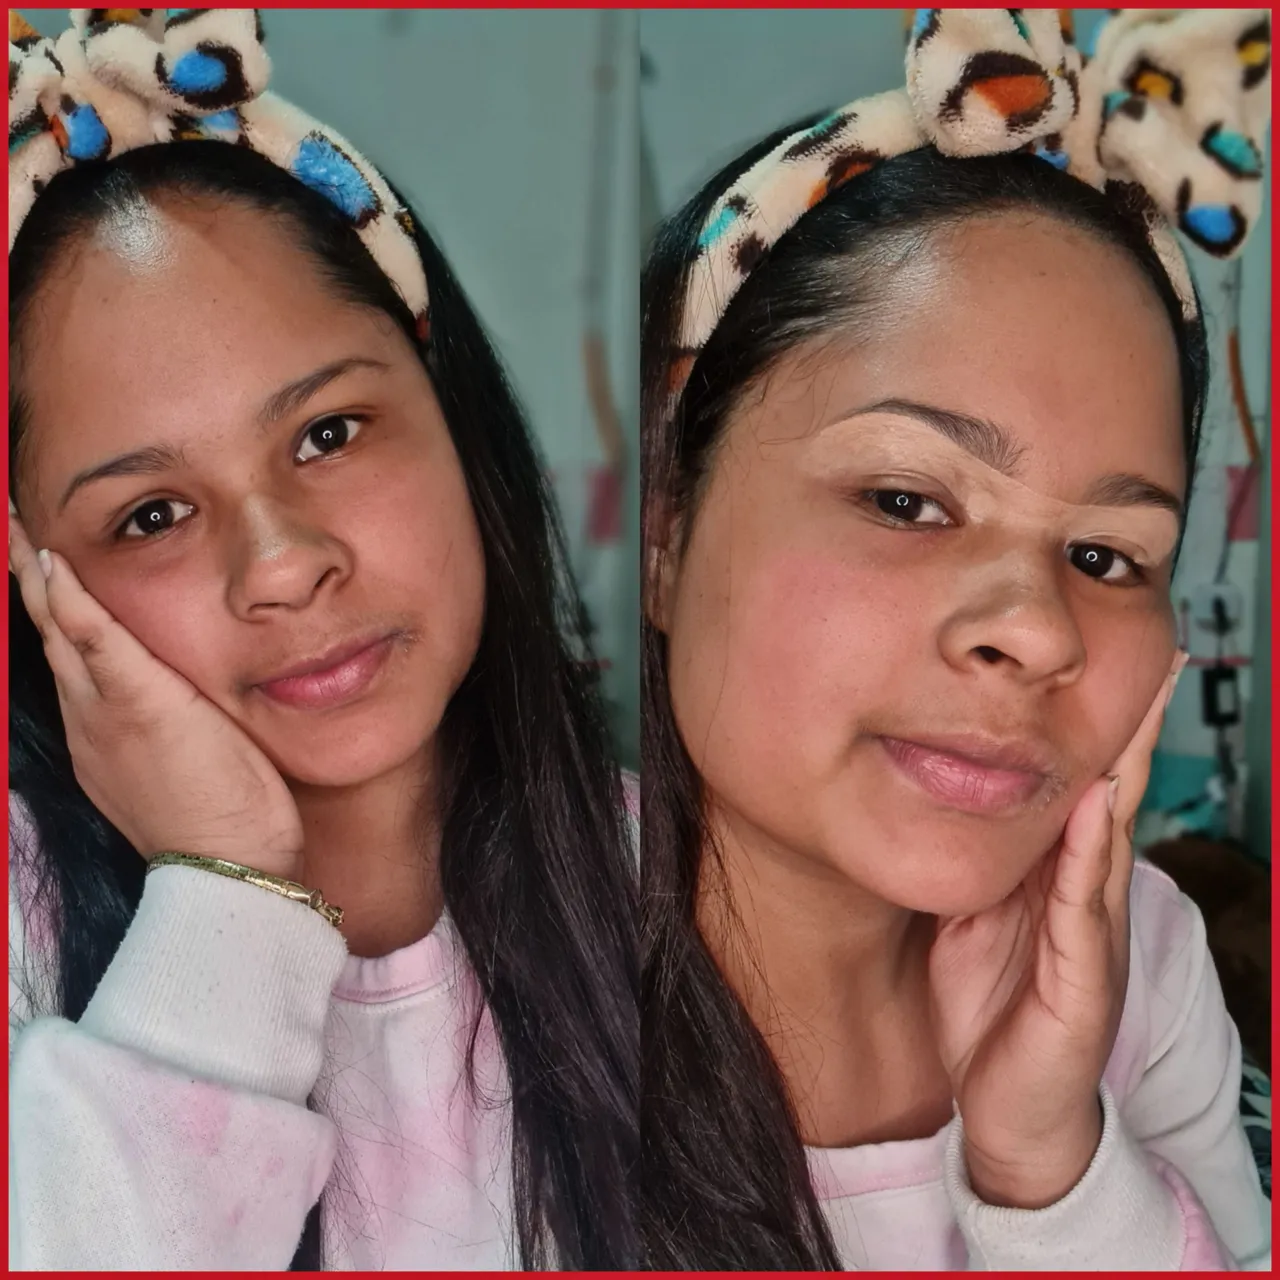
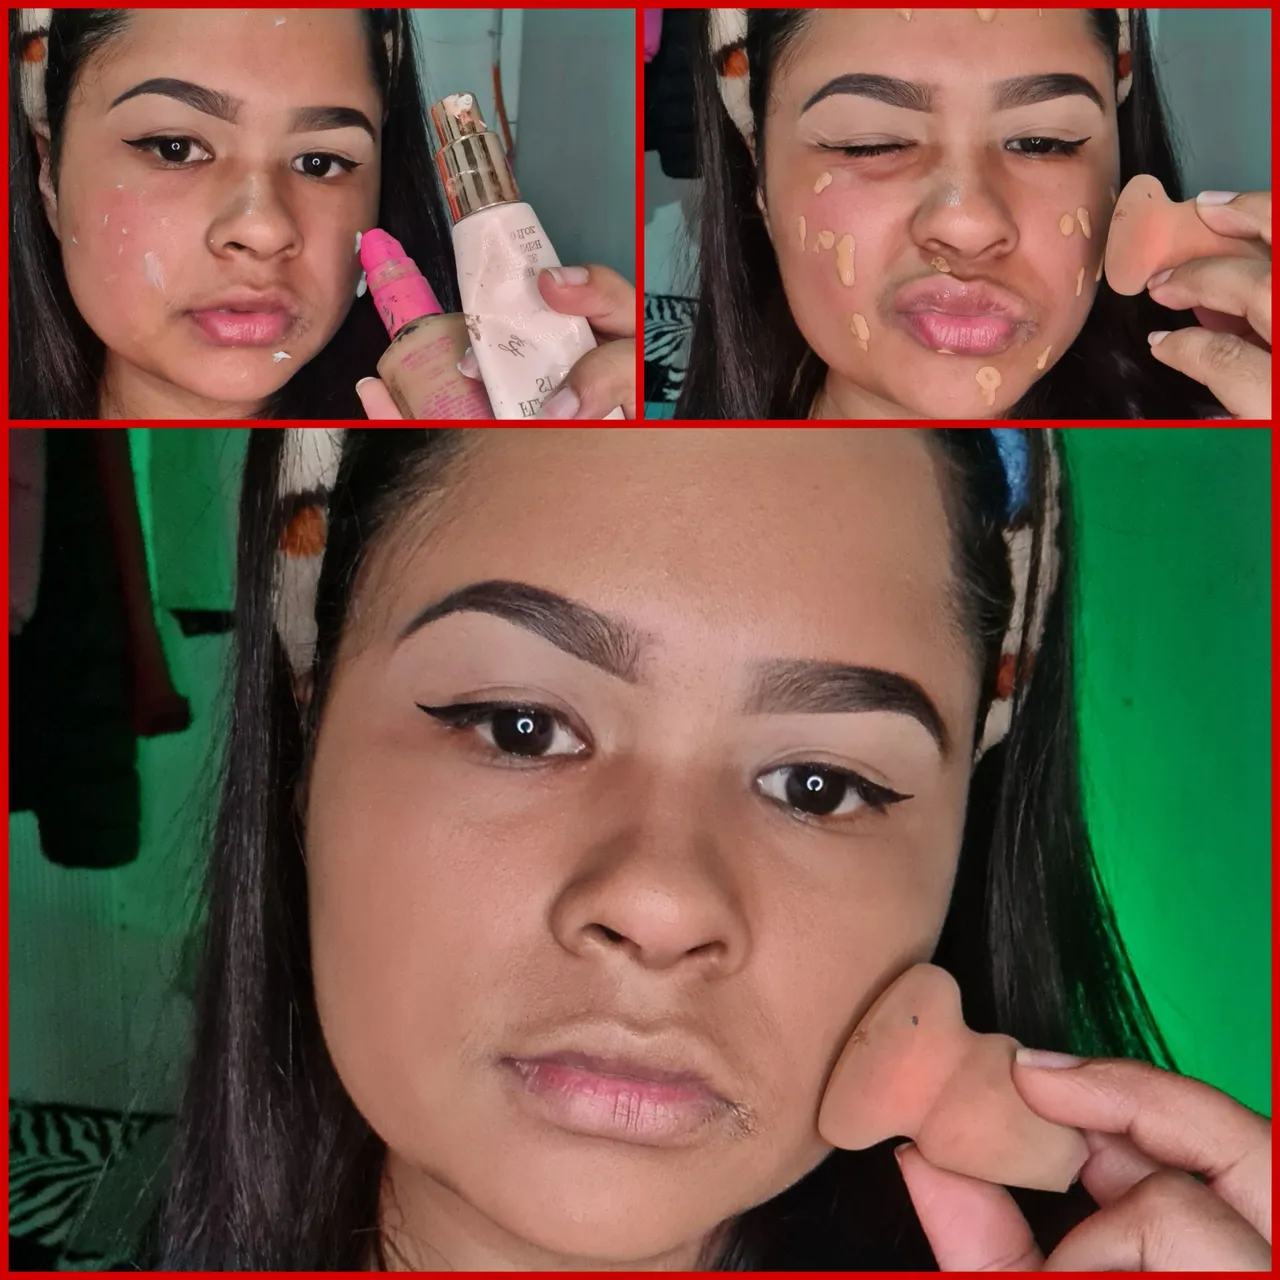
✅Pasó 1: Preparamos bien nuestro rostro, tomando en cuenta que debemos tener una rutina de limpieza, acorde con nuestro tipo de piel.
process:
✅Step 1: We prepare our face well, taking into account that we must have a cleansing routine, according to our skin type.
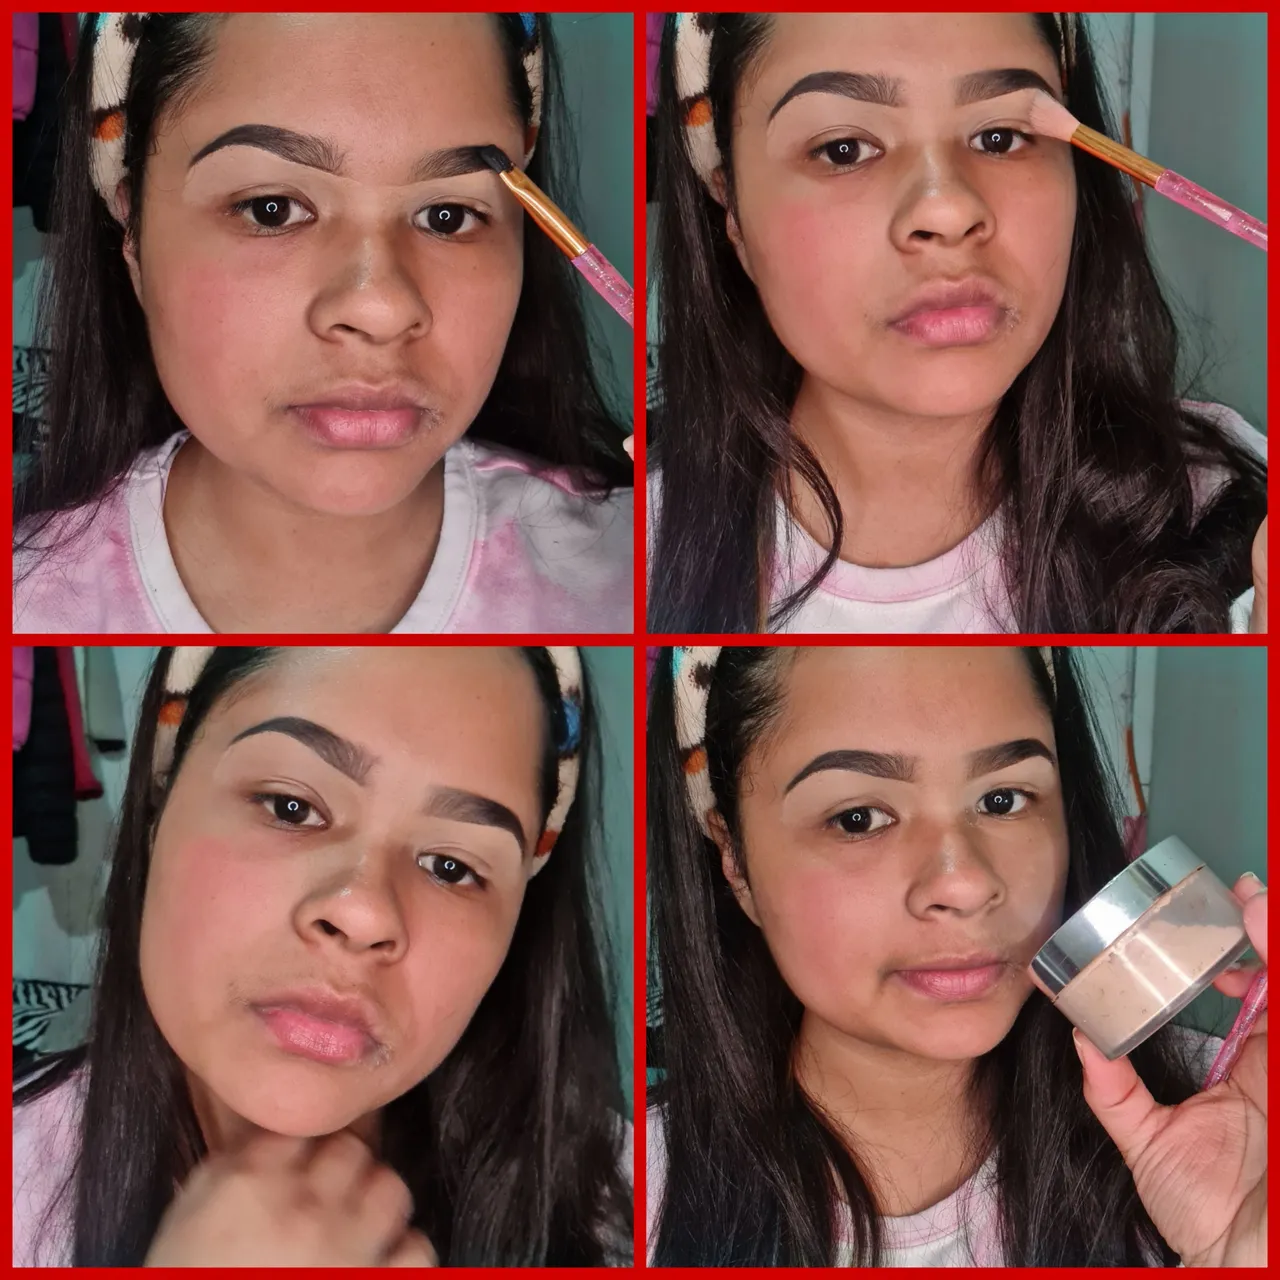
✅Paso 2: Lo primero, con lo que suelo empezar es con las cejas ya que son el marco de la cara. Paso a paso les muestro como me delineo y aplico corrector por debajo, para hacerlas ver más levantadas.
✅Step 2: The first thing I usually start with is the eyebrows as they are the frame of the face. Step by step I show you how I outline and apply concealer underneath to make them look more lifted.
✅Paso 3: Con un poco de polvo, sellamos el párpado y difuminamos lo que más podamos cosa de darle un acabado natural.
✅Step 3: With a little powder, seal the eyelid and blend as much as possible to give it a natural finish.
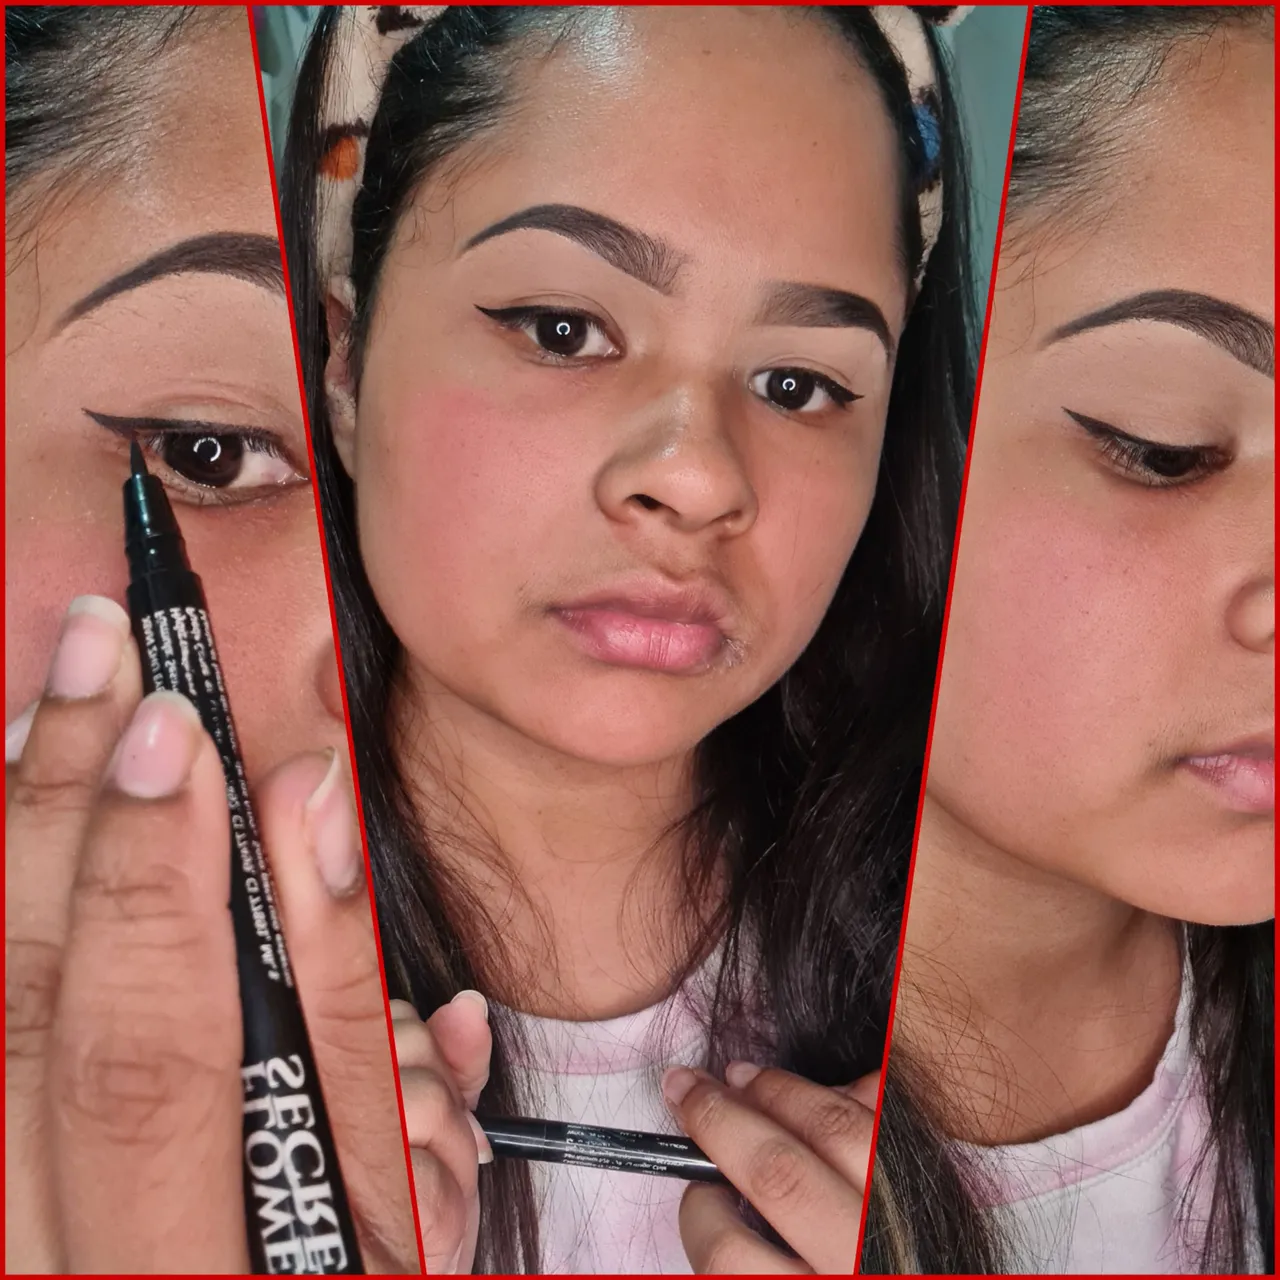
✅Paso 4: Nos realizamos un delineado sencillo, ya que no queremos exagerar.
Step 4: We do a simple eyeliner, as we do not want to overdo it.
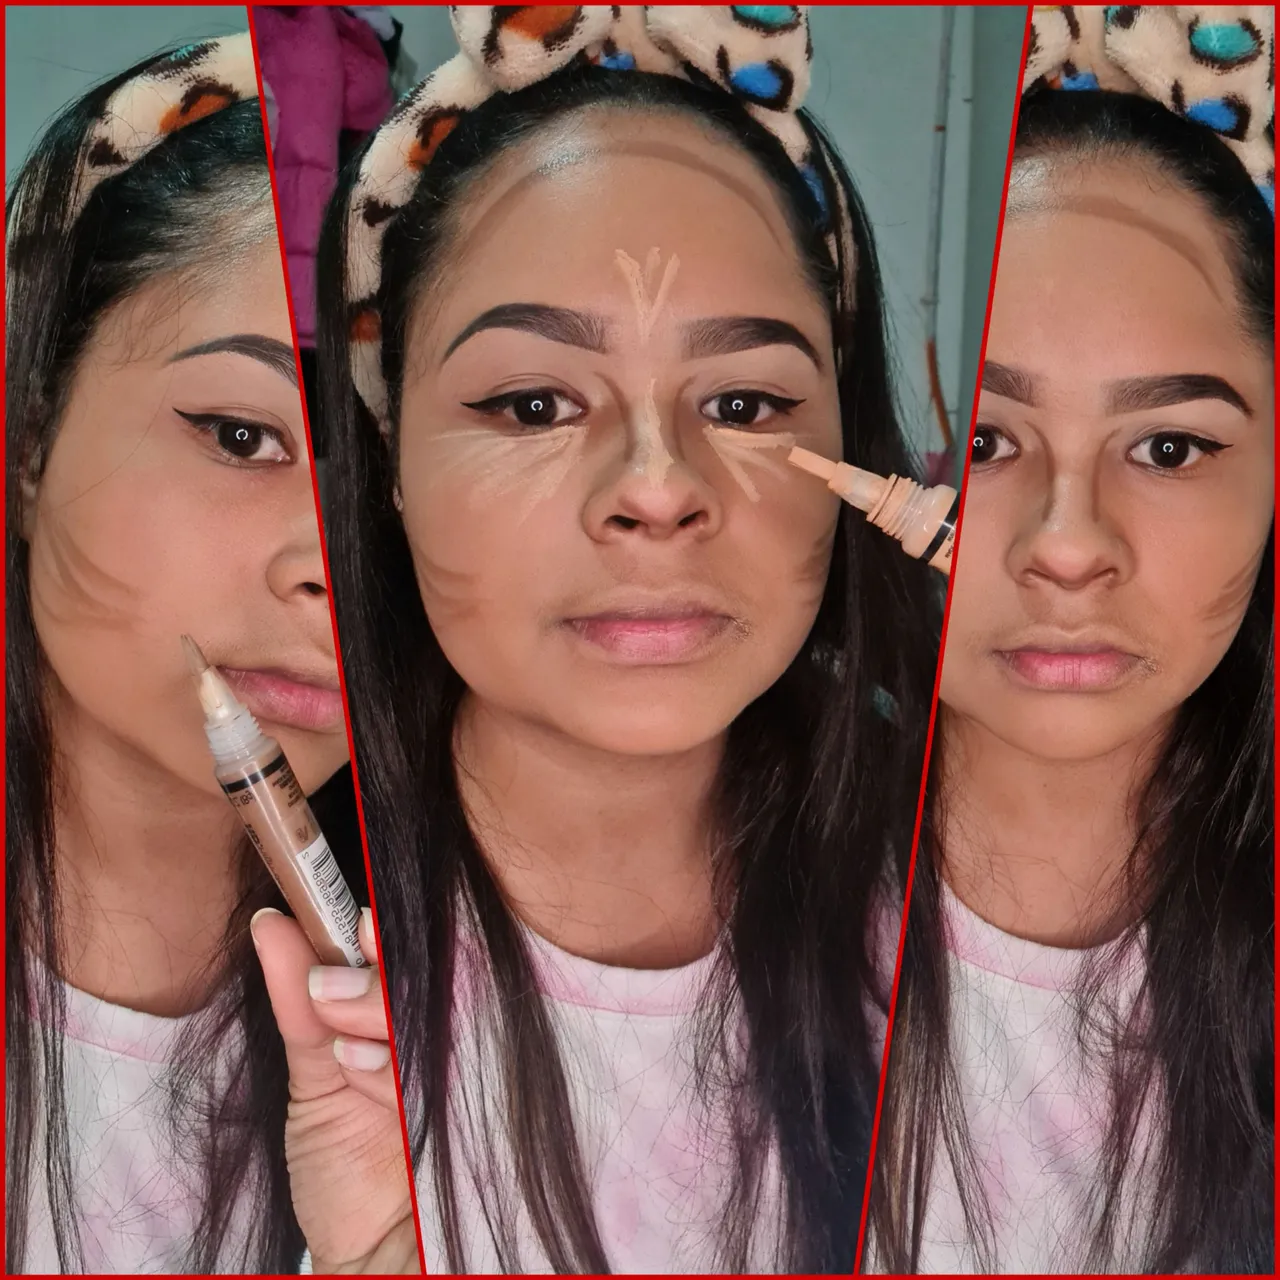
✅Paso 5: Aplicamos PRIMER en la cara, antes de colocarnos la base, es importante por que no se cuartea y al final tendrá un acabado más profesional.
Step 5: Apply PRIMER on the face, before applying the foundation, it is important because it does not crack and at the end you will have a more professional finish.
✅Paso 6: Ahora vamos a contonear el rostro, resaltando un poco nuestras expresiones. Acá en la imagen les muestro como lo hago yo, ya que eso es debido al rostro, y que tanto queríamos mostrar, yo solo perfilo un poco mi nariz y pómulos. Y con una esponja o pincel poco a poco voy difuminando, hasta llegar a un acabado natural.
Step 6: Now we are going to contour the face, highlighting a little bit our expressions. Here in the image I show you how I do it, since that is due to the face, and that we wanted to show, I just outline a little my nose and cheekbones. And with a sponge or brush I gradually blend, until I reach a natural finish.
✅Paso 7: Nos colocamos un poco de rubor, y en la zona de las ojeras un polvo un tono más claro del que solemos usar para iluminar el área y reducir ojeras.
Step 7: We apply a little blush and a lighter shade of powder than we usually use to illuminate the area and reduce dark circles under the eyes.

✅Paso 8: Nos colocamos pestañas, tamaño pequeño.
Step 8: We apply eyelashes, small size.
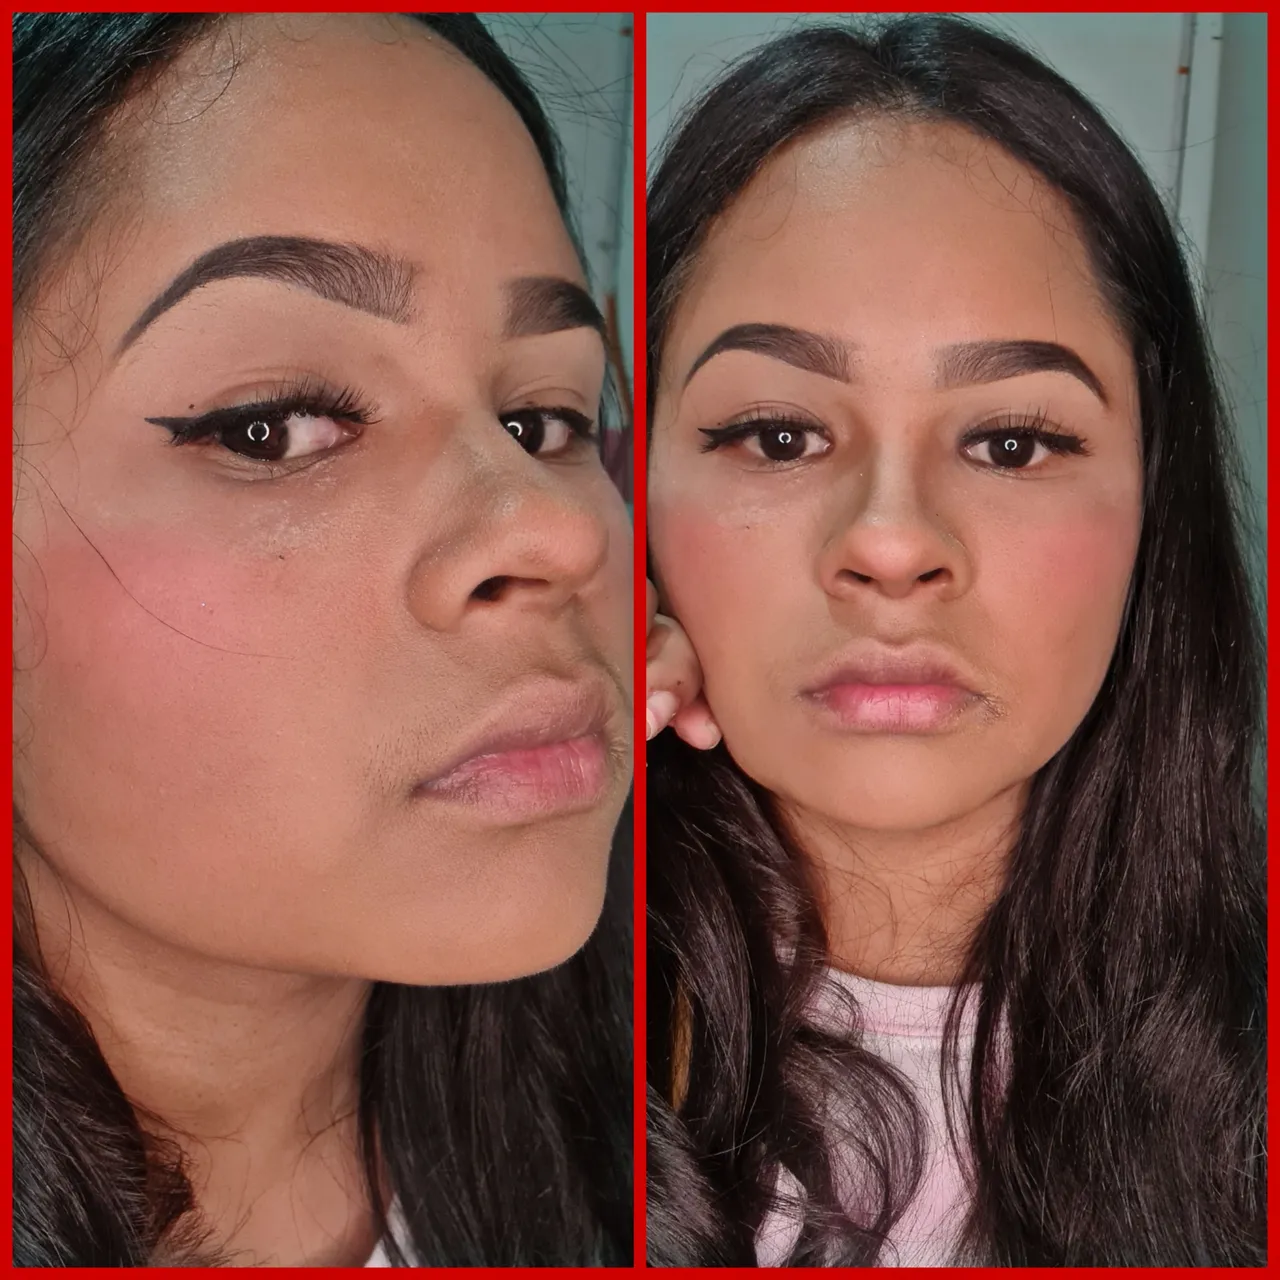
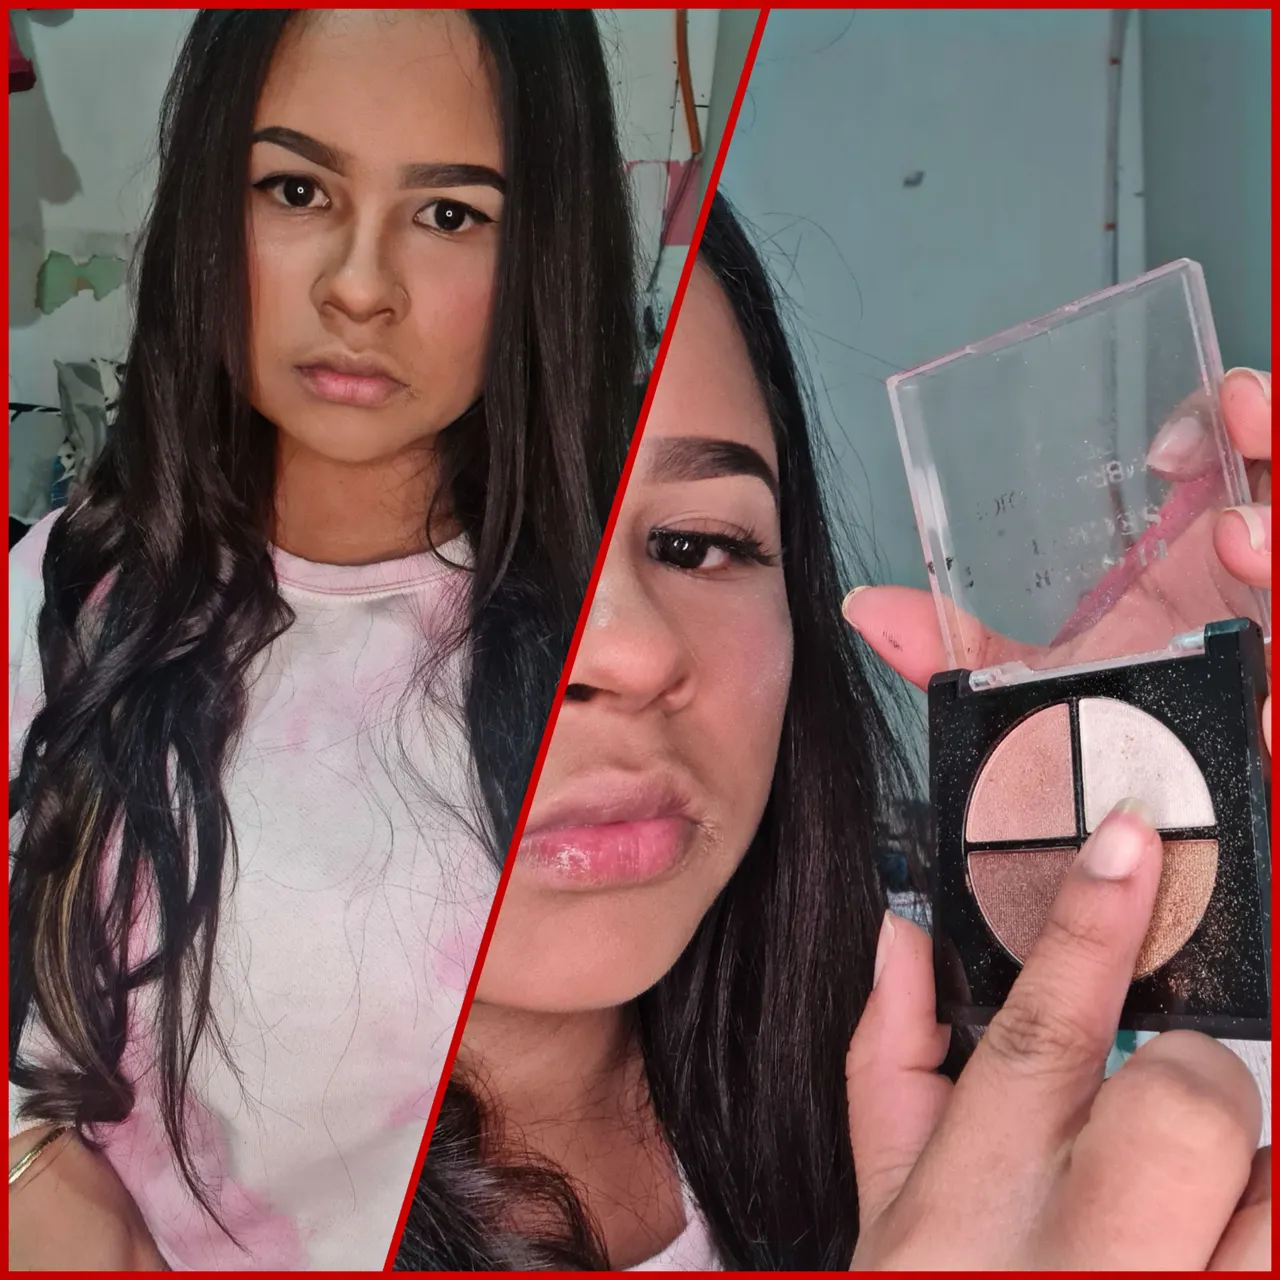
✅Paso 9: Para el peinado, me hice unas ondas, y para culminar el maquillaje nos colocamos un poco de iluminador.
Step 9: For the hairstyle, I did some waves, and to finish the makeup we put some highlighter.
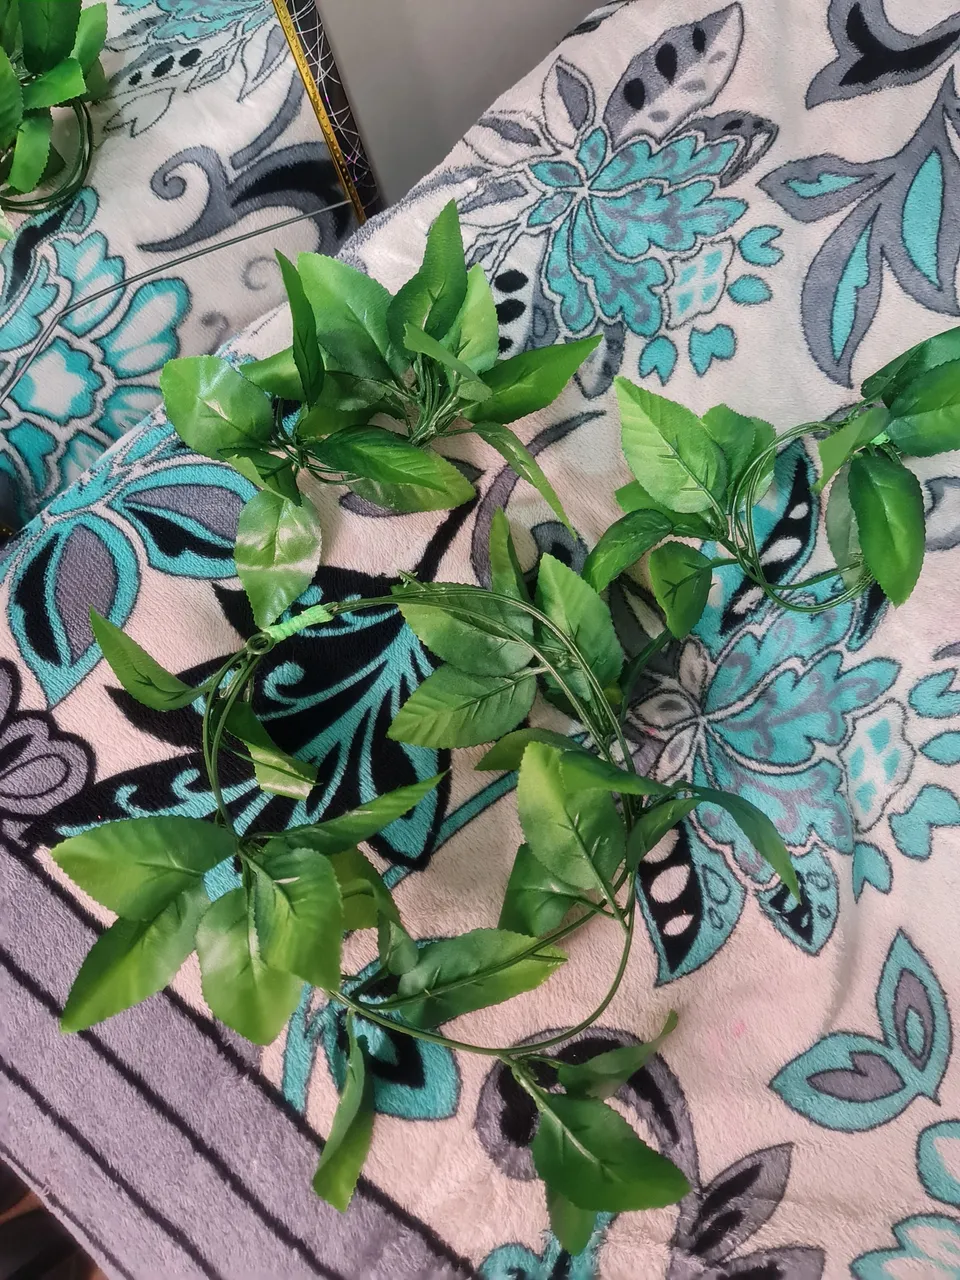
Para el disfraz, me coloqué una corona de hojas, una camiseta roja, y pulseras con las mismas hojas.
For the costume, I wore a crown of leaves, a red T-shirt, and bracelets with the same leaves.
Y éste es el resultado:
And this is the result
Espero, les haya gustado este lindo maquillaje. NOS VEMOS EN LA PRÓXIMA❤
I hope, you liked this nice makeup. SEE YOU NEXT TIME❤
Traducido con DeepL
Fotos editadas con PicsArt App
Fotografías tomadas con mi Galaxy note 20 Ultra.
Translated with DeepL
Photos edited with PicsArt App
Photos taken with my Galaxy note 20Ultra.