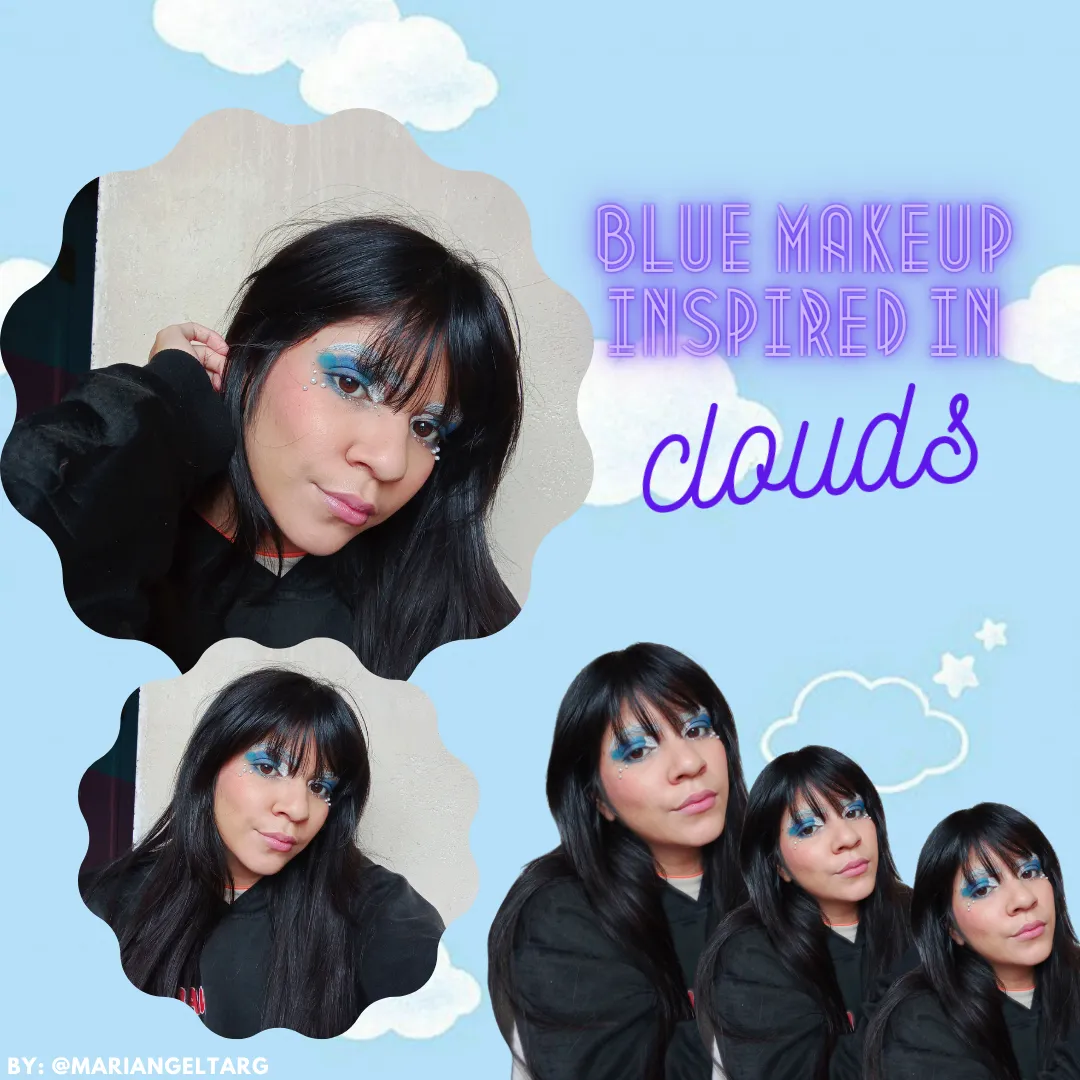
Hola amores de Hive! Estoy súper feliz porque estos días me he animado mucho más con los maquillajes y he tenido suficiente inspiración, hoy vengo con un maquillaje que me encantó aunque me pareció algo raro en mi dado que es primero vez que pinto mis cejas de blanco y aunque sentí que de veía un poco extraño me encantó con el resultado final.
Hello Hive lovers! I'm super happy because these days I've been much more encouraged with the makeup and I've had enough inspiration, today I come with a makeup that I loved although I thought it was a little weird for me since it's the first time I paint my eyebrows in white and although I felt it looked a little strange I loved the final result.

Materiales / Materials:
- Tónico / Toner.
- Jabón facial / Facial soap.
- Primer / Primer.
- Crema hidratante / Moisturizing cream.
- Protector solar / Sunscreen.
- Sombra de cejas / Eyebrow shadow.
- Corrector / Concealer.
- Base / Base.
- Paleta de sombras / shadows palette.
- Polvo suelto / Loose powder.
- Beauty blender / Beauty blender.
- Brochas / Brushes
- Contorno / Contour.
- Rubor / Blush.
- Iluminador / highlighter.
- Brillo labial / Lip gloss.
- Perlas / Pearls.
- Pega blanca / White glue.
- Cristales / Crystals.
Procedimiento / Procedure:
ESPAÑOL
Primer paso:
Antes de aplicar cualquier tipo de maquillaje en mi rostro comencé con el proceso de limpieza, así que limpie mi rostro con tónico facial para luego lavarlo con un jabón facial neutro y luego aplicar primer, crema hidratante y protector solar.
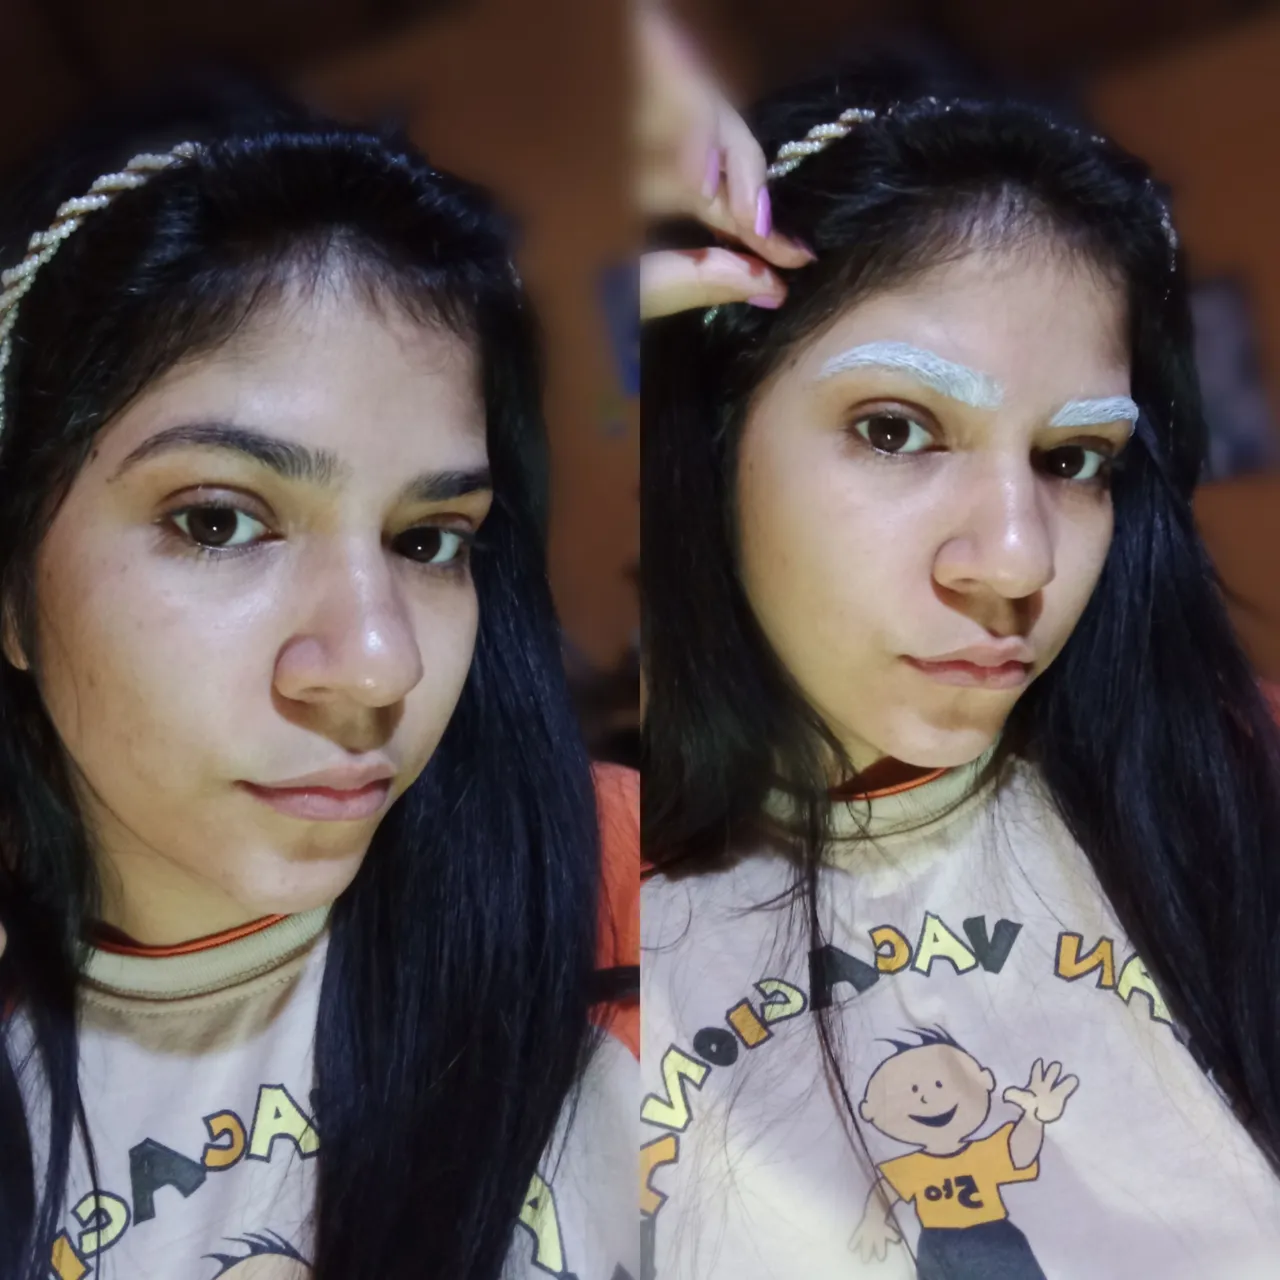
Segundo paso:
Con un pequeño cepillo peine mis cejas bien y aplique con este mismo pintura blanca, tras secarse agregue otra capa para tener un mejor color.
Luego de esto con un hisopo limpie los bordes y aplique corrector debajo de mi ceja para terminar de perfeccionar la forma de la ceja.
ENGLISH
First step:
Before applying any makeup on my face I started with the cleansing process, so I cleaned my face with facial toner then washed it with a neutral facial soap and then applied primer, moisturizer and sunscreen.
Second step:
With a small brush comb my eyebrows well and apply with this same white paint, after drying add another layer to have a better color.
After this with a cotton swab clean the edges and apply concealer under my eyebrow to finish perfecting the shape of the eyebrow.
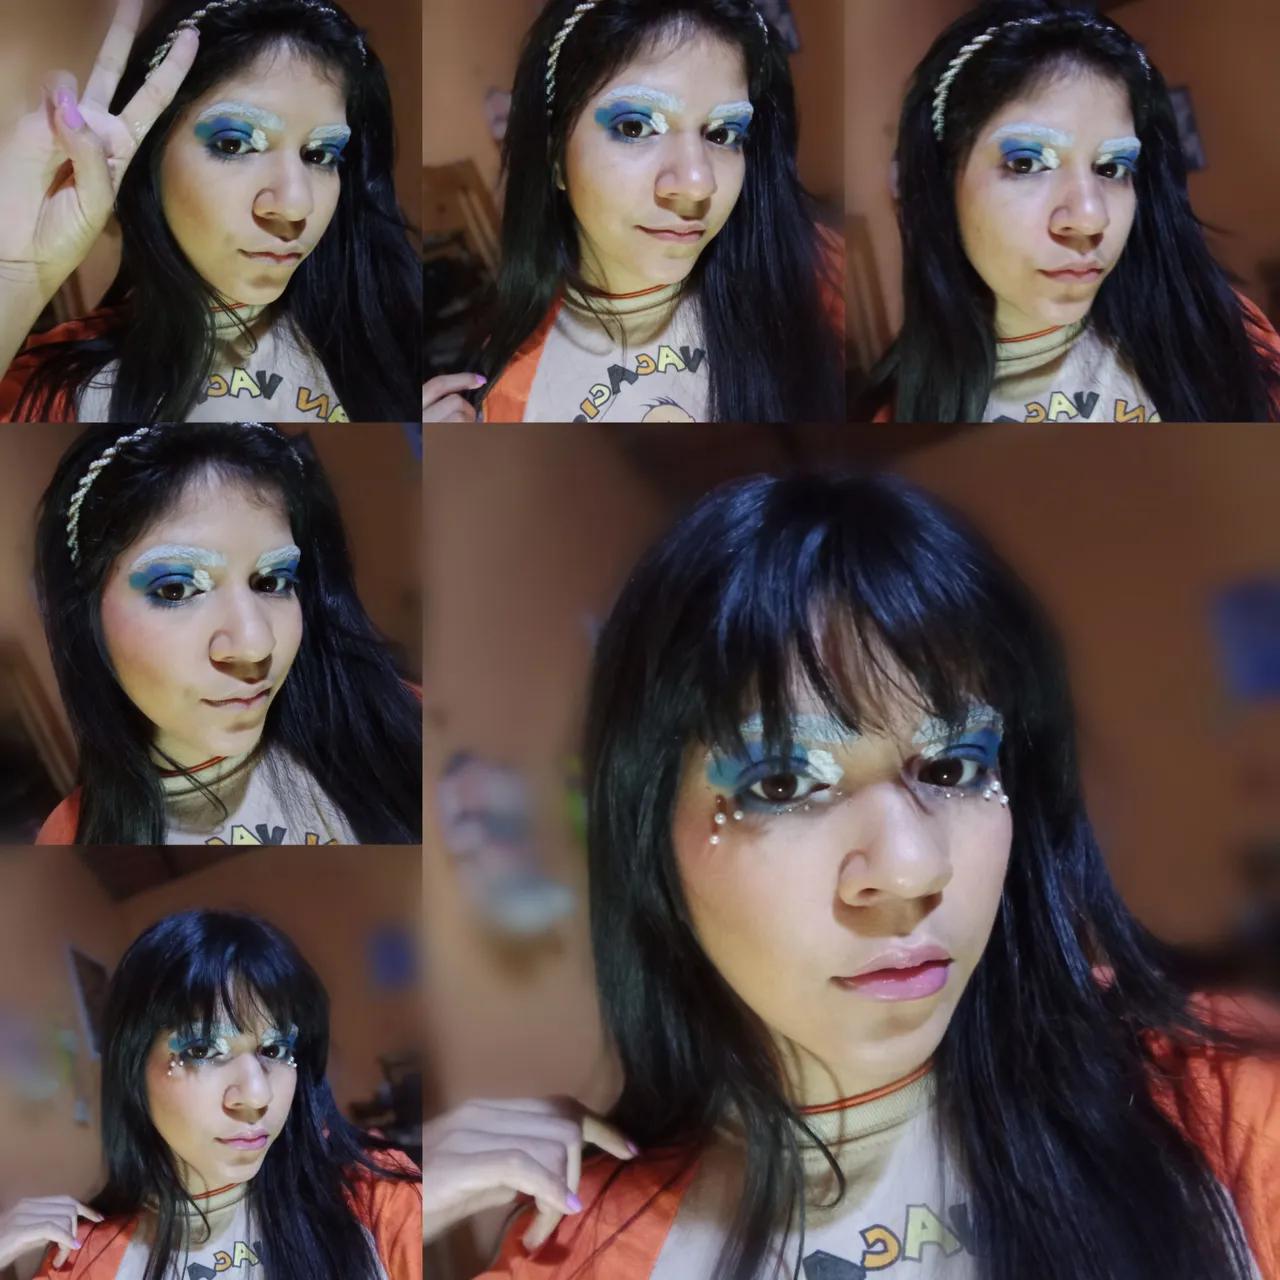
Tercer paso:
Aplique corrector en mis párpados para lograr así una mejor pigmentación, agregue pintura blanca al principio de mi ojo con una forma redondeada, luego la rellene y la sellé con sombra blanca.
Seguido de este coloque una sombra azul brillante de la misma forma, luego sombra azul y por último un tono de azul oscuro para lograr una transición de colores del más claro al más oscuro.
Luego agregue un poco de color azul debajo de mi ojo e iluminador en el lagrimal.
Cuarto paso:
Agregue pequeños puntos de base en mi rostro y lo esparcí y difumine con mi beauty blender, luego agregue un contorno suave en mis pomulos el cual fui difuminando poco a poco para así esparcirlo de forma más uniforme, Luego de esto sellé todo con polvo suelto.
Quinto paso:
Agregue rubor e iluminador en mis pomulos y lo difumine con una brocha, luego de esto con un pincel delgado agregue pequeños puntos al principio de mis ojos y con un repujador agregue dos cristales, luego agregue tres perlas al final de mi ojo en la parte inferior, luego tres cristales debajo de mi ojo y dos más al final de mi ojo hacia la parte superior, luego de terminar de agregar los adornos coloque lápiz labial en mis labios y ¡Listo! Maquillaje completo.
Step three:
I applied concealer to my eyelids for better pigmentation, added white paint to the beginning of my eye in a rounded shape, then filled it in and sealed it with white shadow.
I followed this with a bright blue shadow in the same way, then blue shadow and finally a shade of dark blue to achieve a transition of colors from the lightest to the darkest.
Then I added a little blue color under my eye and highlighter on the tear trough.
Fourth step:
I added small dots of foundation on my face and spread and blended it with my beauty blender, then I added a soft contour on my cheekbones which I blended little by little to spread it more evenly, After that I sealed everything with loose powder.
Fifth step:
Add blush and highlighter on my cheekbones and blend it with a brush, after that with a thin brush add small dots at the beginning of my eyes and with an embosser add two crystals, then add three pearls at the end of my eye at the bottom, then three crystals under my eye and two more at the end of my eye towards the top, after finishing adding the embellishments put lipstick on my lips and done! Makeup complete.
El resultado / The result:
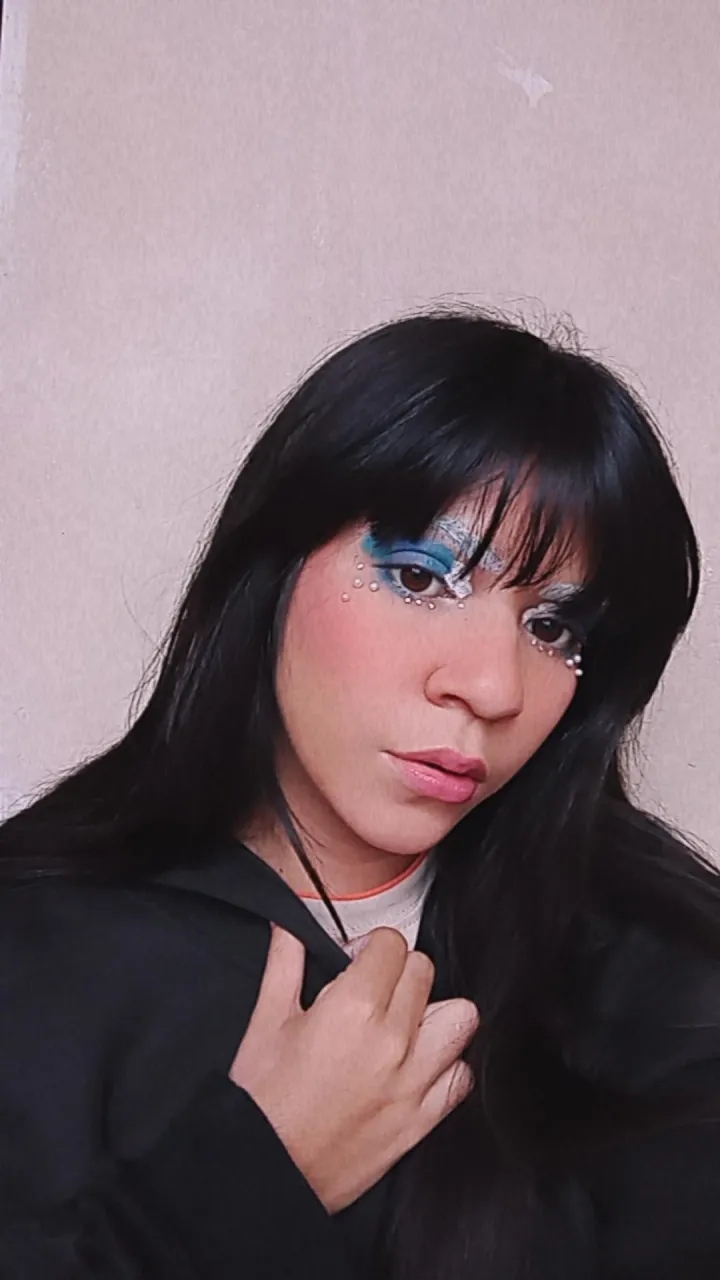

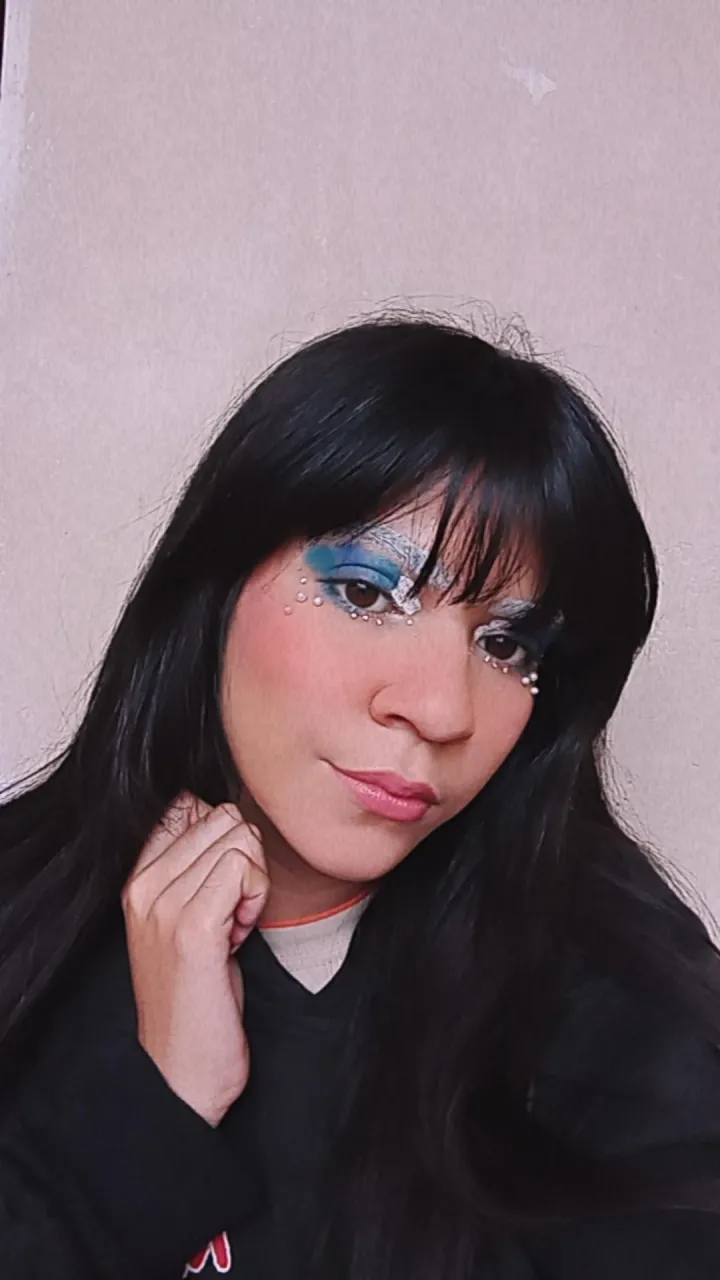
¡Muchas gracias por leerme! Al principio estaba un poco dudosa con este maquillaje pero la combinación general me encantó y definitivamente decidí subirlo, me encanta que no haya Sido complicado pero que aún así sea un poco llamativo y muy lindo ¡Nos leemos pronto! XOXO.
Thank you so much for reading me! I was a little hesitant at first with this makeup but I loved the overall combination and definitely decided to upload it, I love that it wasn't complicated but still a little bit eye catching and very cute See you soon! XOXO.
Cover created in: Canvas.
Text translated with: DeepL.
Dividers edited with: PicsArt.
All photos of the procedure are my own.