Hola mi querida gente de HIVE, como están ? ... en esta oportunidad, les traigo un maquillaje artístico de hada madrina, con colores pasteles., me inspire en WINS, la serie animada de hadas, me gustan mucho y pues, se me ocurrió realizar un maquillaje con ese tema de fantasía.
Este maquillaje, quedaría bonito para una fiesta de disfraces, a mi, particularmente me gustan mas los disfraces de guerrero, pero nunca esta de mas, aunque sea una ves, cambiar de estilo. El rosado, el morado, y el blanco, van a estar presentes, por que son los colores mas predominantes en este concepto.
Hello my dear people of HIVE, how are you? ... this time, I bring you an artistic makeup of fairy godmother, with pastel colors, I was inspired by WINS, the animated series of fairies, I like them very much and well, I thought of making a makeup with that theme of fantasy.
This make-up would be nice for a costume party, I particularly like warrior costumes, but it never hurts, even once, to change the style. Pink, purple, and white, are going to be present, because they are the most predominant colors in this concept.
🧚🏽♀️ Empecemos:
🧚🏽♀️ Hechizo 1: Lavar muy bien nuestras caras y luego aplicar crema hidratante.
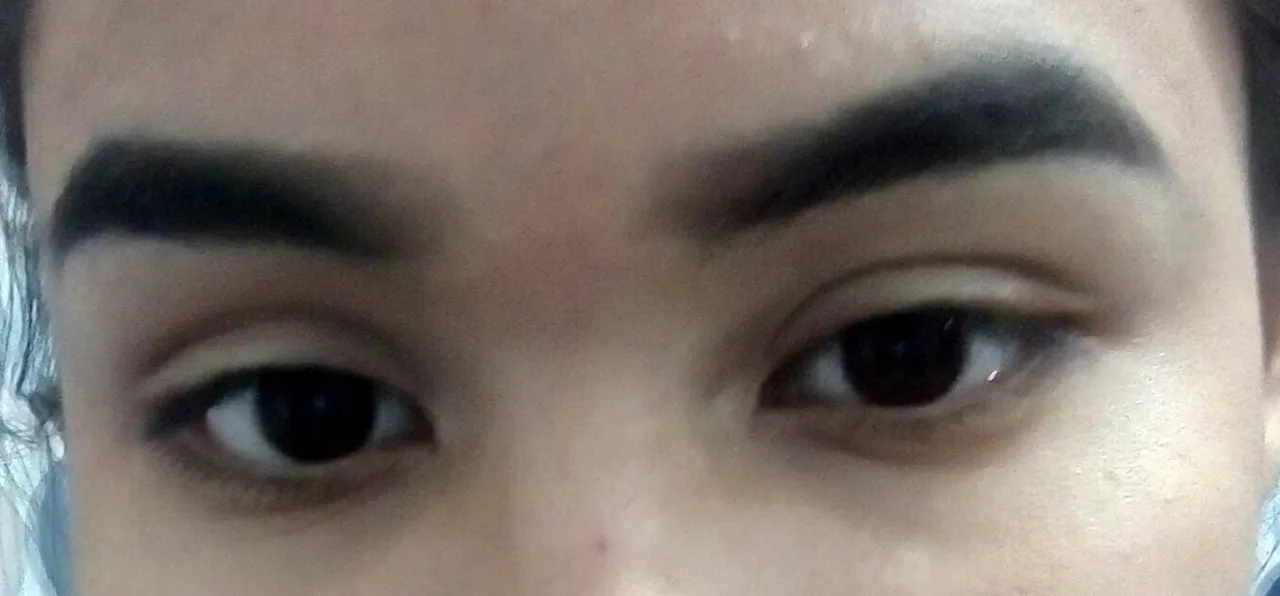
🧚🏽♀️Hechizo 2: Para este maquillaje, queria hacer mis cejas, no tan visibles, pero falle en el intento 😩. Así que, opté por hacer mis cejas lo mas normal posible. Luego de tenerlas listas, prepararemos toda la cara con base liquida y después la sellaremos con polvo translúcido.
🧚🏽 Let's start:
🧚🏽 Spell 1: Wash our faces very well and then apply moisturizer.
🧚🏽Spell 2: For this makeup, I wanted to do my eyebrows, not so visible, but failed in the attempt 😩. So, I opted to make my eyebrows as normal as possible. After having them ready, we'll prep the whole face with liquid foundation and then seal it with translucent powder.
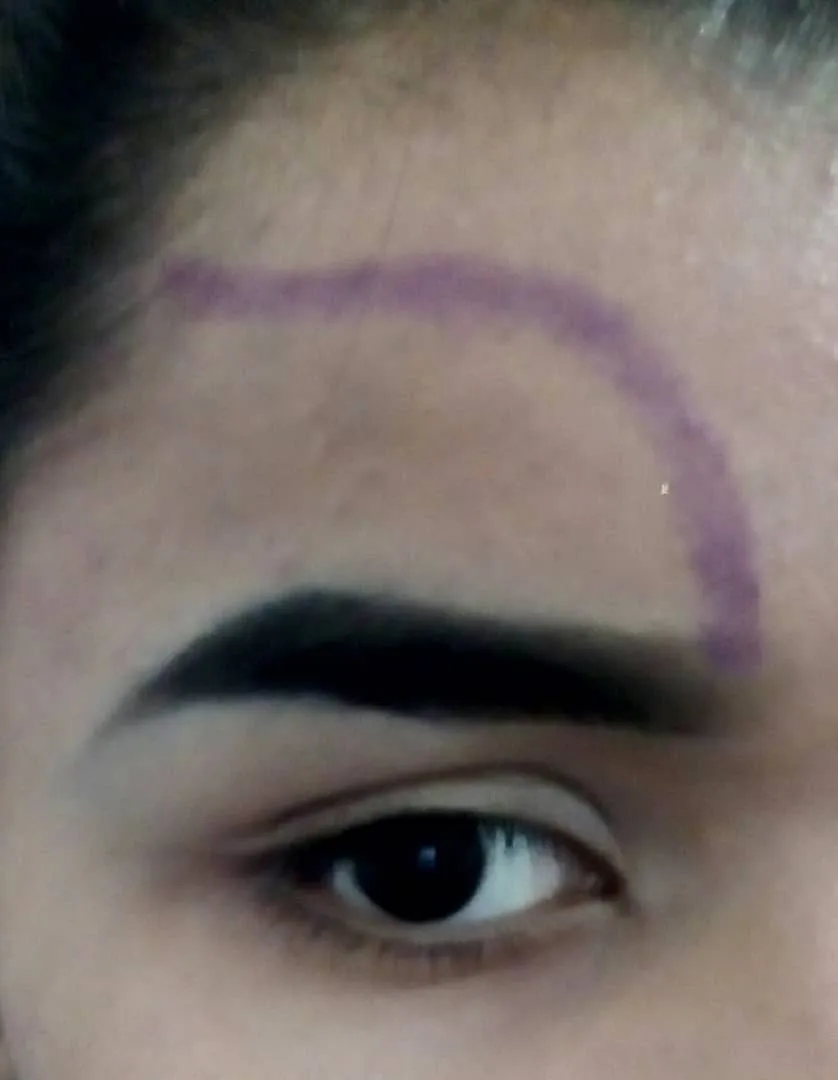
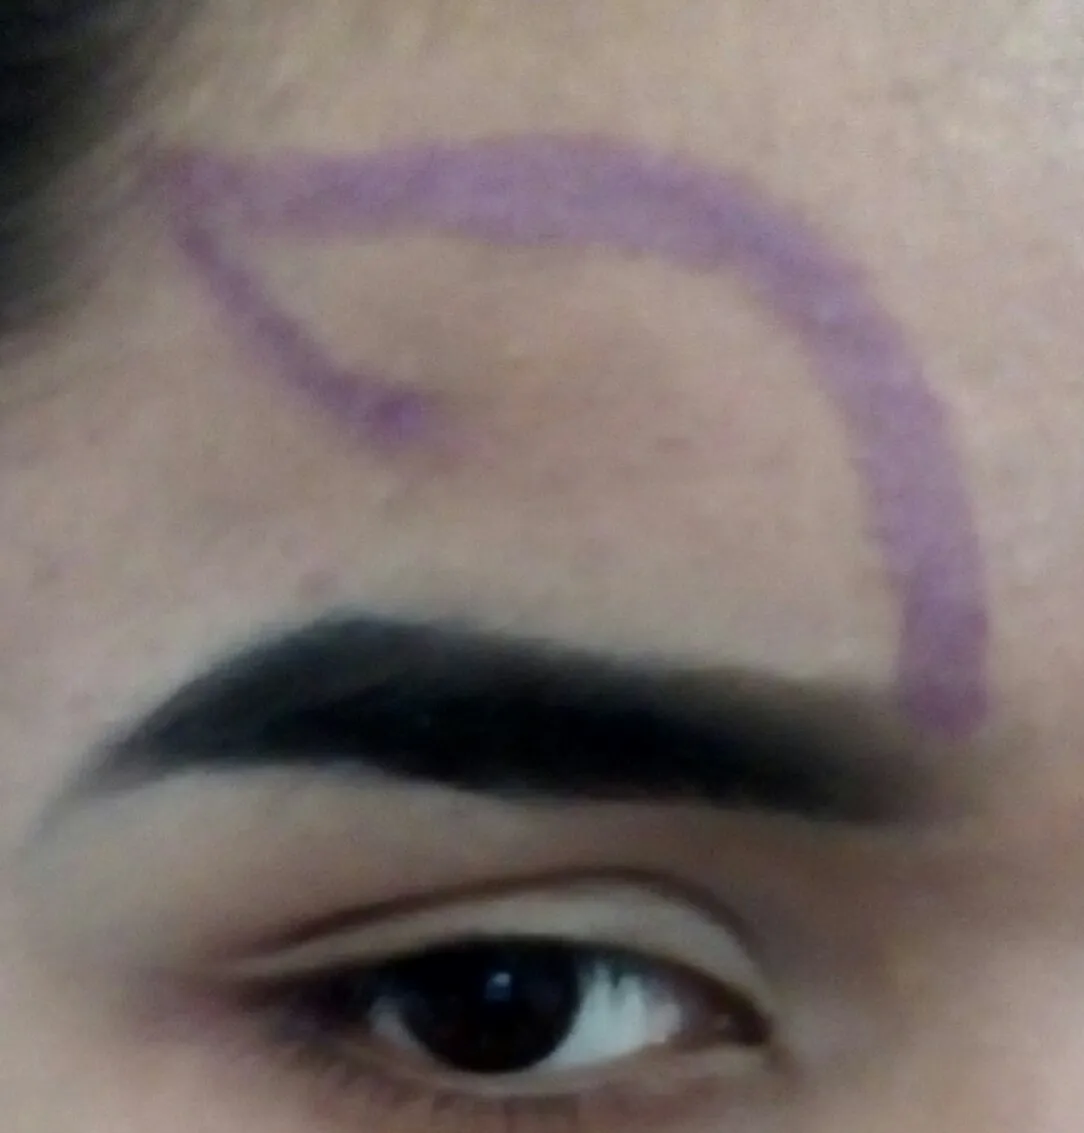
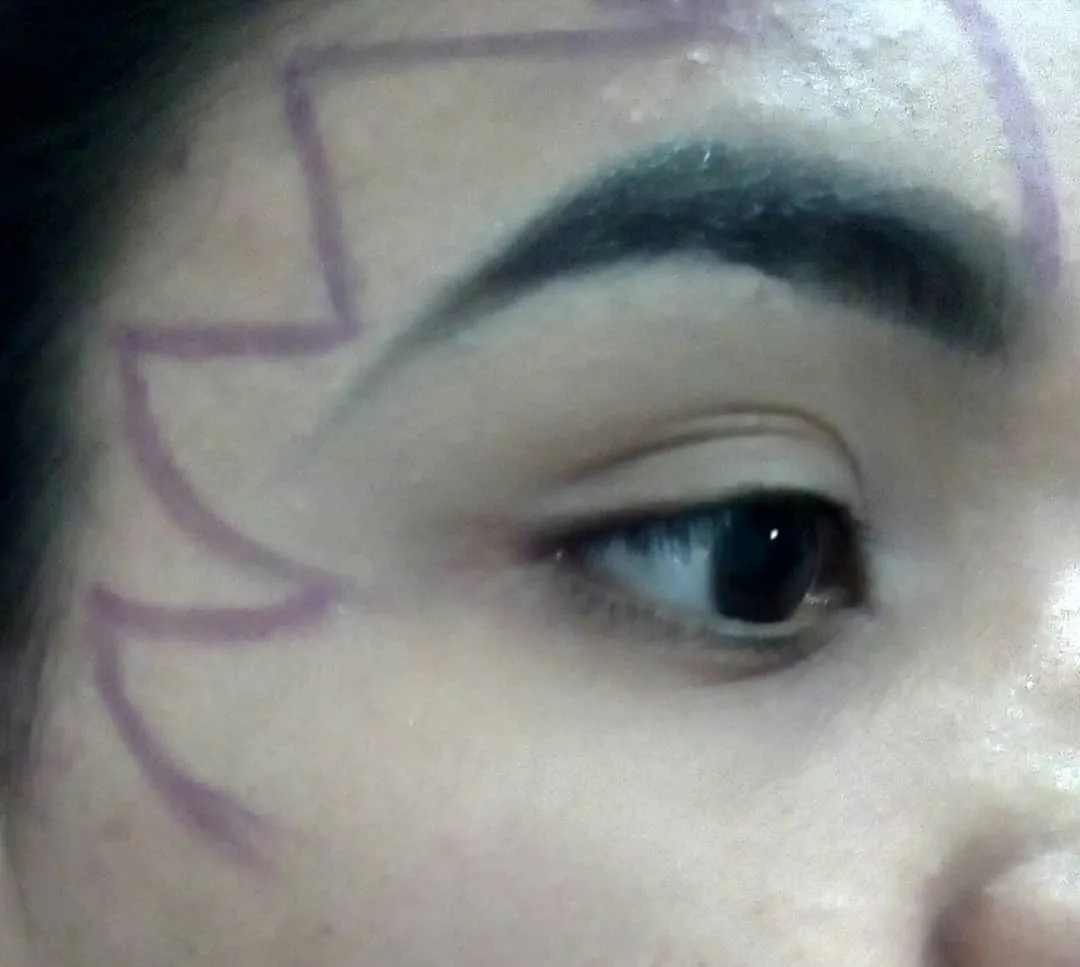
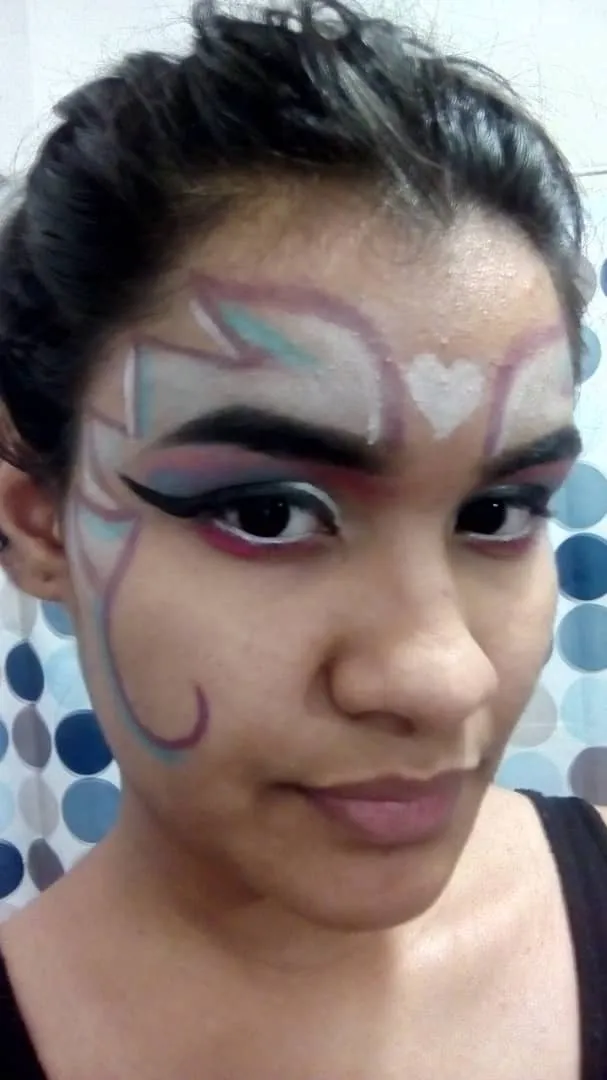
🧚🏽♀️ Hechizo 3: Con un pincel super fino, bien humedecido, tomaremos el color morado y trazamos una línea de dos curvas hacia la frente desde el inicio de la ceja. Luego bajaremos desde el punto que quedo al inicio del nacimiento del cabello, hacia la ceja.
🧚🏽 Spell 3: With a super thin brush, well moistened, we'll take the purple color and draw a line of two curves towards the forehead from the beginning of the eyebrow. Then we will go down from the point left at the beginning of the hairline, towards the eyebrow.
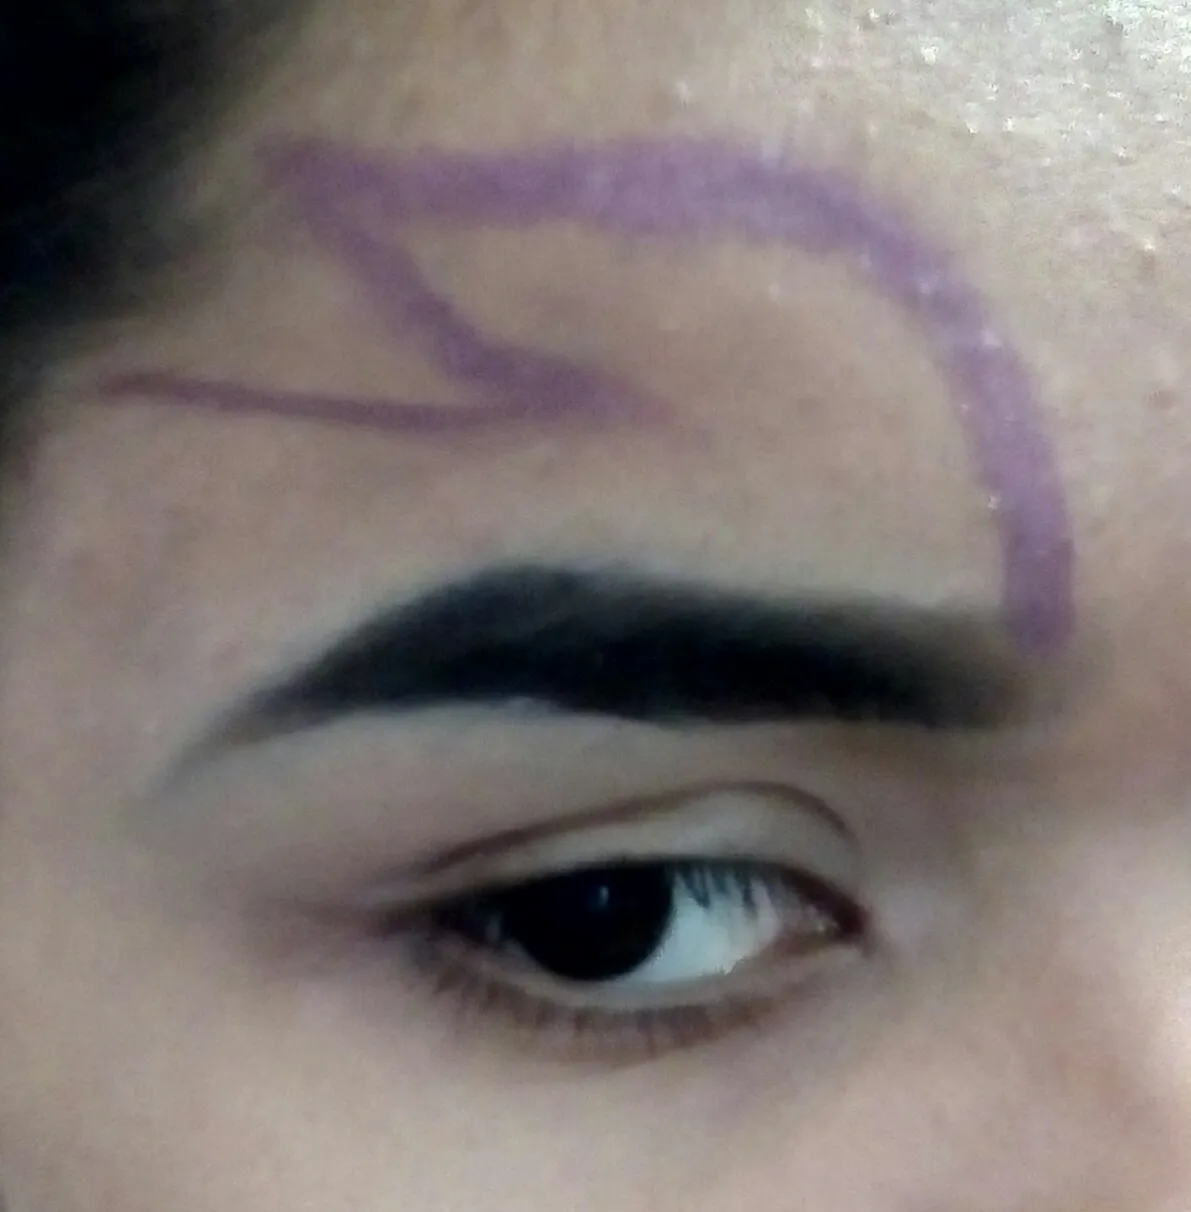
🧚🏽♀️ Hechizo 4: Haremos otra línea que salga de la segunda línea que trazamos hasta el nacimiento del cabello. Luego haremos dos líneas diagonales conectadas, saliendo de la raíz del cabello hasta llegar a la punta de la ceja, y la otra, saliendo de la punta de la ceja y llegando a la raíz del cabello.
🧚🏽Spell 4: We will make another line going out from the second line we drew to the hairline. Then we will make two connected diagonal lines, going out from the root of the hair until we reach the tip of the eyebrow, and the other one, going out from the tip of the eyebrow and reaching the root of the hair.
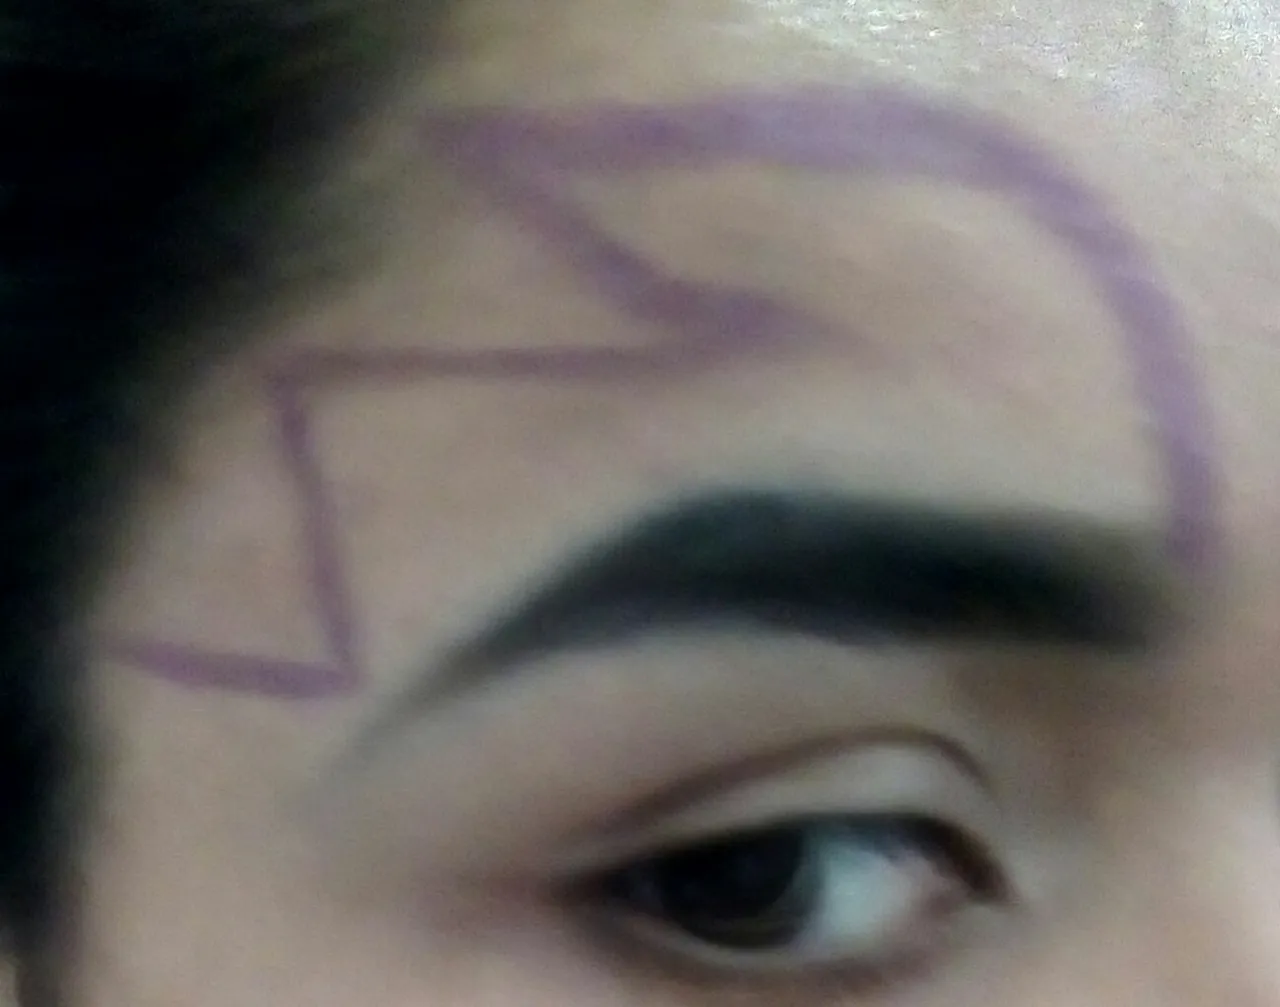
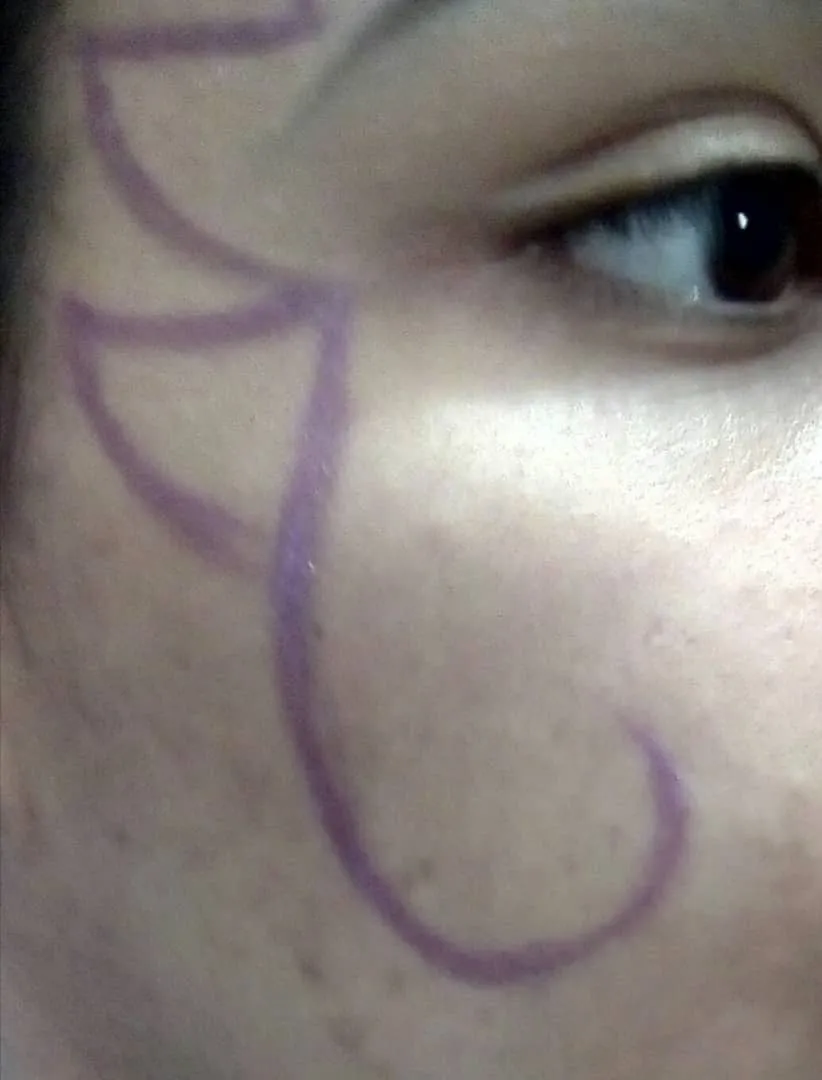
🧚🏽♀️ Hechizo 5: Haremos una semi curva desde la última punta de la linea diagonal, hasta casi llegar al ojo. Luego haremos dos líneas mas semi curvas, una saliendo de la punta que esta cerca del ojo hasta la raíz del cabello y la otra saliendo de la raiz del cabello hasta el pomulo.
🧚🏽 Spell 5: We will make a semi curve from the last tip of the diagonal line, until almost reaching the eye. Then we will make two more semi curved lines, one going out from the tip that is near the eye to the root of the hair and the other going out from the root of the hair to the cheekbone.
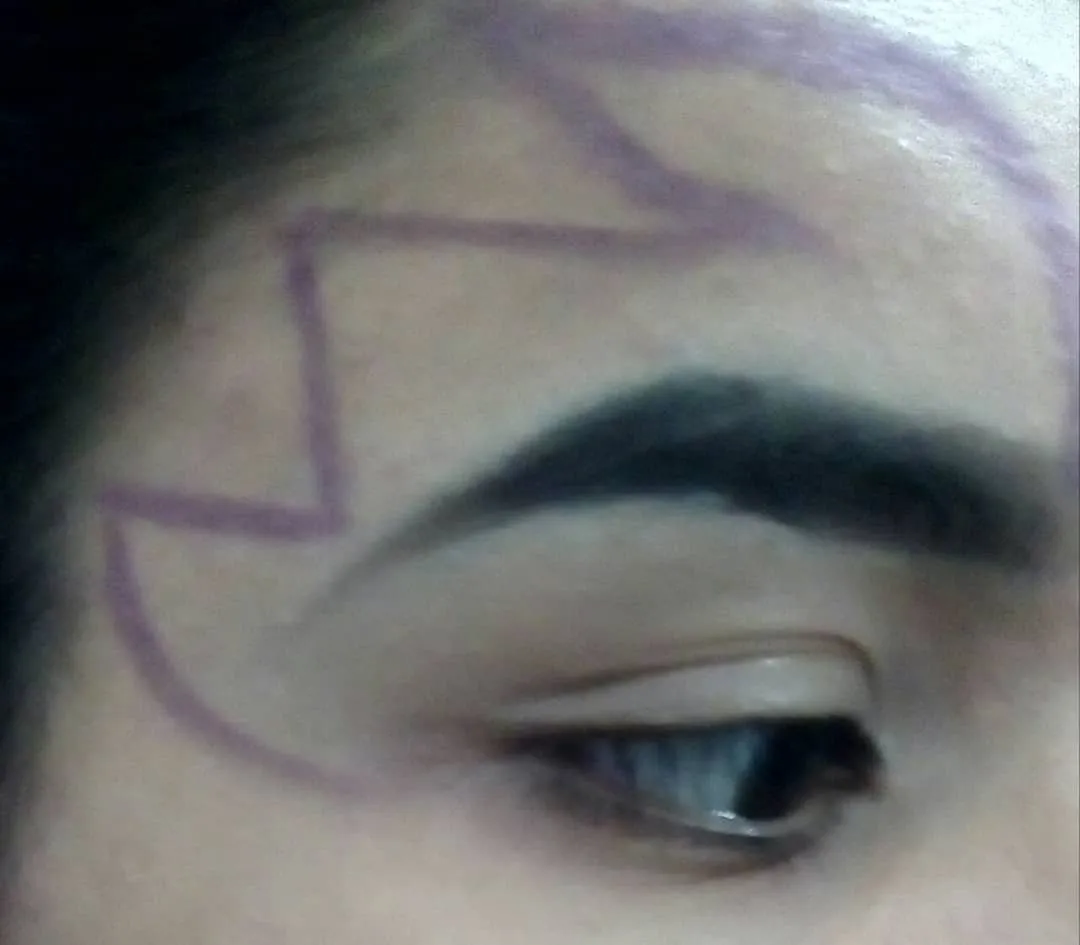
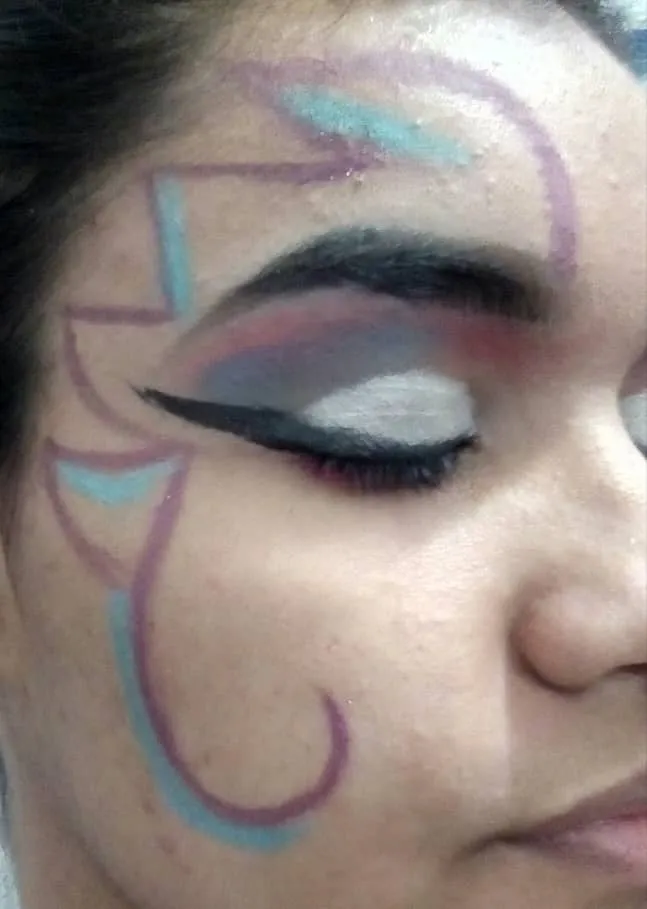
🧚🏽♀️ Hechizo 6: Del punto que está cerca del ojo, sacaremos una gran curva, conectandola con el punto del pomulo, hasta llegar al cachete, ahí cerraremos la curva, sin conectarla.
🧚🏽Spell 6: From the point that is near the eye, we will draw a big curve, connecting it with the point of the cheekbone, until we reach the cheekbone, there we will close the curve, without connecting it.
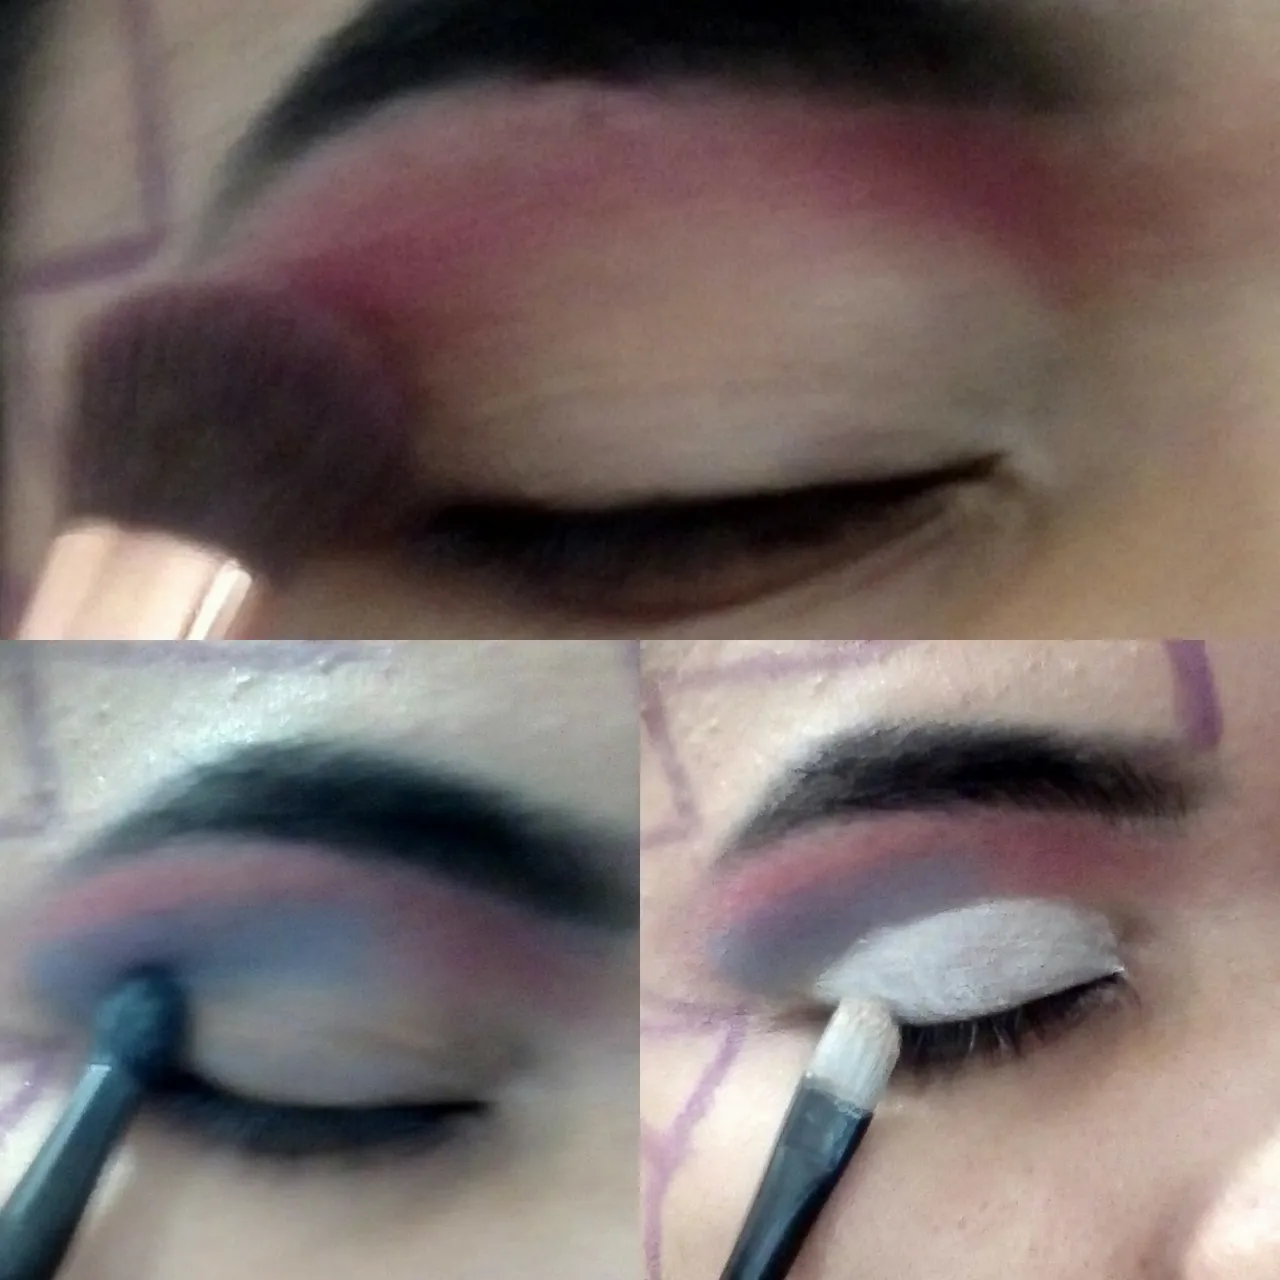
🧚🏽♀️ Hechizo 7: Ahora empezaremos con el párpado móvil, tomaremos el color fucsia y lo colocamos debajo de las cejas, difuminadolo de lado a lado, suavemente. Luego tomamos el azúl pastel y lo aplicamos en la cuenca sin llegar al lagrimal. Ahora, con un pincel lengua de gato, antes humedecido, tomaremos el blanco brillante y lo aplicamos en todo el párpado móvil.
🧚🏽 Spell 7: Now we will start with the mobile eyelid, we will take the fuchsia color and place it under the eyebrows, blurring it from side to side, gently. Then we take the pastel blue and apply it in the socket without reaching the tear trough. Now, with a cat tongue brush, previously moistened, we will take the bright white and apply it all over the mobile eyelid.
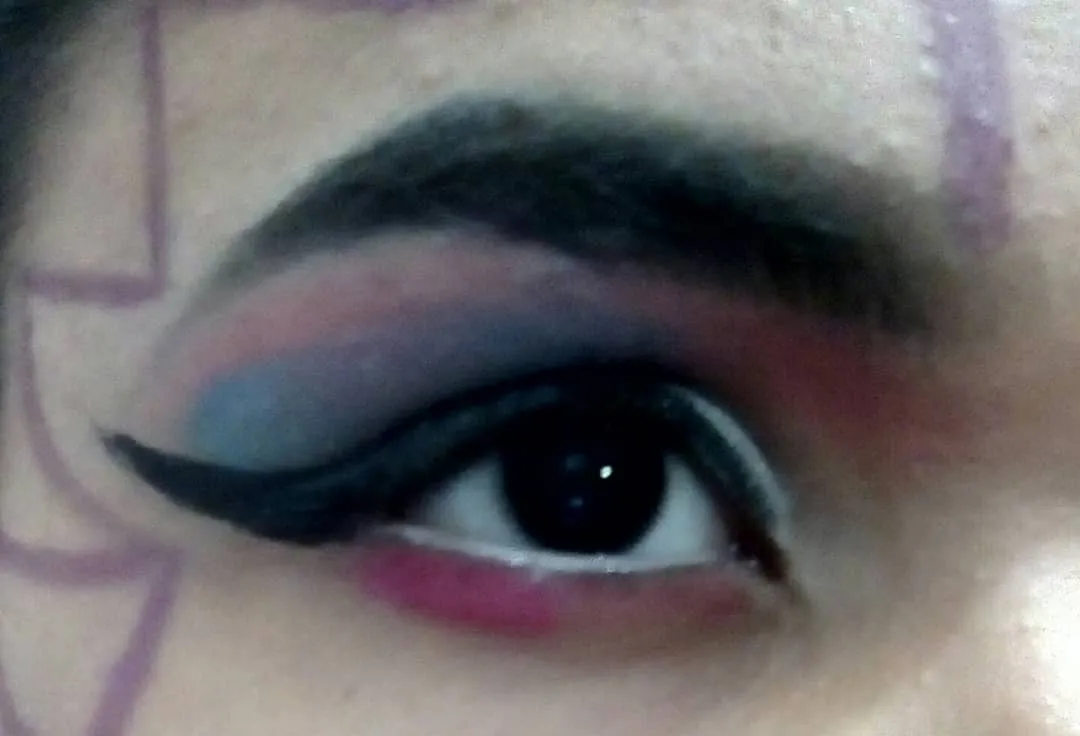
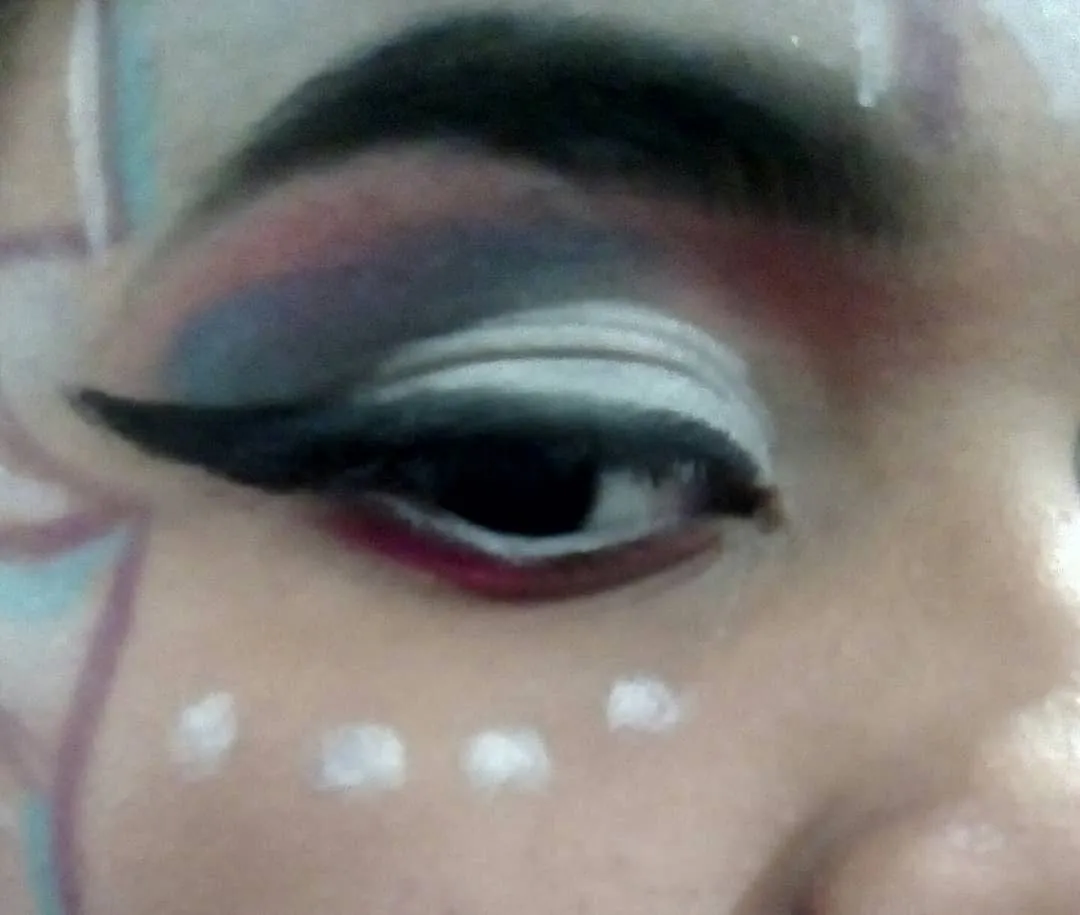
🧚🏽♀️ Hechizo 8: Haremos un delineado grande, rizaremos y colocaremos rimel a las pestañas y con lápiz blanco delinearemos la linea de agua. luego tomamos el color fucsia y lo pondremos, debajo de las pestañas inferiores.
🧚🏽 Spell 8: We will make a big eyeliner, curl and put mascara to the eyelashes and with white pencil we will outline the water line. then we take the fuchsia color and put it, under the lower eyelashes.
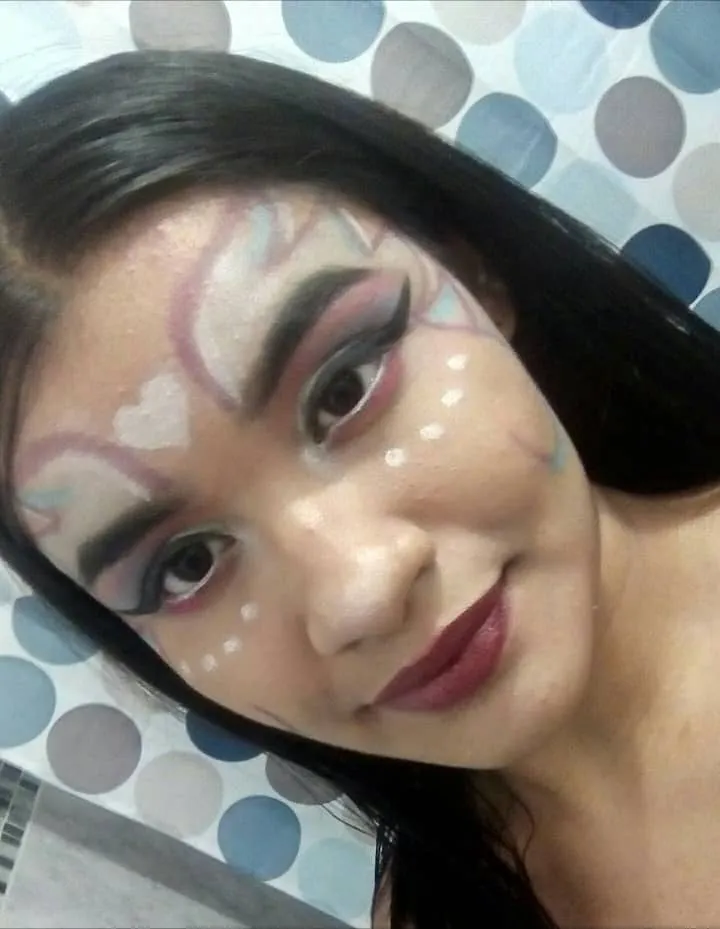
🧚🏽♀️ Hechizo 9: Rellenamos el diseño, primero con el color azul, haciendo unas pequeñas lineas de contraste, luego rellenaremos con blaco brillante. Para finalizar el diseño, tomamos el corrector blanco y haremos unaa lineas paralelas por fuera y en el medio, dibujaremos un corazón, luego en la parte de la ojera, haremos unos puntos de forma degradada.
🧚🏽 Spell 9: We fill in the design, first with the blue color, making some small contrasting lines, then we will fill in with shiny white. To finish the design, we take the white concealer and make aa parallel lines on the outside and in the middle, we will draw a heart, then on the part of the under eye, we will make some gradient shaped dots.
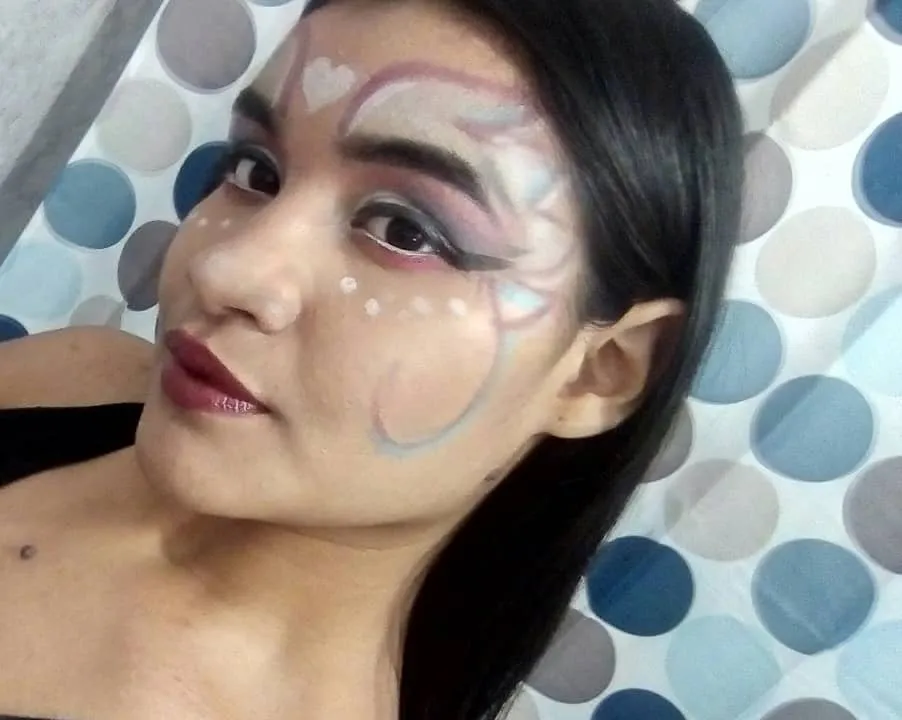
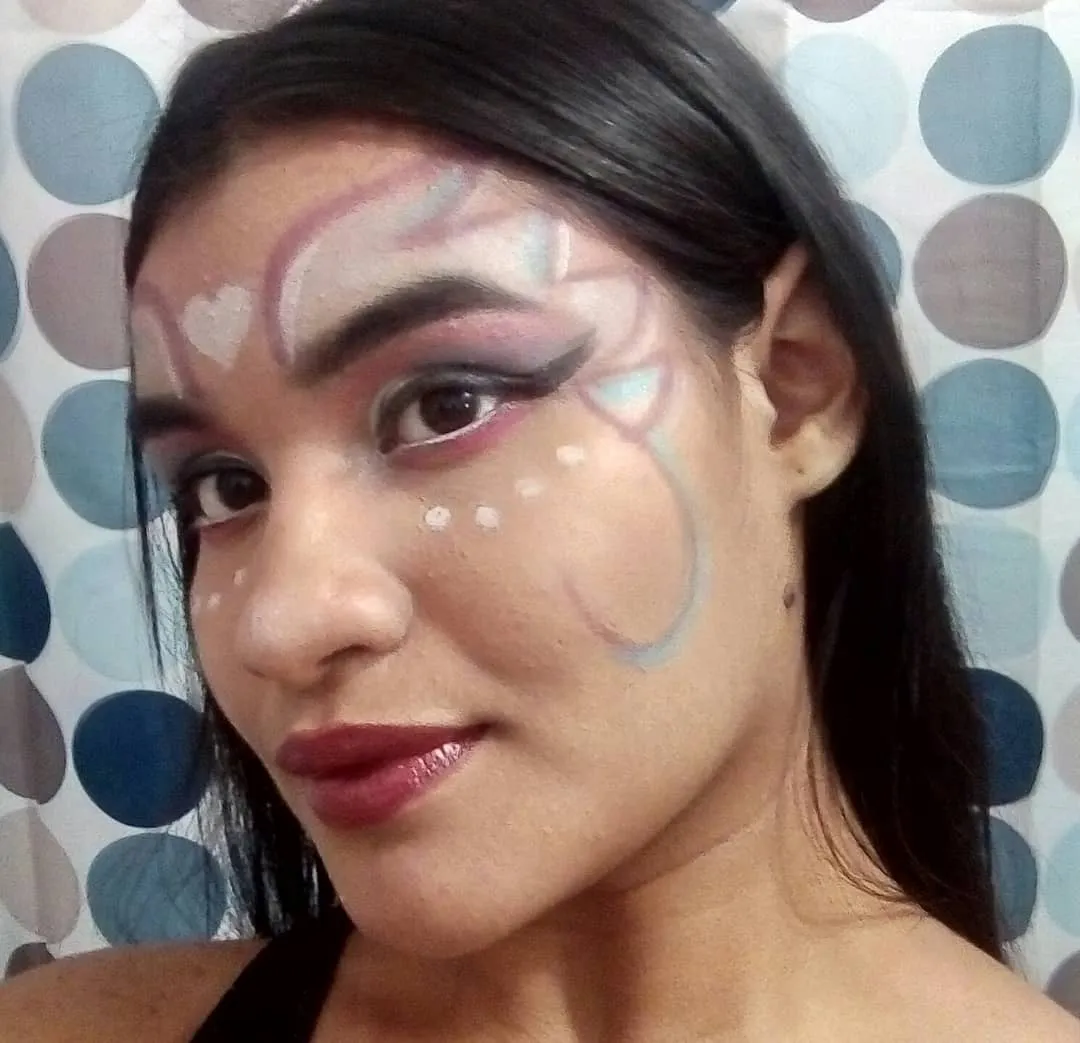
🧚🏽♀️ Hechizo 10: Para finalizar el maquillaje, agregamos luz en los lágrimales y en la punta de la nariz, y de ultimo aplicamos el labial color marrón.
🧚♀️ Spell 10: To finish the makeup, we add light on the tear troughs and on the tip of the nose, and finally we apply brown lipstick.
TADAAAAAAAM !!!!
▫️Espero que les haya gustado.
▫️I hope you liked it.
▫️Comenta que te pareció.
▫️Comment what you thought.
▫️Mencioname en tu maquillaje inspirado en Hadas.
▫️Mention me on your Fairy Inspired makeup.
▫️Vota.
▫️Vote.
▫️Rebloguea y sigueme para ver mas maquillajes.
▫️Reblog and follow me to see more makeup looks.