Happy new week, my follower of #hivemotors
How do you all enjoy your weekend? I hope it was amazing. I am very happy to share a post here today.
This is the start of the new week, and it is being started well. I am sharing the completion of a project I started on Saturday and finally completed today, being Monday.

The finish work was so amazing that is why i choose to share it here.
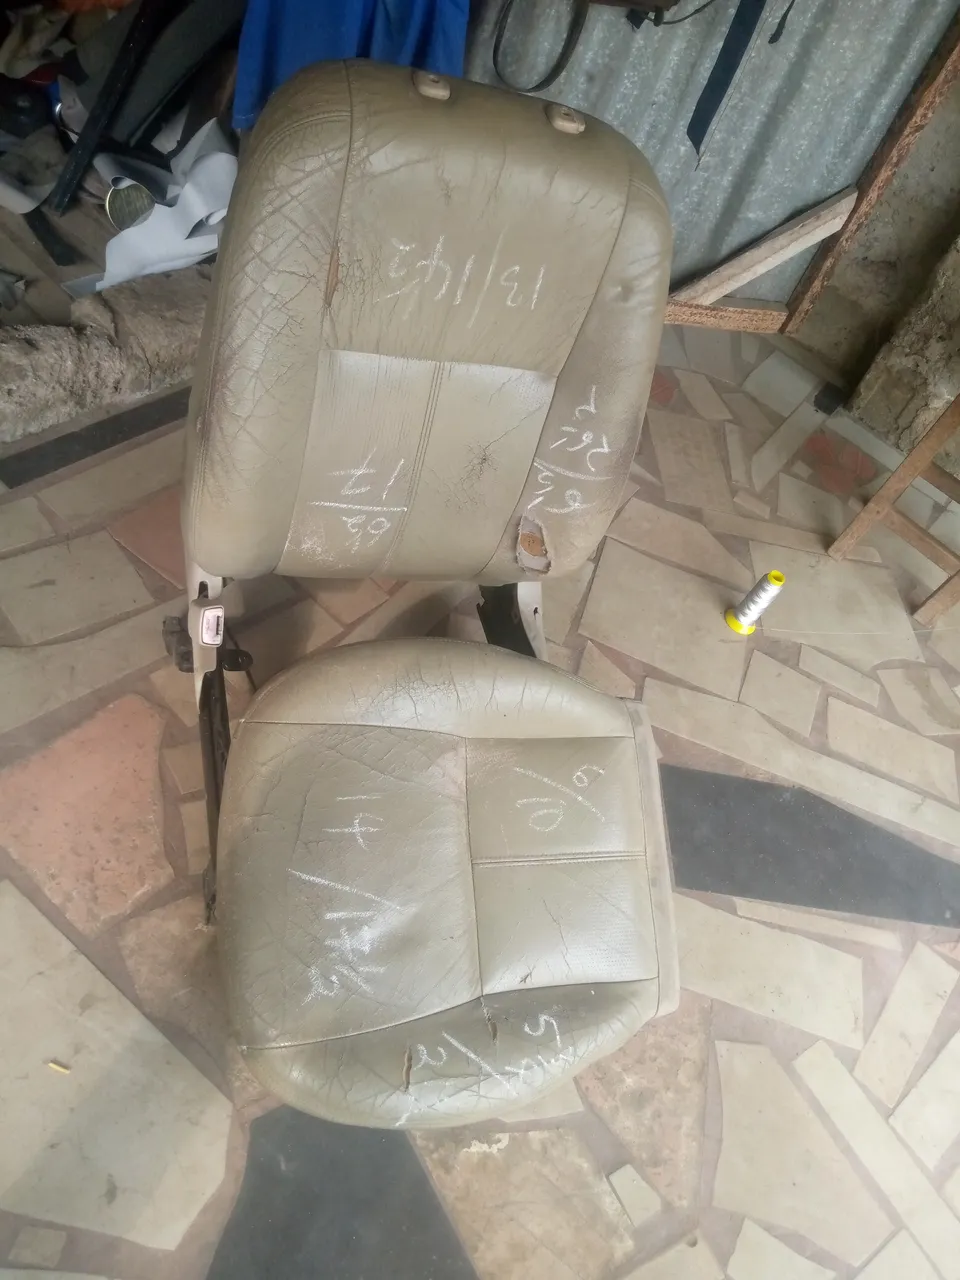
This very seat was given to me by a new customer that I had not sew for him before. He asked me to do just the two fronts, but when he saw the finished work, he changed mine an promise to bring the back the seat for me to complete it all.
He said he did not believe there was someone who could repair the seat to make it turn new, but I shocked him today. As you all know, this is my work, and it pays me, and I love doing it.
I always feel so happy for every successful project being posted here in this community and this community is my favorite.
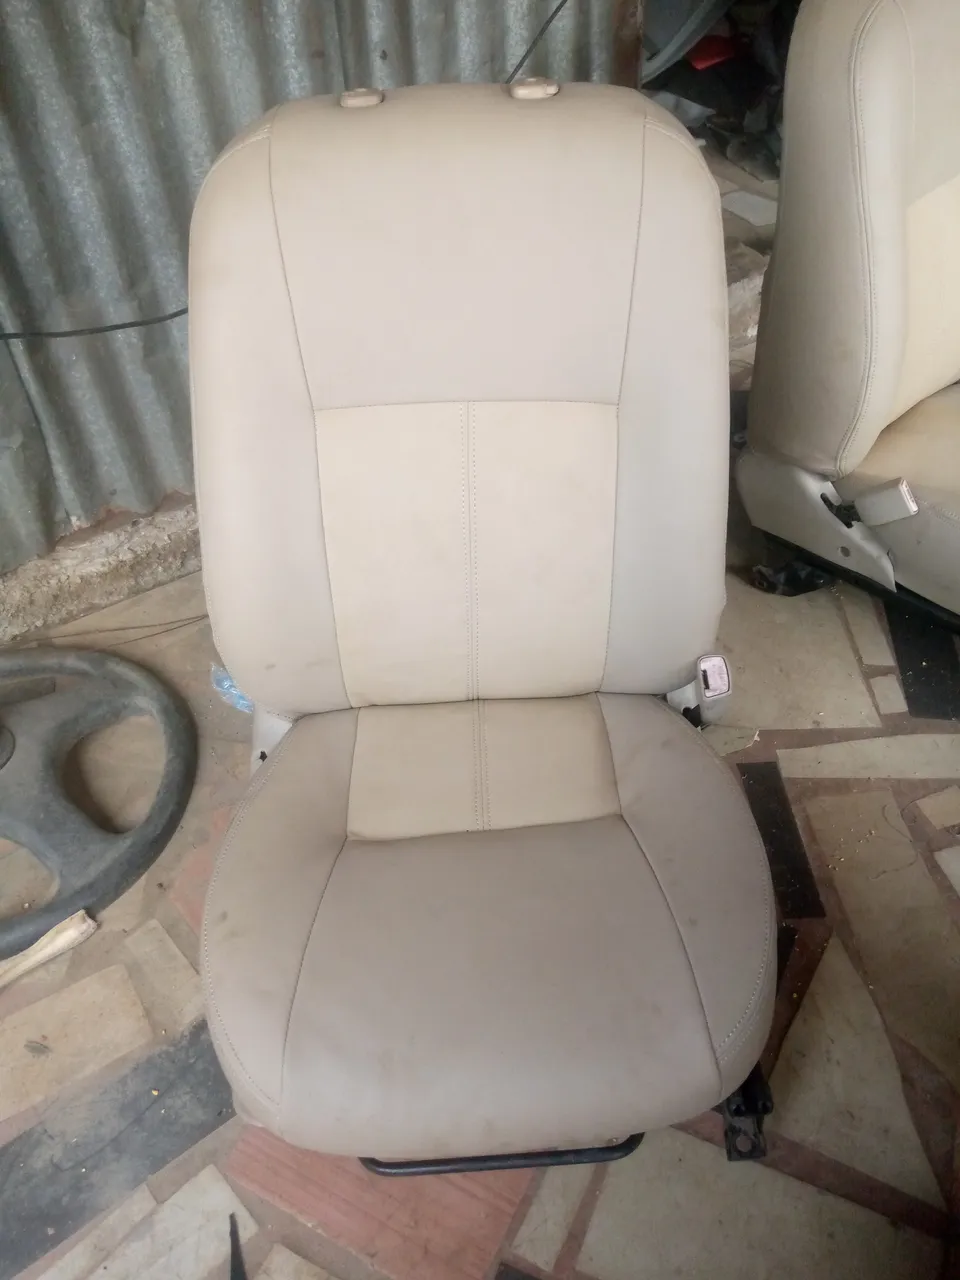
Here was the seat before

I love sharing some steps I follow to get the work done, just to prove it is being done by me and also to show how simple it is to repair an old seat to new one.
To get the work done, i first of all loose the main seat from th back seat for easy measure and access to all the hiden part of the seat.

After losing it, I then used a measurement tape to measure out the length of each pattern of the seat; the photo is shown below.
I then transfer the measurements to the new leather I am using for the work. I always try to buy leather that matches the old color, but if the owner needs a change, he has to choose the color himself. I mark out the measurements and then draw point-to-point.

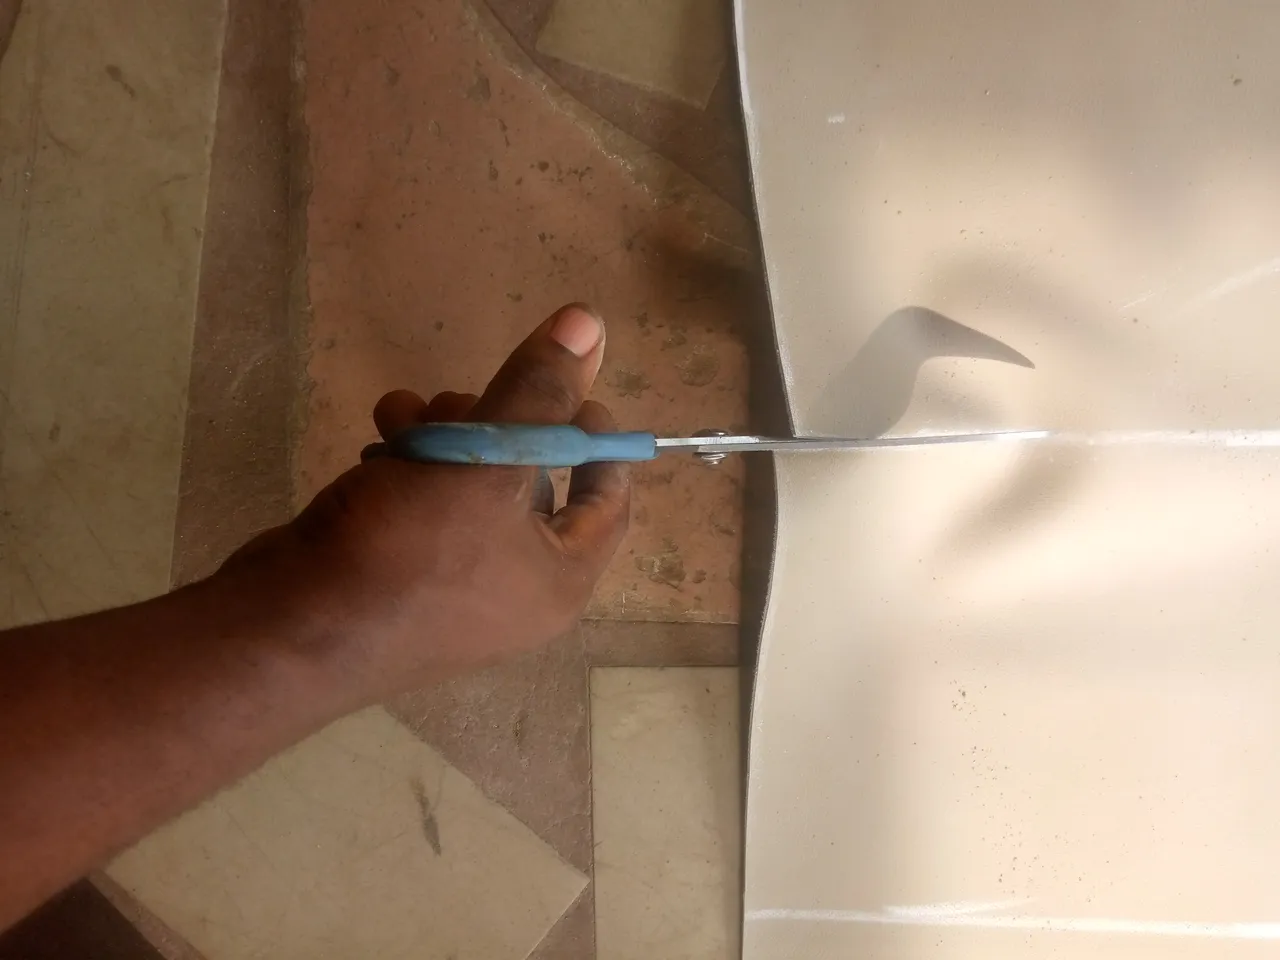
After drawing the measurements, I then use scissors to cut them out following the line I draw.
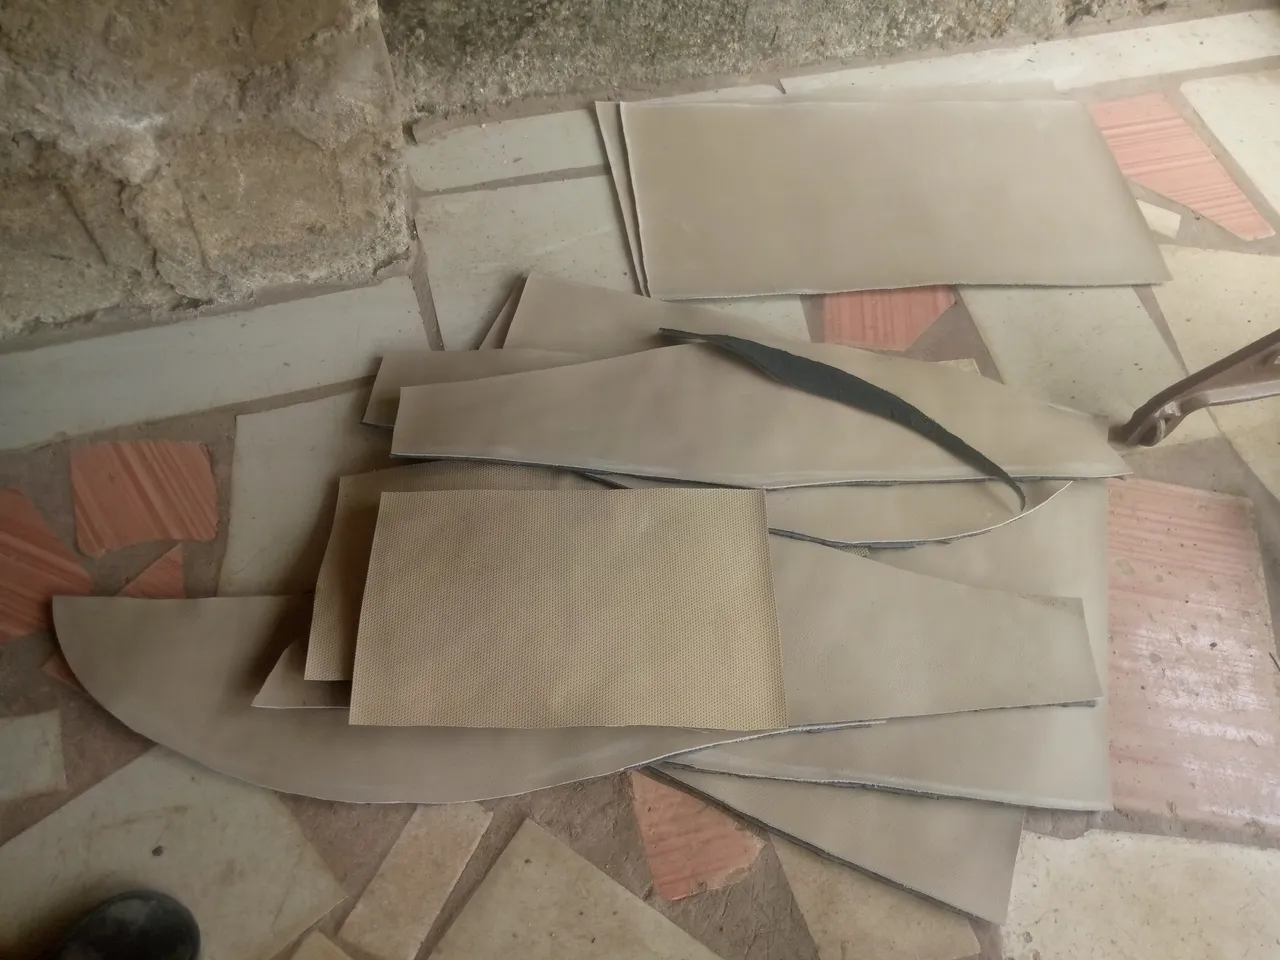
Here is the cut leather

The next thing to do after cutting out the new leather is to form the pattern I am going to work with. This is done simply by placing the cut material on the surface and then drawing the shape.

After drawing the shape i then cut it out, place it on a roof material to make it strong and smooth.

I finally cut it out, and the patterns are ready to work with.
I then use a sewing machine to carefully sew those patterns together, and here is the new seat cover.

I then clip the new seat cover to the seat frame with the help of clips and pliers.

Here is the finished clip seat.
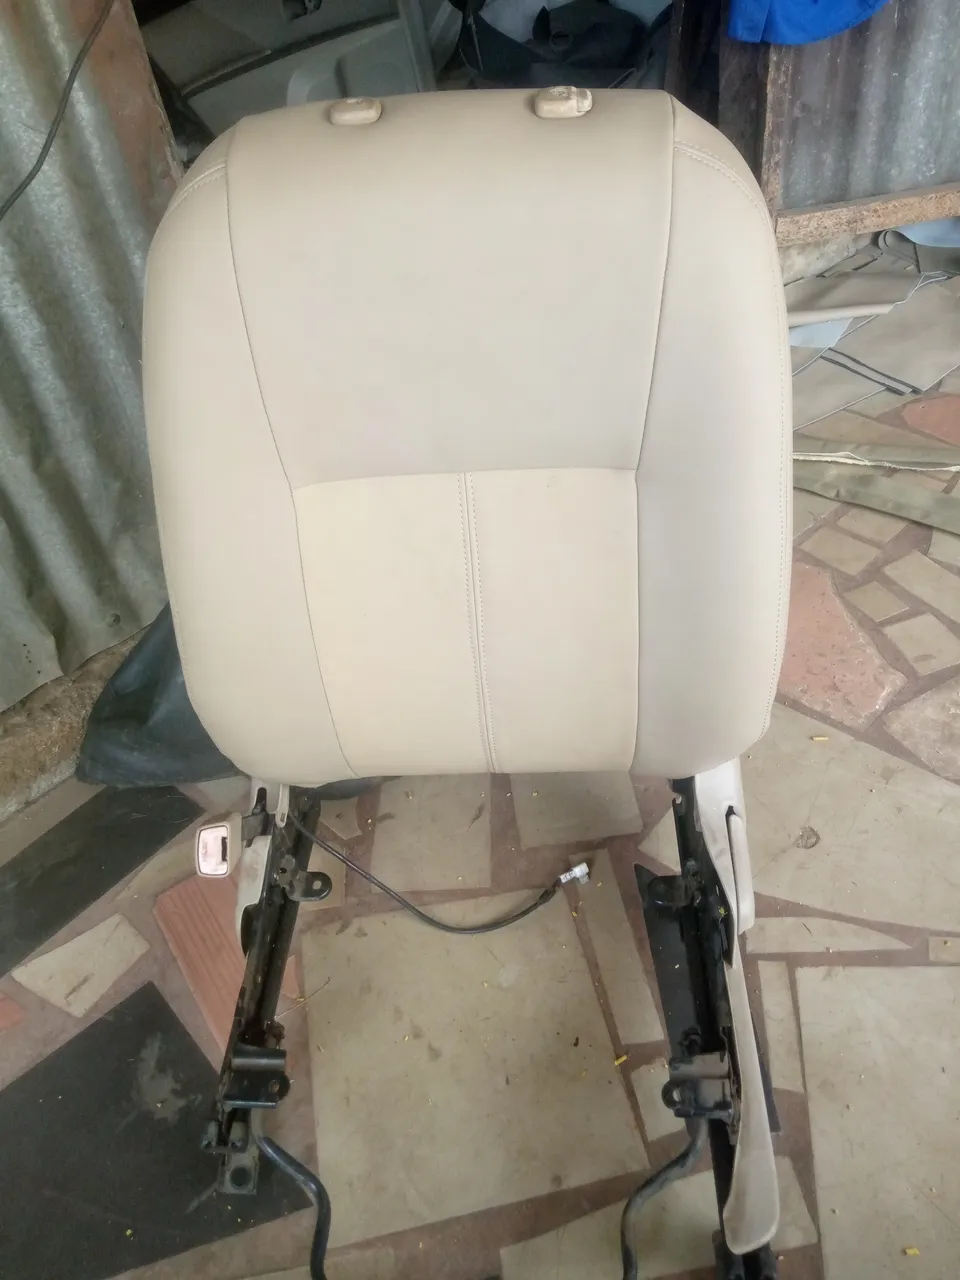
I did the same to the main seat and finally tightened them back like they were before.
Here is the final work.
Since the seats are two, I then did the same thing to the second seat, and finally, here is the finished work.
How do you see the finished work? I hope it looks nice. Thanks to everyone for stopping by, and please do well to support my work. Thanks