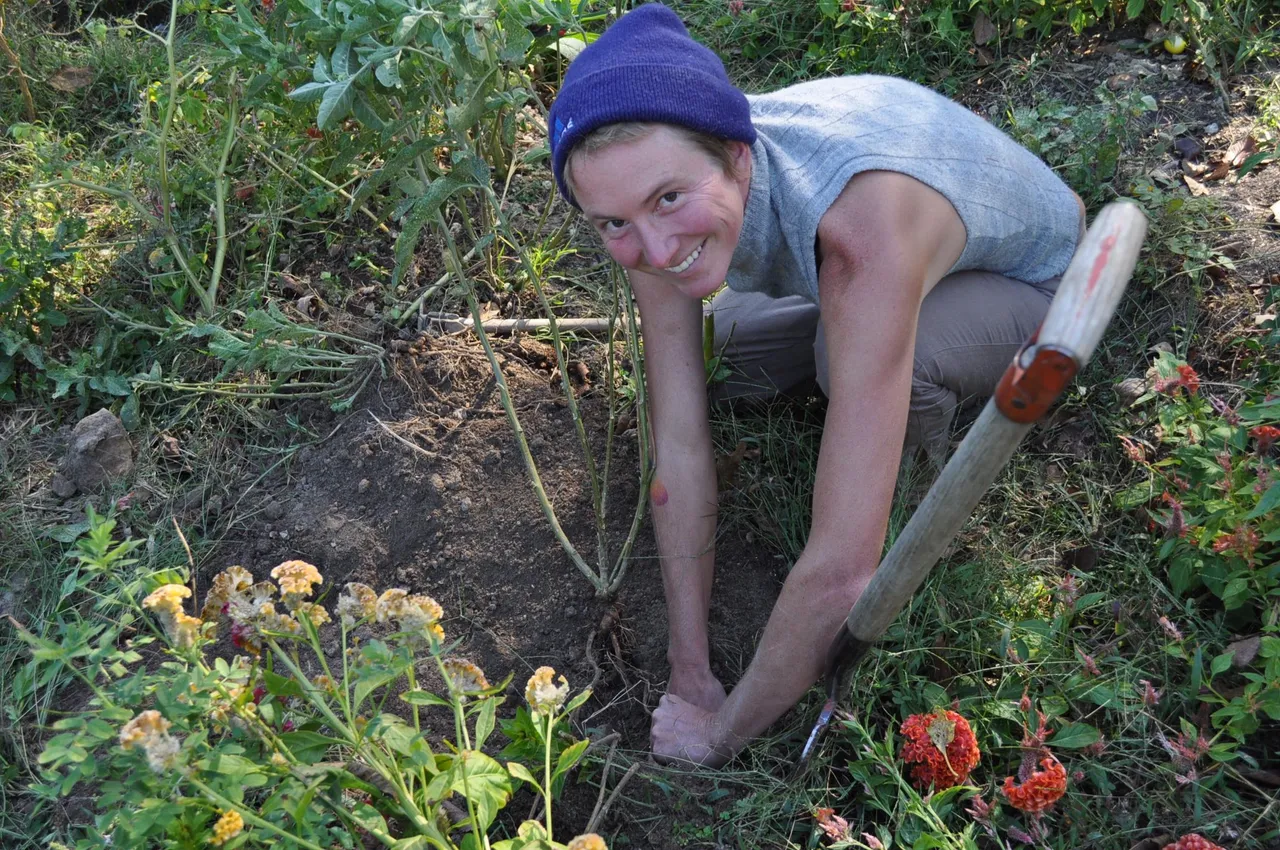
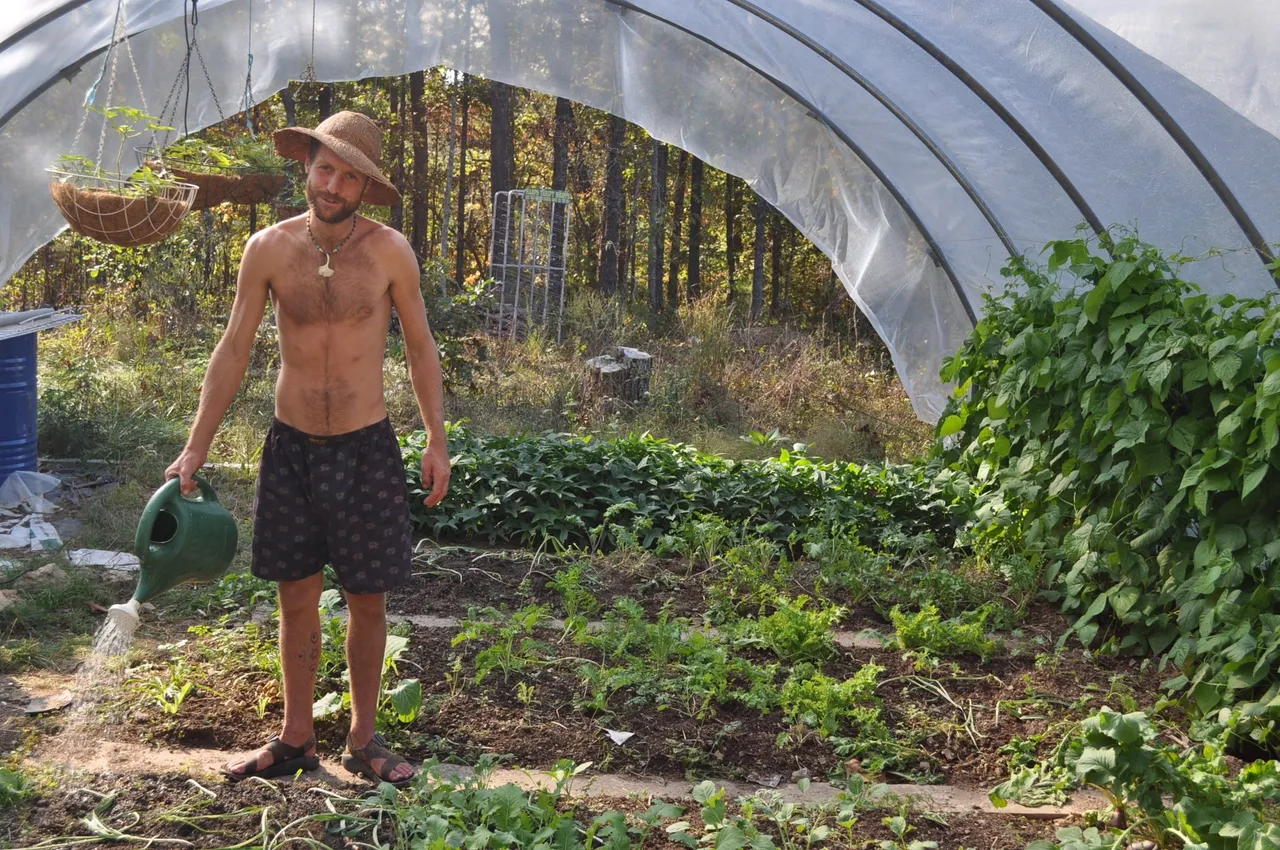
(Harvesting Ashwaganda on our permaculture #homestead)
No matter if you live in a city and garden in containers or at a community garden or have all the space in the world, you can grow your own medicines with a little skill, time and care.
First choose which plant you would like to grow. You can pick an herbal medicine you already take or think about something you would like support for in your life. One thing that I focus on is Immunity Boosting. You can do some research or consult an herbalist. Narrow this down to a plant that you’re either familiar with or one that attracts you. Look into its growth habit (does it like shade or sun, need a lot or a little water, what kind of soil does it prefer), which part of the plant you’re focusing on (herbal medicine is made from seeds, bark, leaves, roots, stalks, fruit of the plant), and how long it will take to produce (will it grow successfully in one season or should you wait to harvest it after 1 or more?).
Some plants are annuals meaning they will grow for one season and others are perennials meaning they will come back year after year, and still others are biennials which mean they live for two years and then die. What will be an annual for one person might be a perennial for another. This is based more on the climate than the habit of the plant. For example, the plant I’ve chosen to profile, Ashwagandha, acts as a perennial in India, but only grows as an annual in most places in North America because it needs above freezing temps to grow year round. If you’re uncertain of your growing zone, you can figure this out by going to this website (http://planthardiness.ars.usda.gov/PHZMWeb/) and typing in your locale. Most plants have their growing zones listed online.
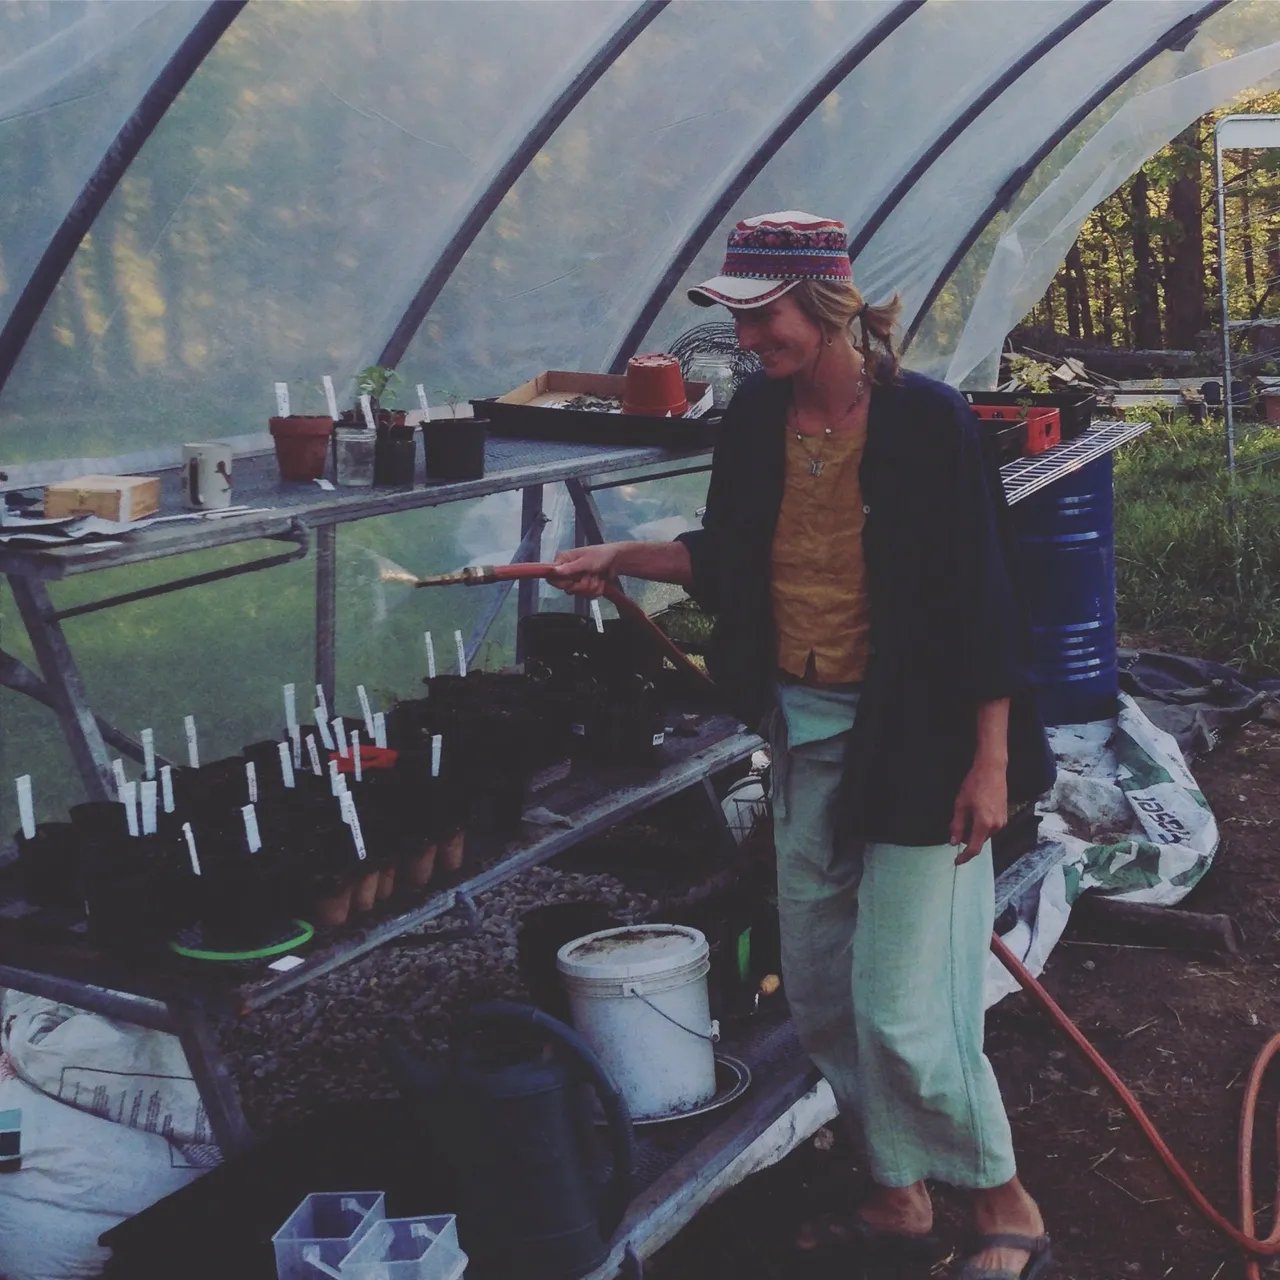
Once you’ve chosen a plant, decide if you will direct sow the seed or start in little flats. I chose to start the Ashwagandha in little flats to give it a head start in my high tunnel in early spring. If you don’t have a high tunnel you can also start indoors on a sunny window sill. Sow your seeds, water them in and pay close attention to them, visiting them often. Plants love interacting with humans and they enjoy your visits!
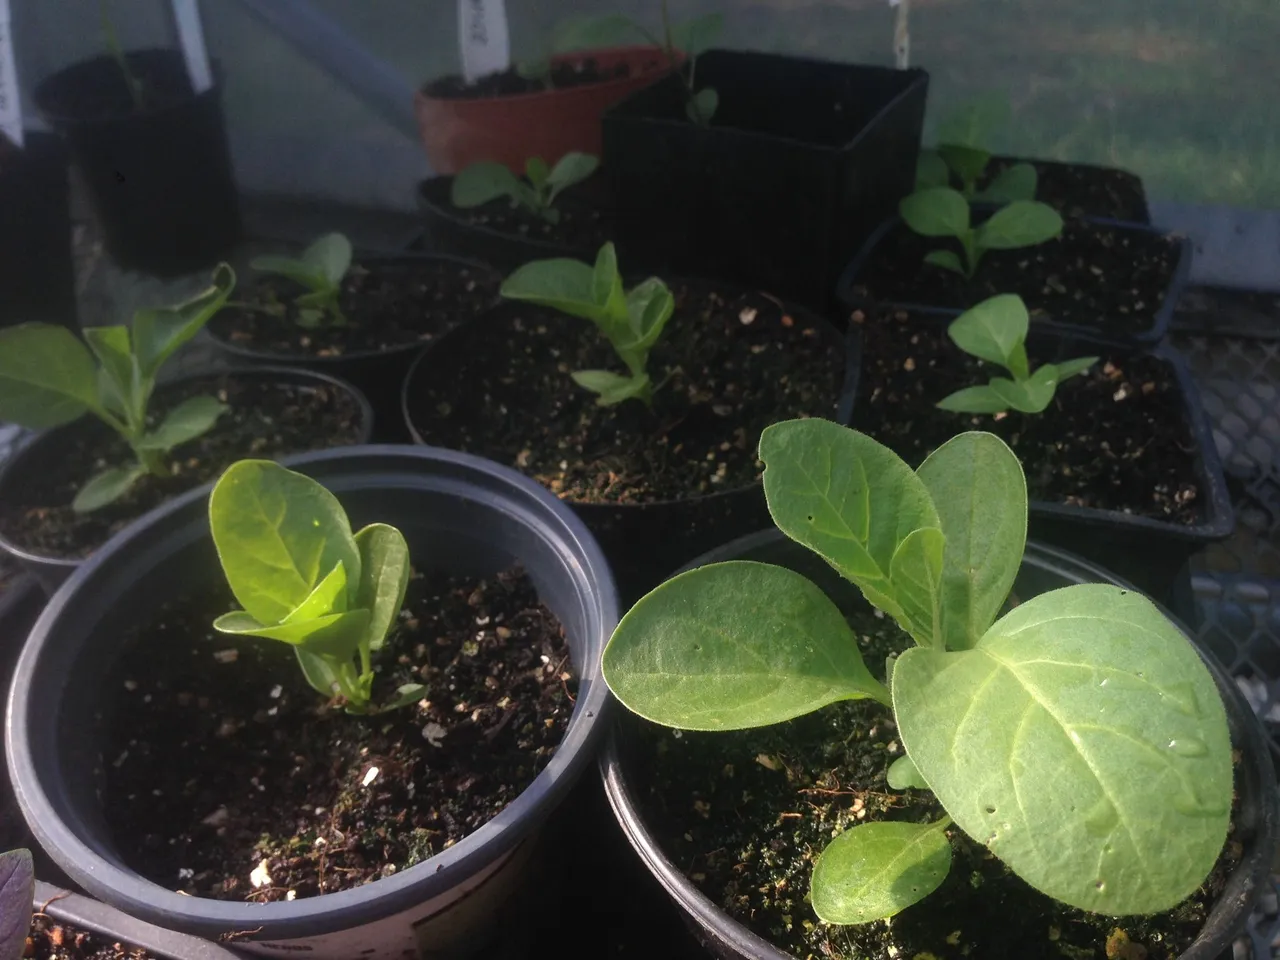
Once the plant has grown past its cotyledon (the first two leaves that come out of the seed) stage, and has grown a few true leaves, you can take the plant outside for part of the day to “harden it off”. Bring it in at night, yes we’re still babying it. If you have chosen to direct sow the seeds, you won’t need to worry about anything other than making sure your plant has enough water. But you can still visit it because, again, plants love our attention!
Next after your plant is hardened off, choose a spot in the garden or in a container that fits the plant’s criteria. Think of plants as having differing personalities, some love the sun while others prefer to be in partial shade. Study your plants likes and dislikes and assess where it would be happiest.
Plant your plant into the ground and make note of where you’ve planted it. Yogurt containers cut up into long strips and written on with Sharpie make excellent tags. I also like to make note of how many plants of each variety and when and where I’ve planted something in a garden notebook for reference.
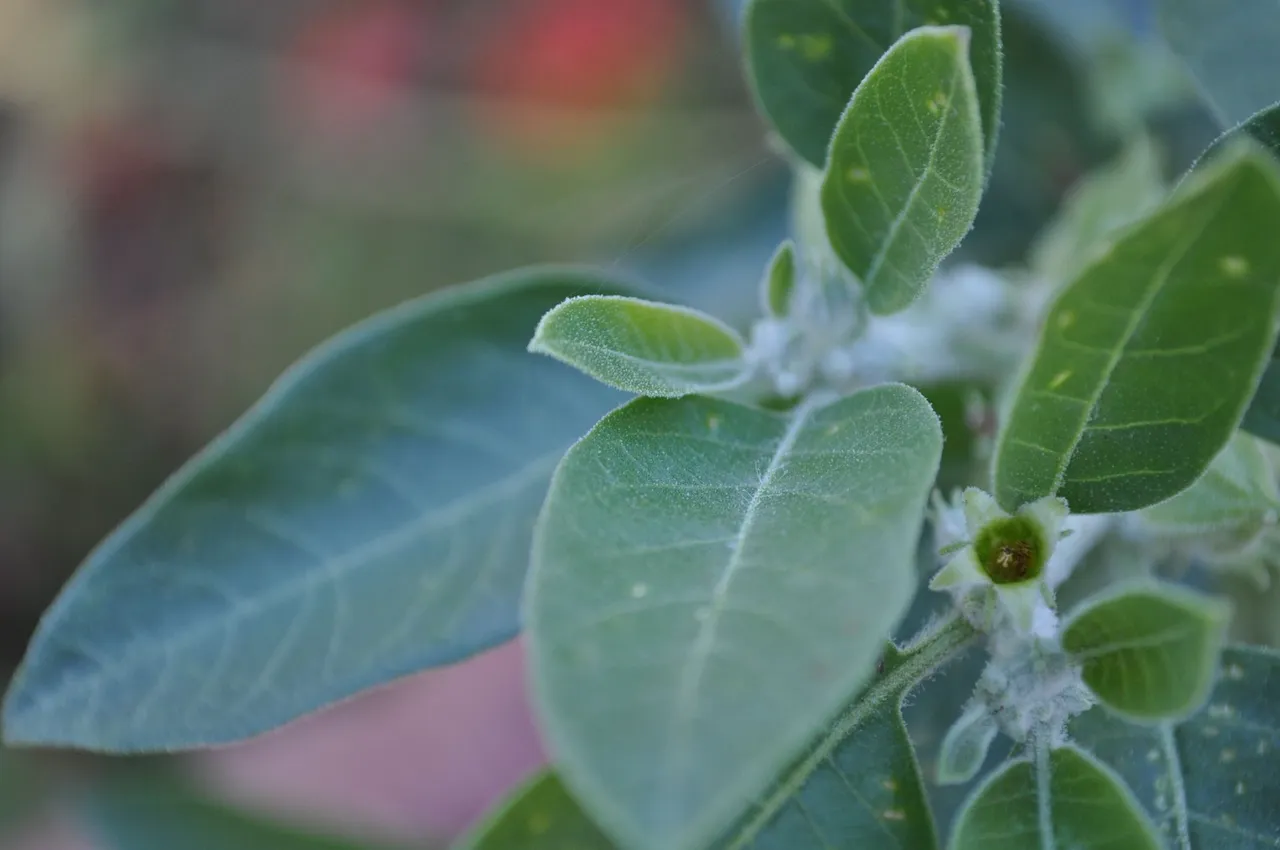
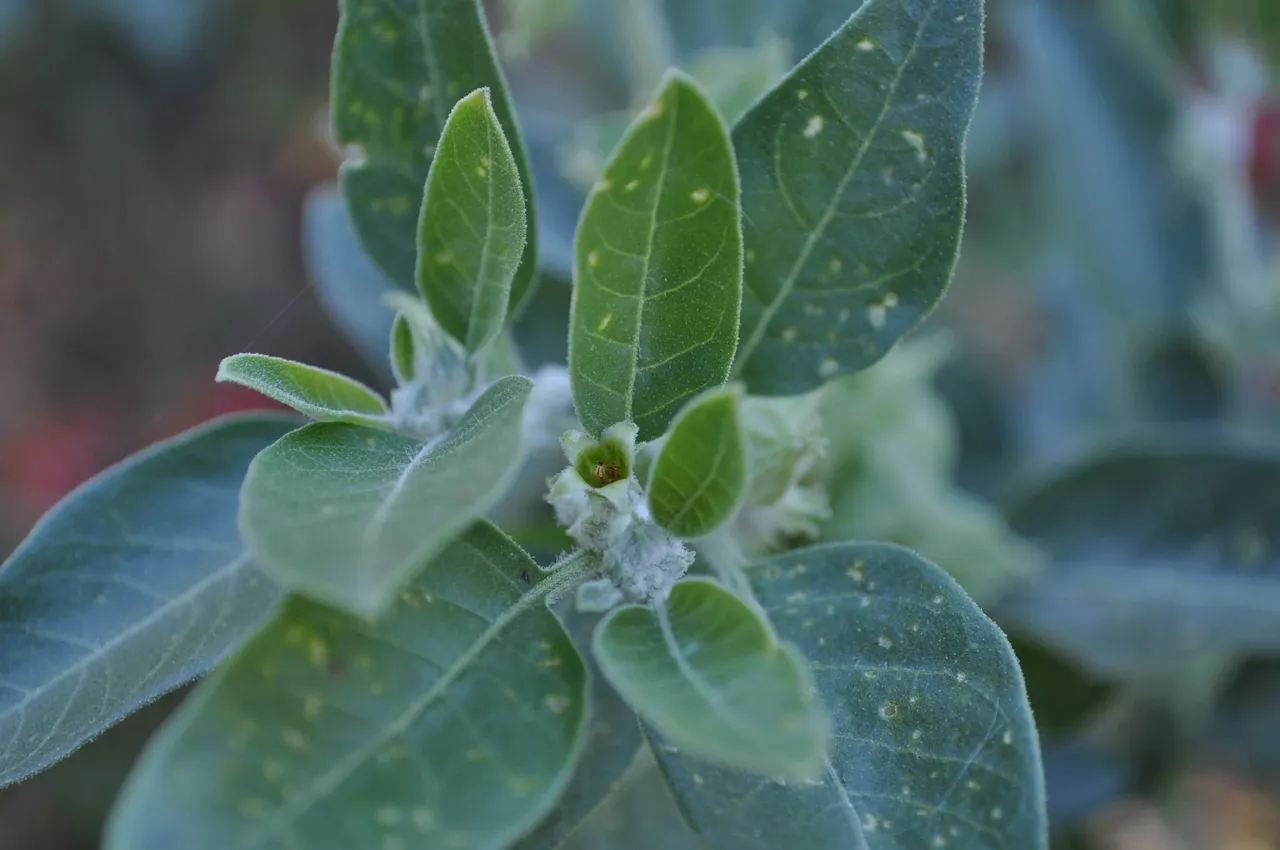
Next, let your plant enjoy its life in the ground. Some herbal medicine plants can be harvested throughout the season. Such is the case with plants one is harvesting for leaves. In the case of Ashwagandha, it is the first year root we’re concerned with. Ashwagandha, being from India, loves heat and, once established, doesn’t even really need to be watered. It’s a very easy, yet potent medicine to grow. Pay attention to your plant and water it when necessary. Grow your plant organically using composted manure, worm tea, or kelp for fertilizer if needed. This is good for the earth and good for humans and all life.
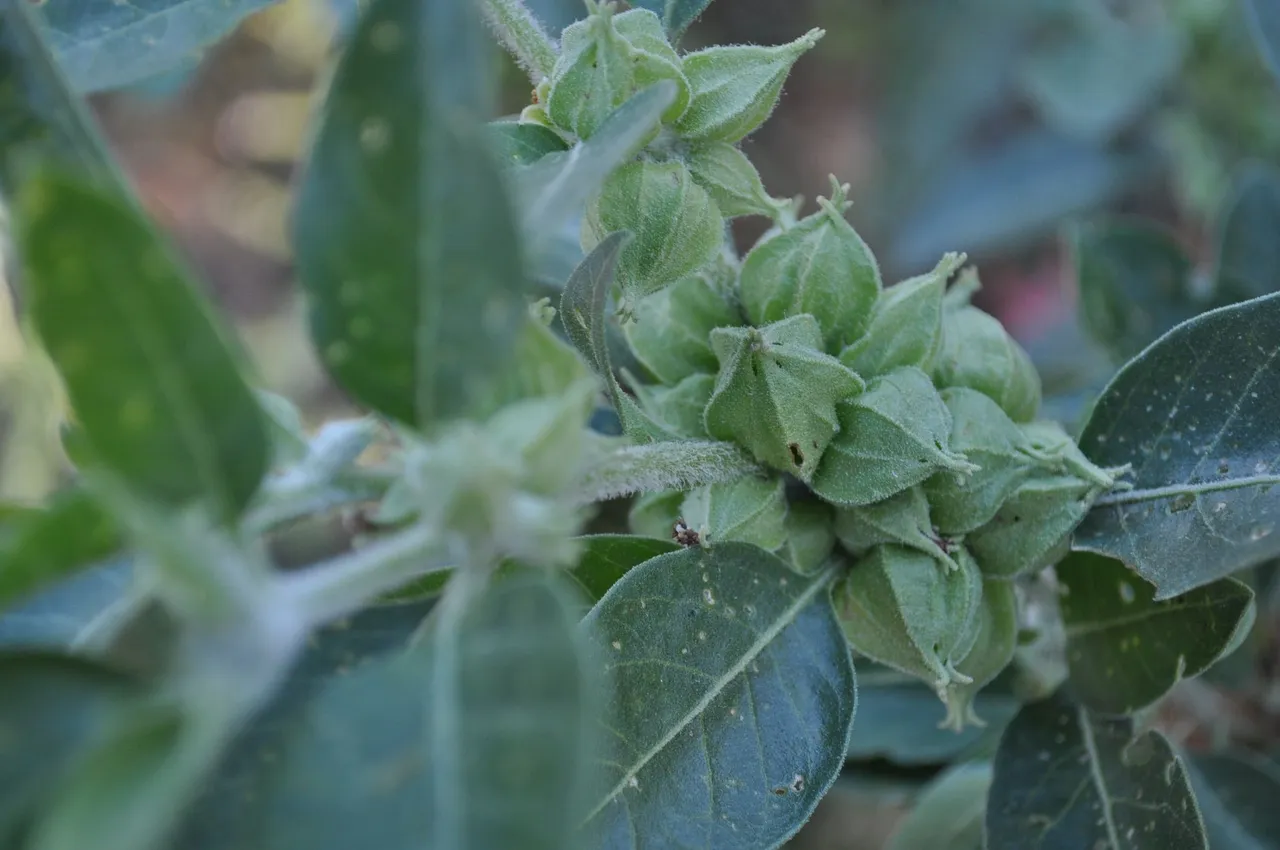
Enjoy your plant all year and collect seeds from it when they become ripe. You can save the seed for next year or share with friends.

Before the first frost is the perfect time to harvest Ashwagandha. Get a long digging fork and a hari hari, shovel or trowel and head into the garden. Say a prayer of thanks for the beautiful plant that Ashwagandha is and thank her for the medicine she is going to share with you.
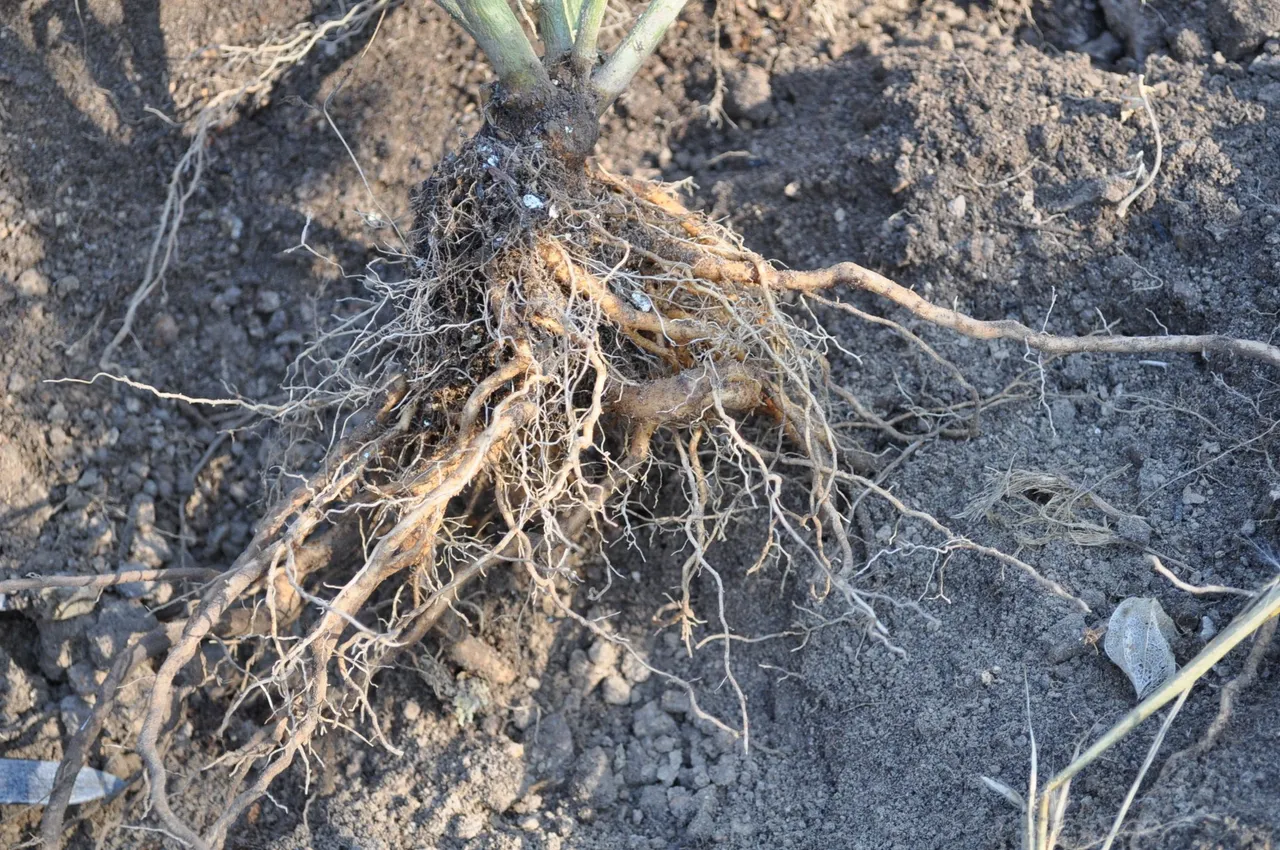
Try to dig up as much root as possible. This can be hard if the roots have really gone far into the earth! If you are growing herbal medicines for roots, consider preparing the garden bed before planting the baby plants. You can dig deeply to make your job in fall much easier.

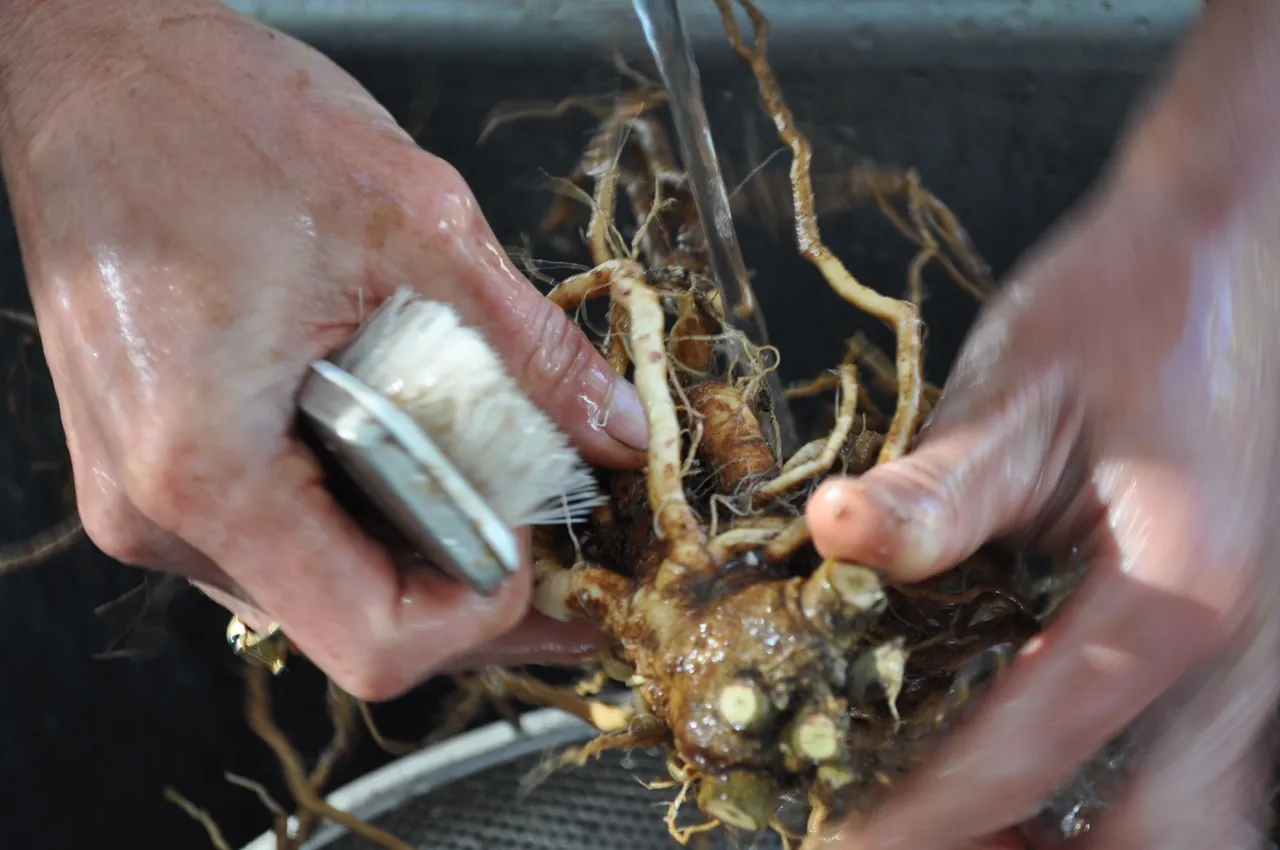
Next rinse off as much dirt as you can from the root. Be careful not to scrub too hard as many good medicinal constituents are on the outermost skin of the root.

~Making a Tincture~
Take a clean glass jar (ball jars work well) and for roots a ratio of 1:3 (root to alcohol) is sufficient. Leaves, especially if fresh, can be stuffed directly in the jar and topped with alcohol. Chop or blend roots to get most contact with surface area. If using regular ball jar lids, make sure to put a bit of wax paper in between so rust doesn’t develop and get in the tincture. Fill up to the top and store in a dark, cool place.
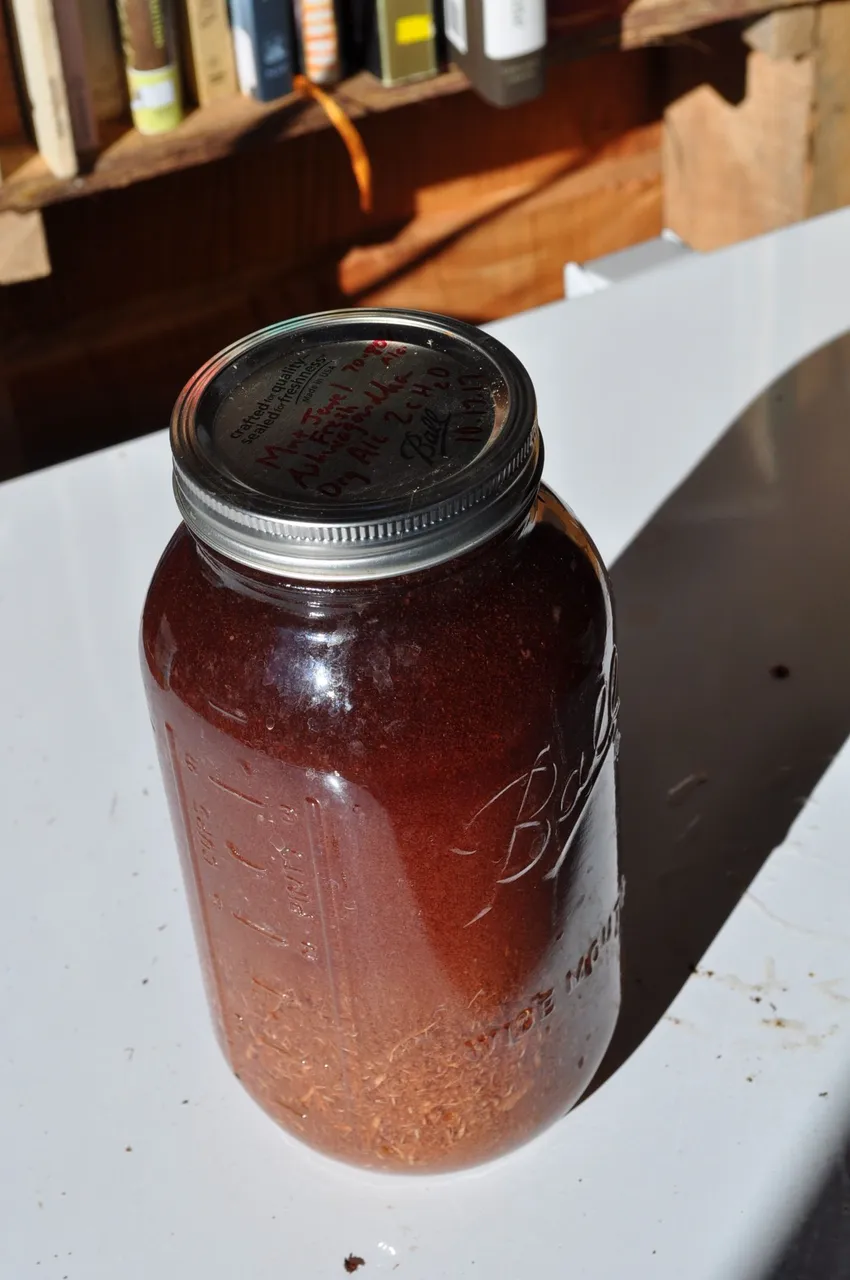
In the case of Ashwagandha (or most roots), tincturing for medicinal quality will need to be done in high proof alcohol. I tincture in 190 proof high quality organic alcohol, but you can find Everclear in some liquor stores. Get the highest proof you can find for roots. For leaves or berries, a lower proof (over 40%) brandy, vodka, etc is usually sufficient. This is because the alcohol acts as a solvent and pulls out the medicinal qualities (alkaloids, essential oils and other constituents) and roots need a stronger solvent. Make sure to take notes on your ratios & % alcohol- I usually write it on the lid. Let steep for at least 6 weeks (though in many traditions, the longer the better). Again, visit your medicine, touch it, shake it up gently, give thanks or send your energy to it in any good way you can. Many people say that if you do this, the medicine will be more potent and “what you need”. You’re literally forming a relationship with your medicine at this point and powerfully acting toward healing or making yourself healthier.
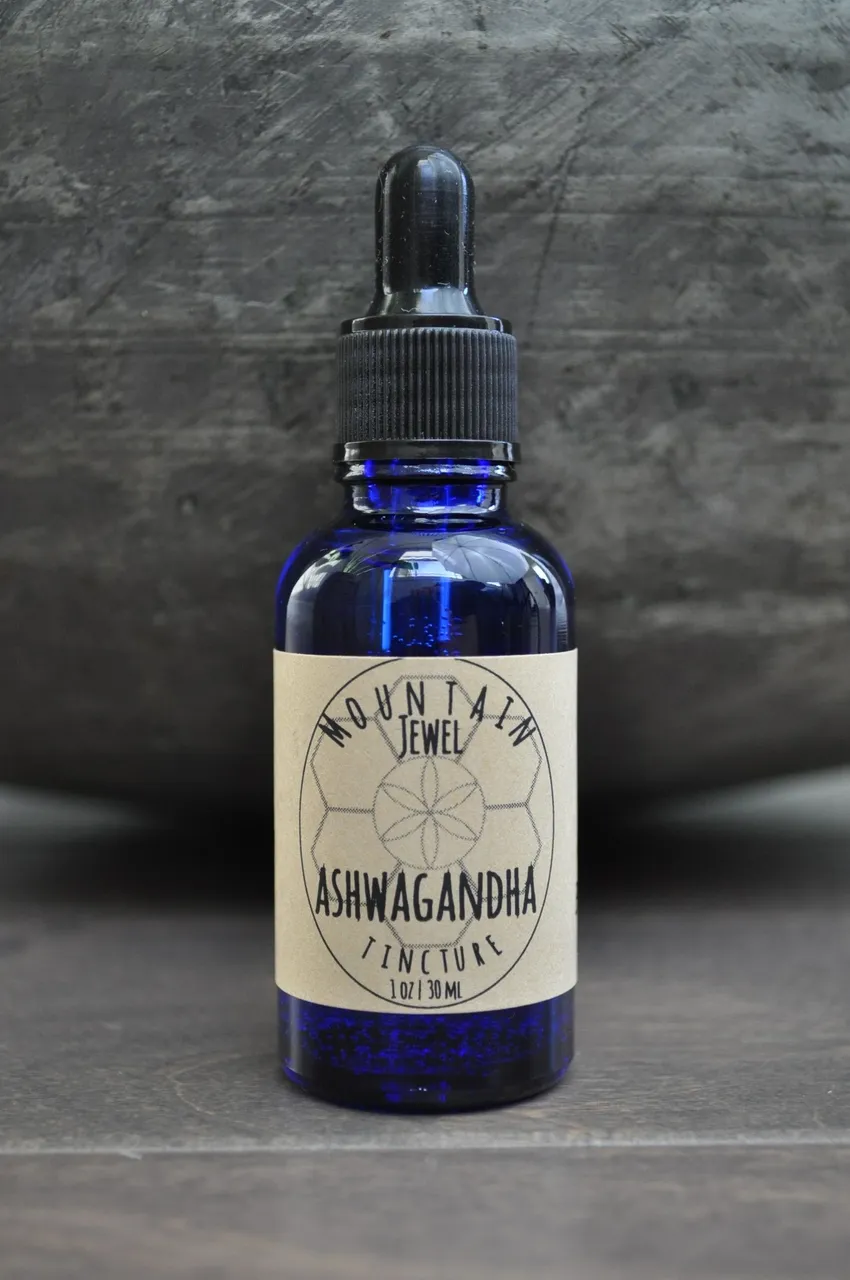
After 6 (or more) weeks, strain and put your tincture in individual dark glass serving bottles (I use 1 oz dark glass dropper bottles). Your tincture should last many years. Take a bit under your tongue or put it in a cup of tea if you don’t like the strong alcohol on your tongue. You can do this 1-3 times a day, or with some medicines (as in cases of anxiety or acute illnesses- stuffy noses, colds, etc) take as needed.
We sell our homegrown medicines on our Etsy shop. ~~> https://www.etsy.com/shop/mountainjewelbotanic
Check it out! And don’t hesitate to ask if you have questions about growing and making your own medicine! It’s a passion that lasts a lifetime and can help in the healing of ourselves, our communities and our world. It starts with one plant, but rarely stops there...