We wanted to grow some veggies this year and the soil in the location we selected wasn’t very good, so we decided a raised bed would be the answer. I was pretty shocked at the cost and many are just made out of soft woods like pine that will quickly rot away, so I decided I could do better!
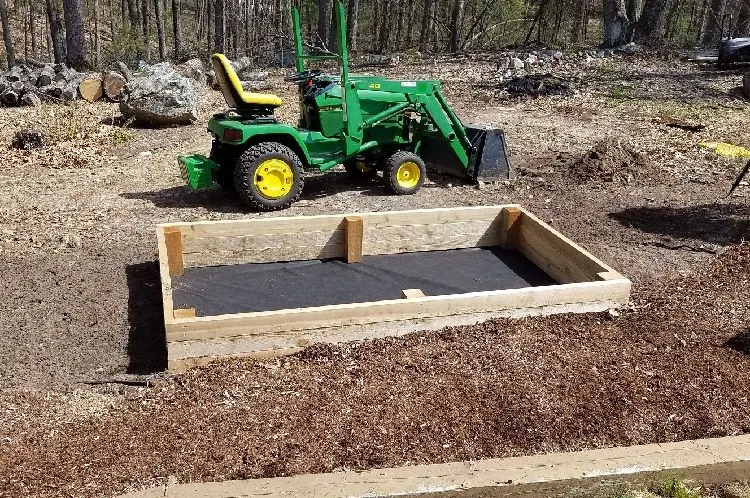
So for less than $125, I put together this red cedar 4’ x 8’ bed – and total time start to finish was about an hour. This was super easy so if you want a raised bed for your garden, save yourself some money and build your own. Here’s how:
I used a powered miter box but there’s no reason a simple hand saw couldn’t work. And if you ask nicely you might be able to get someone at Lowes or wherever you get your lumber to cut these for you. There are only a few cuts.
Take (3) of the 2x4’s, find the center, and cut in half


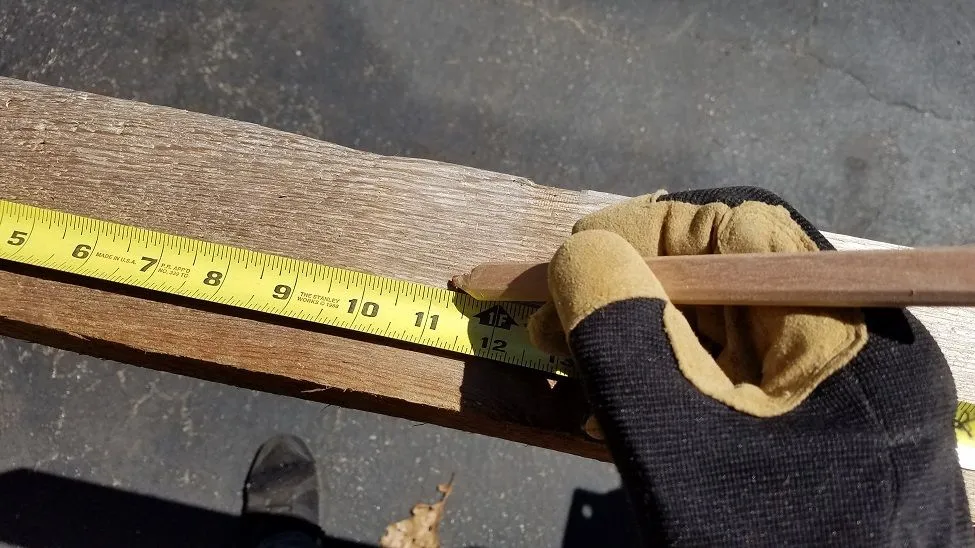
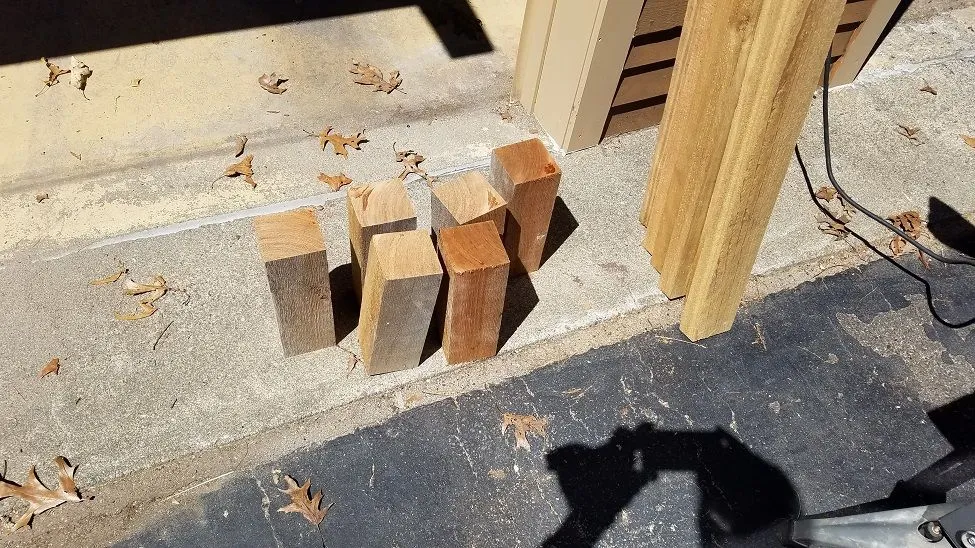
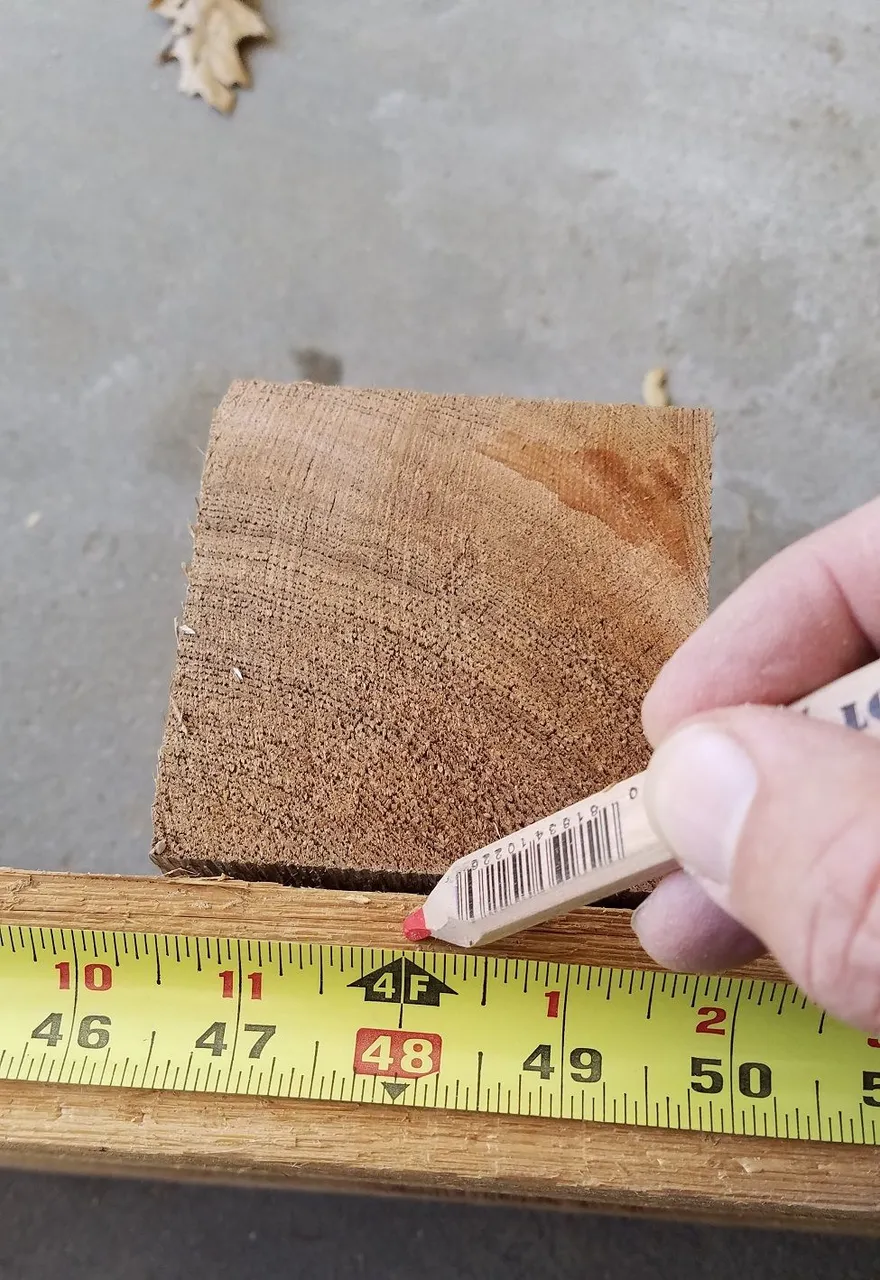
Now take the 4x4 and cut (6) pieces 11.25” (or whatever the measurement is for three of the 2x4’s stacked on edge - sometimes red cedar isn't exactly dimensioned like a typical 2x4).
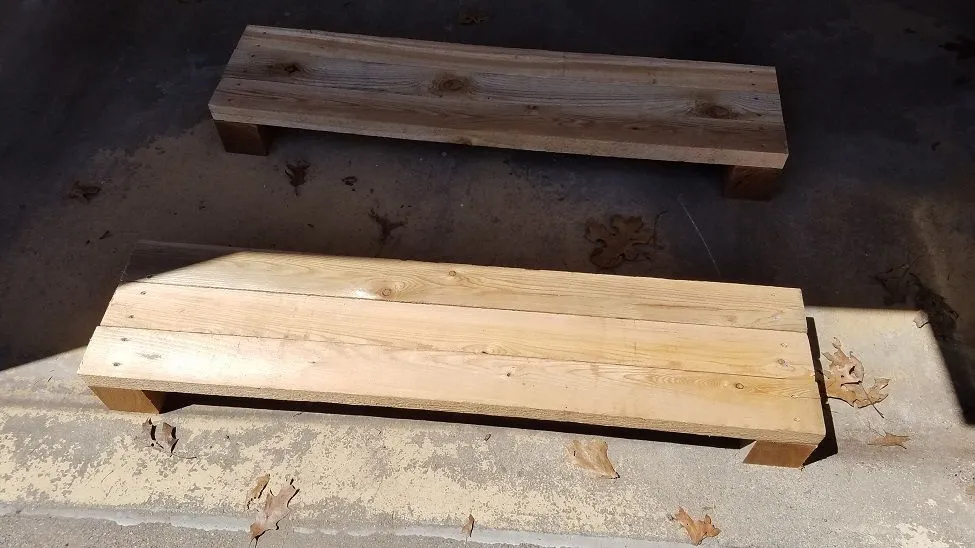
Working on a smooth level surface make assembly easier. I used the floor of my garage. Start by assembling the ends. Lay out the end pieces then take one of the 4’ 2x4’s you cut and lay it across, squaring it up to the bottom and outside edges. Fasten with (2) of the 2 ½” screws – don’t fasten too close to the edge or the wood will split. If your cedar is really dry, first drill a hole slightly smaller than your screw diameter. This will help prevent the 2x4 from splitting.
Countersink just a little.

With the lower 2x4 in place, fasten two more 2x4x4’s above.
Now stand up the ends and take one of the 2x4x8’s and lay it flat on the outside of the end pieces. Tip: all 2x4’s and especially this red cedar will have a slight bow in one direction or another. Place the 2x4 so that the bow faces inward. Fasten into the 4x4 with (2) 2 ½” screws on either end. Repeat on the opposite side.

Now add two more 2x4x8’s on top of each side and fasten on the ends with (2) 2 ½” screws.
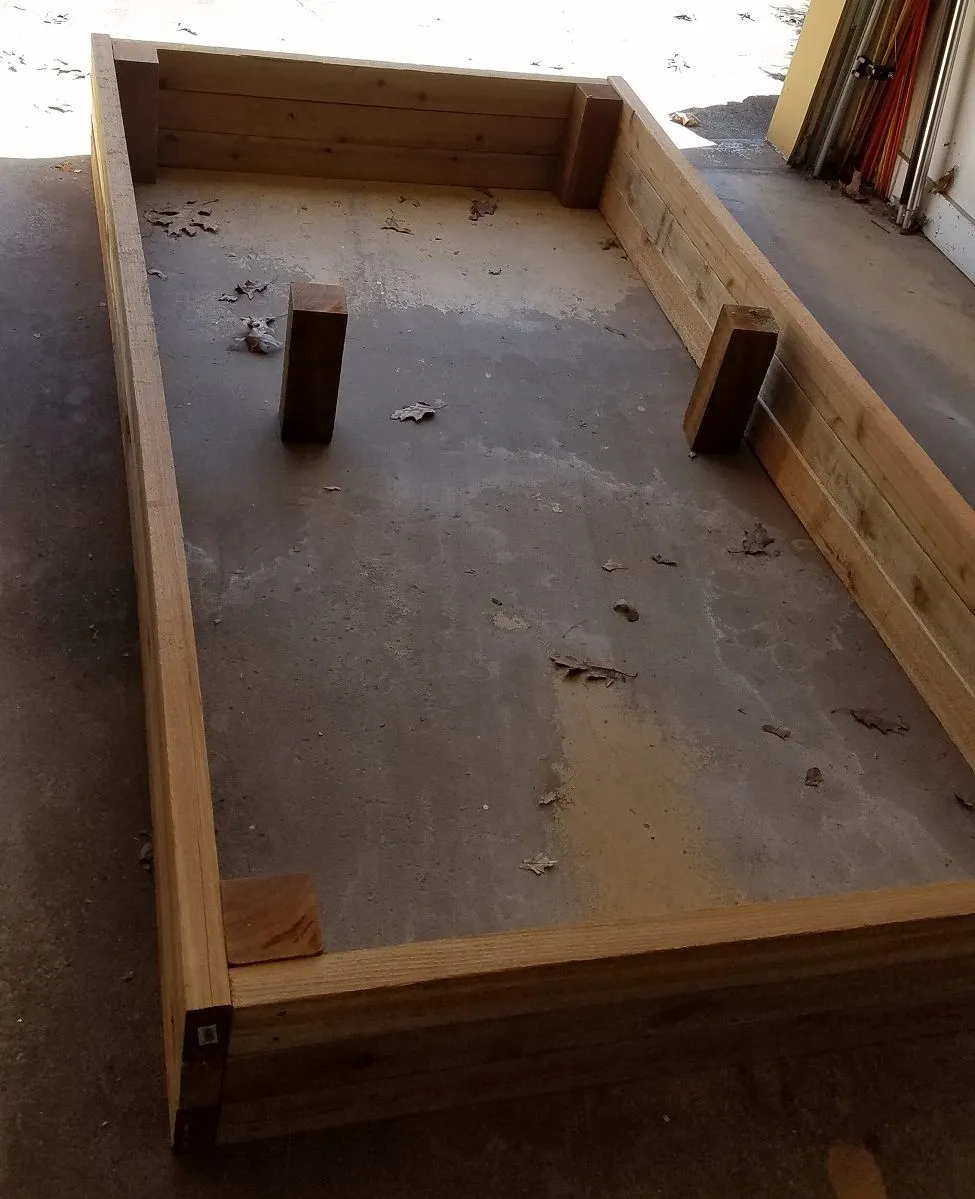
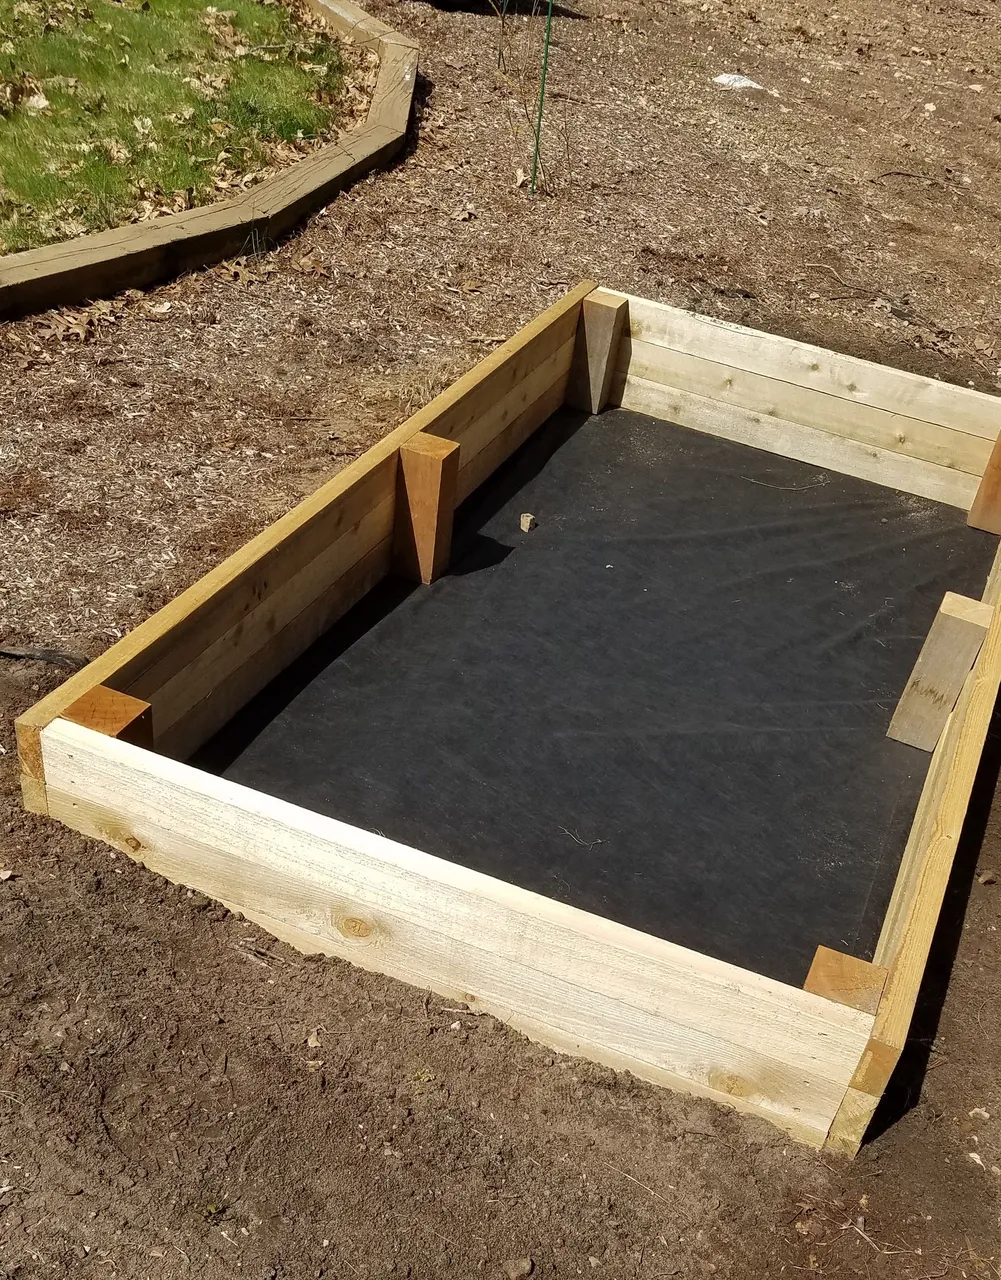
Locate the middle of each long side and place your remaining 4x4x11.25” pieces in the exact center. Hold tightly to the side and fasten from the outside using (2) 2 ½” screws through each 2x4 into the 4x4 post.
Now get a helper and carry the frame to the location where you want your bed.
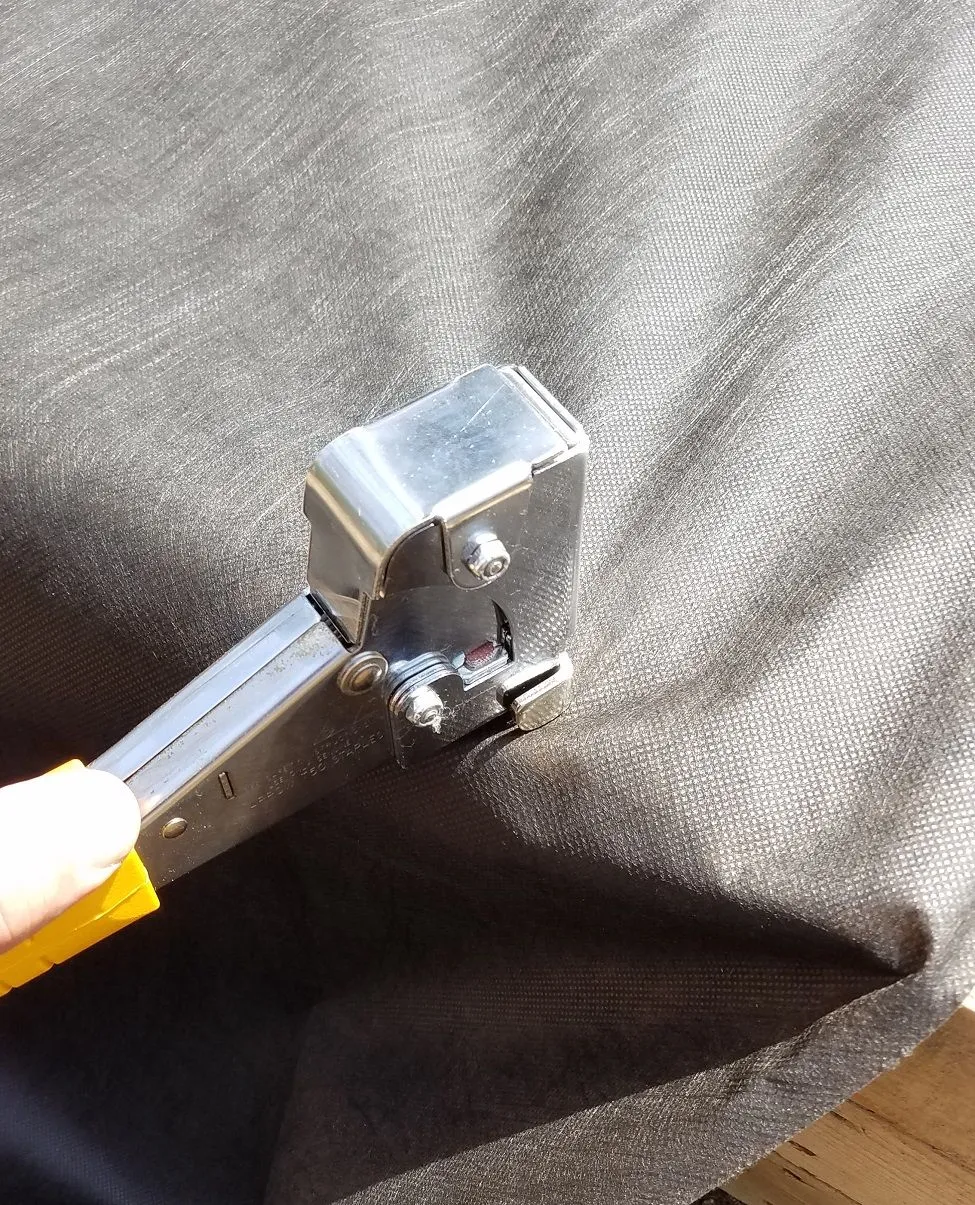
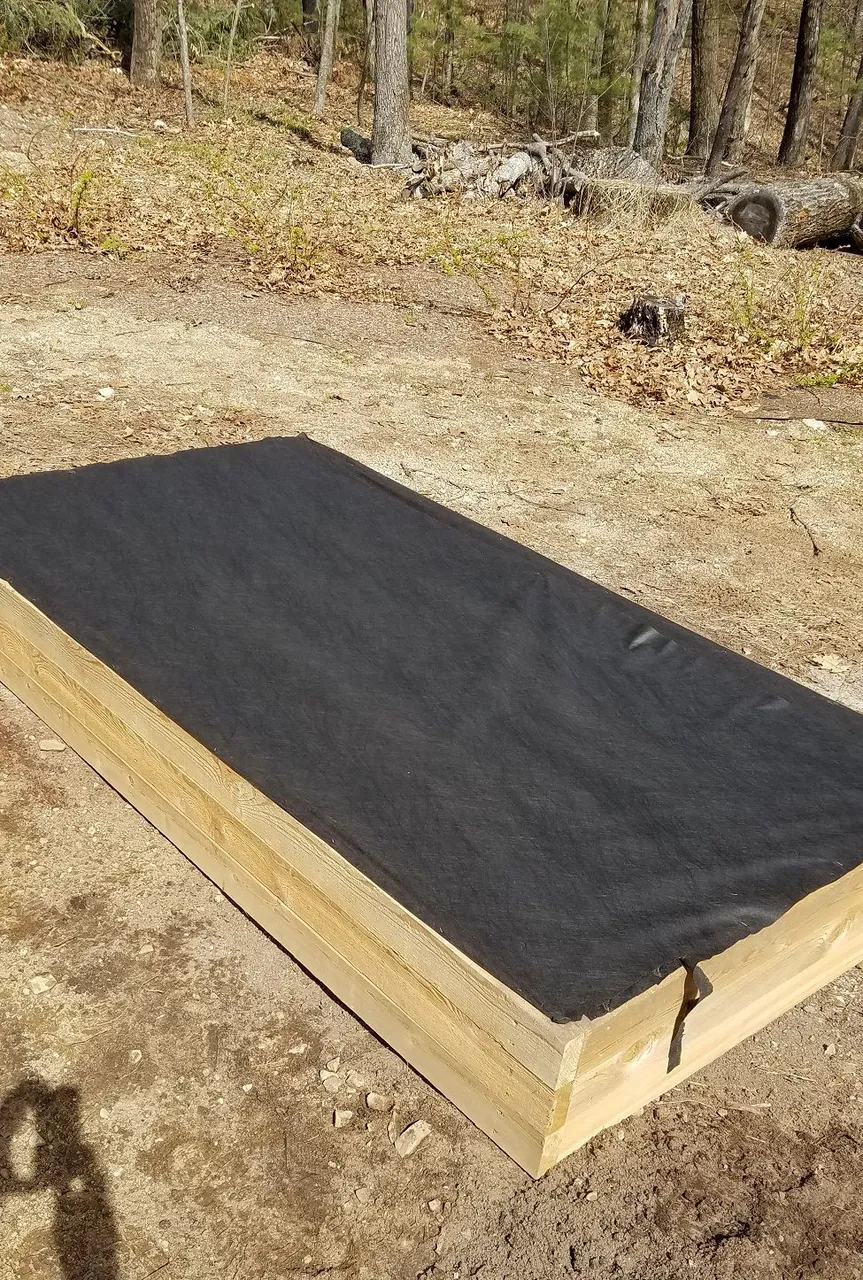
If you’re concerned about weeds growing up from below the bed location, staple some landscape fabric to the bottom. Place the staples about every 12”.
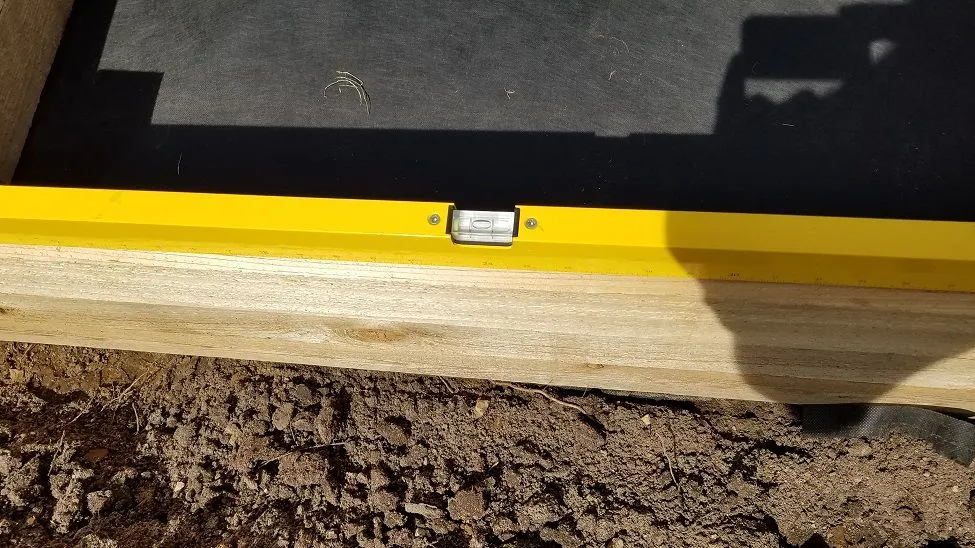
You want the location you place the bed to be level. In my case the ground was sloping a little so I dug down on one side a bit. Recessing the bed is a good idea anyway as it helps keep the critters out. If you need to, place some flat rocks under a low side to get leveled.
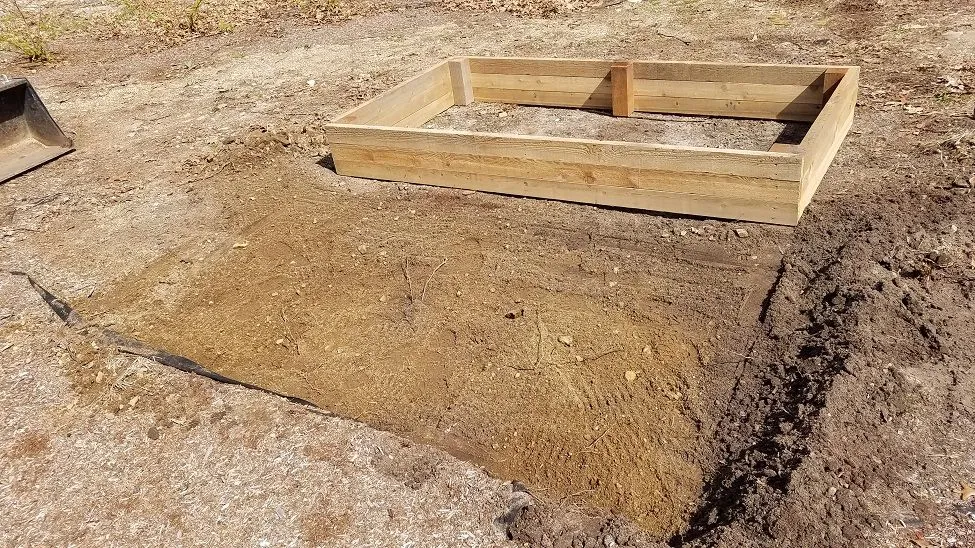
Put the bed in place and fill in around the bed with some earth or mulch.
If you want to fence your new bed the wood provides a perfect backing to attach some 3’ or 4’ fencing posts (also available at Lowes or any hardware store). Then affix chicken wire or the smaller hardware cloth to keep the little critters out.
Fill with your favorite soil and get planting!