In this post we will begin creating the object to contain the characters. We finished setting up the scripts so we can easily build terrain and maps in the future in the previous post [005]. This tutorial series began with post [001].

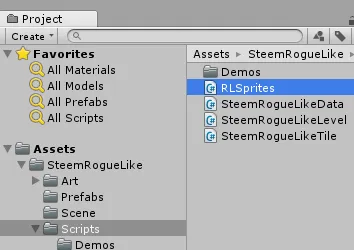
In the previous post I mentioned we were going to move onto setting things up to handle characters. If you look at the Art folder you will notice there are many different folders to make these Dungeon Crawl CC0 characters customizable.

We want to support that.
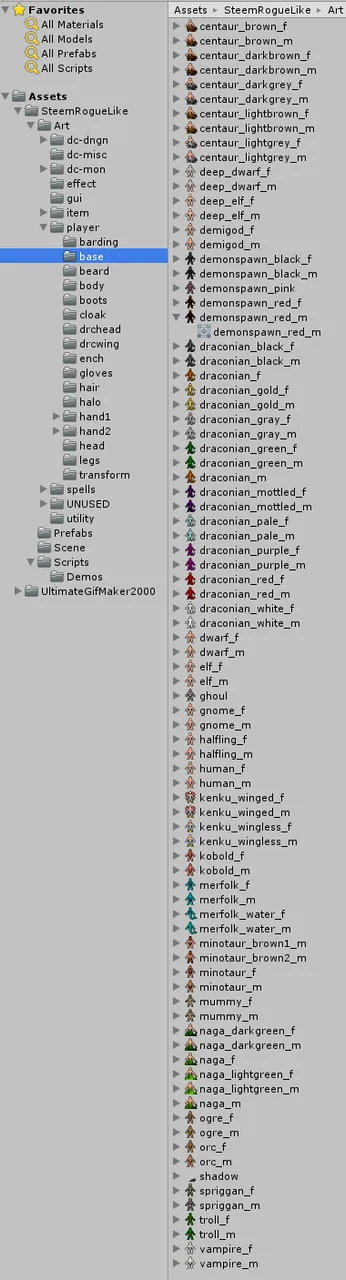
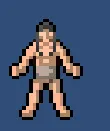
Those are the base characters which I'll call Body in our game. They have no clothing, hair, etc. All the other folders consist of components that can be layered on top of or behind these base bodies.
For this reason we need to setup a prefab that has place holders for all of these body parts much like the ones we did for terrain.
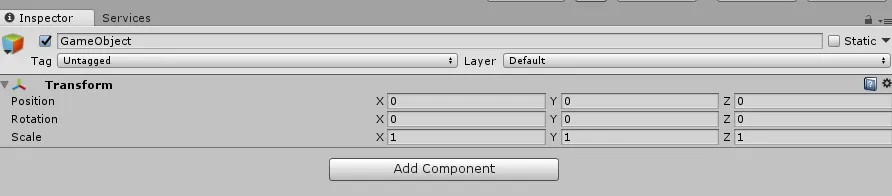
Create and Empty object at position 0,0,0 and rename it CharacterPrefab.
Create another empty object under that prefab.
Click Add Component.

Click on Rendering.

Click on Sprite Renderer.

Right click on GameObject and Duplicate.
Repeat that process 11 more times.
Let's rename those from top to bottom as follows.

We will want to set the sorting order for each sprite renderer. Here are my initial settings for each.


Assign some sprites to the various slots if you want to see what it looks like.
Drag it to the Prefabs folder.

Open up the RLSprites script in Visual Studio. We need to add some things to it.

We add places to store these specific sprites. We also add a new string array for Character Type Definition, and Item Type Generation.
We'll define some character specific things on the character.
Items will enable us to specify what sprite an item should use if it is equipped.
We also add a CharacterPrefab object section.
Save that and rebuild it
We will define those in a later post.

We now will add some hair.
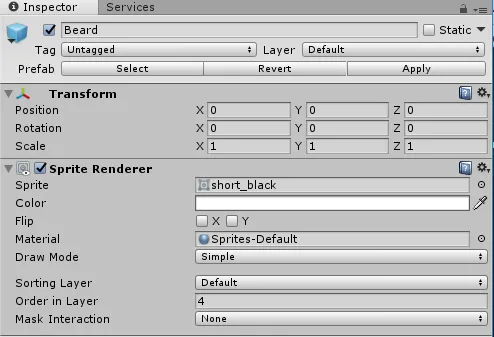
Then a beard.

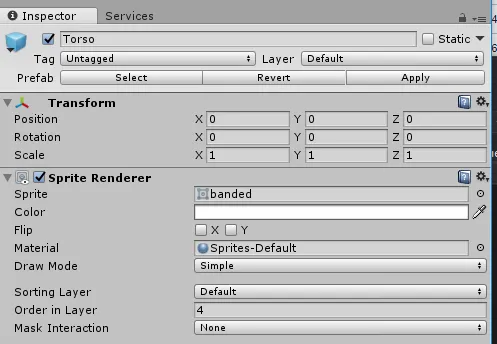
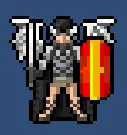
Then the torso.

Hmmm... notice part of the hair and beard are obscured by the torso armor. We want it on top. Change the following sorting orders.
Hair 5, Beard 5, Helmet 6, and Helmet2 7.

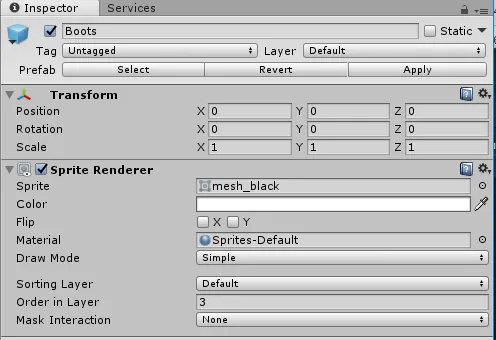
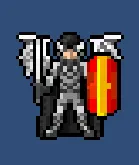
Add boots.

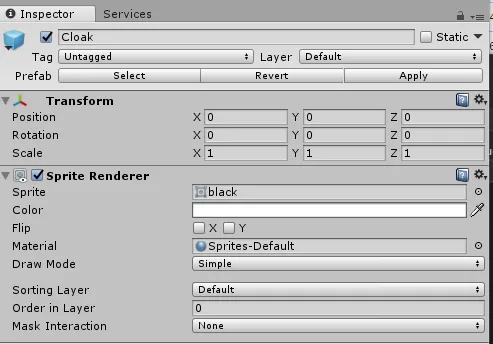
Add Cloak.

Add Wings.

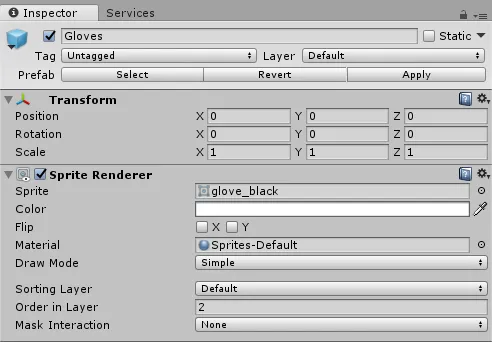
Add Gloves.

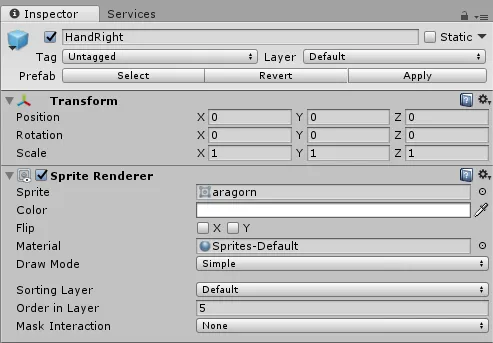
Add HandRight.

Add HandLeft.

Add Helmet.

Add Helmet2 (NOTE: This was created so horns and things of that nature could poke through helmets if desired).
Add Trousers.
That concludes this specific post.
If you like these tutorials and would like me to continue them please consider an up vote. Thank you.