Filet crochet is a way of crocheting which allows for creating patterns by using gaps and filling spaces, so it's like black and white pixelart. Filet crochet consists of chaining and double crochet, both of which are not hard to learn, the difficulty comes with counting your chains, knowing where to do what and how many according to the diagram you're following. In this instructional post I will go over the basics of how to read patterns, how to make your own also possible mistakes and things to generally look out for.
I started learning filet crochet a little over a week ago but I've been crocheting for several years now and this easily became my favorite style till now.
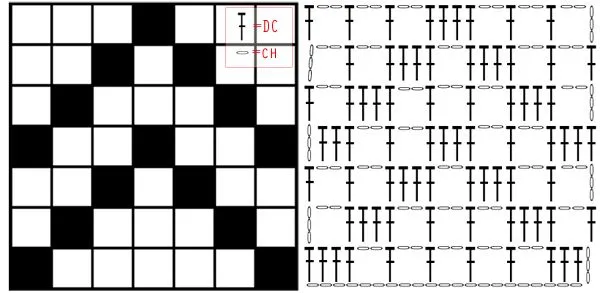
Let's take this simple design as an example from here
( )
)
I'll try to make a detailed explanation of how this works using fairly thick yarn and a 4.5mm hook.
Since the pattern is 7 squares wide and the pattern on the right is read from bottom up, we have to multiply the number of squares with 3 since that's the width of one square(it looks like 4 but every next square is overlapping), this took me some time to figure out so I'll draw a diagram here:
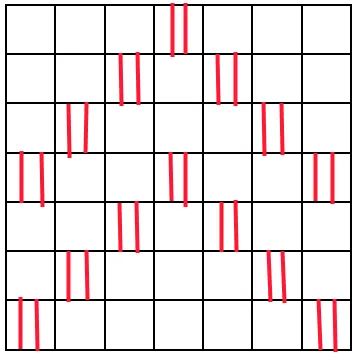
Every filled in square on the pattern simply means there are two more double crochet in the boxes made by the dividing double crochets.

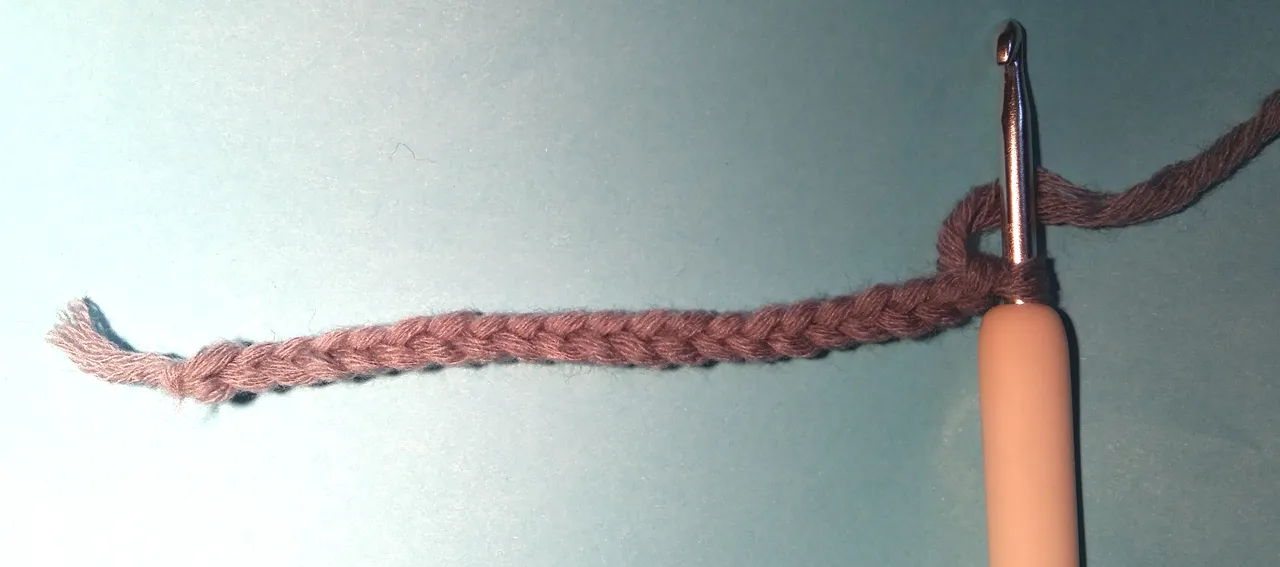
To start this project you make 21 chains counting the beginning slipknot.
Next, depending if the bottom right is a black or white square you do the following:
Black square - add 3 more chains and double crochet into the fourth chain from the hook then double crochet into the next two chains like in the diagram(you should have from double crochets in the second row now)
White square - this might seem confusing but you have to chain 5 more, since 3 chains are the boarder on the side and 2 will be on top, it makes more sense when finishing the next row since you'll end it in between this loop (two chains from the left and three from the right). then you double crochet into the 8th chain from the hook.
Since we're trying out this diagram we follow the instructions for black squares, honestly the first two rows are the most difficult since you don't have any references for the square width. Here's verbal instructions in case you get stuck with the diagram, after finishing the first square you have five blank squares, you do those by chaining two and double crocheting into the third chain from the last double crochet at the bottom(pay attention not to count the chain which already has a double crochet on it). When you finish the gaps you'll already have one of the 4 double crochets of the bottom left corner (since one of them is the border for the empty square). Make sure not to add any chains while crocheting black squares since it will increase the width of the next row.
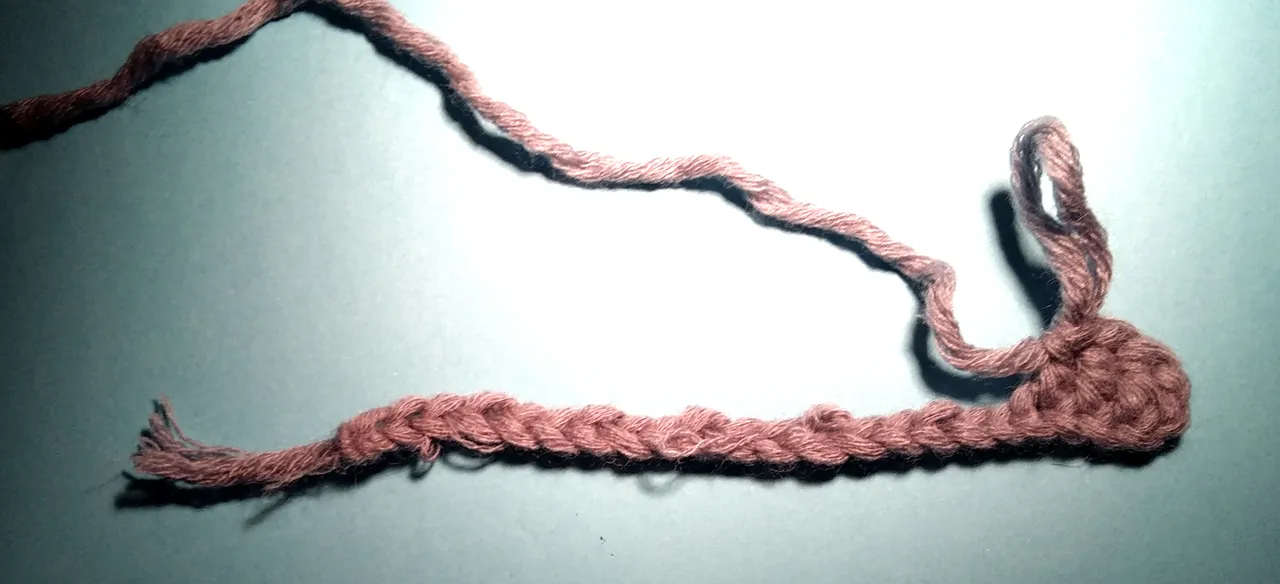
Next row, you turn the work around and chain five since the block above is white and double crochet into the third chain not counting the bottom right corner(since it already has a double crochet in itself). luckily this pattern is vertically symmetric but not all are so it's useful to have a mirrored image to follow along when turning, make sure to know which row you are doing by looking at the pattern bellow, counting rows or marking on your diagram(printing it out is very useful if it's difficult).
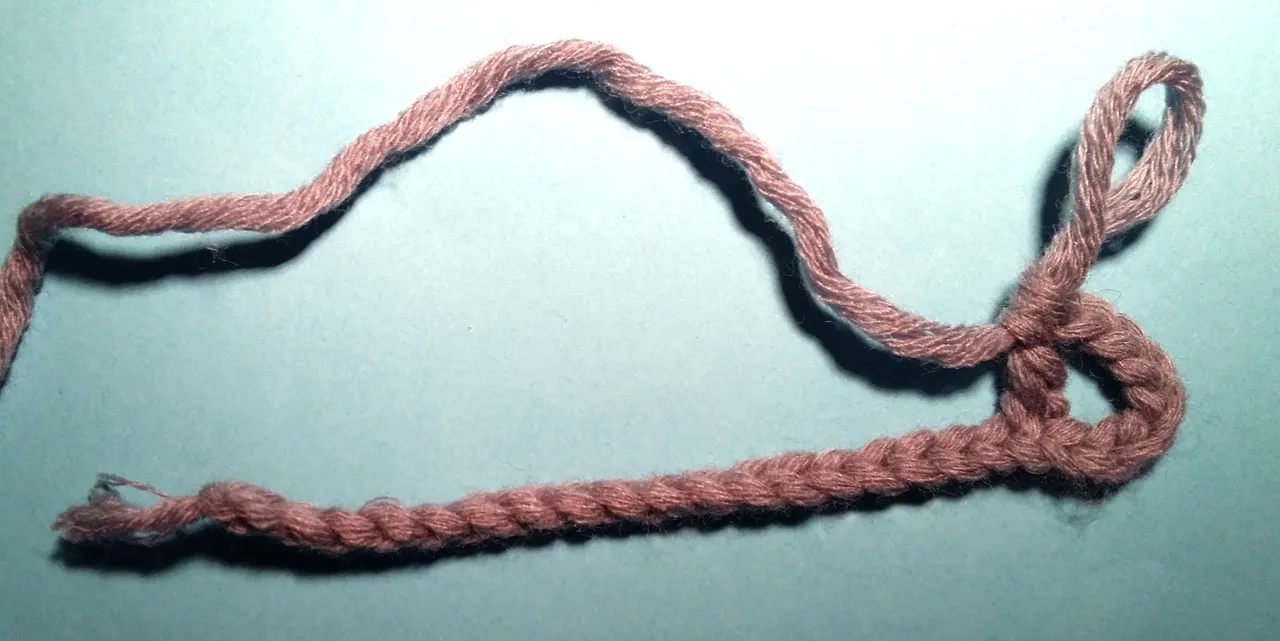
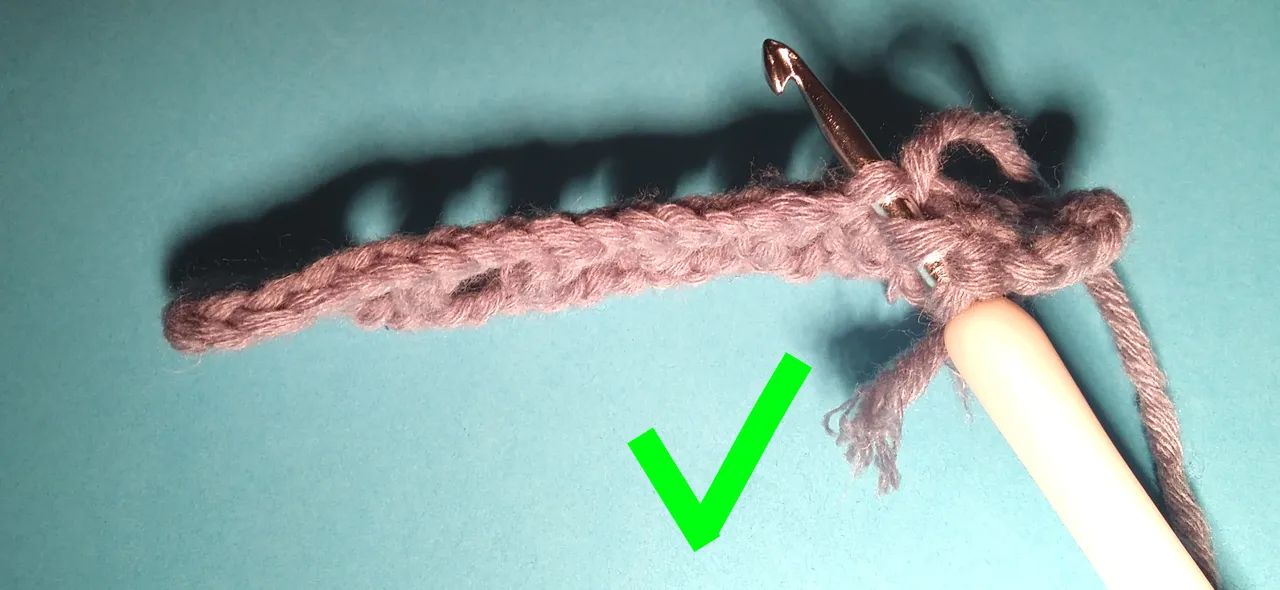
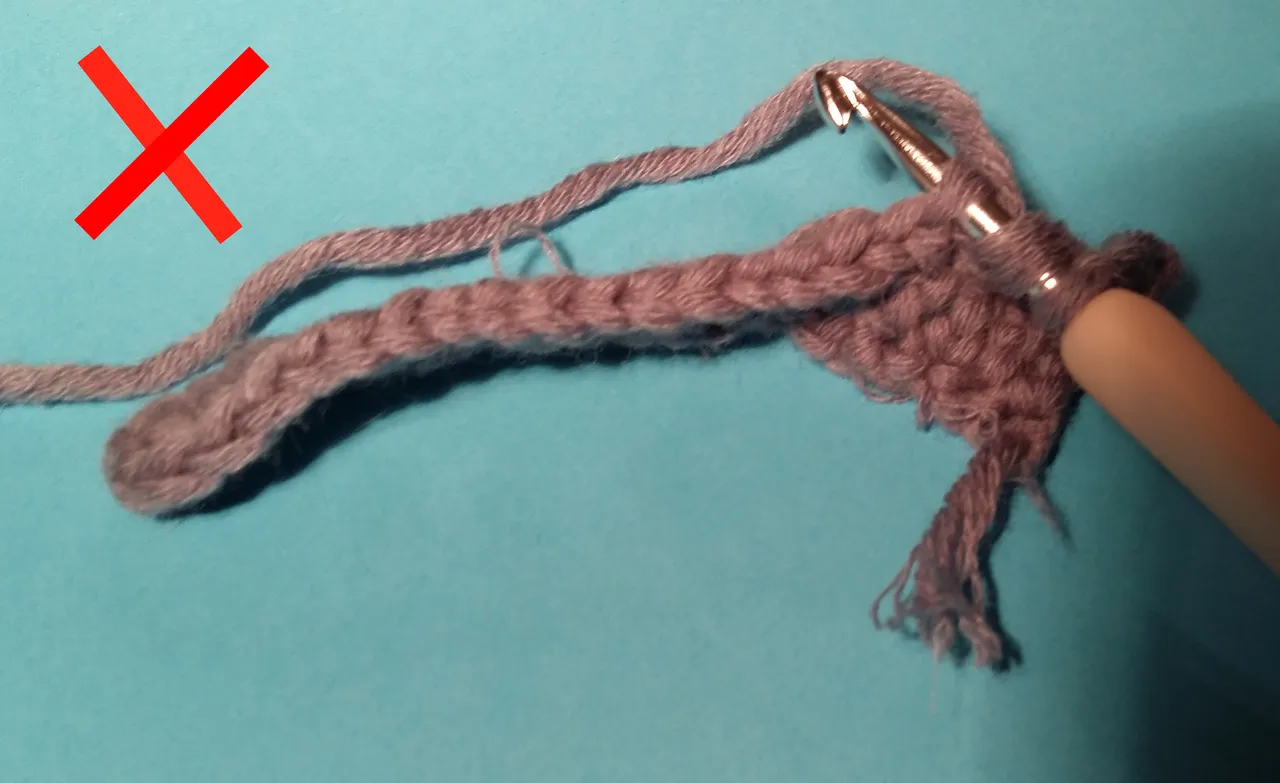
Next square is black so you do three double crochets without skipping chains, then three white squares and so on. Explaining anything more would be repetitive with nothing new so just try to follow the diagram, pay attention to any mistakes you make. A problem I had with doing some double crochets into the back part of the chain and some in front, the problem with this is you get a very bumpy and recognizable difference, so you want to always use the front chain part like this:

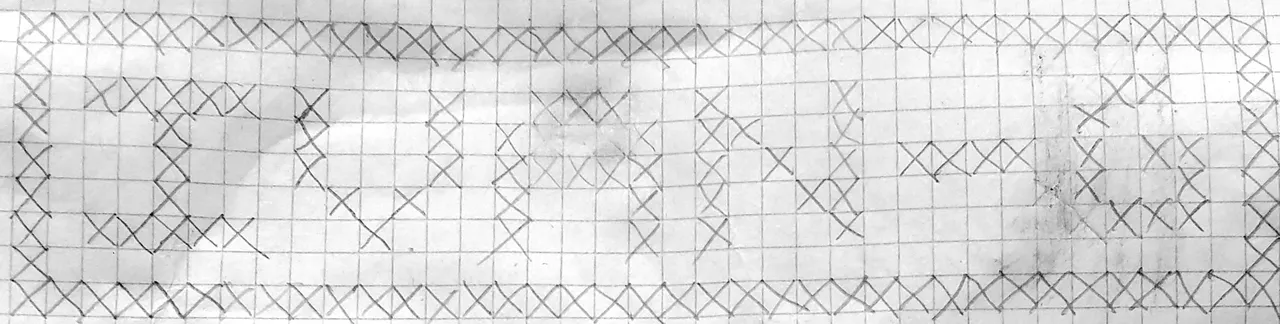
It's best to take some square grid notebook and making patterns using the preexisting boxes (check how many squares there are in width and in height) you can always rip out a set of pages from the center to get a bigger grid.
you can mark black square anyway you like, I prefer using crosses since they're simple, you can shade squares if you want, it's good to use a pencil if you're unsure of how you want your project to turn out. It's useful to have a border of black squares and another one inside of white squares, it helps make the pattern more recognizable.
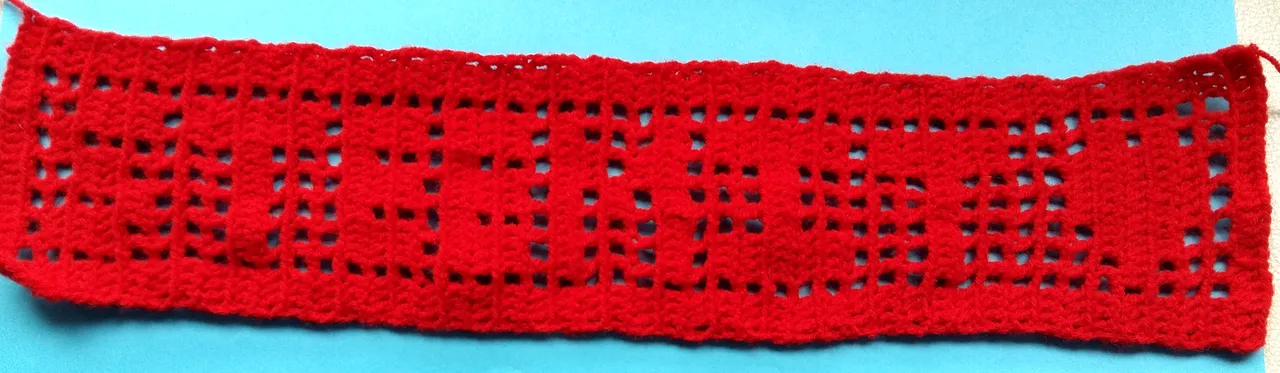
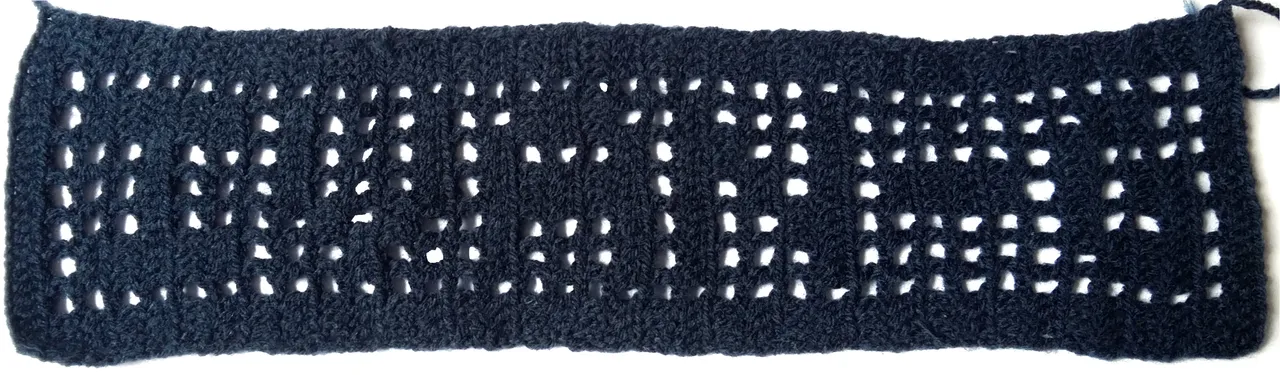
Here are some of my patterns:

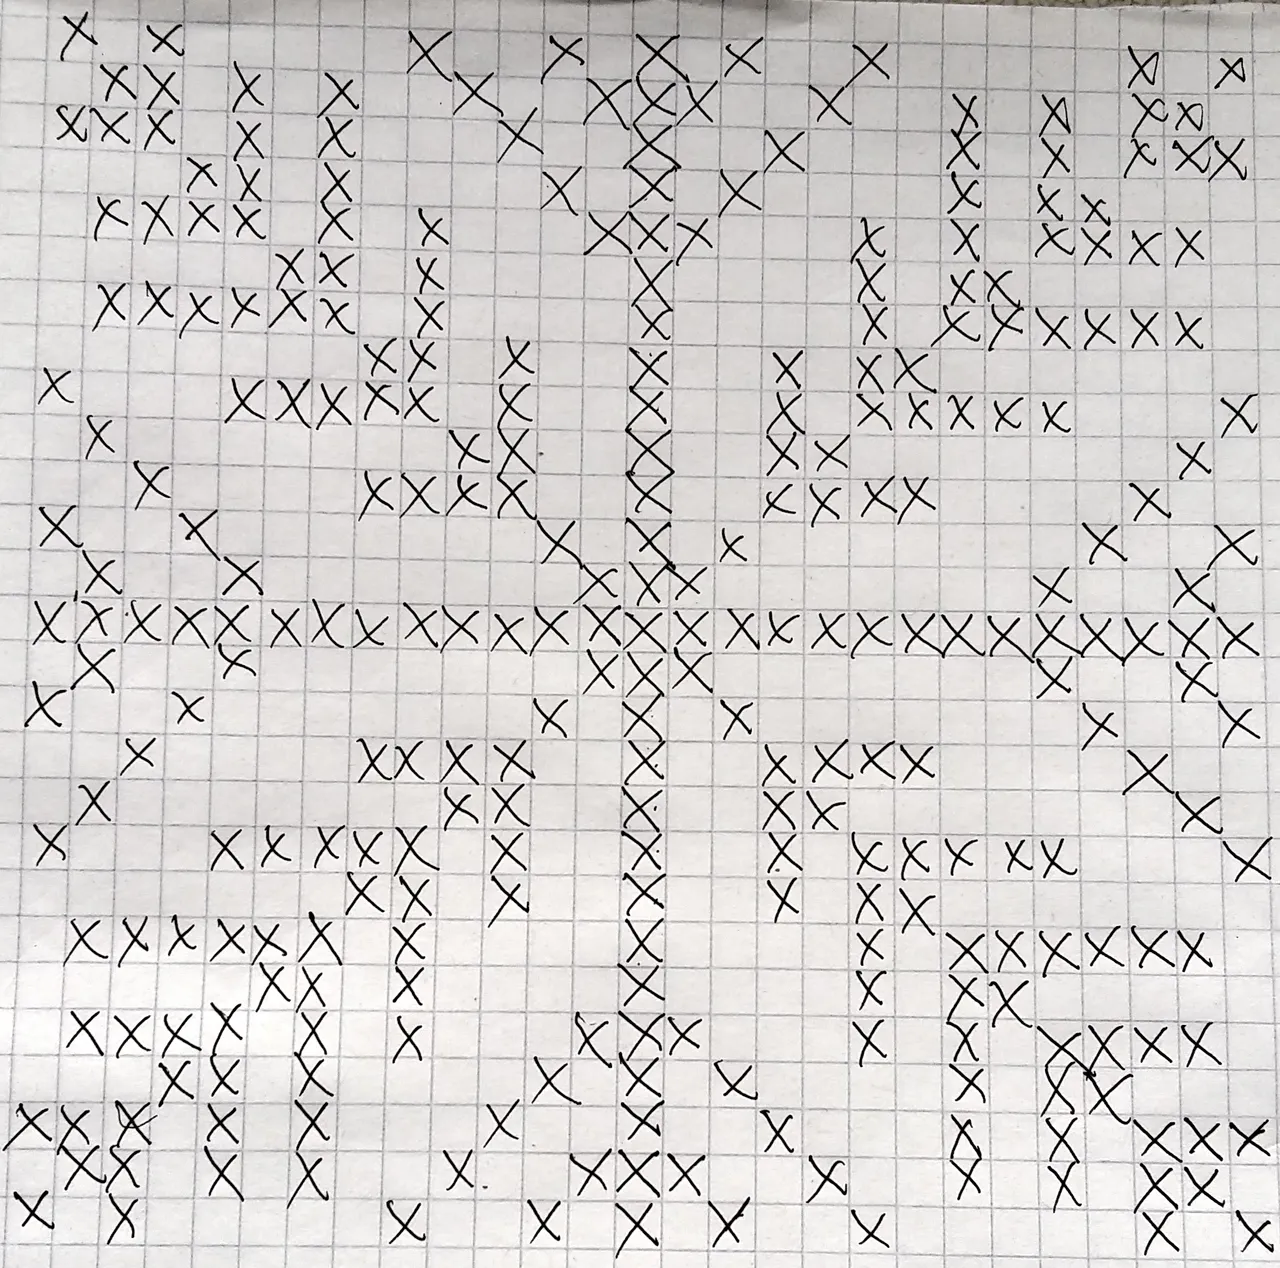
since I'm already used to making the borders I decided to not bother drawing them though I think it will look better without a blank border on the inside. Very excited to start making it, I'll go buy some light blue wool for this as soon as I can.

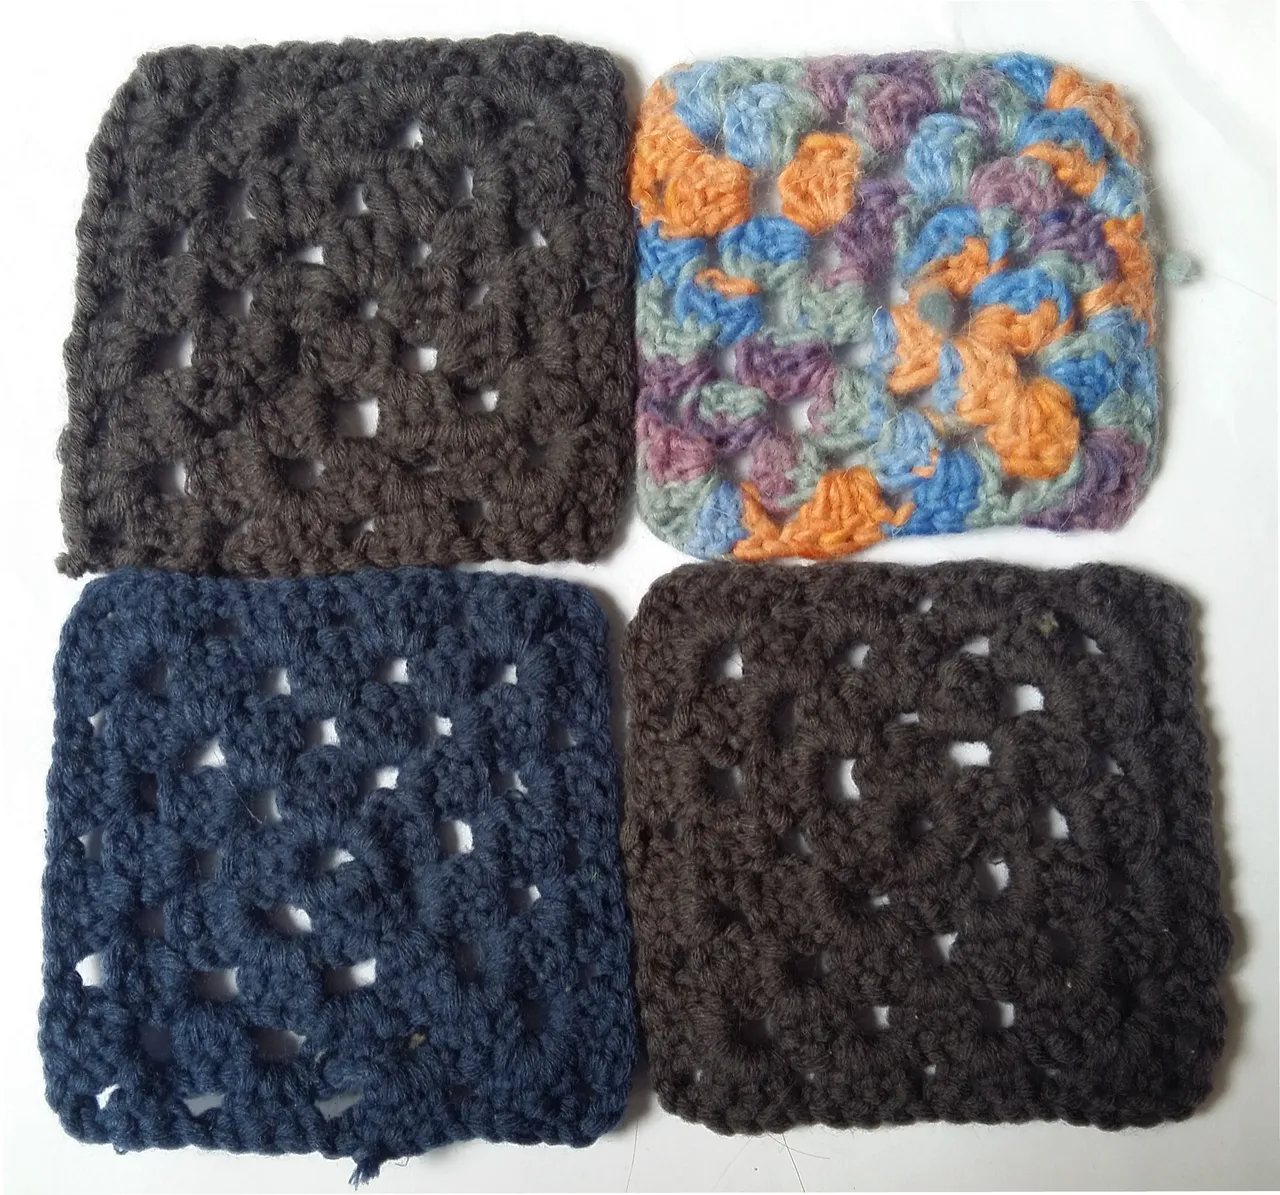
These winter holidays I found out and learned how to make granny square, the idea behind them is to make a sort of quilt or blanket by making one every day for a year and combining them while using different colors. I'm quite limited on materials so I only made a couple to learn them. Interesting thing is they look very similar to filet crochet, and you could make the same patterns but these are made from the center outwards and feel much sturdier than filet. Here are some I made: