I love making hampers for people. I don't have to choose one thing and it shows how much thought has gone into it and I dunno, to me digging into a hamper reminds me of Christmas a little bit because there's so many goodies to look at.
Depending on the occasion, the person and the budget it can be easily put together or not. I've made hampers that have taken months to put together because I was carefully curating each item.
Then there's this Father's Day hamper for Hubby that took a couple of hours to shop for and 10 minutes to put together.
The Art of the Hamper
Ok, first off, if you're in lockdown and you need to give a pressie in a hurry, a hamper could be your hero.
This is pretty much what happened to me yesterday.
Despite everything I've organised for Hubby, I felt like I needed more and with Fathers Day just around the corner and me not driving I needed something decent quick.
This is where the hamper comes into play.
STEP 01. FIND YOUR SUPPLIER
Your supplier is important especially if you need a present quickly and with Rona causing delays in deliveries.
In my case my chosen supplier is Woolworths. Why? Because they could deliver the next day, they're pretty good with item availability and they deliver alcohol.
If you're pressed for time you really don't want to be waiting for multiple deliveries, ideally you want everything to arrive at the same time.
STEP 02: KNOW YOUR GIFTEE
This is pretty important. You don't want to be that person gifting a bag or peanuts to someone who's got a peanut allergy.
In my case, although not life and death like my example, it was a choice between lager and ale.
I was going to buy a selection of beers but me not being a beer drinker I didn't know what was what. I almost bought him ale, had it in the cart and everything, but I realised that the beers he likes drinking were all lagers.
Not that I think he would have hated ale but I thought to be on the safe side best buy lagers.

STEP 03: THEME
Although not super important, I find having a hamper theme is handy to have. It helps keep me on track instead of buying everything I like. I also feel like it completes the picture like having everything you need for a relaxing bath.
You want to be able to grab that hamper and have everything you could want or need in it. That said, you're theme could be Dad's Faves 🤷🏻♀️
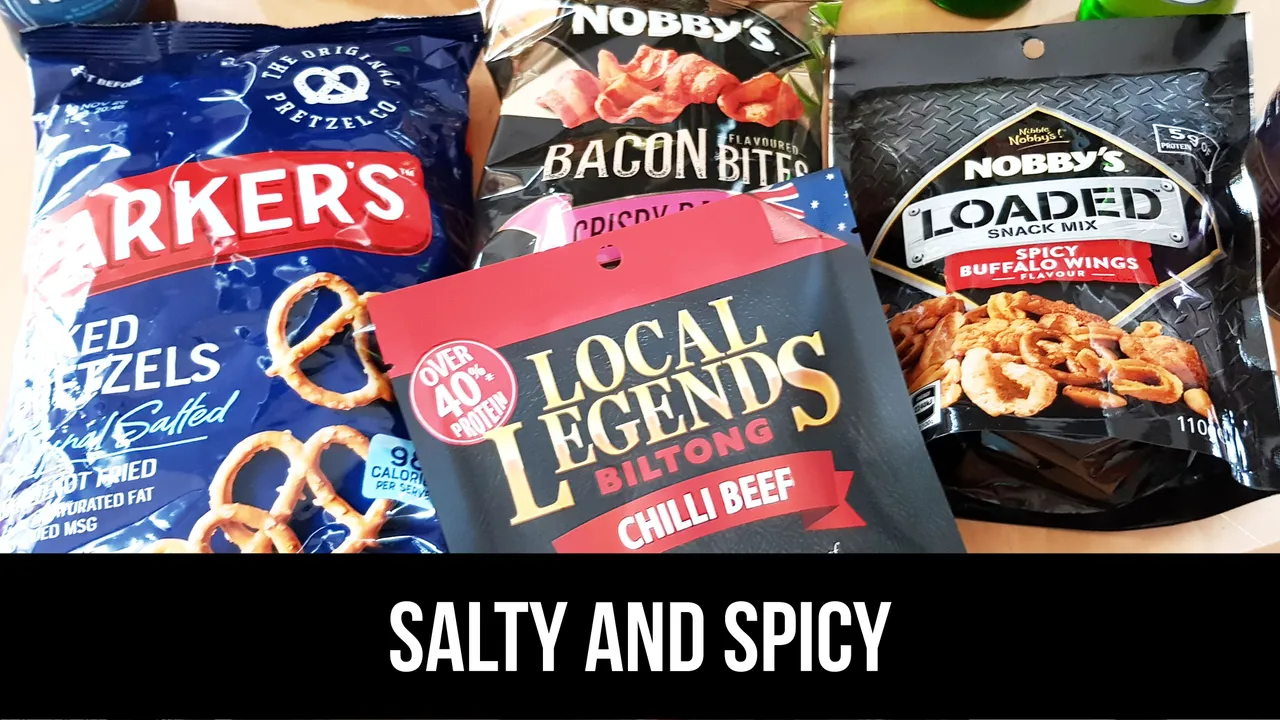
In this case, keeping with my BEER theme, I decided to throw in some nibblies.
STEP 04: VARIETY
Variety is awesome. This is what makes hampers so much fun! I love hampers that let's me try new products.
Sure there should be some familiar favourites in there to be on the safe side but also chuck in couple of new variations of the favourites in flavours you know he likes.
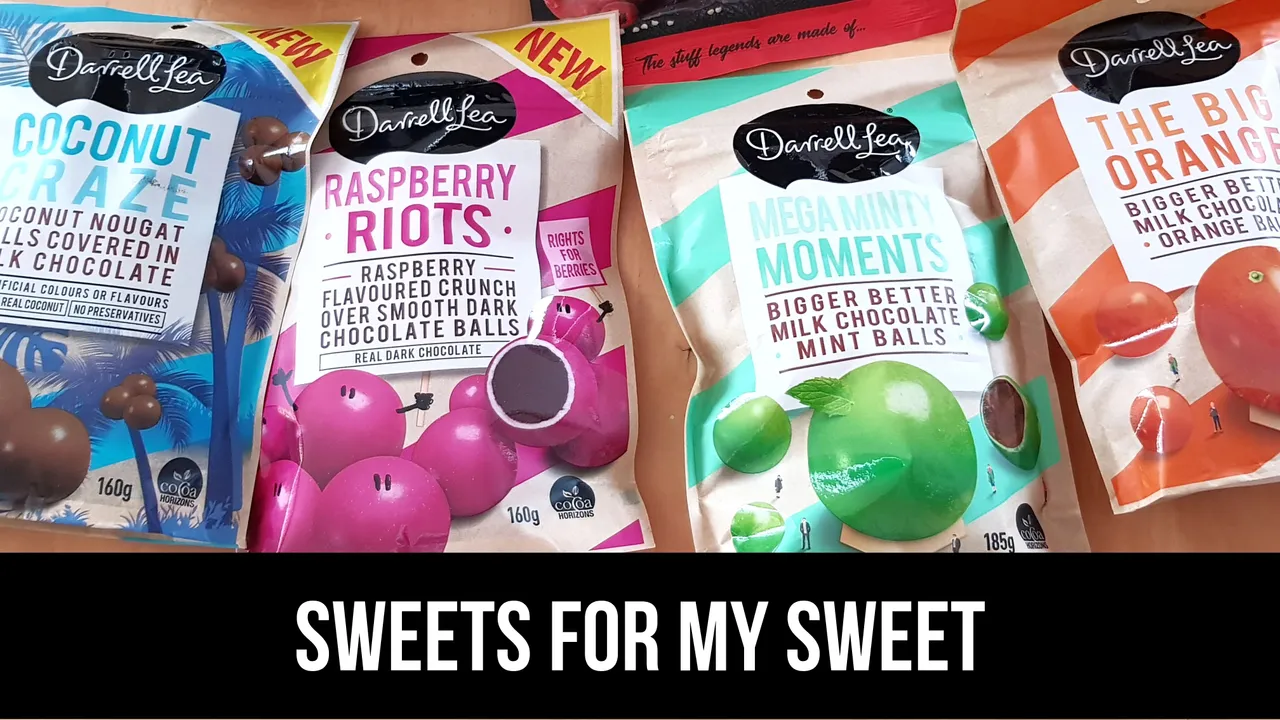
You can go with different brands, or different flavours. For me I went with same brand and type (Darrell Lea Balls) and chose two new flavours ~ Coconut Craze and Raspberry Riots.
STEP 05: CHOOSE A CONTAINER
I say container because hampers don't need to come in a box or a basket. I actually hate the hampers that come in a basket ~ like seriously, those baskets just seem to sit there and take so much space.
I prefer hampers that come in a functional container, like an esky/cooler bag. It just makes more sense, less waste and it can be used.
I've used buckets, bins, plastic storage boxes, bags... Anything I can shove things in that's the right size works for me.
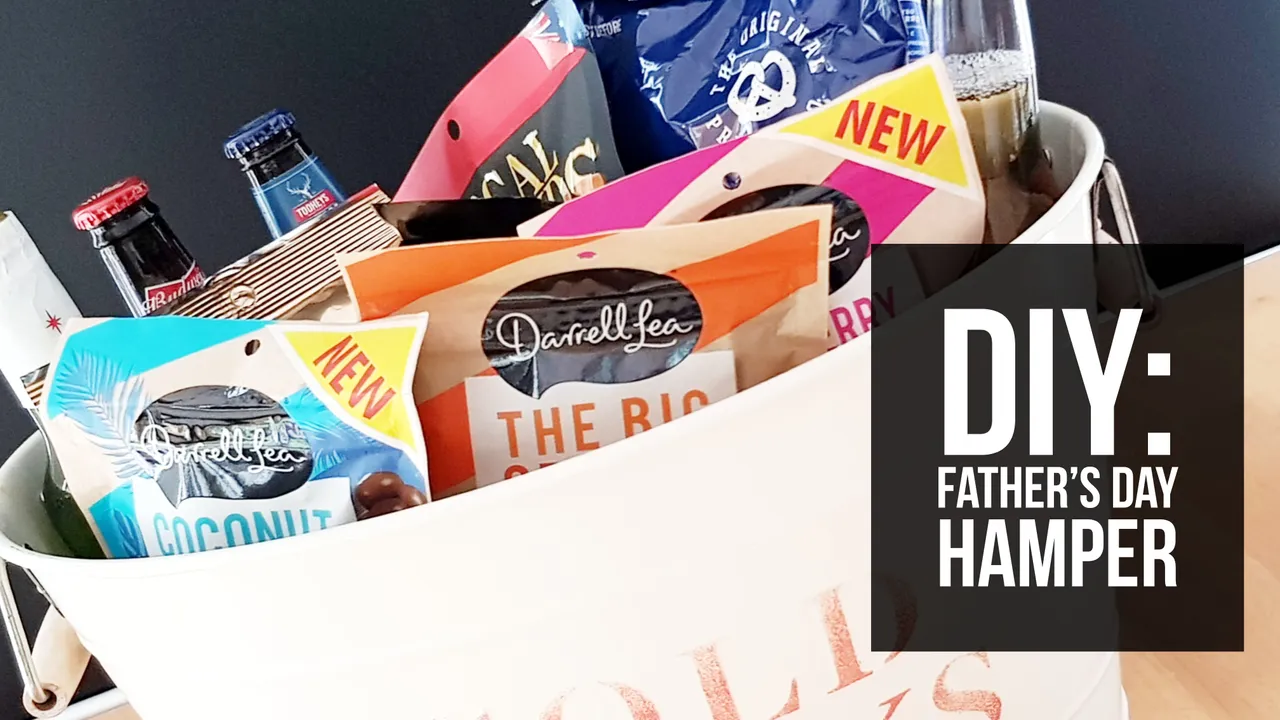
For this hamper I used an old tin bucket we had sitting around.
I didn't see a point in getting another container when we had a few options around the house.

STEP 06: PUT IT ALL TOGETHER
The secret to making the hamper look like a filled in one is stuffing/lining.
You need to line the bottom of your container in order to fill in the bottom. This will give your hamper height and dimension.
Anything will do for the bottom. No need to get fancy with it.
Newspaper, plastic bags, foam if you have that laying around... If you're making a baby shower hamper a towel or sheets make great liners.
For me, I used the plastic bags the groceries came in. Might as well right?
Start with a small amount of lining in the bottom and fill in the front of the container with the bigger bulky items. Add more lining at the back to raise the height, then add the items you want to feature.

Taadaa! The back isn't as high as I would like since the bottles compressed the plastic with their weight but overall I like how it turned out.
It looks nice and full and even though you can't really tell from the picture there is a bit of height and dimension to it.
As a hidden surprise I wrapped the frame and coin and chuck it in the hamper 😉 to make it feel like the hamper that keeps on giving.

Now that that's done I need to start planning the salads for Sunday's BBQ.
Happy Friday Everyone!