Getting Started with Electron - A Basic Menubar App - Part 2

This post was written on Dropbox Paper.
To learn how, check out my post
How to Write Steemit Posts on Dropbox without Learning Markdown
Getting Started with Electron - A Basic Menubar App - Part 2
This is the second post in a tutorial series on building applications with Electron. In this post, we'll start exploring how the components from Part 1 were used to make our app run.
How'd we do it?
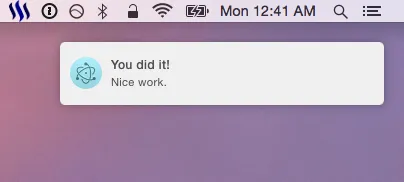
In Part 1, we finished up by running our app for the first time. It was pretty cool to see the Steemit logo appear in the menubar and have a notification appear - all from a little bit of Javascript.
Now let's talk about what we did and how everything works.
We’ll start by reviewing the files we created. If you recall, we created the following files:
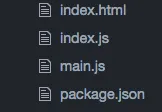
package.json
We'll begin withpackage.json, which is really where everything starts with our app.
  "name": "tutorial-menubar-app",
  "version": "1.0.0",
  "description": "A simple Electron tutorial app for the menubar",
  "license": "MIT",
  "repository": "github.com/ryanbaer/simple-electron-app",
The first few lines are simply metadata that NodeJS and npm use to understand our app.
While the majority of these fields aren’t mandatory, it’s considered good practice to have them. npm will often complain at you if you don’t have some of them set. However, there are certainly projects that I don't plan to link to a repository, so these fields are at your own discretion.
Next, we have devDependencies. This is an object containing any dependencies that are needed for your project to be developed / built, but not required to actually run the application:
  "devDependencies": {
    "electron-packager": "^8.0.0",
    "electron-prebuilt": "^1.4.1"
  },
In our case, we have two development dependencies right now: electron-packager and electron-prebuilt.
As you’ll see, we need electron-packager to package our app and create the appropriate native application (i.e. a .app, .exe, or binary); and then we need electron-prebuilt for a few reasons, one of them being the ability to test run our app without building and packaging it every time.
Note that neither of these are required to actually run the app itself - just to construct it.
Following that, you’ll notice we also have dependencies:
"dependencies": {},
This object houses all of the dependencies needed for the app to run when you distribute it. Ours is currently empty, which is nearly unheard of for a NodeJS project, but we’ll be adding more dependencies later in this series.
main is a field that Electron uses to derive the entry point into our application code:
"main": "main.js",
This file is intended to bootstrap the scaffolding of our application, such as any windows, and, in our case, the menubar.
The Electron documentation specifies that:
Note: If the main field is not present in package.json, Electron will attempt to load an index.js.
which simply means that it would search for and attempt to run index.js if we did not specify a different file.
Finally, we have the scripts section of our file:
  "scripts": {
    "build-osx": "electron-packager . Example --platform=darwin --arch=x64 --version=0.36.0 --icon=Icon.icns",
    "start": "electron ."
  }
This is a way of specifying actions for npm to take based on the commands you give it.
start is a default command in that you can simply type npm start to run your start command.
For the any other commands you create, it must be of the following format:
npm run <your command name>
In our case, we have two commands:
start , which we’ve specified should run the electron command in the current directory ( . is a way of specifying the current directory).
And then we also have build-osx , which is a command I added to specifically build the OS X version of the app. You’ll notice the command passes in specific details, such as where the Icons file is (for the application’s icon), what platform to run it on (Darwin, which is used for OS X), and even the architecture which is something we won’t cover in this tutorial (x64 is sufficient the majority of the time).
When we type npm run build-osx, it actually builds the entire packaged version of our app for Mac, which is pretty cool

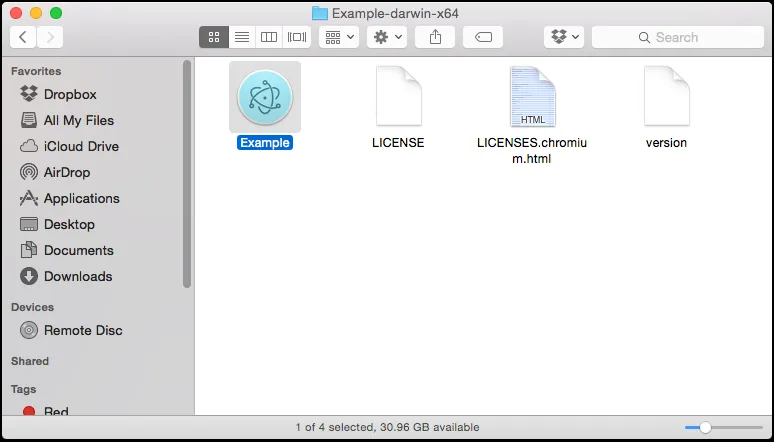
If you look in the current directory, it actually created a new folder for us based on the folder name we passed in (Example):
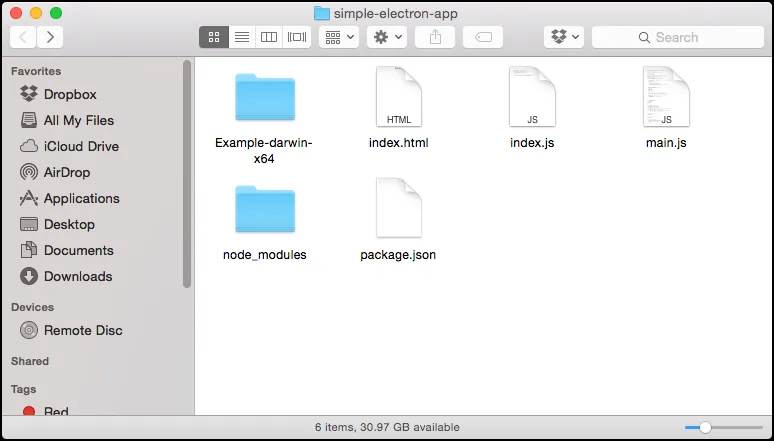
And if we go into that folder, we see it has constructed a new app for us with the default Electron icon, called Example.
So if we review the command itself, we see that it did exactly what we told it to do:
electron-packager . Example --platform=darwin --arch=x64 --version=0.36.0 --icon=Icon.icns
- Run
electron-packagerin the current directory (.) - Name the output directory and app
Example - Build it for the Mac platform (
--platform=darwin) with a 64-bit architecture (--arch=x64) - Mark the version of our app as
0.36.0(just a random version for now) - Create the app’s icon from the file
Icon.icns- this file doesn’t exist yet, so Electron just used its default icon.
The app that was built there won’t actually run yet - it will be later in the tutorial series that we dig in on the details of building and distributing your app. And not just for Mac, but for Windows and Linux as well!
In the spirit of making these posts more digestible and allowing room for comments / questions, we’ll wrap up Part 2 here.
Now that we’ve built a solid foundation of the tools used to build and run our app’s code, Part 3 will involve going into the details of main.js , index.html , and index.js - the files which contain the substance of our app.
Happy coding!

Source: Giphy

Hey, I'm Ryan.
I'm a software engineer living in the Bay Area who's into hypnosis, handwriting analysis, and futurism. You can learn more about me from my intro post.