.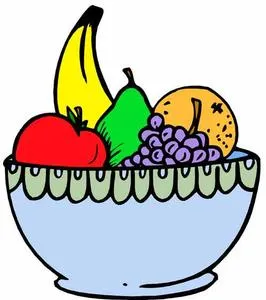
Drawing a fruit bowl is one of the first things the artists begin to do. This is because a fruit bowl is mainly based on simple shapes and shadows, and it provides a perfect starting point for beginners to create something that looks good with little effort. Learn how to draw a bowl of fruit that will enhance your ability to draw shapes and illustrate the importance of shadow technology.
Instructions
1 draw a half circle with the rounded end down and the horizontal line upwards. This is the basis for your bowl. Add another half circle just below the horizontal line, bringing the half circle in an arc from one end of the horizontal line to the other. This half circle give your bowl three-dimensional depth.
2 draw a banana next. Do not worry about being perfect. You will only get basic forms of your fruit in place. Add half a circle or two for apples and oranges and place them out. Do not pull full circles because some of the fruit will be hidden from the bowl. Add a curved stem and draw small circles along the stem for grapes.
3 Go back with your eraser and pencil and start defining the fruit until you have achieved the right shape. Add a small shadow on the inside of the bowl to strengthen the depth and space around the fruit. You can add a few leaves or maybe have a few grapes hanging over the side of the bowl.
4 color fruit with soft color pencils, pastels or even chalk. Use different pressures to give the fruit a textured quality. You can create light effects by deleting some of the color and creating shadow effects of smearing. Do this until you get the look that pleases you.
5 color fruit bowl brown. Add light black lines running horizontally to create a wooded texture. Go over to the bowl with brown again, add more pressure to thicken wood grain effect. You can make the dish like material you like, but wood seems to increase fruit