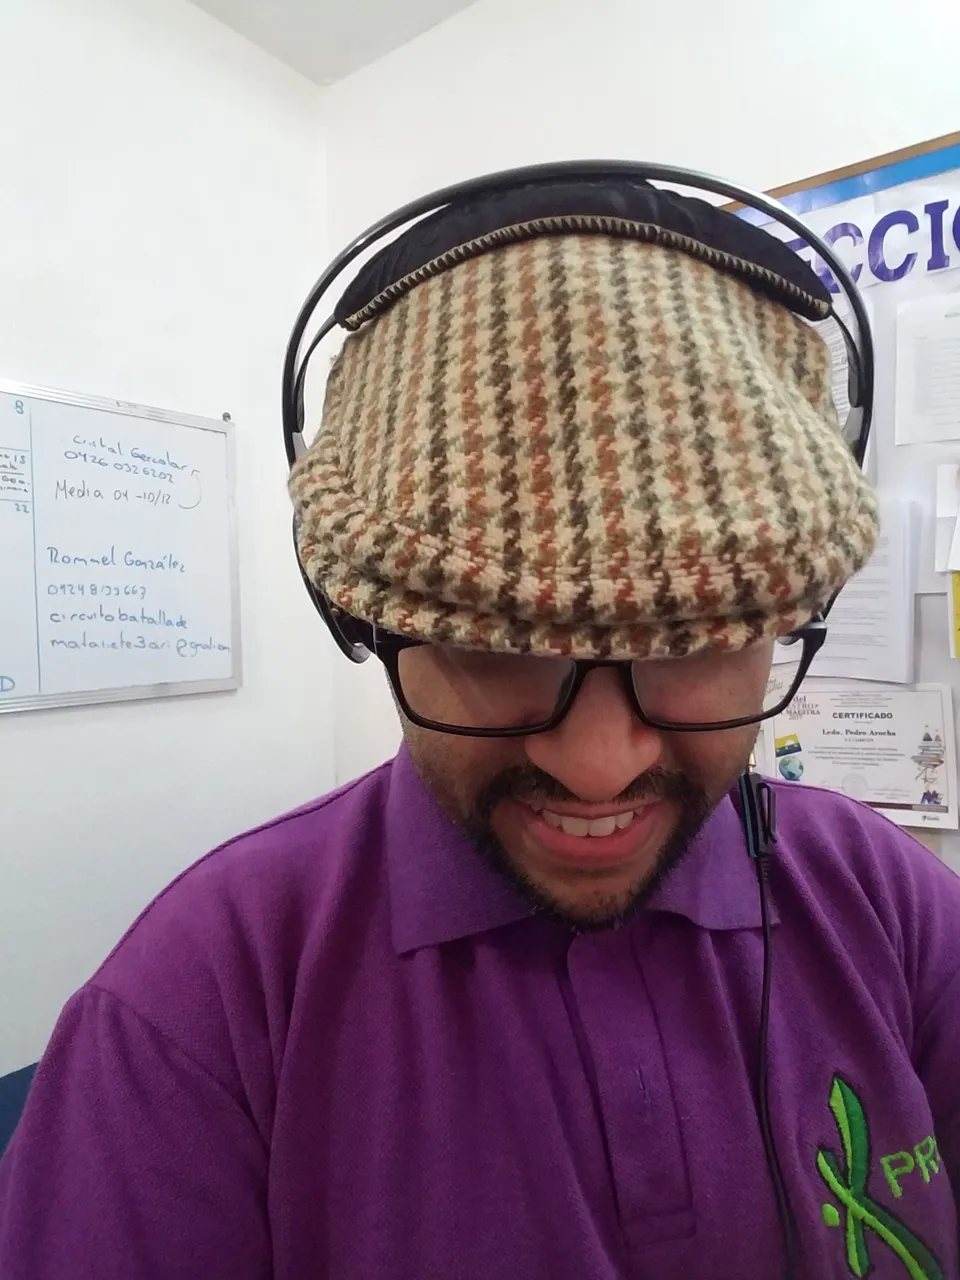
Welcome, fellow steemers, to my second post!
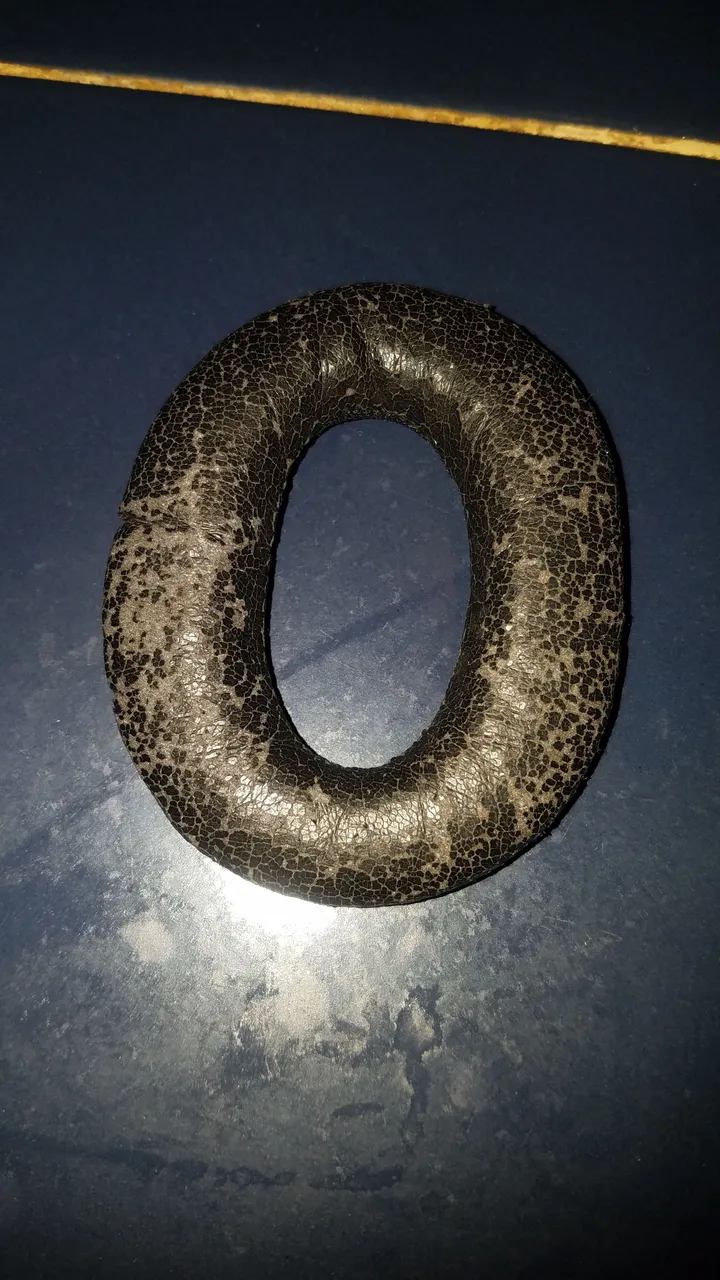
Imagine you go for your favorite over-the-ear headphones, only to find the material covering the pad or cushion to be cracked or peeled. Perhaps this will not bother many, but maybe you like your gadgets to look as good as possible, like me.
So, I was presented with several choices:
- Get a new set of headphones. I am not particularly an audiophile, so my audio accessory needs are not in the expensive range, and there are various listings on Amazon for quality headphones on a budget. This would imply shelving my current ones, so part of my problem would remain.
- Buy replacement earpads online. All the compatible replacement pads I could find had to be ordered online from China, since Phillips has discontinued this model.
- Do nothing, use my headsets in their present condition. Or just use the in-ear ones my smartphone came bundled with.
Thing is, my Phillips sound quite good. They are very well taken care of, and I really wanted to use them, without grimacing at those cracked pads.
Then, I set myself the goal of working on the original pads, to make them at least presentable. After looking at solutions made by other people on DIY sites, and judging their craftiness to be beyond mine, I decided to work with materials on hand.
After much pondering, I found out I could make use of a pair of old nylon stockings my mother no longer had use for.
So, the list of items needed is as follows
- One pair of nylon stockings. Since my pads are black, I used black stockings. Be sure to find matching socks, not all shades of black (or any color, for that matter) are the same.
- Scissors.
- Liquid silicone (perhaps hot silicone, the ones you apply via a plugged in gun will suffice as well).
- Rubber bands.
- A block of wood (mine was 15cm long, 4 wide and 2 high)
- The bands and the block are optional, you may substitute with alternatives lying around the house.
The procedure:
Insert the pads into the stocking, as you would a foot, all the way to the end.
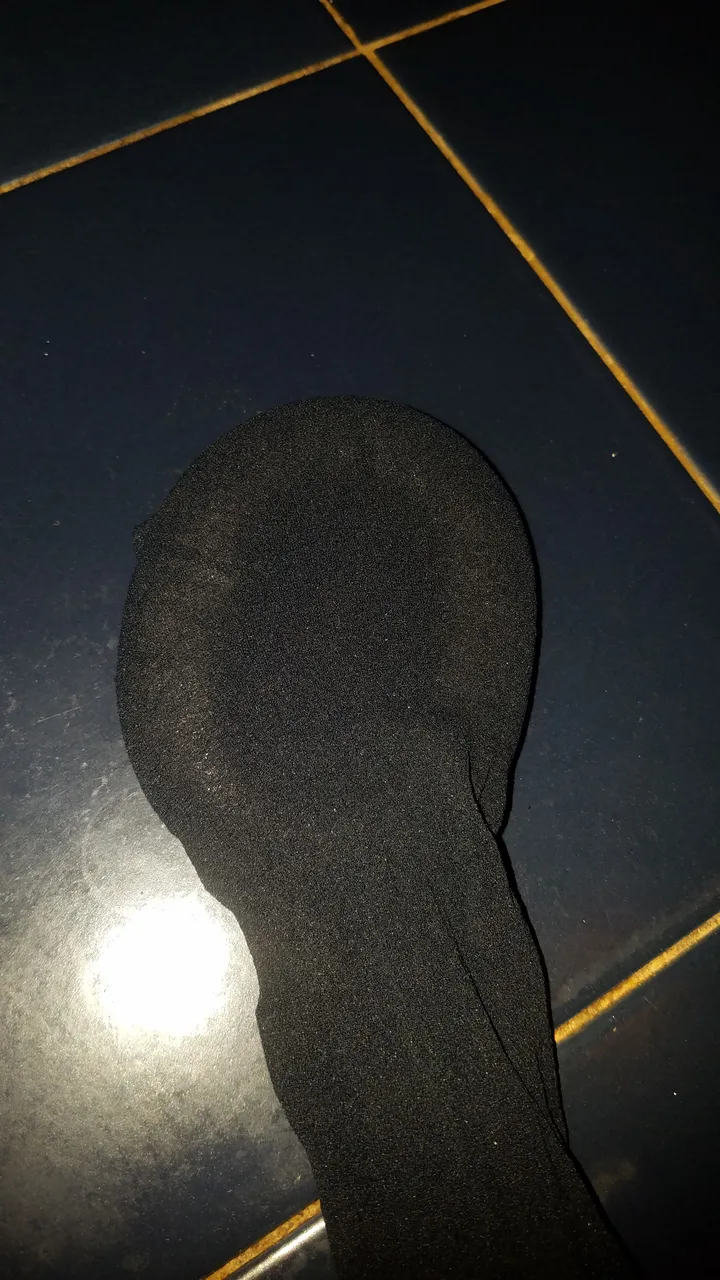
Twist the sock just above the pad, in order to stretch the fabric until all folds and wrinkles smooth out. Take care not to stretch it too taut, since this will make the cracks on the pads show, especially if the socks are thin.
Cut sock just at the beginning of the twist. Fold said twist and glue on the back side of the pad (the part that will later be adhered to the earphones themselves, opposite your ear. Allow sufficient time to dry.

Glue headphones and earpads together. As stated, I used liquid silicone since it was what I had at hand.
To ensure an even adherence between pad an earphone I placed the wooden block on the pad, and then used the rubber bands to hold everything together. This was a way to apply even pressure on the pad, so it would stick to the earphones in a uniform manner. I made use of a block of wood since is what I had available. Allow sufficient time to dry. I left mine overnight.
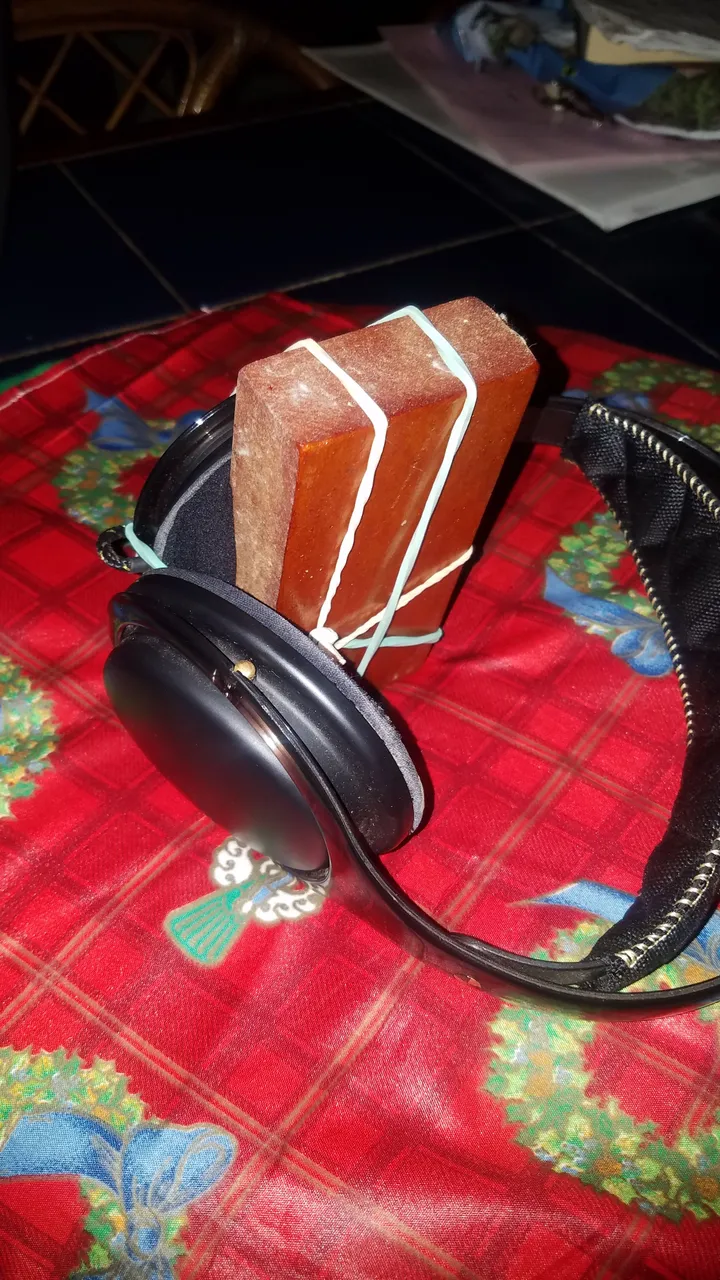
Any other solid material with similar characteristics should work. Word of caution: if using wood, be sure its really!smooth, since any imperfections on it may snag on the fabric now covering the pads. If it is not smooth, put some other material between pad and block, like a rag.Repeat for the other headphone.
Optional: you can cut the elastic top of each stocking and place it around the now-glued pad, in order to cover where pad and earphones meet. Since I used short stockings, all I had to do was to stretch it over the pads, no gluing required.
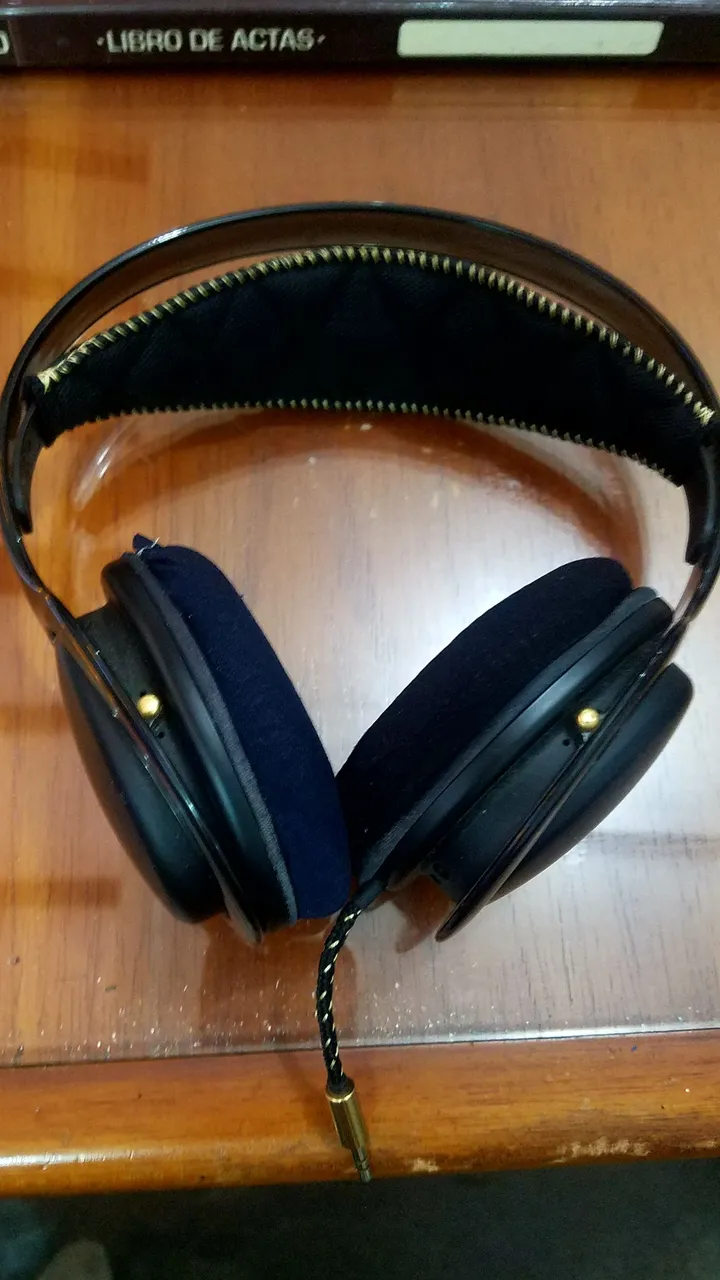
Suffice it to say that I am very proud of the results; nothing like the feeling of accomplishment once you have successfully done something by yourself.