Good day to all you busy bees in the Hive, I hope you're all comfortable and fulfilled! Since this is not a sequential build post, and the info is applicable to any clay project, not just rocket stoves, I'll skip the summary synopsis and slide right into the subject...
Cracks.
If that was too much innuendo for you, proceed at your own risk.
Jostling the jokes aside, cracks in clay are no comedic contraption. Clay can take hours or days to build, days or weeks to dry, and more hours to fire, and the wrong crack at any point of the process can ruin the build. In this post, I'll share what I know about how to prevent and repair cracks, which will hopefully prevent one or two people from tearing their own hair out if something goes wrong 😁
My disclaimer: I have no formal education in working with clay or ceramics. I learned everything I know from free online reading materials and YouTube videos applied to 4 years of hands on experience. I'll do my best to let you know which advice is considered fact, and which are my own theories.
I'll start out with some broadly accepted fact: cracks are caused by uneven drying (before firing), or uneven heat (during firing). As clay dries, it is loses water. A simple and obvious statement, I know, but a lot of people tend to overlook this very simple fact. As it loses water, it will shrink proportionately. It also becomes less plastic, so as it is shrinking it is also losing the ability to stretch between areas that are pulling apart. So, if you have a sheet of clay, and the left side is drying faster than the right side, the left side will pull away from the right side as it shrinks. When this pull becomes stronger than the clay's ability to stretch, it will crack.
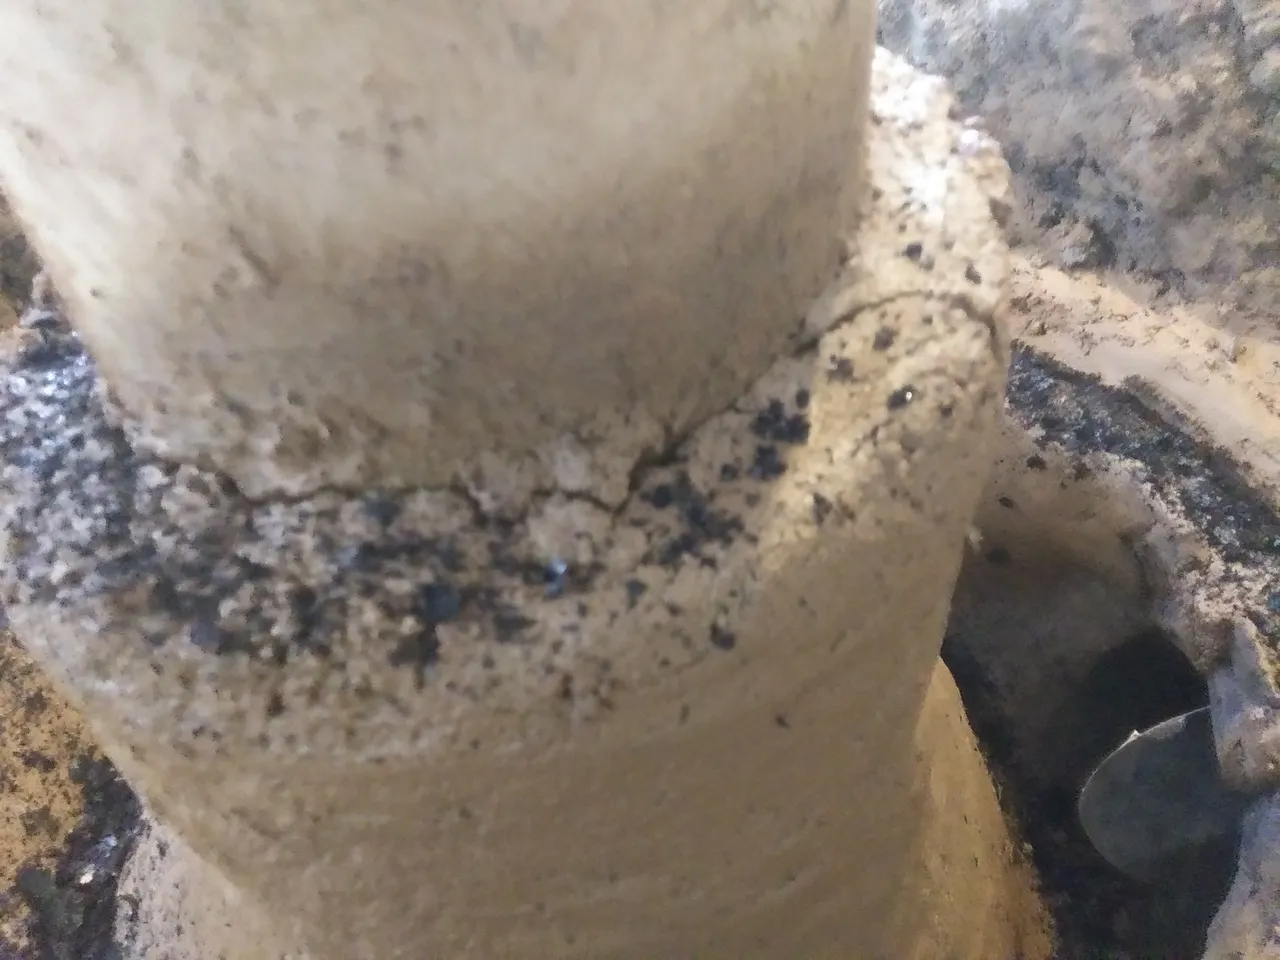
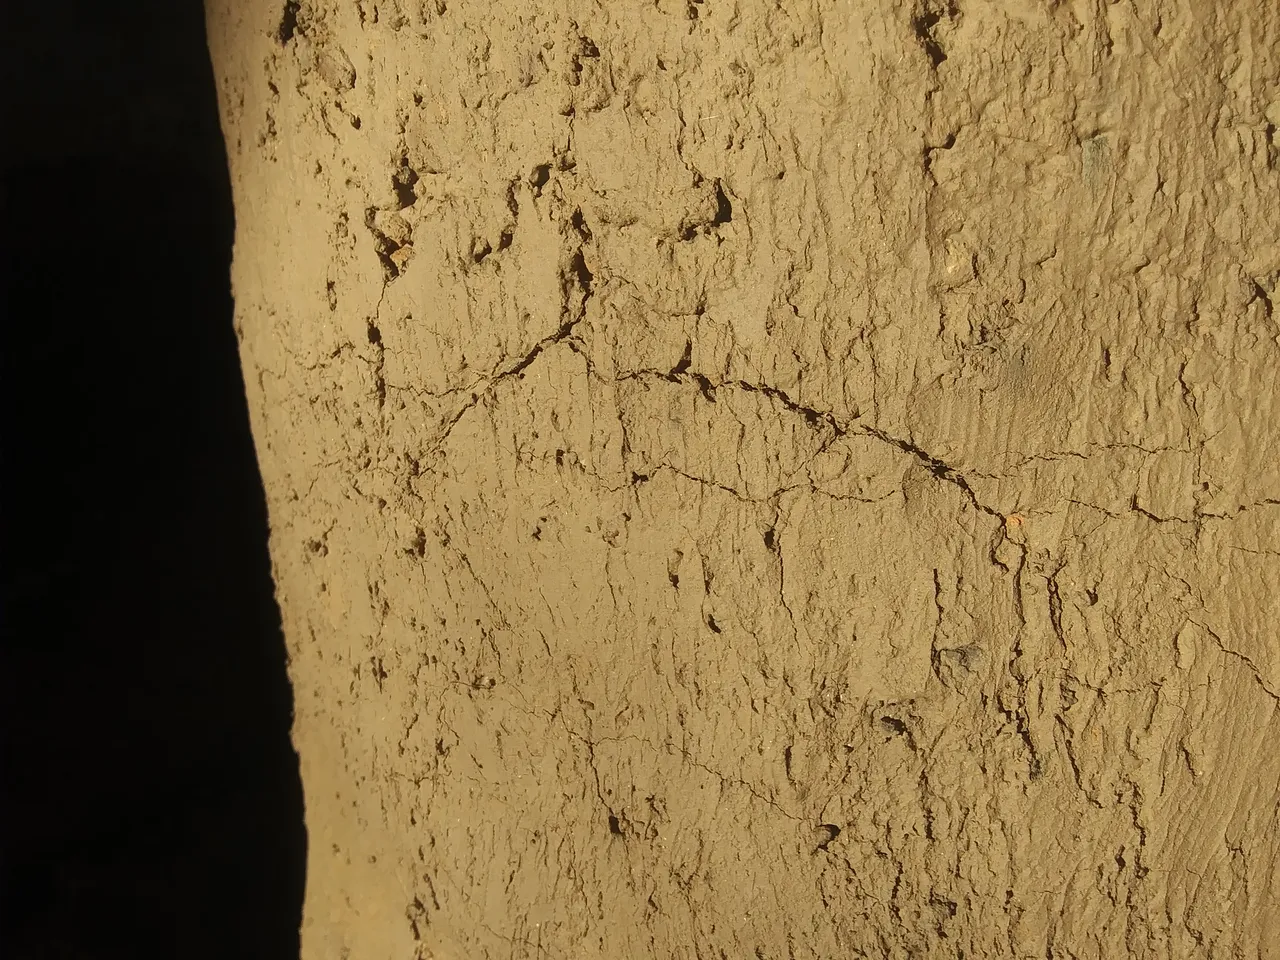
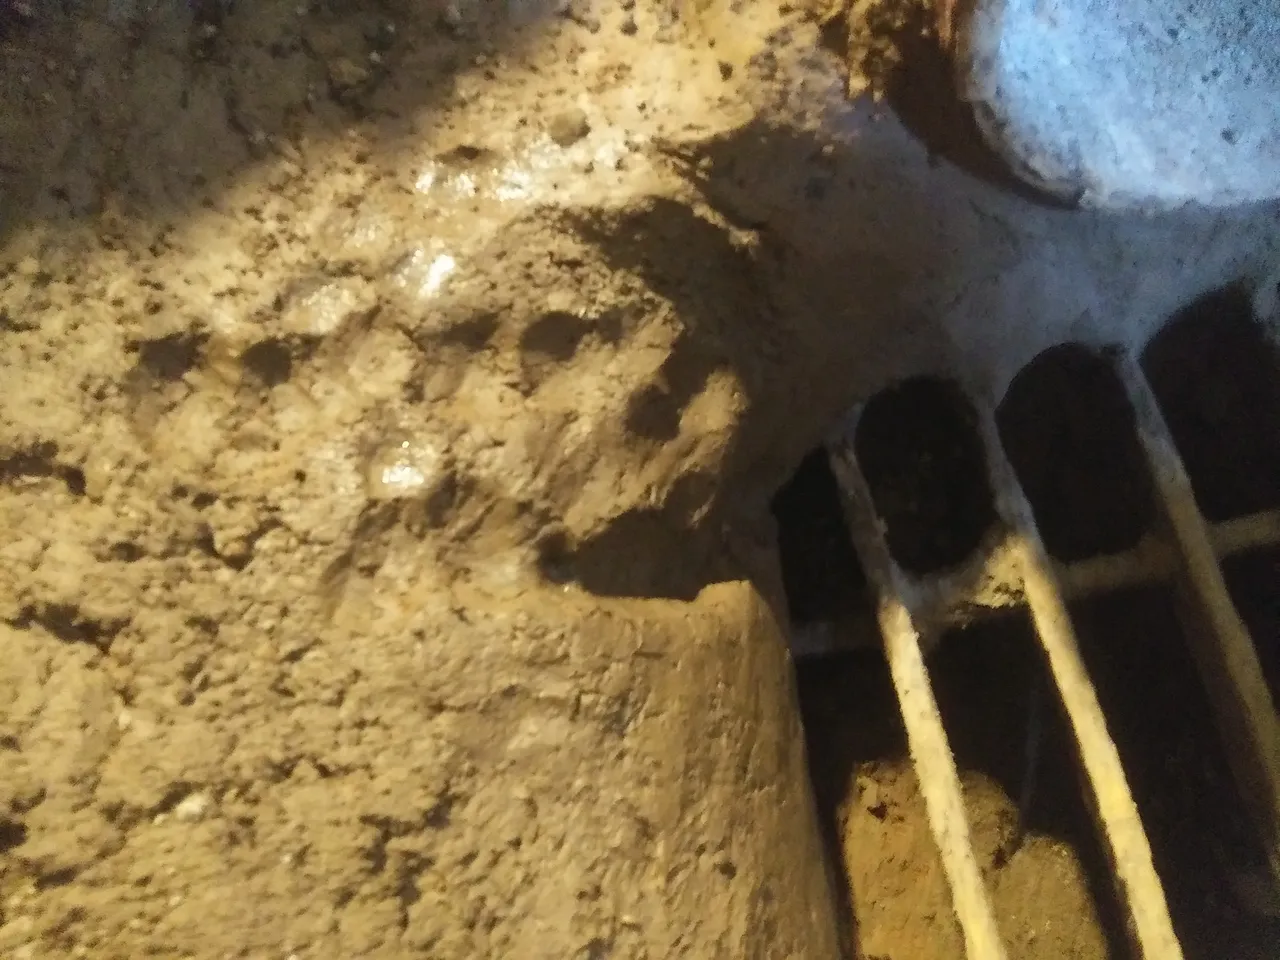
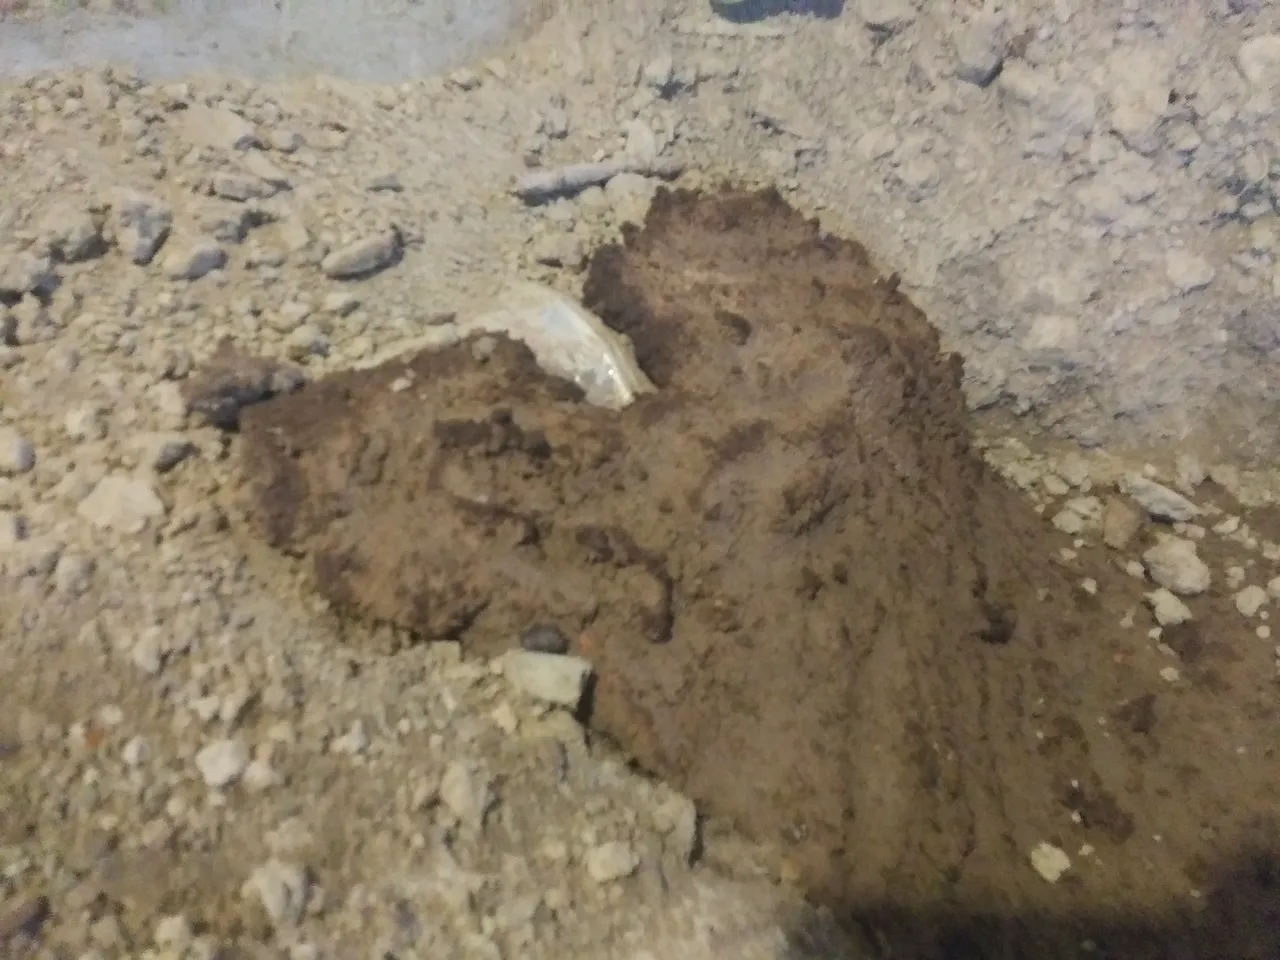
The picture below illustrates this pretty well. I had discussed in Part 4 that the clay I applied to the riser pipe would gather a layer of water against the steel where it was unable to evaporate. Here you can see where that inner moisture layer kept the interior damp and swollen, while the outside dried and shrunk, causing the clay to pull apart at the top where the differences were most drastic.
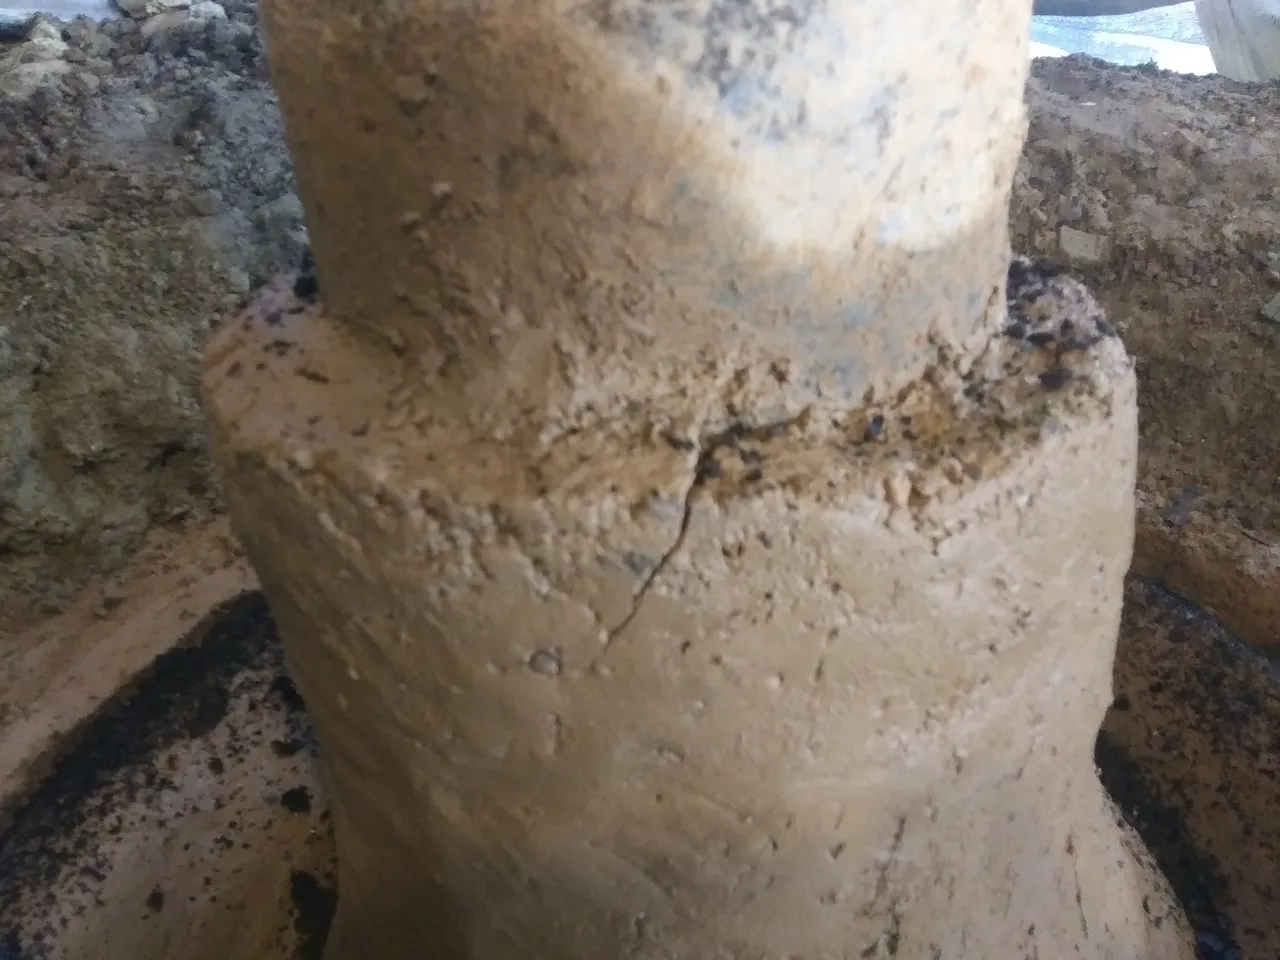
This problem continued with every layer I built around the riser pipe. Because the layers are set on top of each other like bricks, horizontal cracks are okay for this part. Any vertical cracks that go all the way through a layer would lead to the possibility of the clay falling off the pipe and blocking the exhaust, something we definitely want to avoid.

This crack that appeared early in the base layers had me worried, but it healed up nicely and never reappeared. I'll get to fixing the cracks a little later in this post.
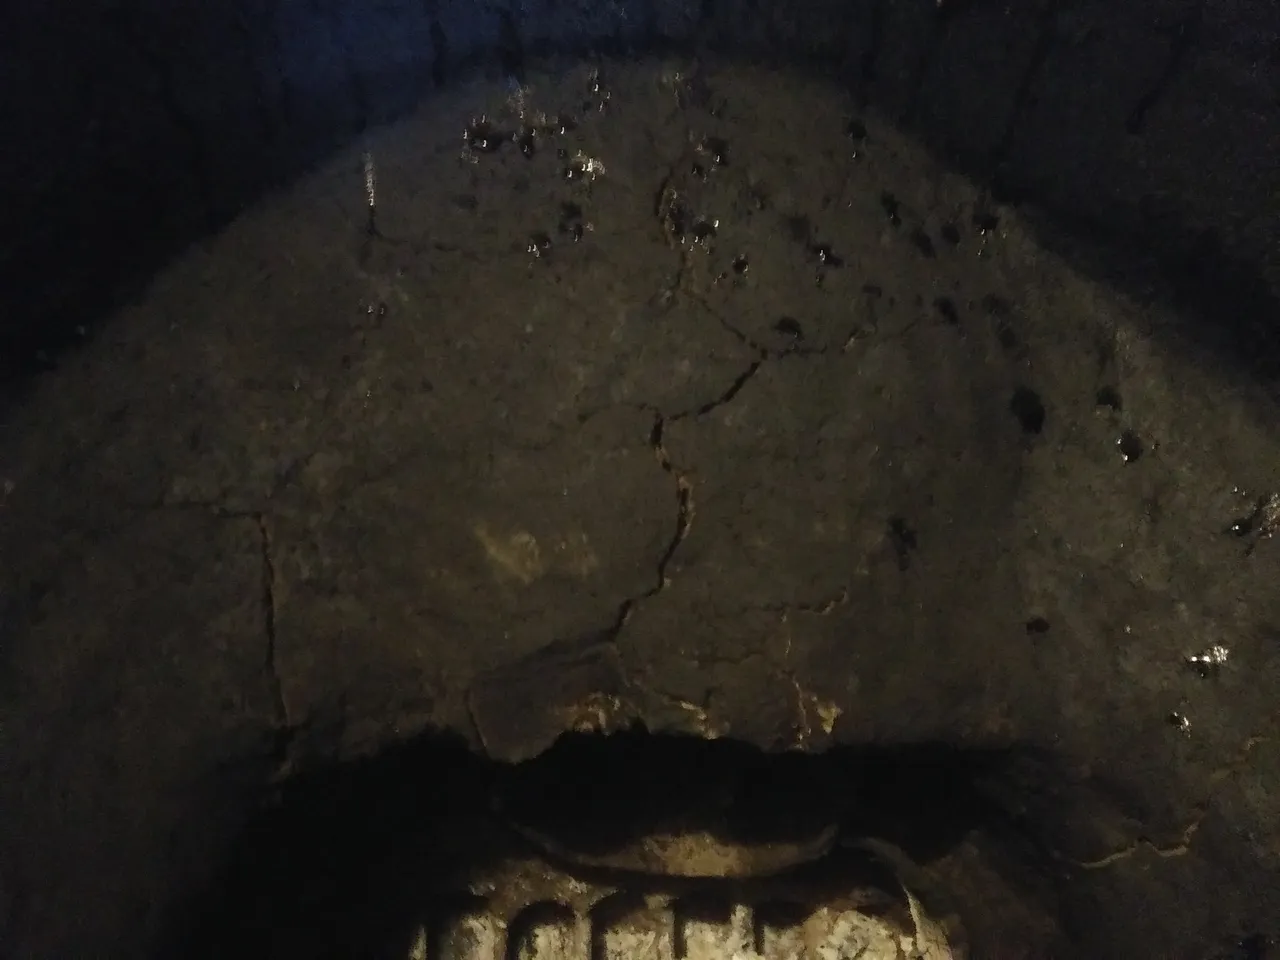
This crack in the firebox looks worrisome, but I knew I was going to have some problems with this area. I had built it up with clay left from the batch I used on the riser, which was a little too wet to use in an area this large. Corners are always a problem for clay, which is likely why so many clay containers are round.
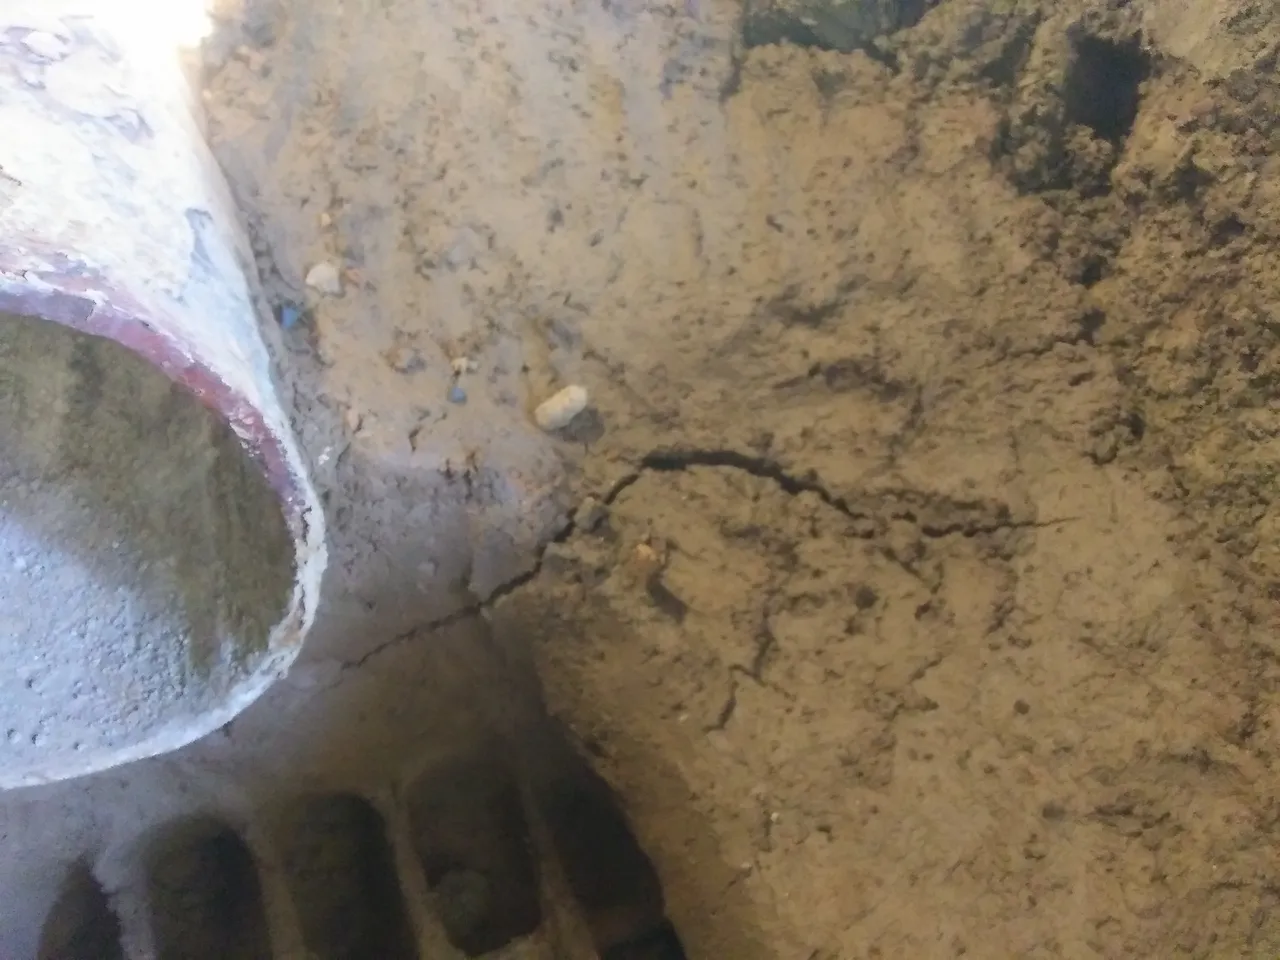
These large cracks were likely caused by a perfect storm of problems. The face surrounding the pipe was a separate batch of clay from the sides, and the clay is thinner in the areas where it cracked. There is native soil behind all of this, which will draw moisture out (or sometimes add it in) at unpredictable rates. The square shape also causes uneven airflow across the surfaces, making water evaporate slower in the corners.
The 'spalling' cracks in the picture below have a different cause. These are surface cracks caused by water freezing in the clay. They look kinda ugly, but none of these represented a structural problem. I didn't even bother trying to repair these, because with my weather forecast for the rest of winter they're likely to just happen again.
This large crack inside the firebox happened because I was anxious to test it out before it had dried properly. The heat from the fire caused the whole surface to shrink much faster than the clay underneath. This whole pile here is basically just extra mass, and a ramp to make sure the fuel will slide down into the fire, so as long as no large chunks break off, this should be fine.
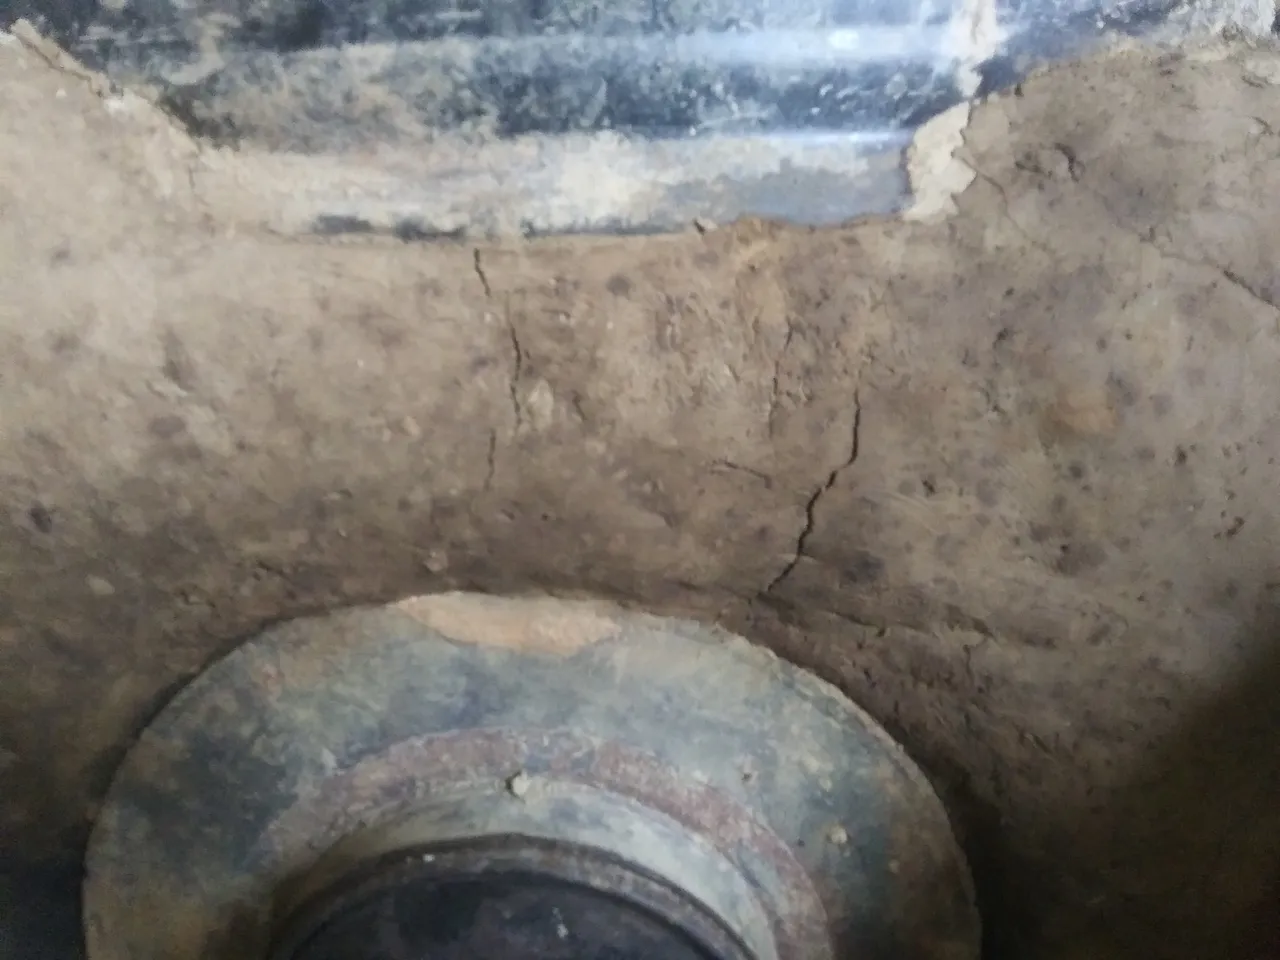
These cracks on the outside of the firebox are a bit more worrisome. At failure at exactly this same spot is what stopped my use of the test build last spring. This build is about 2" thicker here than the previous one was, and all the mass on the inside seems to be fine so far. These cracks are caused by the expansion and shrinking that happens while the stove is in use. I still want to build this front out a little more anyway, so hopefully this won't eventually fall apart like the last one.
Now that we see how busted up all our hard work is, what are we going to do about it? For most of the cracks in these pictures, the clay is still workable, so we just fill them back in. We start off by pushing in the cracks, to fill in all the voids and make a space where we can effectively add more clay. Because it was cold outside and I'm getting old, I used my old hatchet and the round end of my fire poker to beat the cracks in, but you can do just as good with just your thumbs.
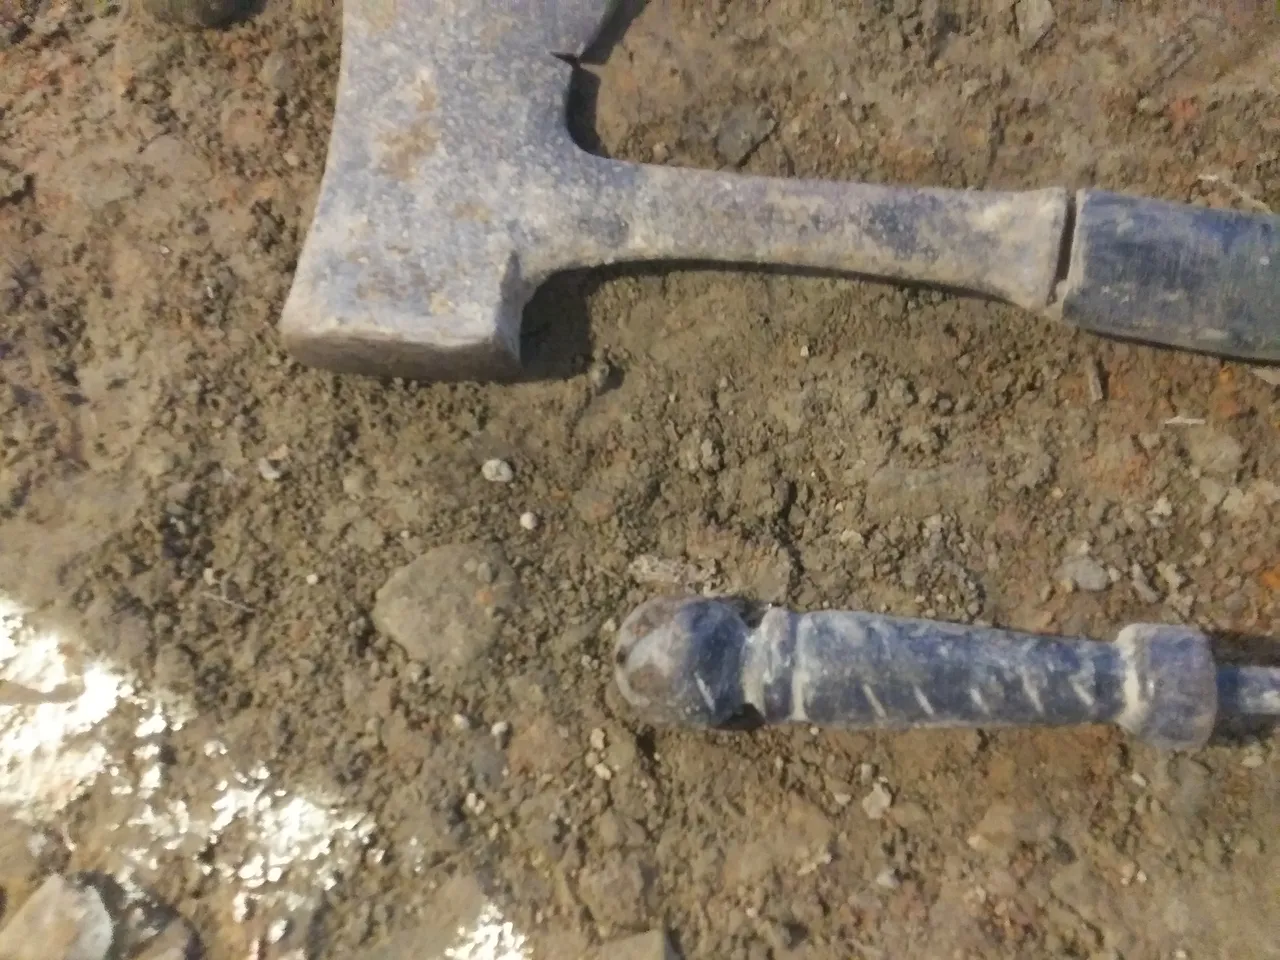
Don't be afraid to use plenty of pressure, you want to make sure that the entire void is filled or it will likely just open back up on you. You'll know if it's solid enough because it will become nearly impossible to move. Once the cracks are pushed in tight, just add some fresh clay on top like you were building it for the first time. Some people recommend scratching up the surface of the old clay, to help the new stuff stick better. I've found this to be true with traditional clay mixes, but it doesn't seem to matter with these mixes containing wood ash. You can also brush the old clay with vinegar to help with bonding, and this has worked really well for me in the past with all mixes.
I didn't bother adding any extra to the clay on the riser, just hammered in the cracks and smoothed it back out.
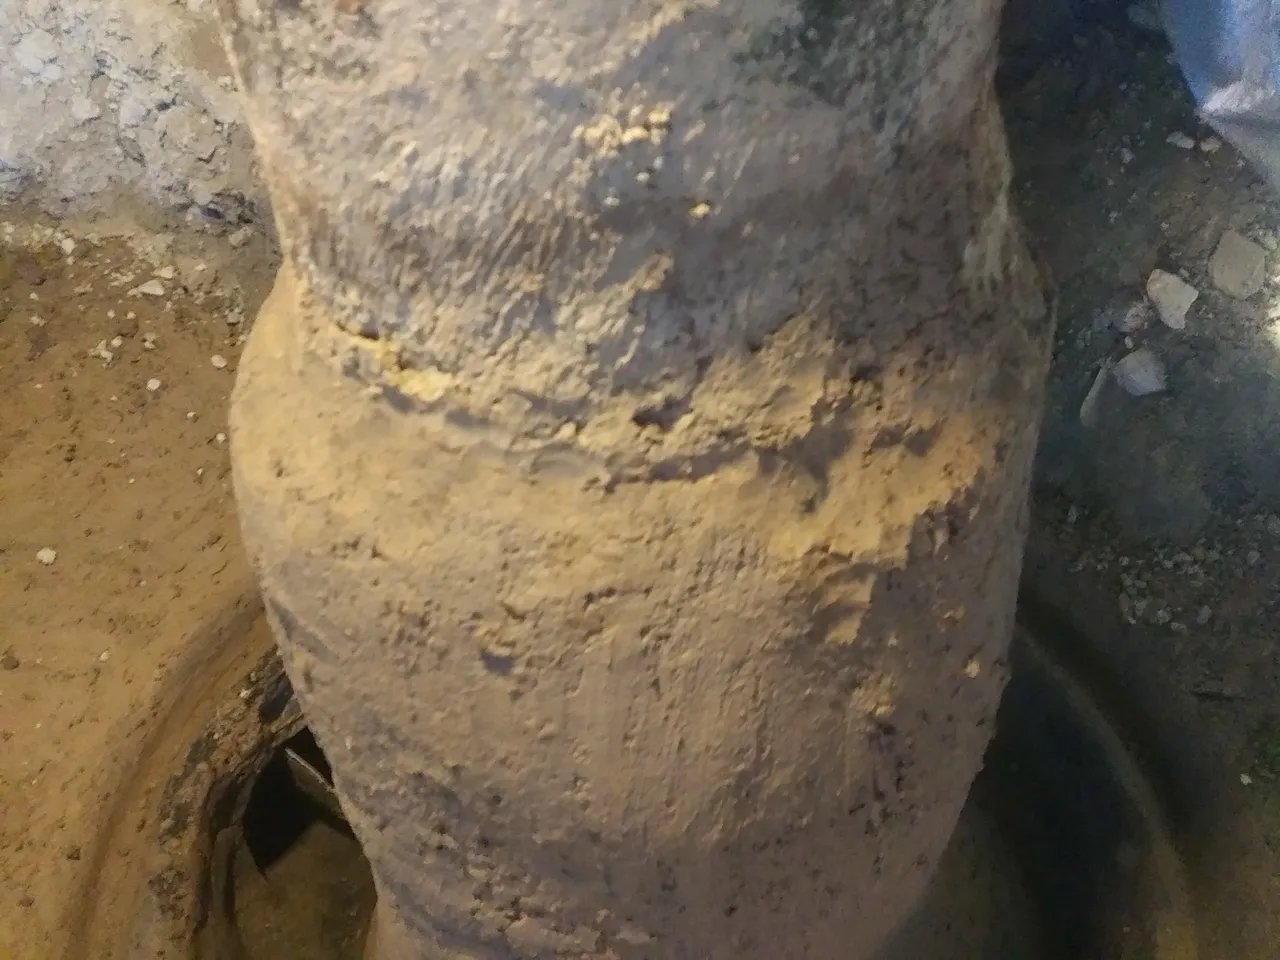
After running the stove for several days, it looks like the heat riser is going to be just fine.
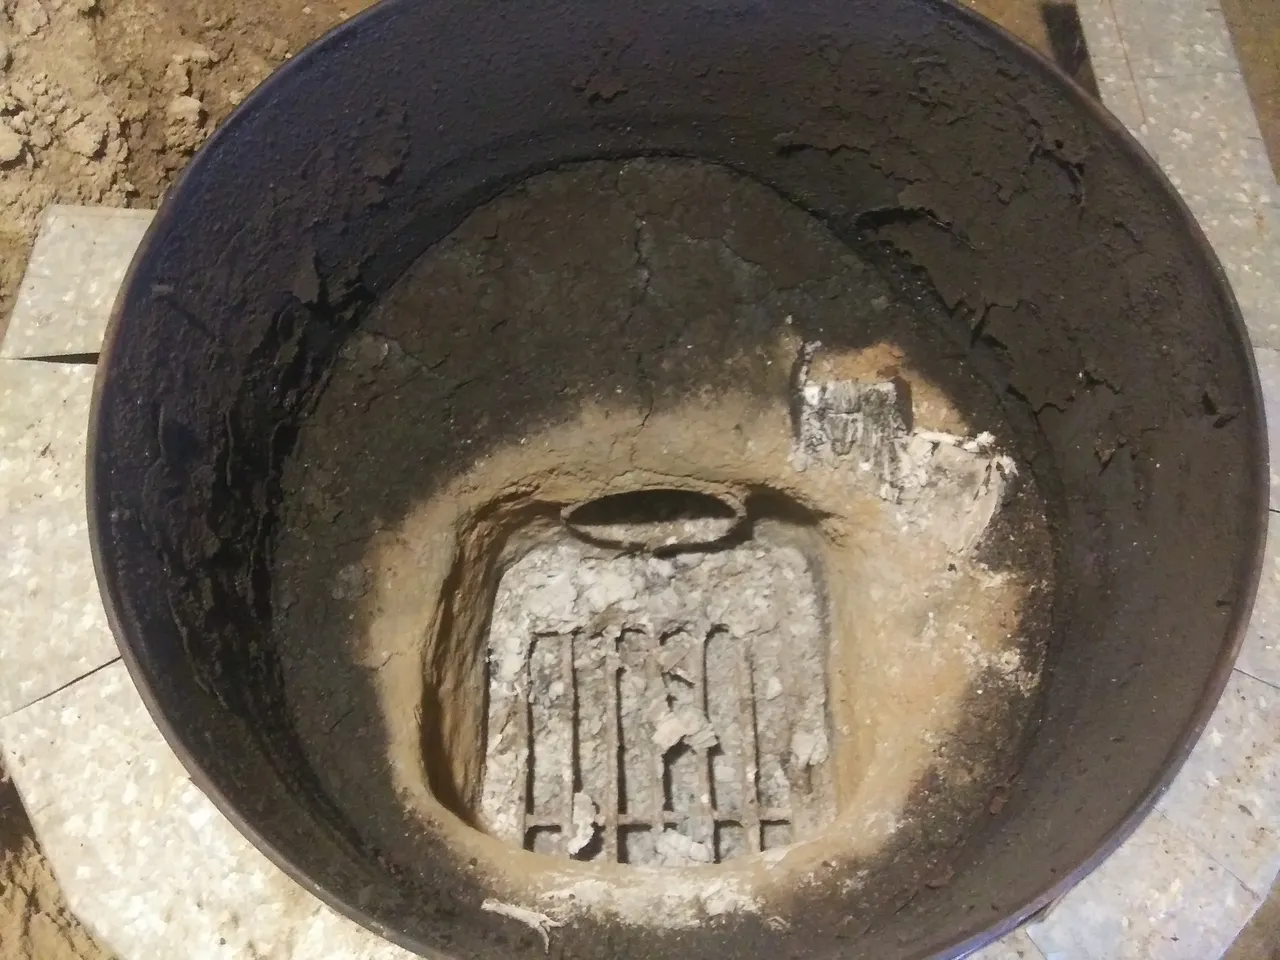
The firebox has also held up really well to normal use. You can see there is still a large crack above the pipe, but it doesn't penetrate to the outside of the firebox. At this point, the entire inside of this box has been fired, and I'm considering it stable.
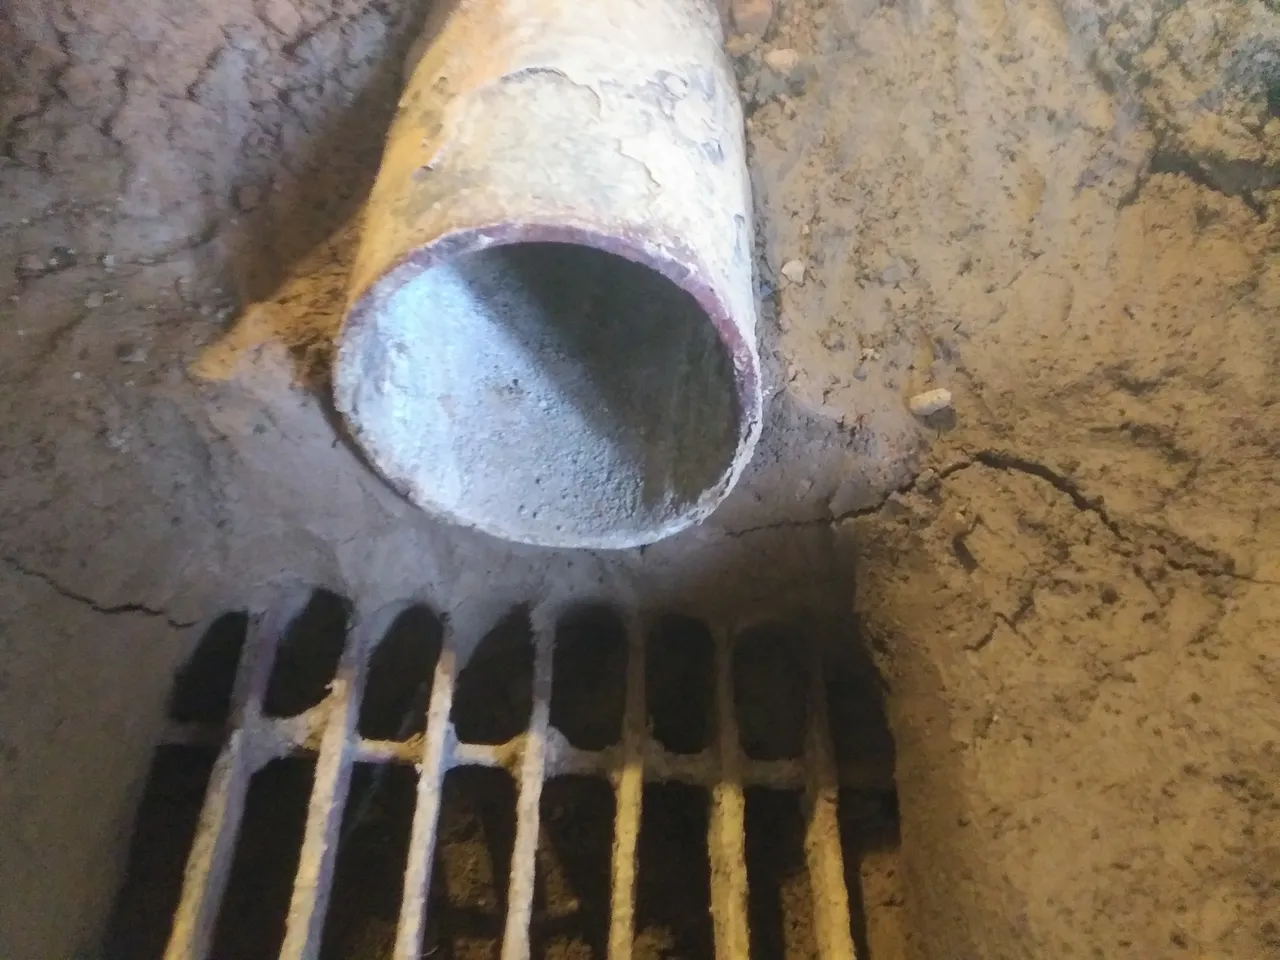
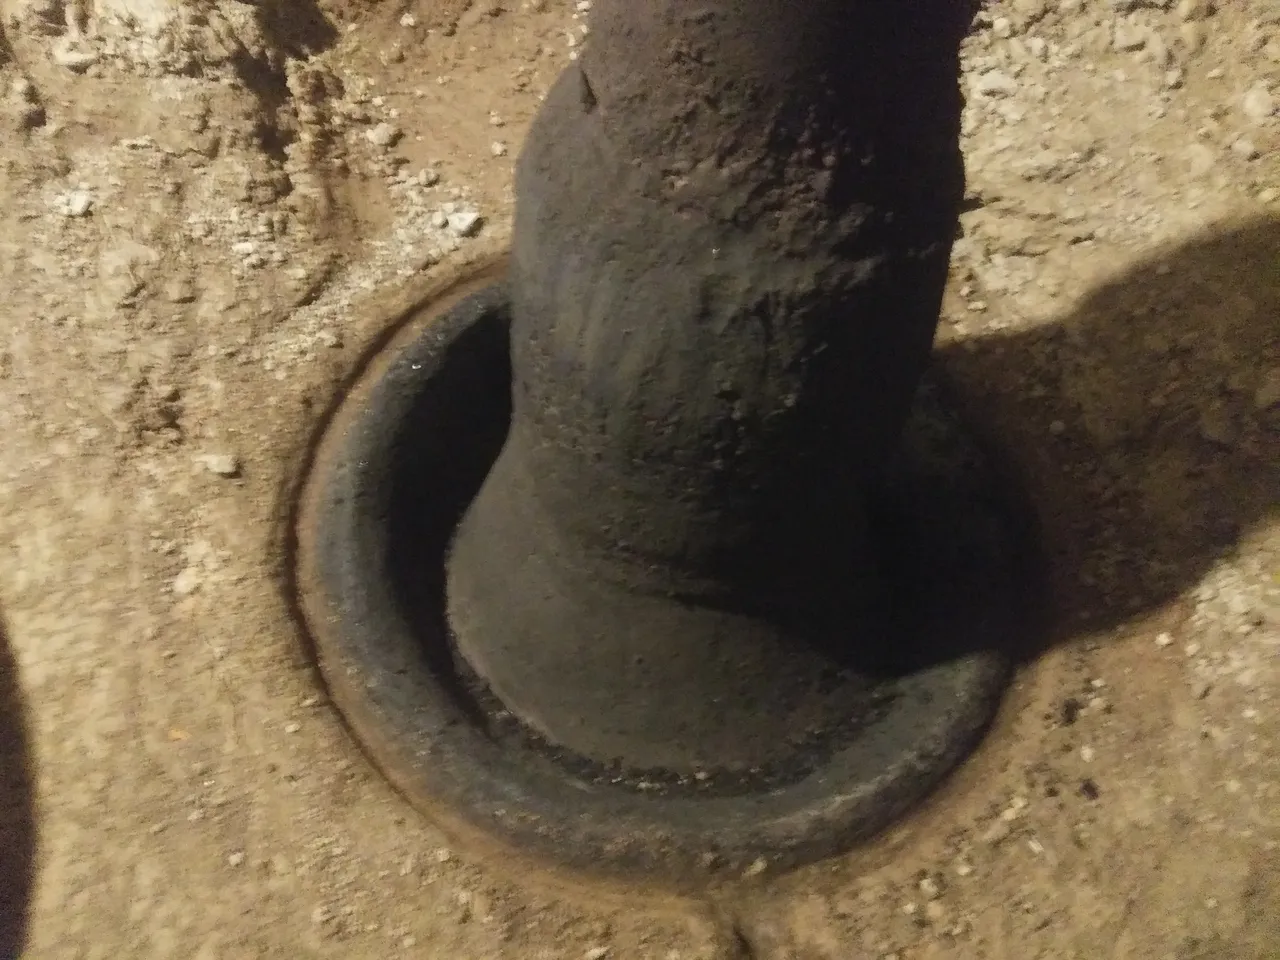
The picture below is just to show an example of how crack resistant the clay is with the addition of enough wood ash. This layer over the exhaust pipe ranges from 1/2" to 2" thick, and the exhaust pipe it is covering will get up to 300°F. This was a wet mix, simply thrown in place and left alone. It hardened into a solid mass with no cracks at all. I'm not sure why the ash helps so much, but I believe that it helps wick water from inside the clay to the surface, helping the clay dry at the same rate all the way through.
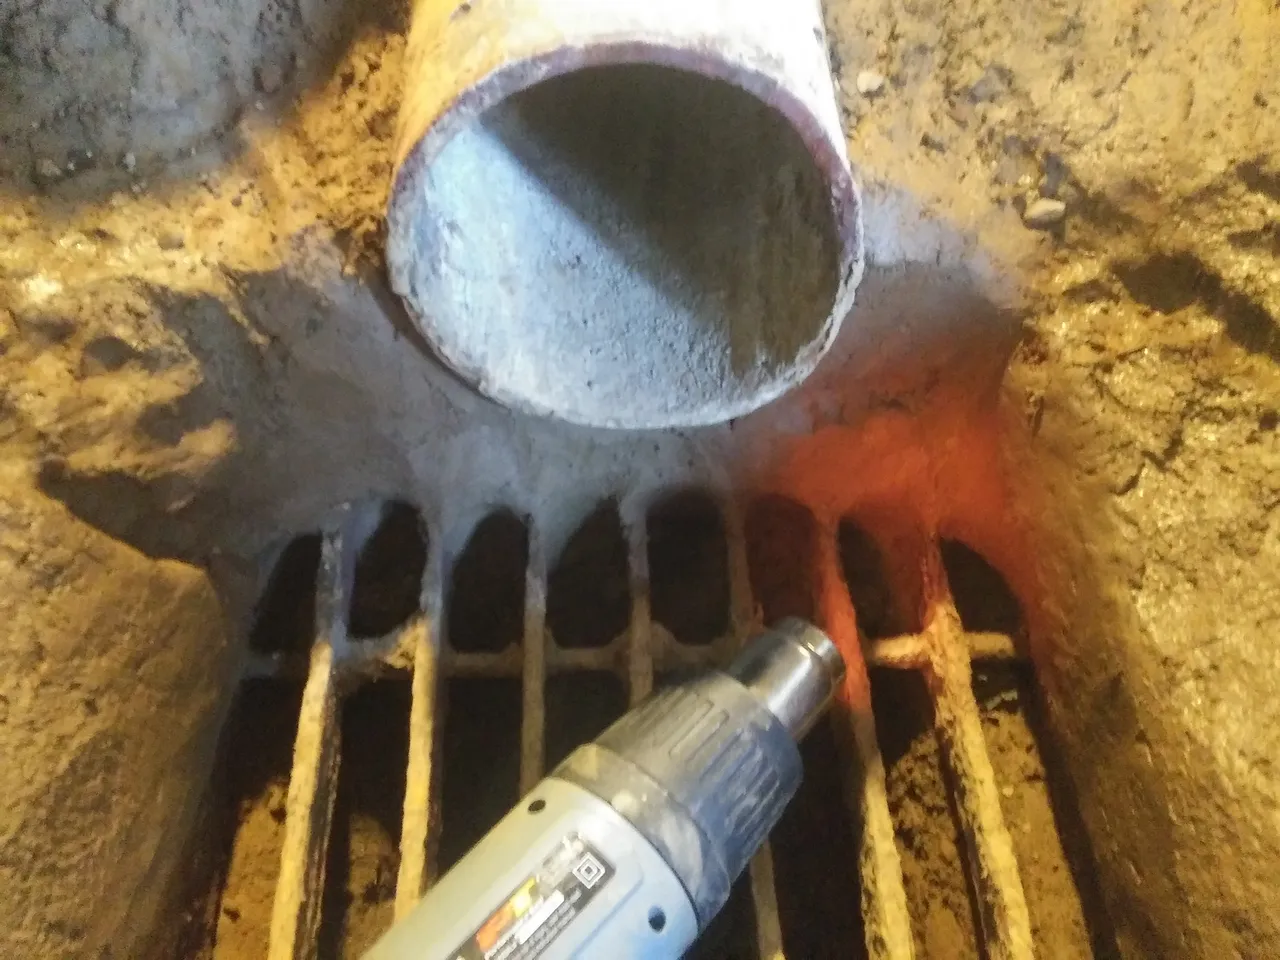
Here's something I learned from YouTube (I don't remember where exactly) that would make most 'experts' cringe. Conventional wisdom says the best way to dry your clay without it cracking is to make sure it dries slowly. The truth is, it doesn't matter how fast it dries, as long as the whole thing dries out at about the same rate. In the video I watched, the guy was drying very complex pieces in two hours or less, by using a heat gun to speed up drying in the heavier areas that were drying too slowly. I'm doing the same thing here, trying to get these still-damp repaired corners as dry as the clay on the sides. If I had hours of time to give it this kind of attention as it was drying the first time, I probably could have avoided the cracking altogether.
For cracks in clay that is too dry to work, but not yet fired, I make a 'mortar' out of wood ash and water, then work that into the crack. I don't know if this will close a crack in something that's going to be fired, but it works to seal up surface cracks around the outside of my stove. I use the ash instead of clay because the clay will just shrink and make a new, smaller crack.
I talked a lot about repairs, and very little about prevention. The easiest way to prevent cracks in the first place is to use as dry a mix as possible. The less water there is to lose, the less the clay will shrink, and the less likely it will be to crack. Additives like grog (previously fired clay, crushed up), perlite, and wood ash will also help by assisting in the movement of water from the inside to the outside of the clay body.
Cob will be less prone to cracking, generally. Not only do the fibers help move water within the clay, but they can actually help hold parts of the clay together where it does crack, just like wire mesh or fiberglass strands in concrete.
Repairing cracks in clay that has been fired is a different thing entirely, and not done generally. There are lots of glues and epoxies that will hold things together, if you break a piece you really want to keep. The Japanese have a technique known as kintsugi where they repair broken ceramics with gold. I know nothing about doing this, but if you want to see some beautiful pictures just do an image search for kintsugi.
I feel like there's more to say, but I don't know what that might be, so I'll leave it there. If you have questions, feel free to ask, and I'll do my best to answer them. For now, I'm moving on to hopefully get at least one more good post done before my lazy Sunday morning is over.
Until next time, be well, and good luck with your projects!