Hi fellow Steemians / DIY enthusiasts
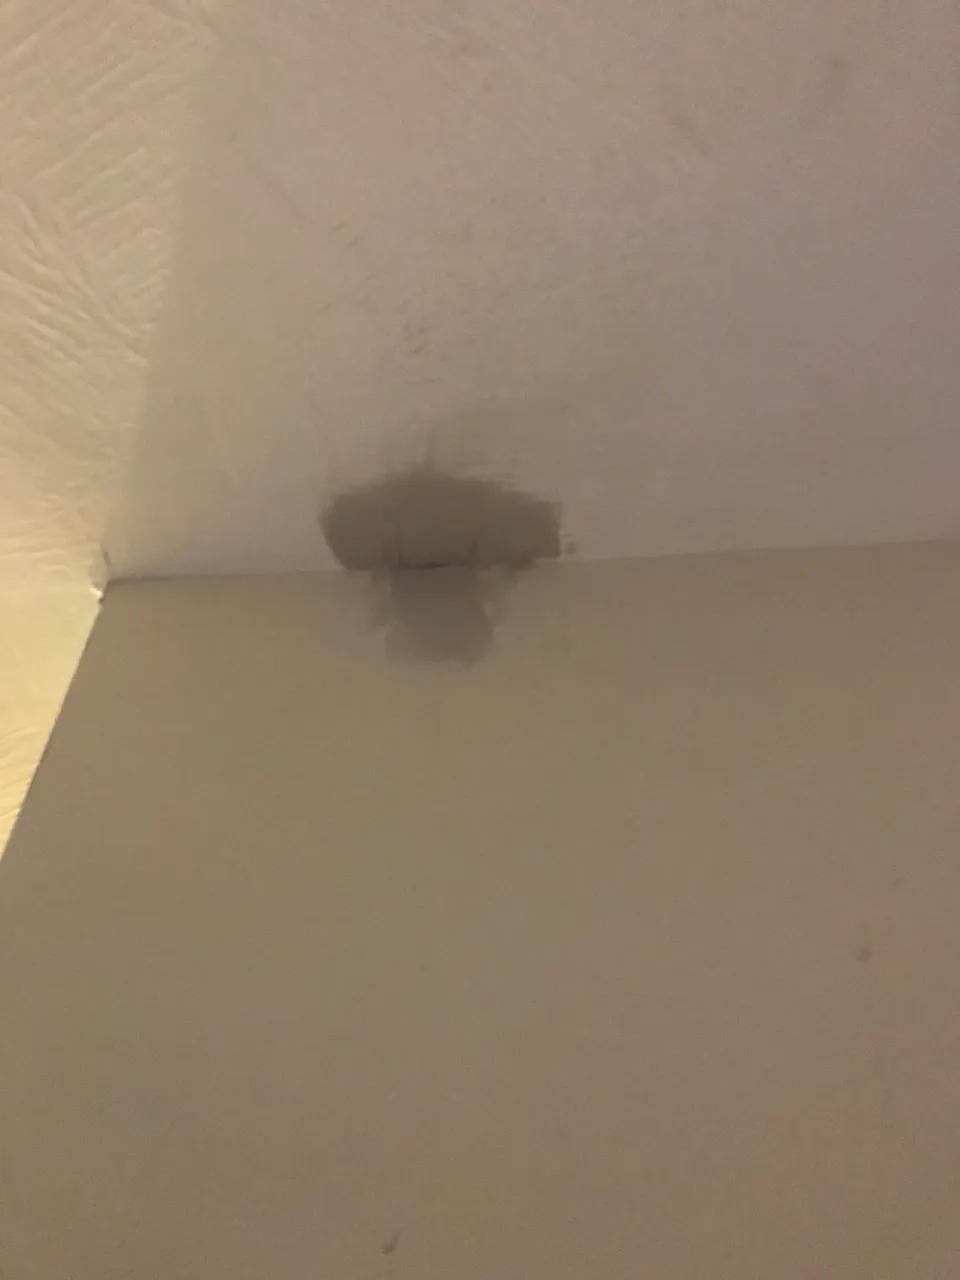
Back today with a fun small DIY project I finished the other day. Now that spring is here and the weather is warming up, we are tackling some of the issues around our place. We had a small leak in our ceiling that was thankfully nothing serious but it left an annoying stain and peeled back some paint so we are finally getting around to fixing it. Unfortunately I didn’t have a before picture even though I thought I did.
To start we are going to need a few basic tools and supplies. These can all be easily found at a local hardware store for relatively short money.
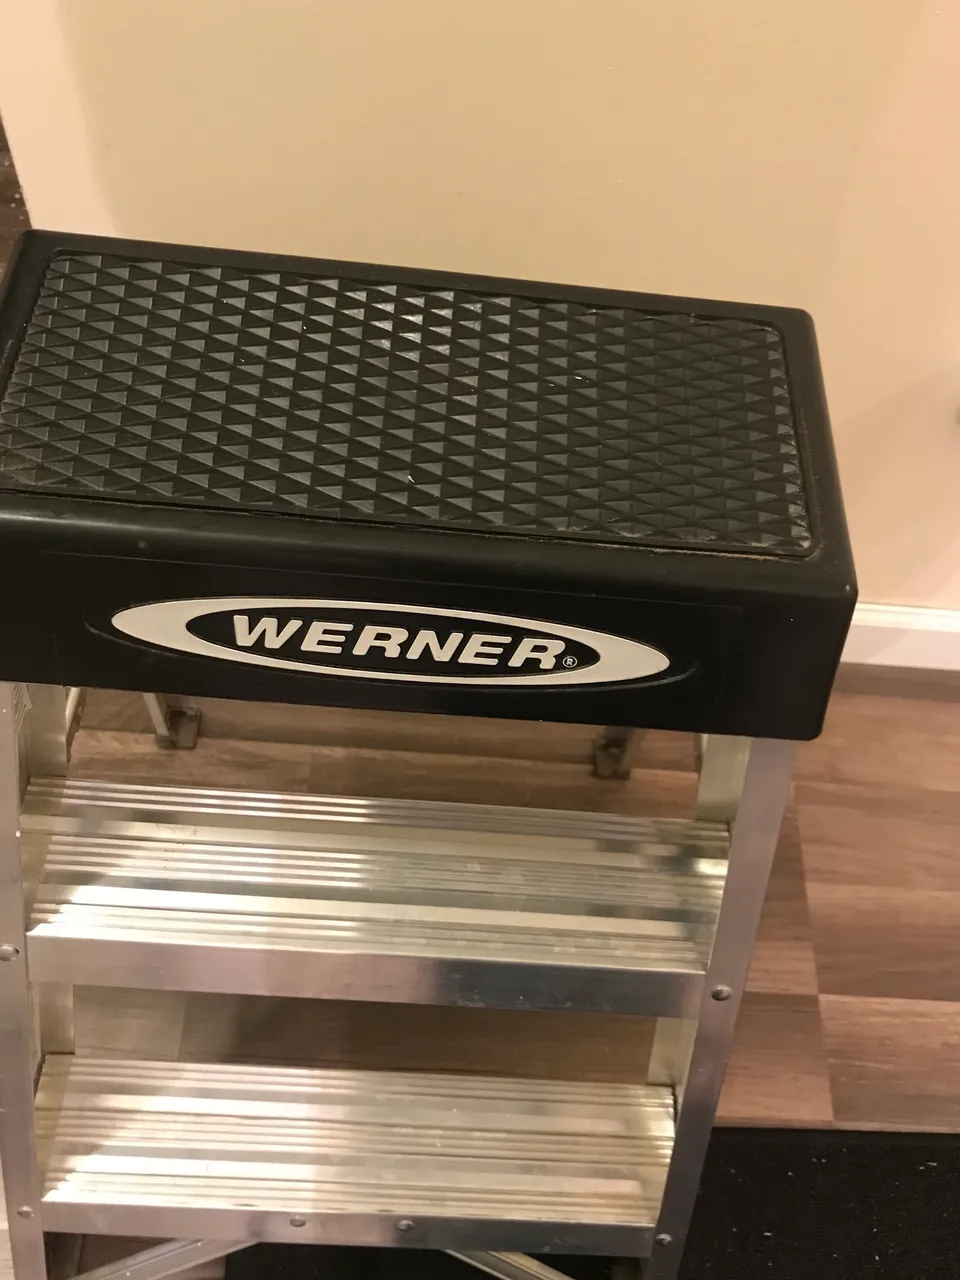
First you need a little 3 foot ladder since we are doing the top corner of the wall, the 3 footer will do the job well enough.
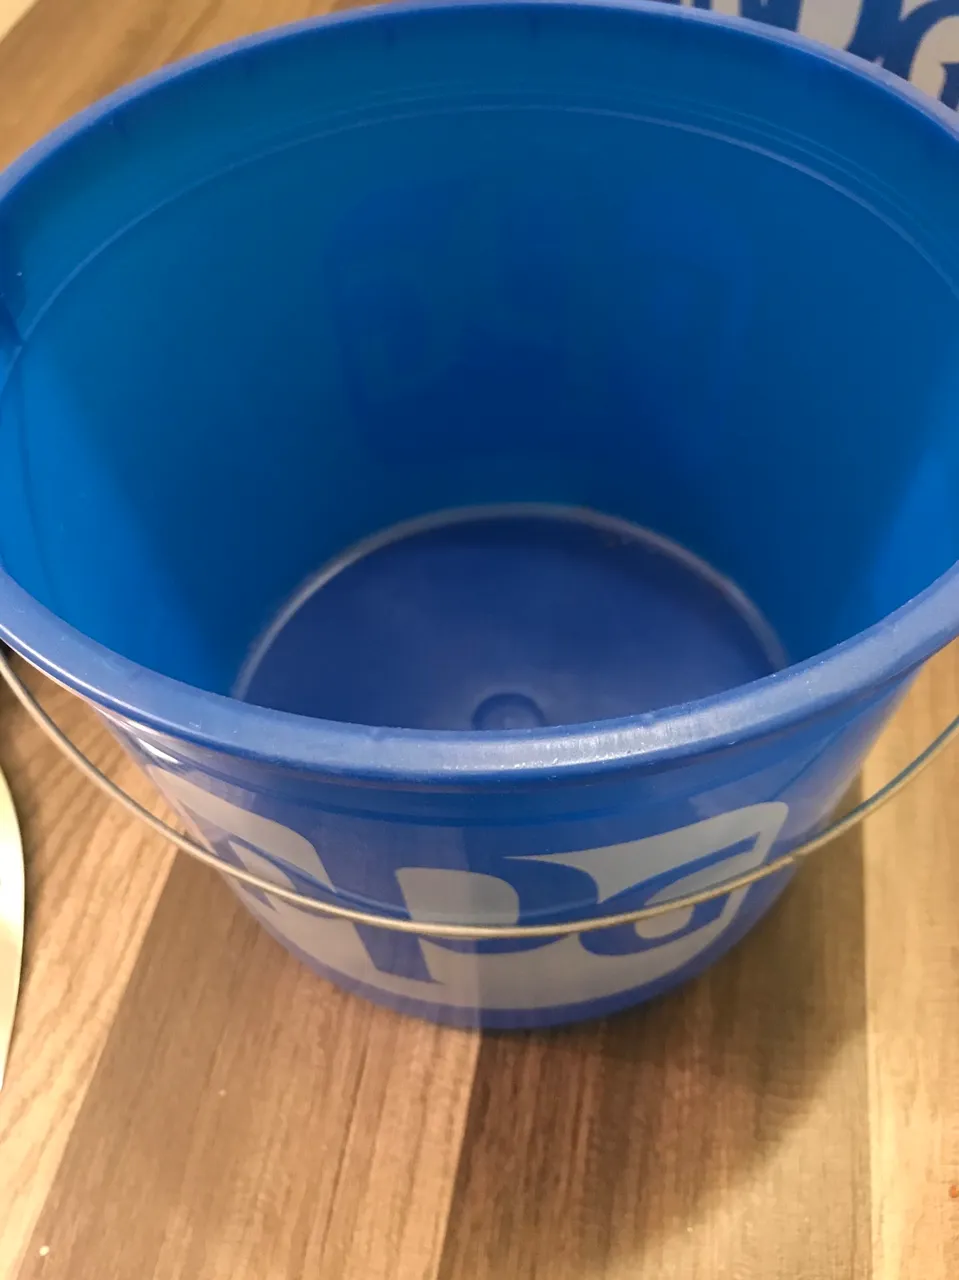
Next you need a small plastic bucket for mixing the compound with water. I would also grab a blanket or thick sheet you don’t care about to put on the floor so you don’t get drippings on it and ruin/make a mess of the floor.
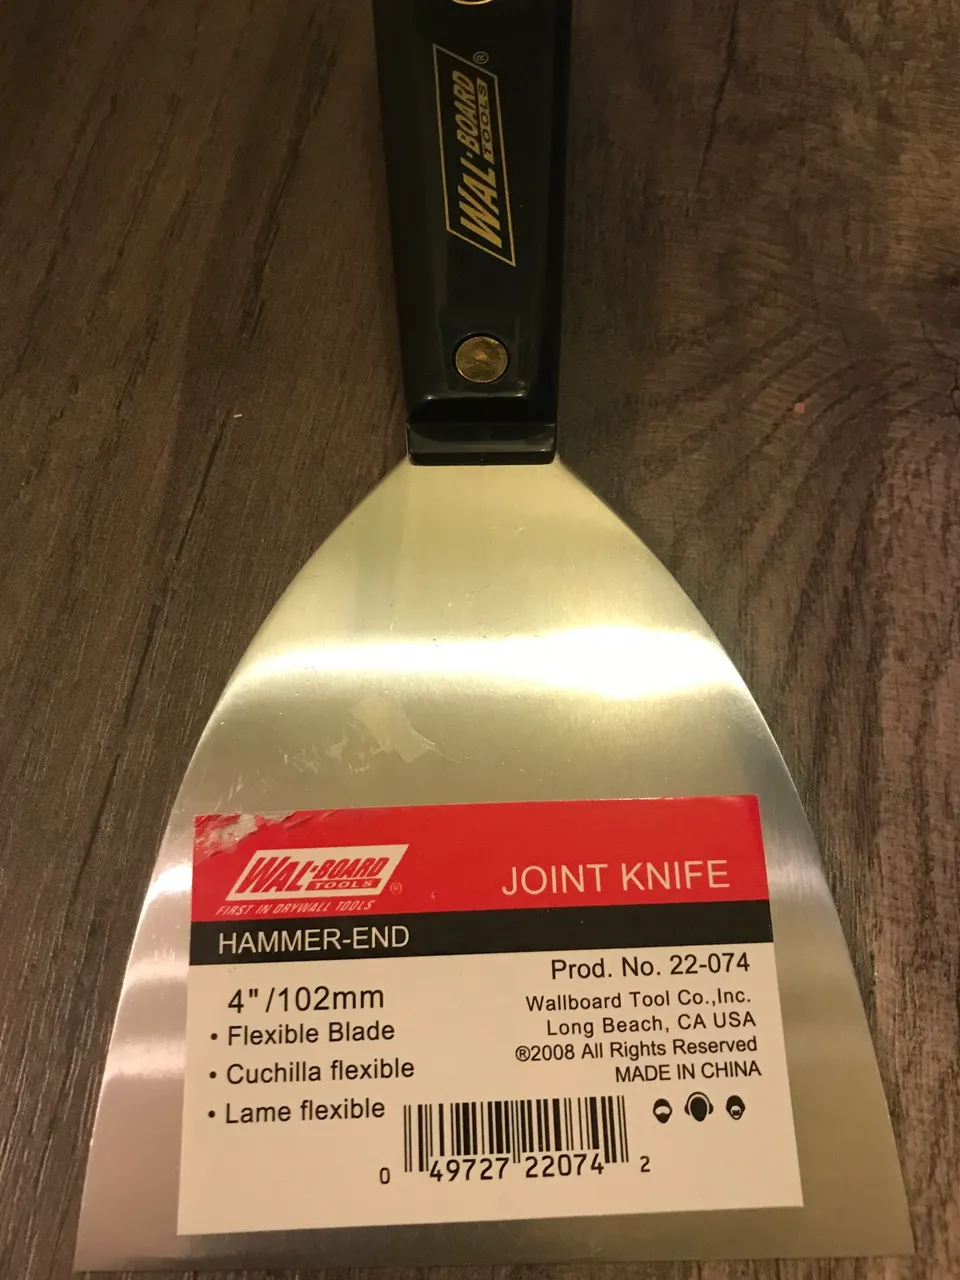
You will need two joint/taping knives. These are what you will use to put the compound on the wall and ceiling. I recommend using a wide one and a narrow one. I used a 4 inch and 2 inch for this job since it was fairly small. The two is important because you need one to help scrape off the excess compound from the other to give you a smooth application.
You will also need joint tape and a sharp knife to cut the tape for smooth edges. The tape is what you use to bond the edges of the surface so they don’t bubble up and the compound has something to adhere to. The tape is very unique in that it’s a patchwork of strips and is sticky on both sides.

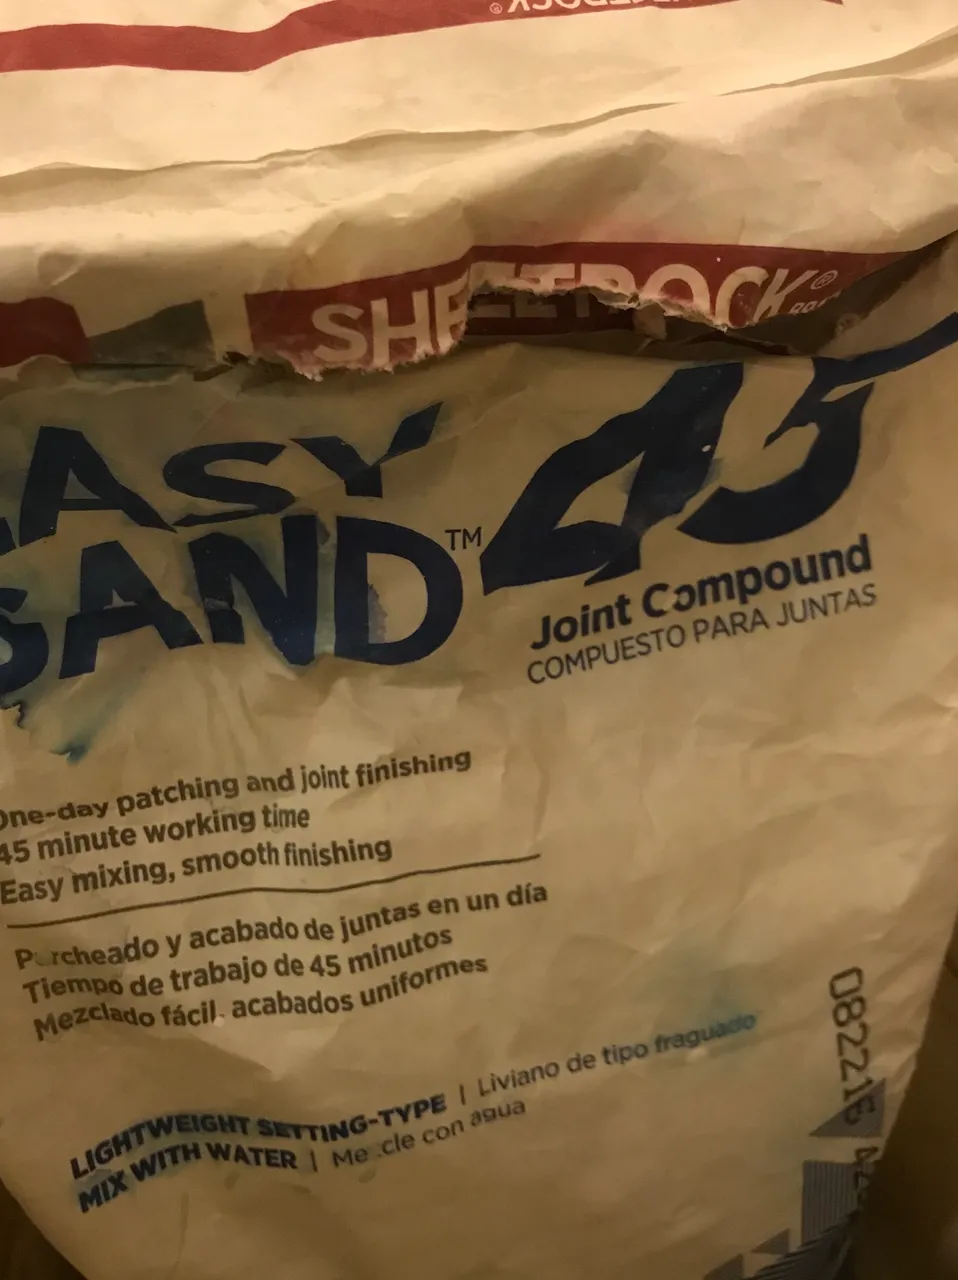
Lastly you’ll need the joint compound itself. There’s all different kinds to get but I won’t go into their differences. For finish work like this I like to use this 45 minute batch. It sets up nicely and won’t dry out too fast so you can apply it without wasting much of it.
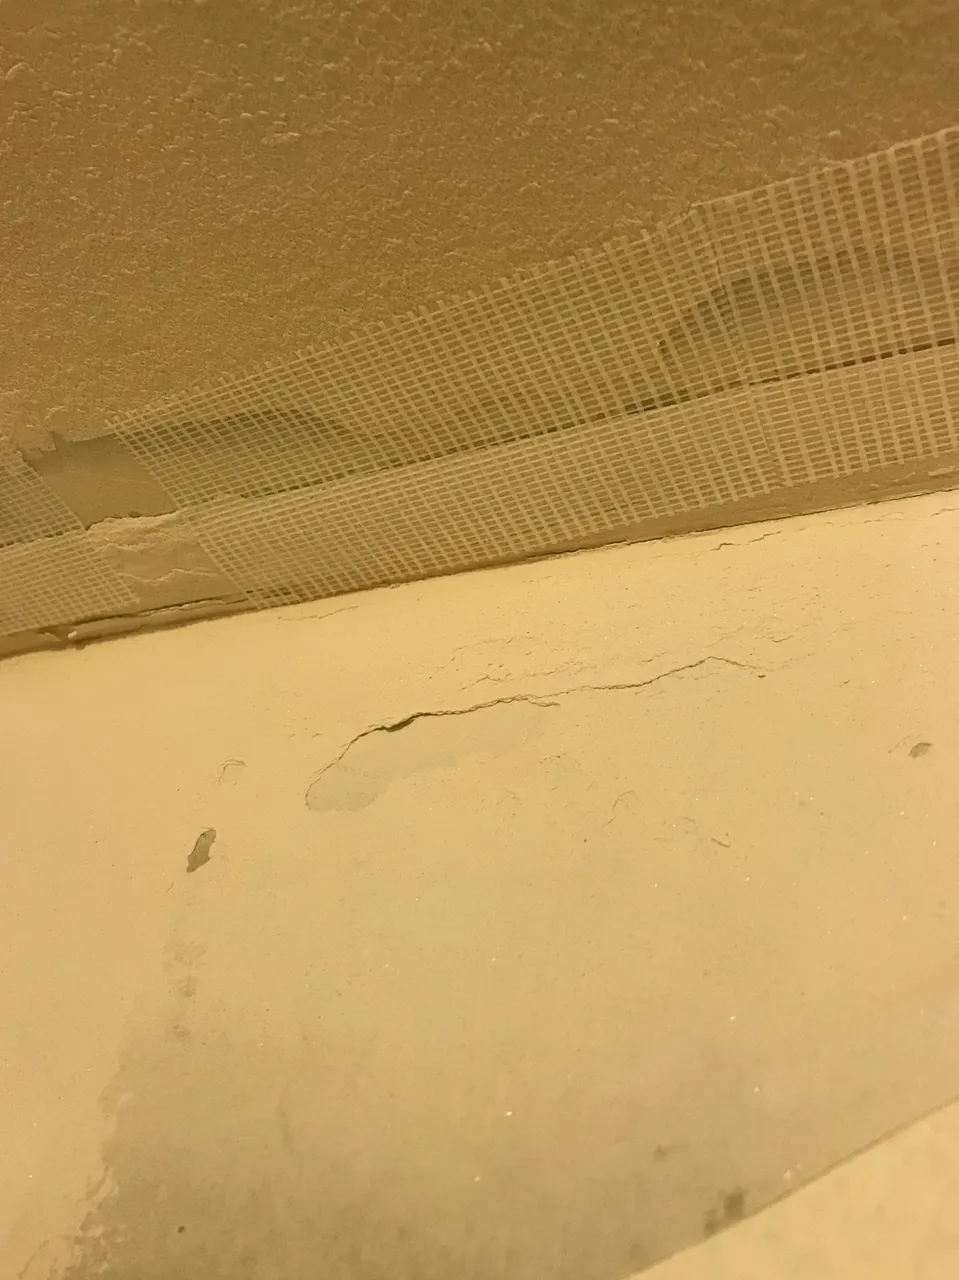
One of the first things to do is prepare your work area. Put down your blanket/sheet/ drop cloth to cover your floor so it’s easier to clean up. Use the razor knife to peel up any bubbled paint or damaged plaster. It’s easy to tell what is ready to come off due to damage. When you peel a bit of it off, you can feel around with your finger or the knife and any other pieces that are damaged will easily come up so you’ll need to get rid of it.
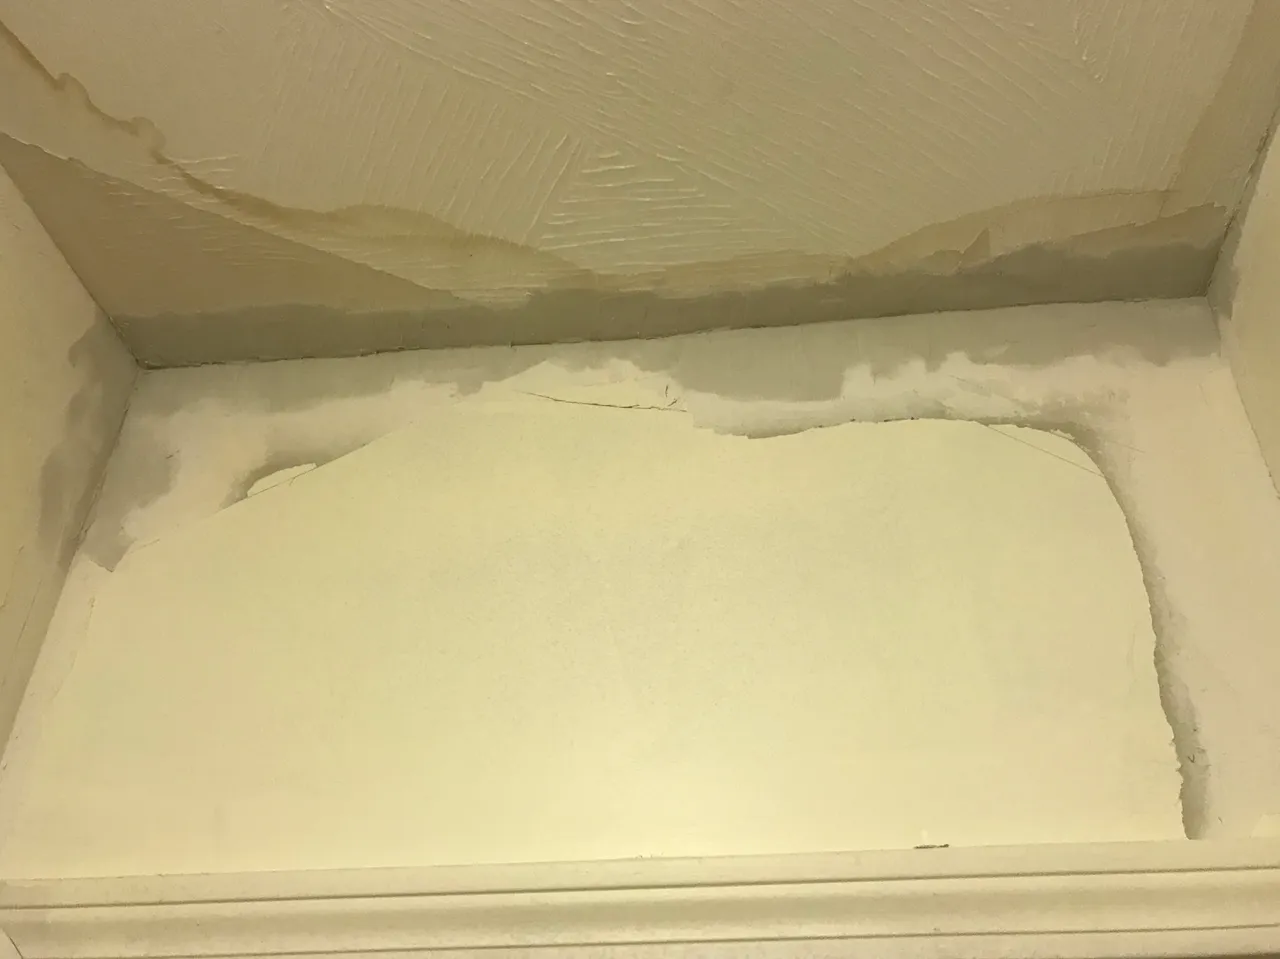
Once the damaged/loose paint/plaster is removed you can put up the tape on the edges seen below:
Once that’s done you’re ready to start mixing the compound and putting it up. I don’t have exact measurements of how much compound/water ratio I added but you want to add I guess 10:1 I would say. 10 times as much compound as water. You don’t want a very loose mixture, it will take longer to dry and drip more. It should be wet but not too wet. It also shouldn’t be too dry, it’s hard to describe the ratio since it’s by feel. Now that it’s mixed it’s time to put it up!
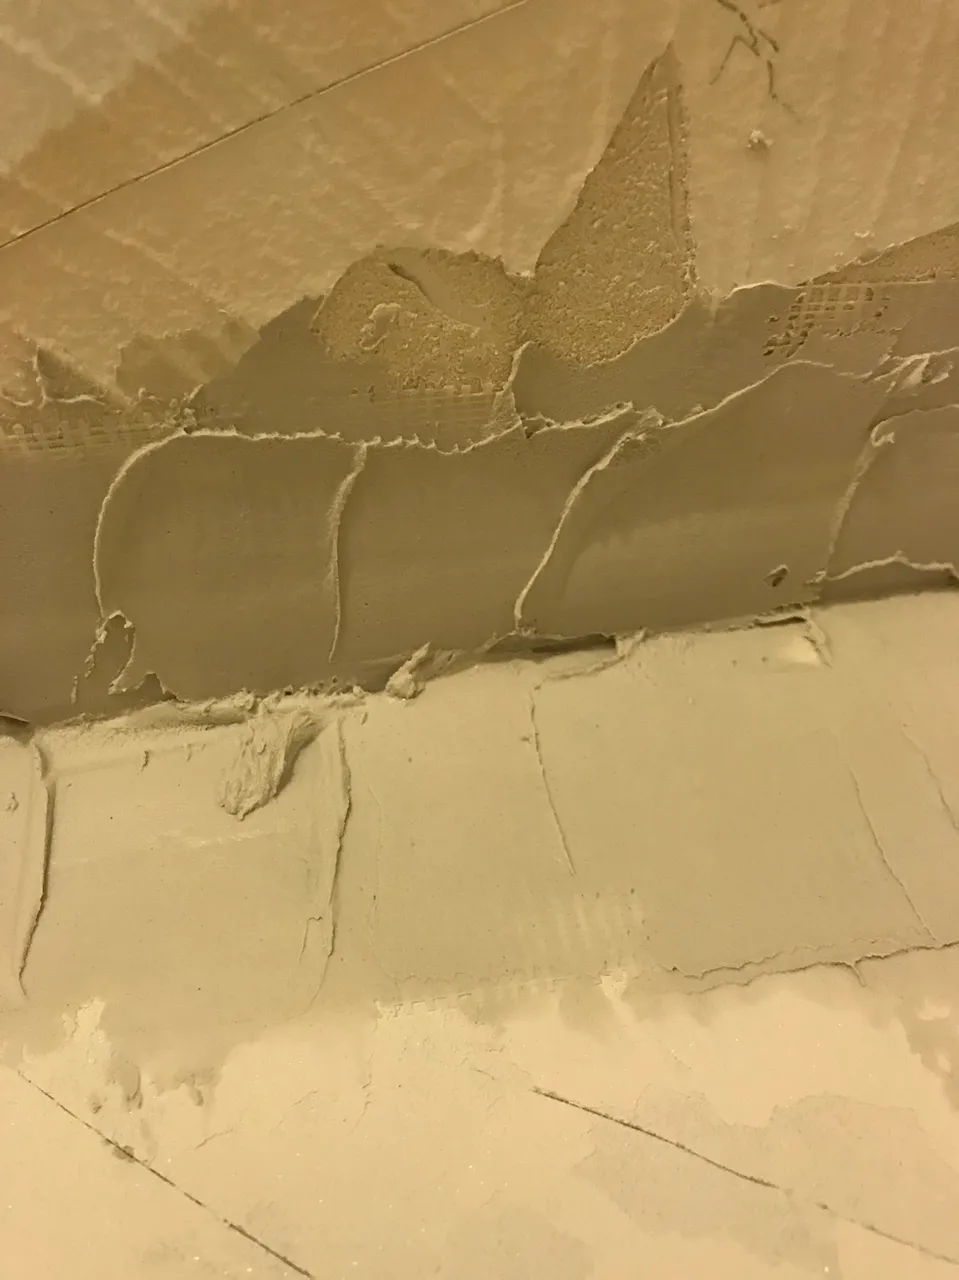
Now that the prep work is done it’s time to start fixing the issues in the wall and ceiling. Start putting a good size clump on the end of the putty knife and press it on the area and drag away from where you started. It takes a bit of time but by the time you have a few clumps up there and smoothed out you find a rhythm that works. I try to put it up and then smooth it out as much as I can without going too crazy. You want to make sure there are no holes but any ridges aren’t that bad because you can remove those later. Holes are harder to fix when it’s dry so I focus on making those are fixed first when it’s still wet. Seen below is an example of my rough job to get it up and then smooth it out after.
Once it’s up I’ll then go back and smooth it out seen below. It’s not perfect but there aren’t holes so it’s acceptable.
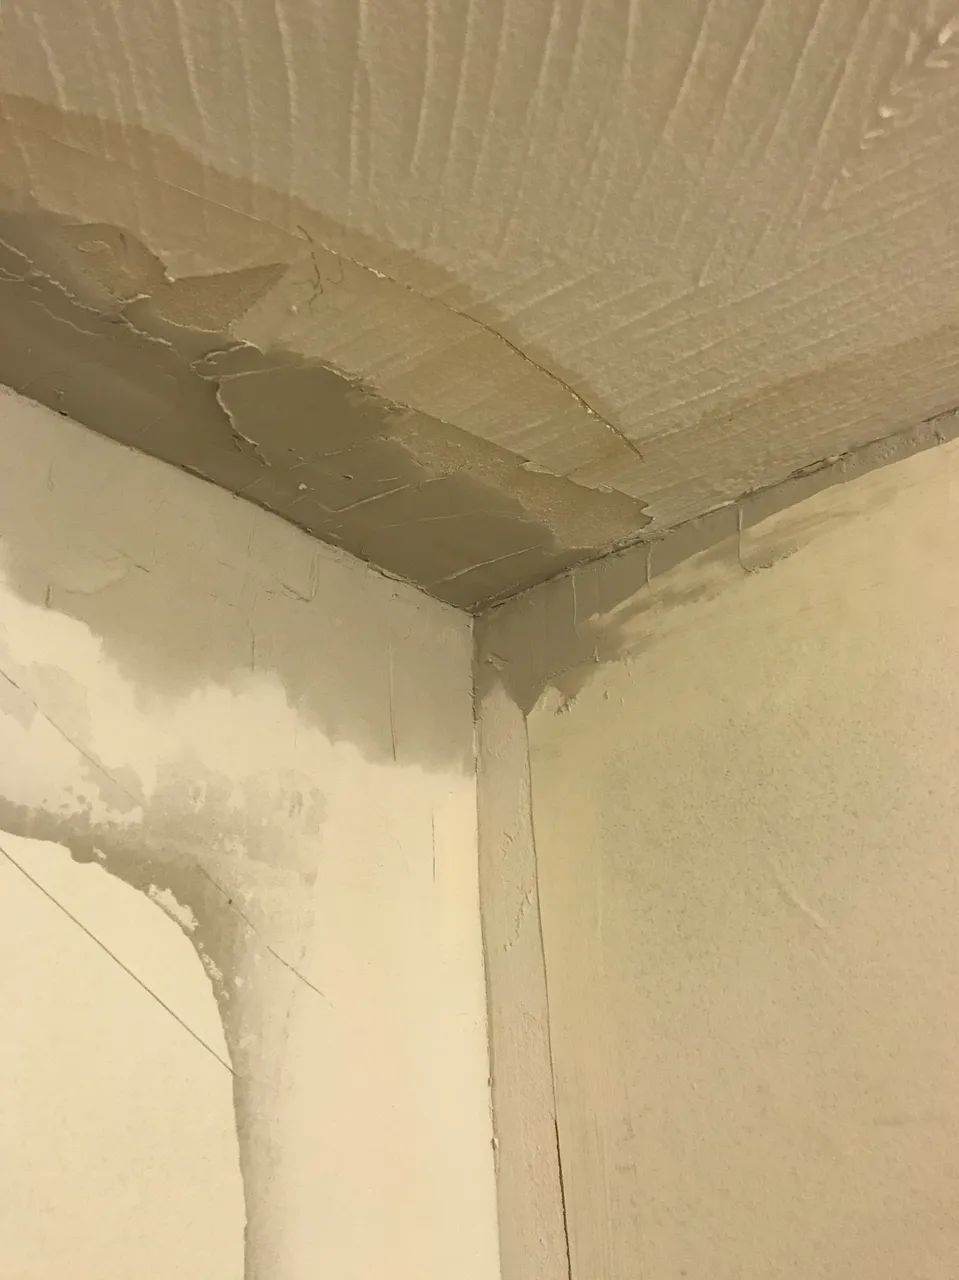
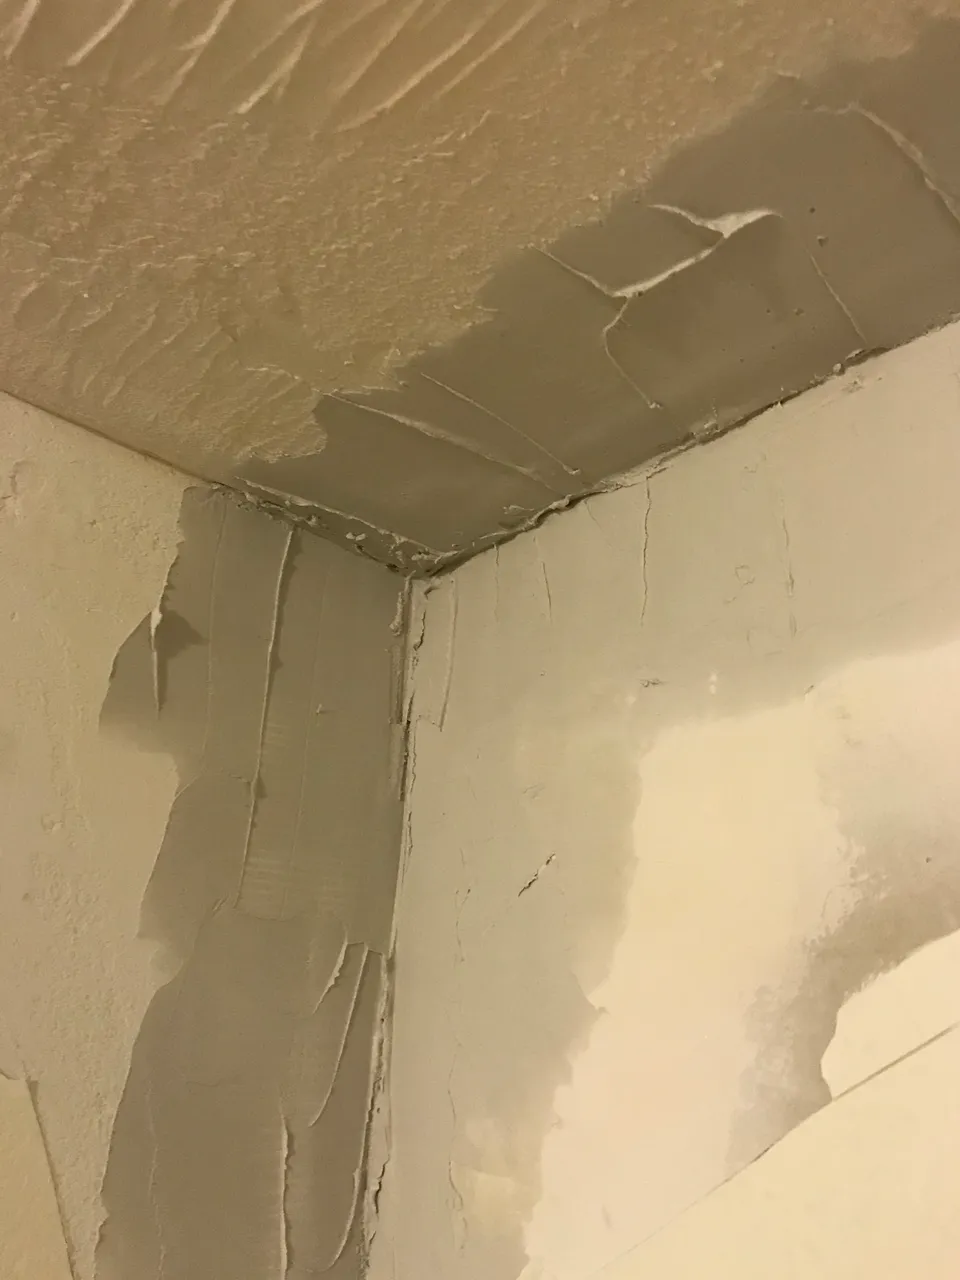
Once these are dried then I can smooth it out and get the rough edges off and get it painted!
I did an additional spot in our living room. We hung a fan and to do that you usually have to make a hole at the ceiling where the wire goes up. While it was mixed, I figured might as well fix it!
Here’s a picture of the upstairs ceiling and wall finished waiting to dry:
As you can see there was quite a large stain, it covered the whole doorway! Hideous to look at so I’m glad to finally get it fixed up.
Washing Machine Drain Pump Bubble wrap insulation on a wall Finish work in the bathroom Bubble wrap on windows Laminate floors in a bathroom Ball joints on a car
Did you enjoy this post or my other posts? Please consider following me for more! @cmplxty
Do you want to get paid, in crypto, for searching the internet? Try using and signing up for Presearch to earn some great crypto! I've currently got 290 PRE tokens, with a market value of $22.5. It doesn't sound like a lot but when you search using sites like Google you get paid $0! Join Presearch to break Google's stranglehold on the internet searches. If you'd like to sign up, use my referral link below and spread the word!
https://www.presearch.org/signup?rid=513043