Background
Along with most people in my area in March 2020 (when we didn't know any better), I made my own cloth mask.
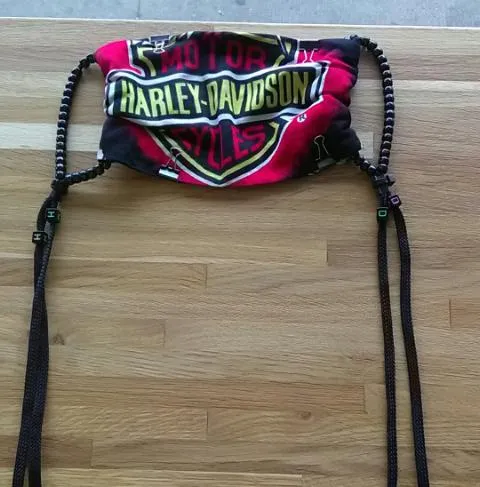
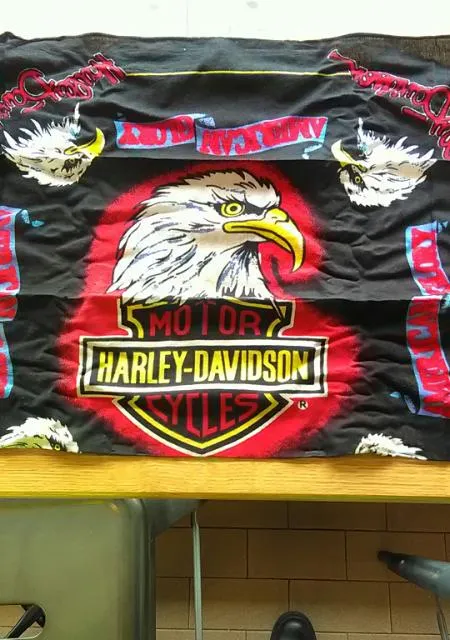
The idea for the cloth mask I used then came from a YouTube video. In that video, the cloth mask consisted of 3 elements: the bandana fabric and 2 rubber bands.
It was as simple as you could get, and usually that's good. The bandana wasn't anything special, just the standard design. The rubber bands served as ear loops.
And it was as uncomfortable as you could imagine:
- The rubber bands made the experience anywhere from irritating to painful;
- The bandana kept moving when I didn't want it to move.
Wearing that cloth mask wasn't fun, but waiting in a long line outside the supermarket for an hour was even worse.
By April 2020, I wanted a better cloth facemask for myself. It needed to have these features:
- Earloops which didn't hurt me;
- Adjustable earloops;
- Sturdy earloops for holding or hanging the cloth mask;
- Fasteners to keep the bandana in place.
While this meant the cloth mask would be more complex-- far more than 3 pieces-- it would also be more suitable for me.
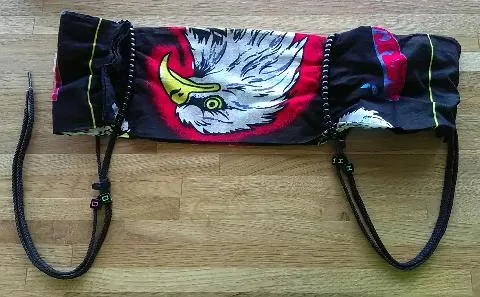
After several trials and modifications, I came up with my version of a cloth mask. Below are insructions for making it.
Part 1: Checklist
Not including the bandana or other fabric for the cloth mask, make these elements are present:
- 78 round beads (39 for each earloop);
- 2 shoelaces;
- 2 zip ties;
- 4 square beads;
- 6 small binder clips.
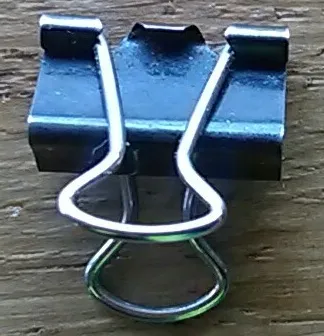
Part 2: Binder Clips
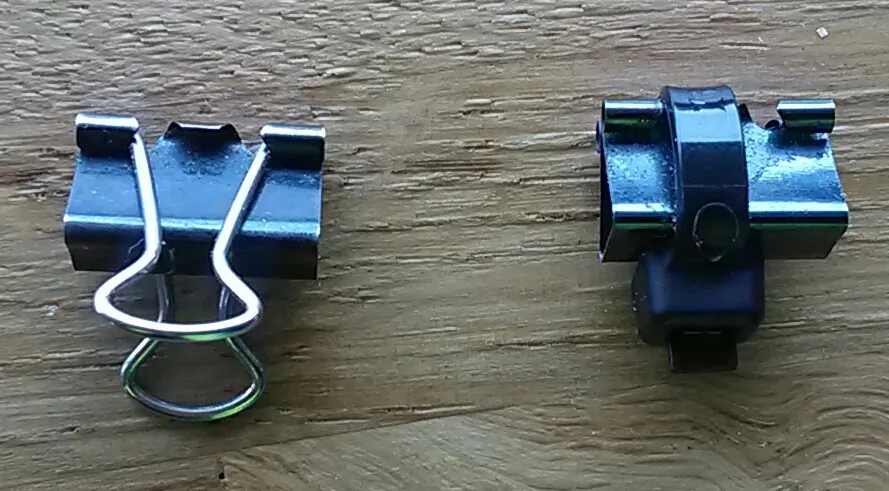
There should be 6 small binder clips, and each has a pair of silver-colored handles. 2 binder clips will be used for the earloops, so for these the silver-colored handles can be removed.
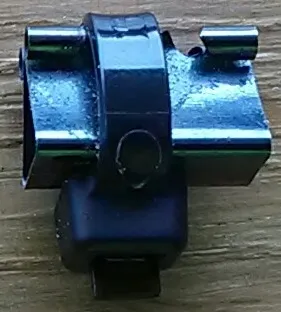
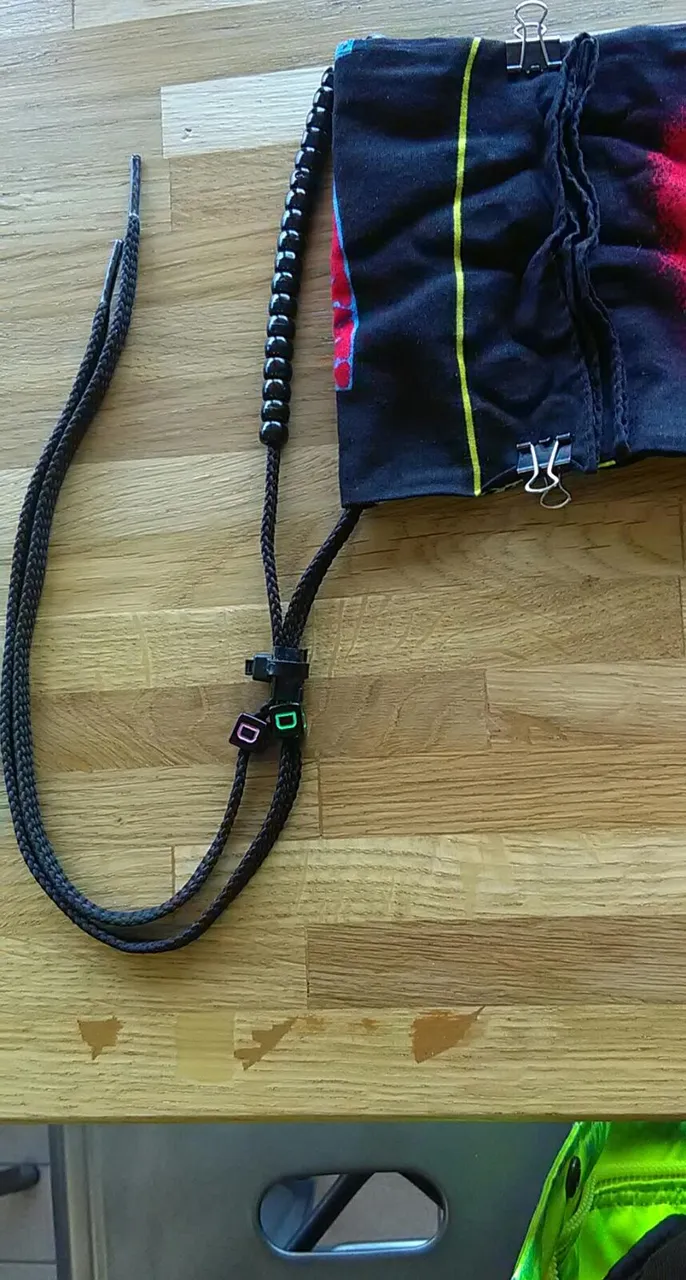
To make sure the shoelace doesn't escape from the binder clip while adjusting the earloops during the day, the binder clips need to be secured with tthe zip ties. After wrapping each binder clip with a zip tie, remove the excess plastic. (If you prefer something else instead of a zip tie, feel free to use that).
The remaining 4 binder clips are used to keep the cloth mask together; these can remain as-is.
Part 3: Earloops
Round Beads
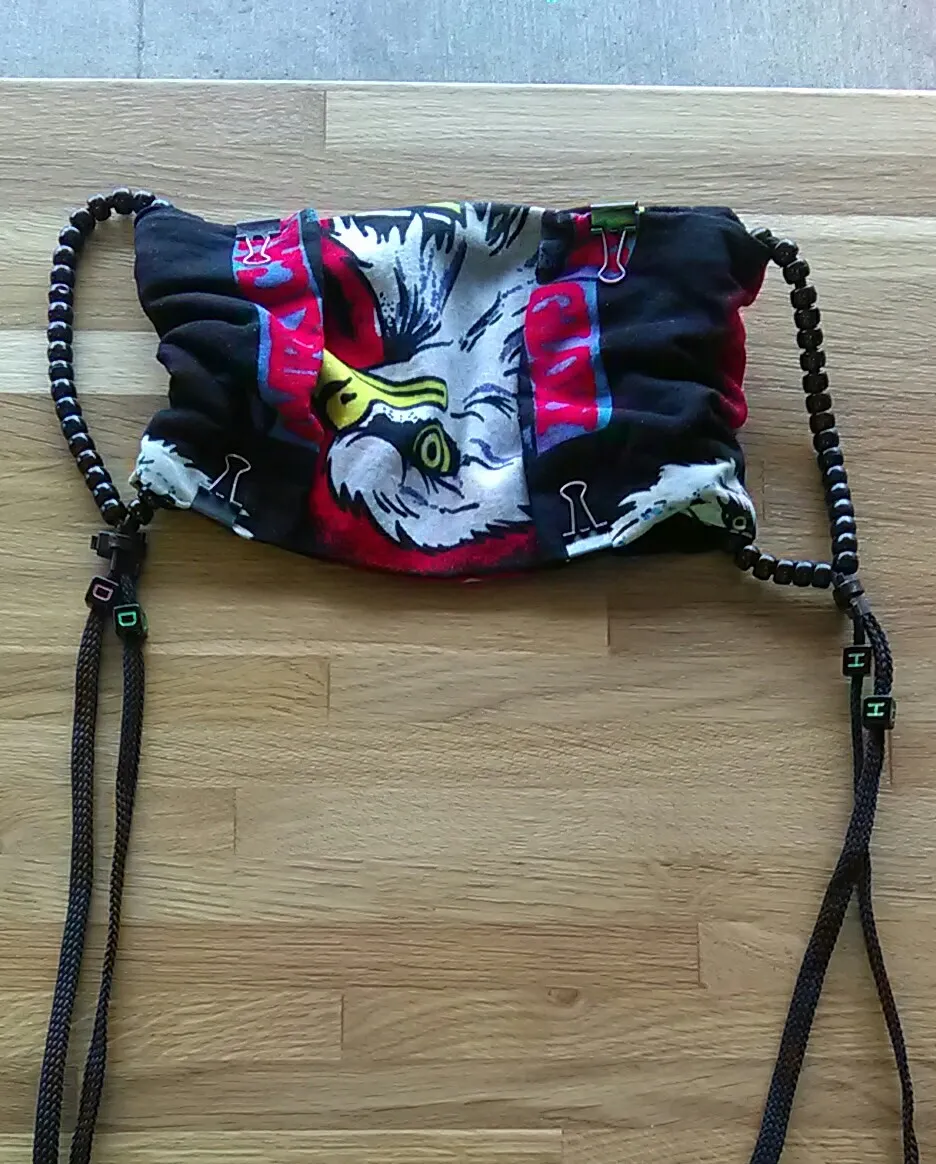
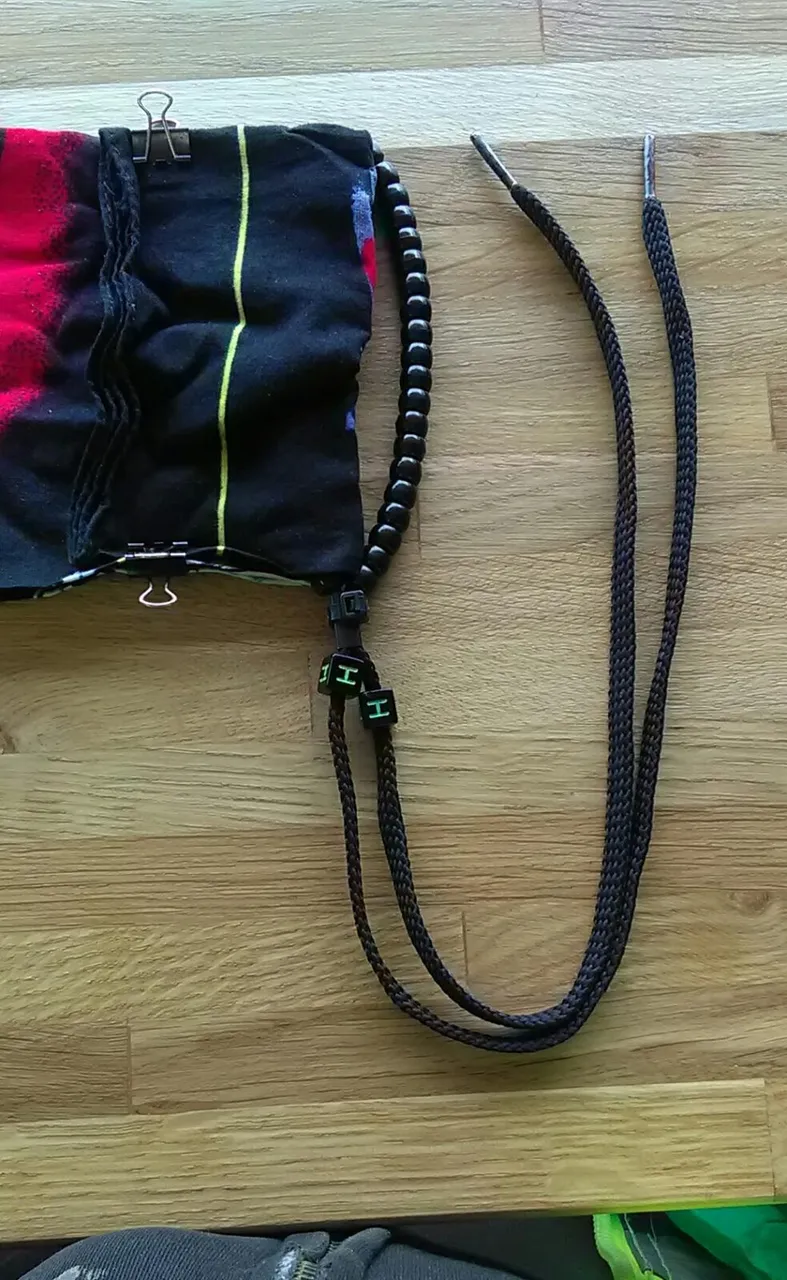
The round beads are used to provide comfort around the ears when the cloth mask is worn for longer than a few minutes. The round beads also let the completed earloops serve as handles when holding the cloth mask or hooking it onto a clip like a carabiner.
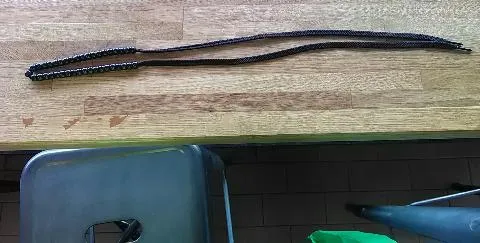
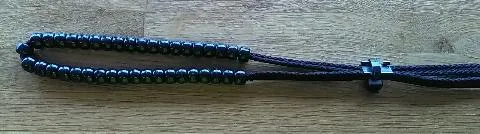
[1] Take a shoelace and fold it so that the ends are together.
[2] Each earloop should have 39 round beads.
[A] Through one plastic end of the shoelace, slip 20 round beads; the remaining 19 go through the other.
[B] The 20+19 beads will meet at the middle of the shoelace.
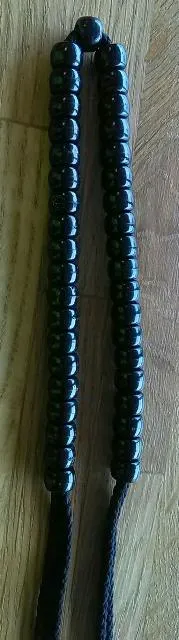
[i] 1 round bead should be at the very middle.
[ii] At either side of this 1 round bead should be the other 19.
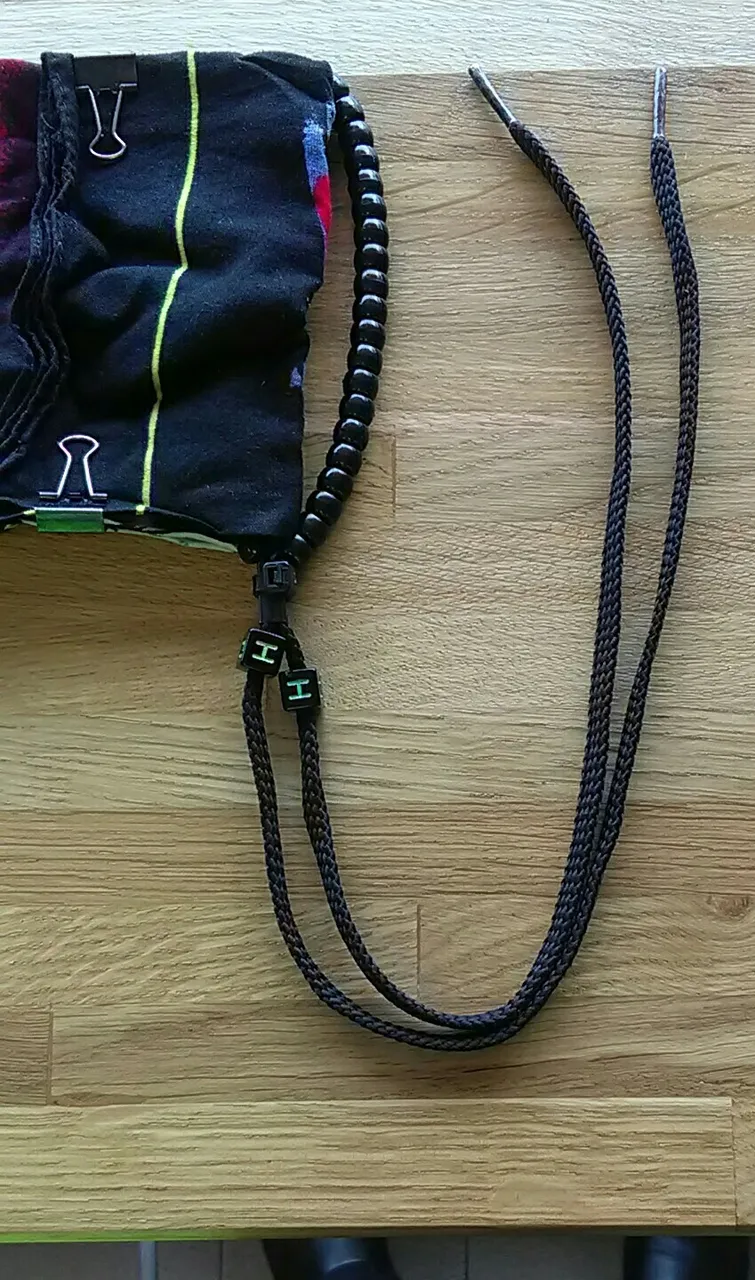
Binder Clip
The 2 binder clips for the earloops are used for fine-tuning the fit of the cloth mask. (For adjustments beyond fine-tuning earloops, see Part 4 for Fabric.)
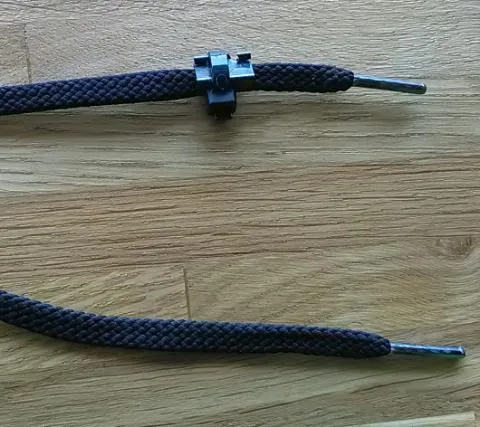
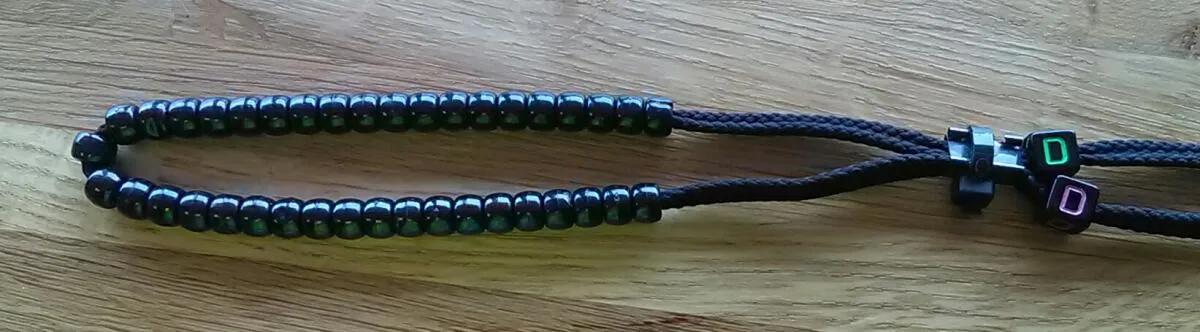
Slip one plastic end of the shoelace through a zip tied binder clip until the plastic end is completely visible.
Slip the other plastic end of the shoelace through the zip tied binder clip.
Bring the 2 plastic ends together, then slide the binder clip through the shoelace until it is close to the round beads.
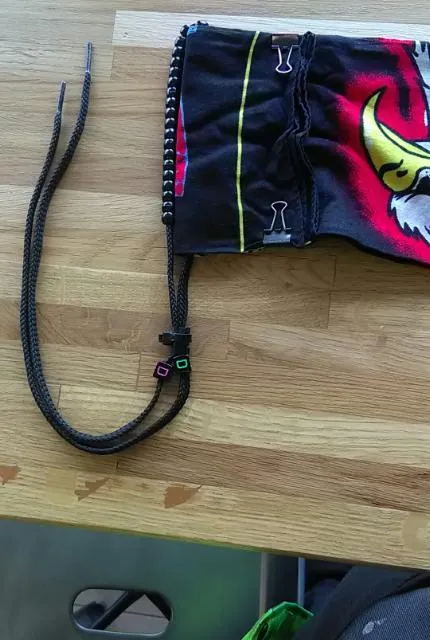
Square Beads

The square beads are used for locating the zip tied binder clips before the clips are adjusted. Once the zip tied binder clips are adjusted, the square beads are slid up to touch the zip tied binder clips.

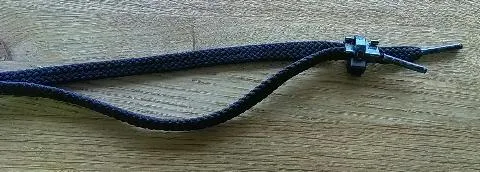
Slip one plastic end of the shoelace though 1 square bead.
Repeat with the other square bead.
Slide the 2 square beads through the shoelace until they reach the binder clip.
For the other earloop, repeat Part 3.
Part 4: Fabric
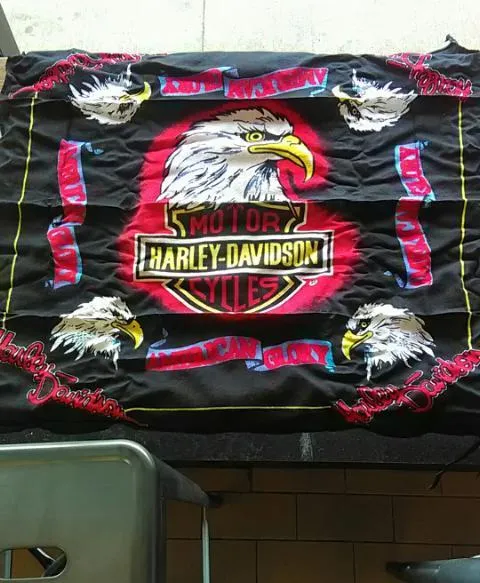
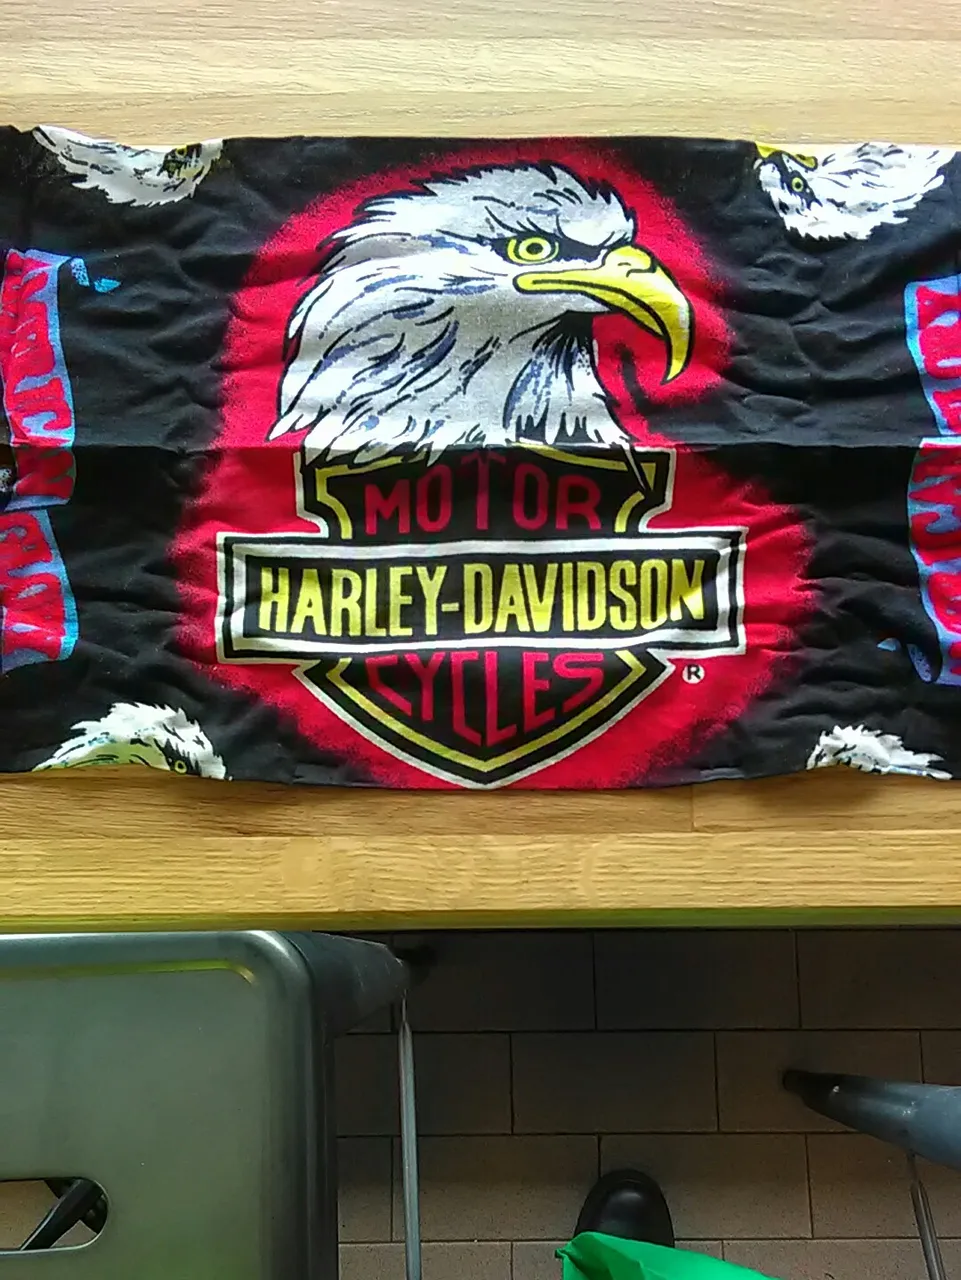
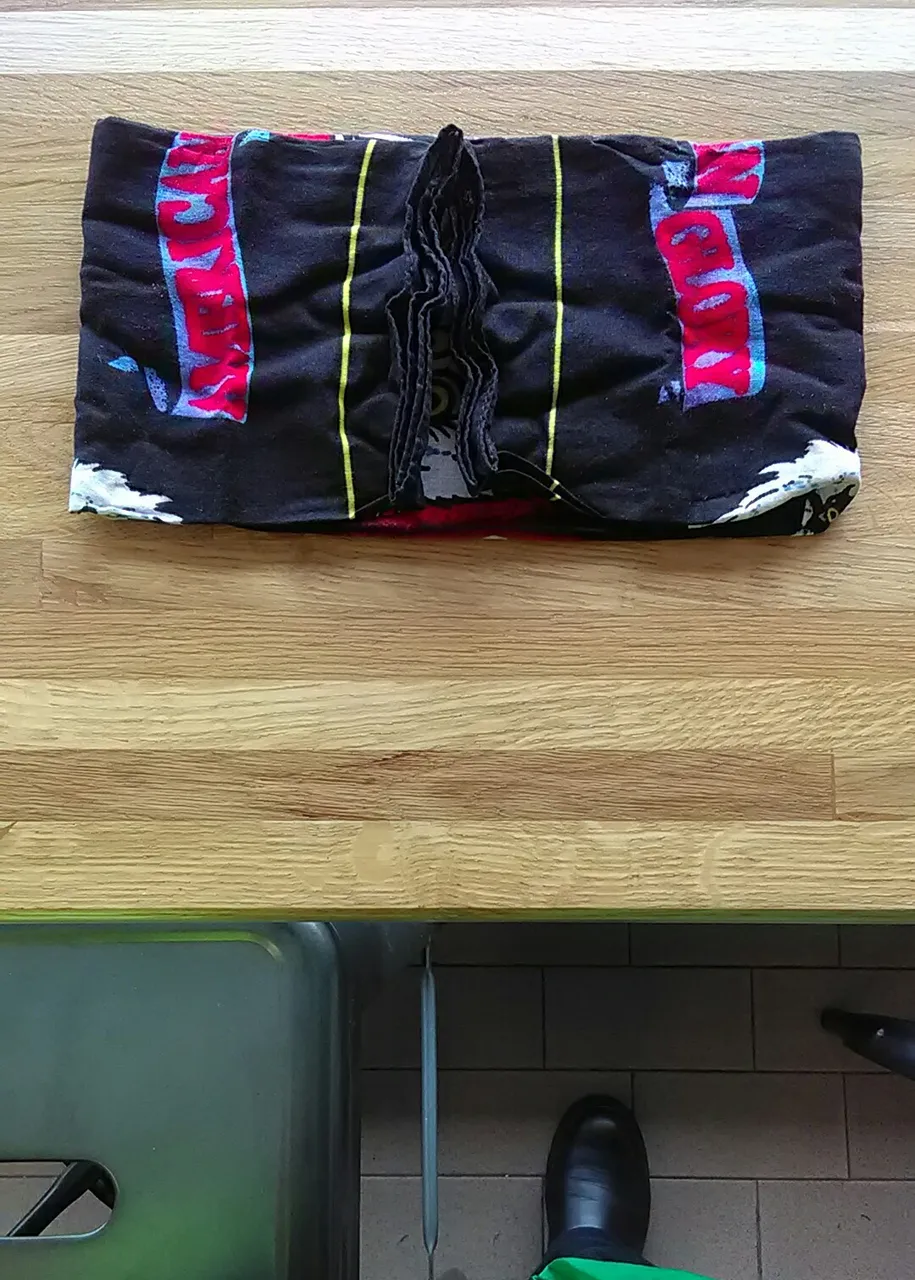
[1] After determining what the front of the cloth mask looks like, flip the fabric so the front touches the surface where it rests.
| NOTE: |
|---|
| While taking photos I decided to take advantage of the existing folds. For a new cloth mask, follow Step 1 for Fabric. |
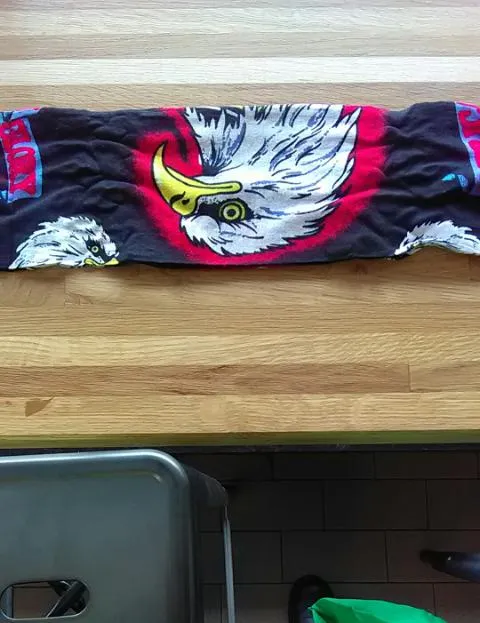
[2] Fold the edges of the fabric toward the center of the fabric.

[4] Fold the folded fabric so that the fold creases meet. By this time, the fabric should be folded in (more or less) 4 equal parts.
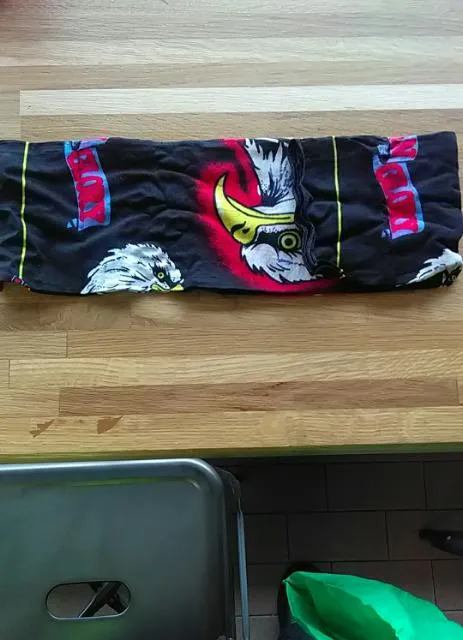
[4] Fold the right and left edges of the folded fabric toward the center. These are the inside folds.
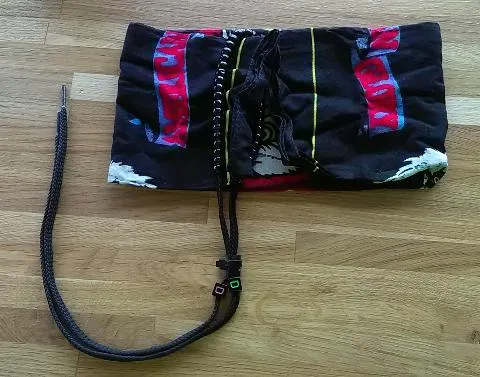
[5] Insert an earloop and bring it to the fold edge from Step 4. Repeat for the other earloop. (After the 2 earloops are in place, the inside folds still meet in the center.)
[6] Fold one inside fold so that the edge that's showing in the center is hidden when it touches the the earloop. Repeat for the other inside fold.
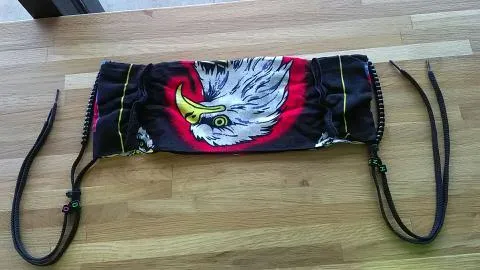
[7] Slide the earloops until they touch the outer folds.
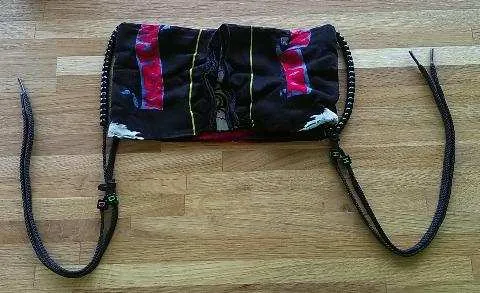
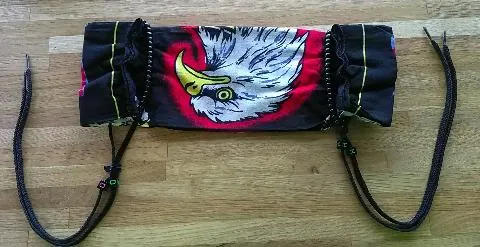
[8] Use the remaining 4 binder clips to keep the folds in place to secure the earloops. (If the binder clips interfere with a design, reposition them as needed.)
| ** [9] Put on the cloth mask.** |
|---|
A) If the fit is tight, just slide the zip tied binder clips up until they touch the round beads or get as close as possible to them.
B) If the fit is loose even after adjusting the earloops, cut the slack on the fabric by unwinding to Step 6 to tighten the fit to adjust accordingly, then redo Steps 6 through 9A.
Keep the round beads as close to each other as possible. That's what provides the comfort around the ears. Small gaps between them are OK.
Part 5: Other Comments
¶ It seems like a lot of work to put together the cloth mask (especially the fabric folding), but it gets easier to reassemble over time.
¶ I used small binder clips because that's what I had. If other fasteners work for you, feel free to use those instead.
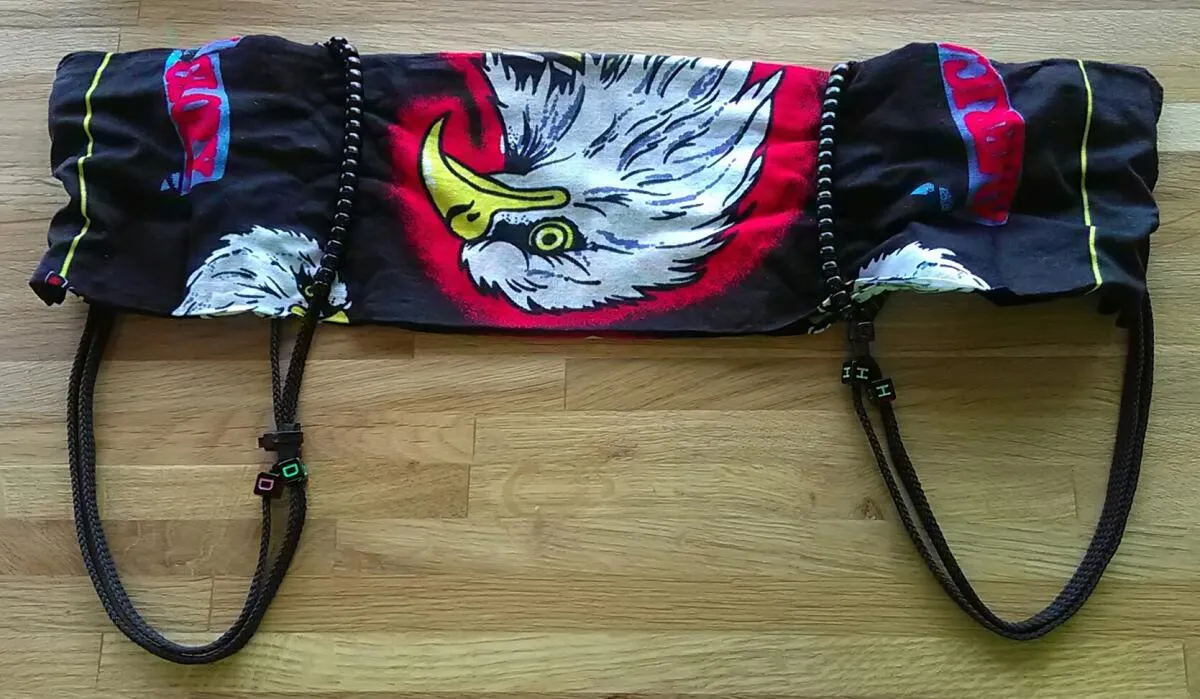
¶ Initially I thought about removing the excess length from the shoelaces; then I realized how useful they are to help determine the orientation of the design on my cloth mask. I decided to keep the shoelaces as long as they are, but cutting them to size is always an option.
¶ When it's time to wash the cloth mask, it's usually best to undo the cloth mask to wash just the fabric portion. This way nothing gets lost from the cloth mask, and other laundry stays safe from the edges of loose binder clips.
¶ Don't use hydrogen peroxide to remove stains or to sanitize the cloth mask. The hydrogen peroxide will cause colors to fade over time.
¶ Some places-- most especially labs and hospitals-- have policies requiring the use of surgical-type masks. Save the cloth mask for regular living and shopping for those times you want to wear them.
¶ After a while, you may want to make additional cloth masks. Finding the supplies can be tricky, especially if the convenience stores don't have what you need.
* For zip ties and small binder clips, try discount stores and office supply stores.
* For shoelaces, convenience stores like Walgreens and 7-Eleven should have them. Unwanted footwear is also an option if the shoelaces are the right color.
* For round beads and square beads, discount stores and art supply shops like Michael's should have them.