Cool action again, Servelle! I like to share a robot I build a few years ago.
Sadly I have no pics of the completed robot and the robot is actually disassembled, but I explain a few photos/insights I found. A few photos from within the construction progress I found and I thought it is enough stuff to show my sickest/most mad DIY project. Maybe one day I will investigate my hard drives a little longer and will find some more photos - where the thing is even more assembled and report on my blog... I had a whole website for this project in the past, where I offered all plans, but somehow I got distracted and did not follow the path up to the point where I aimed to mount a gun in caliber .22lr on it... (Yes, I live in Paraguay, here you can do crazy stuff, if you like. I mean "why not?") However...
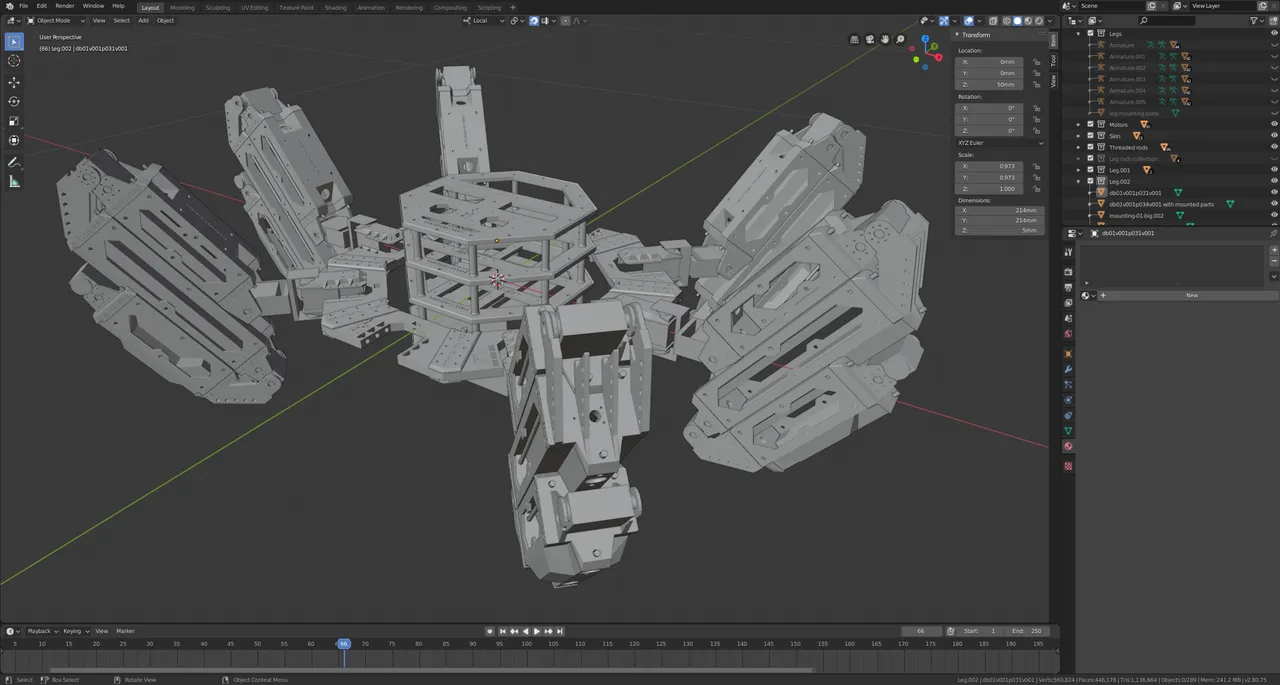
The robot (called DB-01) is a spider-like robot with 6 foldable legs (almost 190 cm wide, when all legs are opened as wide as possible. Yes, was/is no small thing...) I never finished the outer shell, but in theory, when all legs are folded in, this robot could be a perfect ball. I designed and constructed completely by myself. The electronic component arrangement, the code and the 3D printed stuff. Controlled by a few Arduinos Mega-2560, ESP-32 microcontrollers and a Raspberry 4. Plus a bunch of motors and all kind of elements like radio transmitter, lights, voltage controller... The origin was in a computer game from me and one day I thought "Hey Paul, why you don't build it IRL?" So I did...
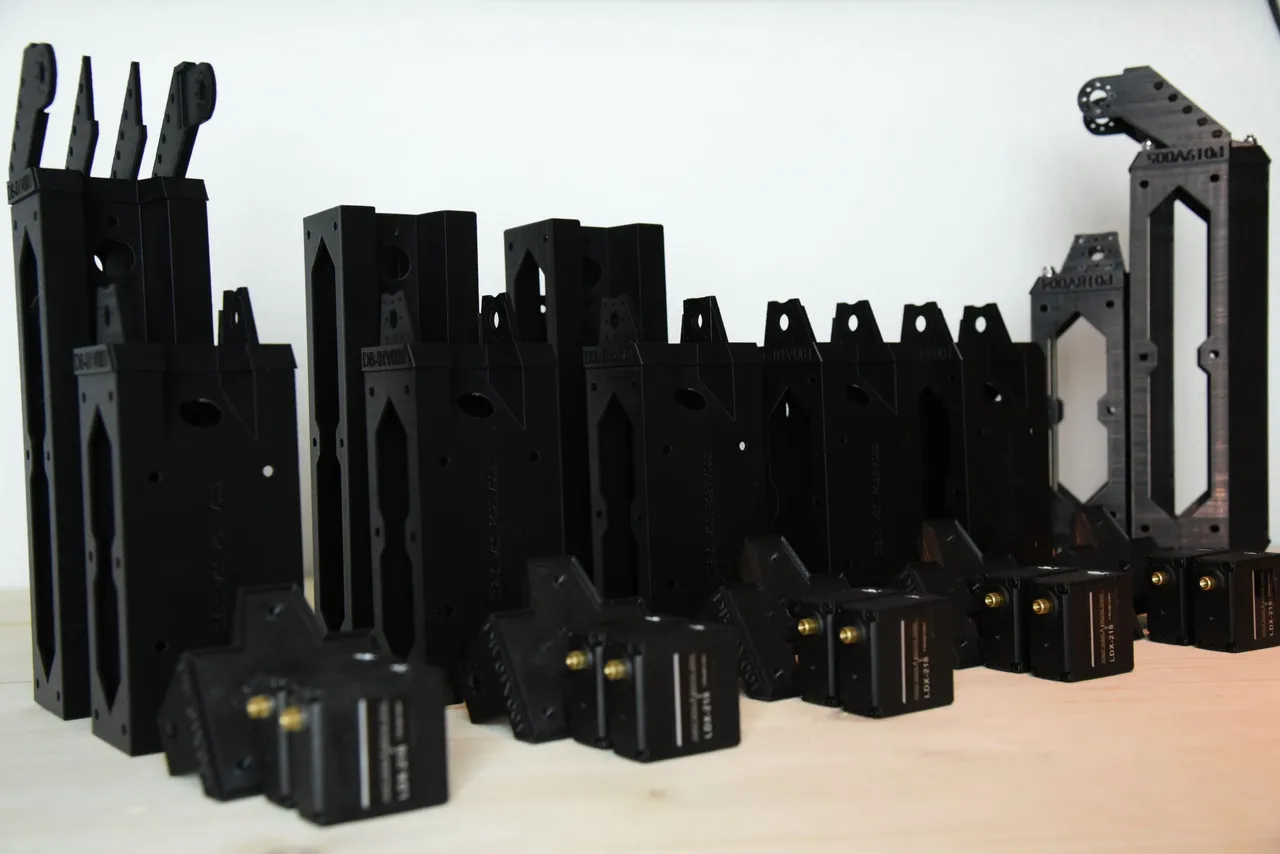
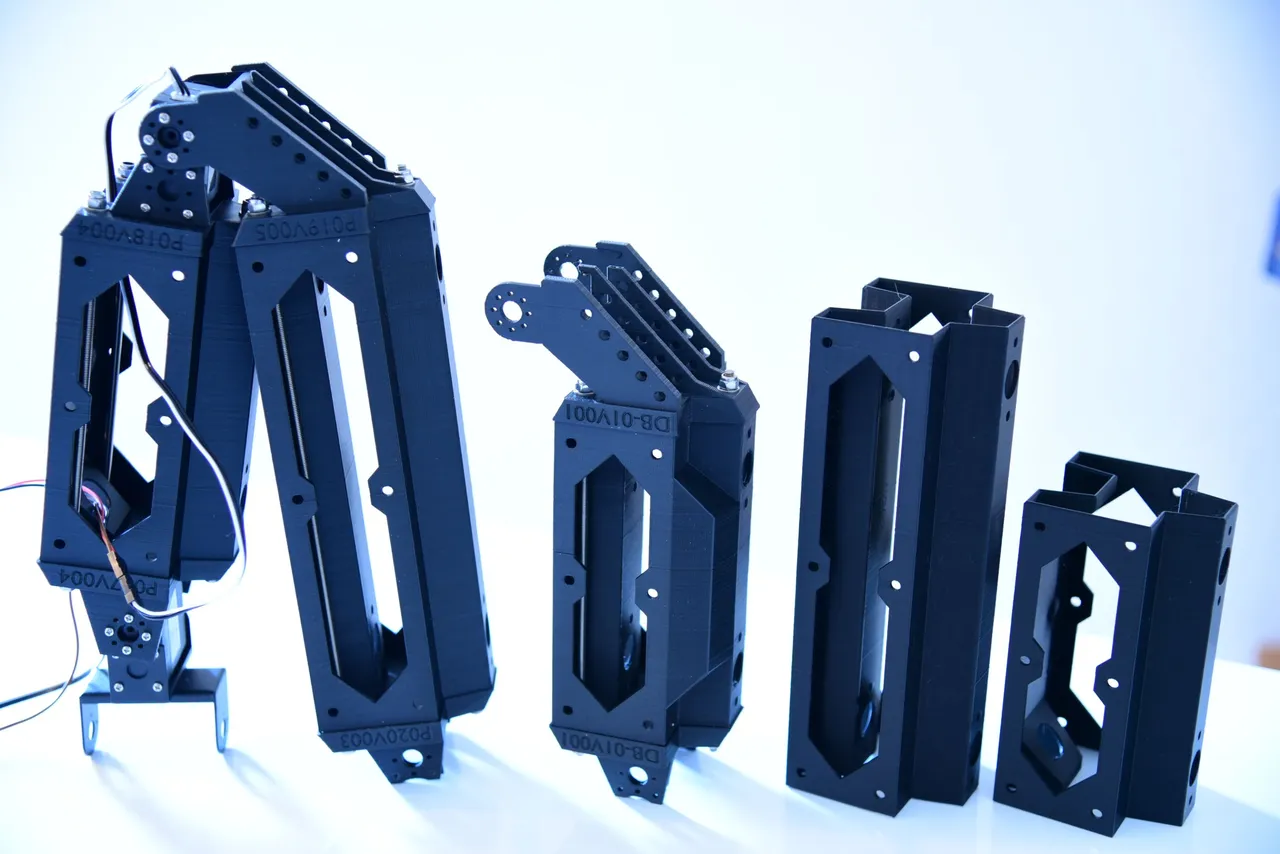
On the first pic you see some parts which are needed to assemble a leg. All these parts are not needed for one leg. But yes... elements from the leg. You see the legs later again...
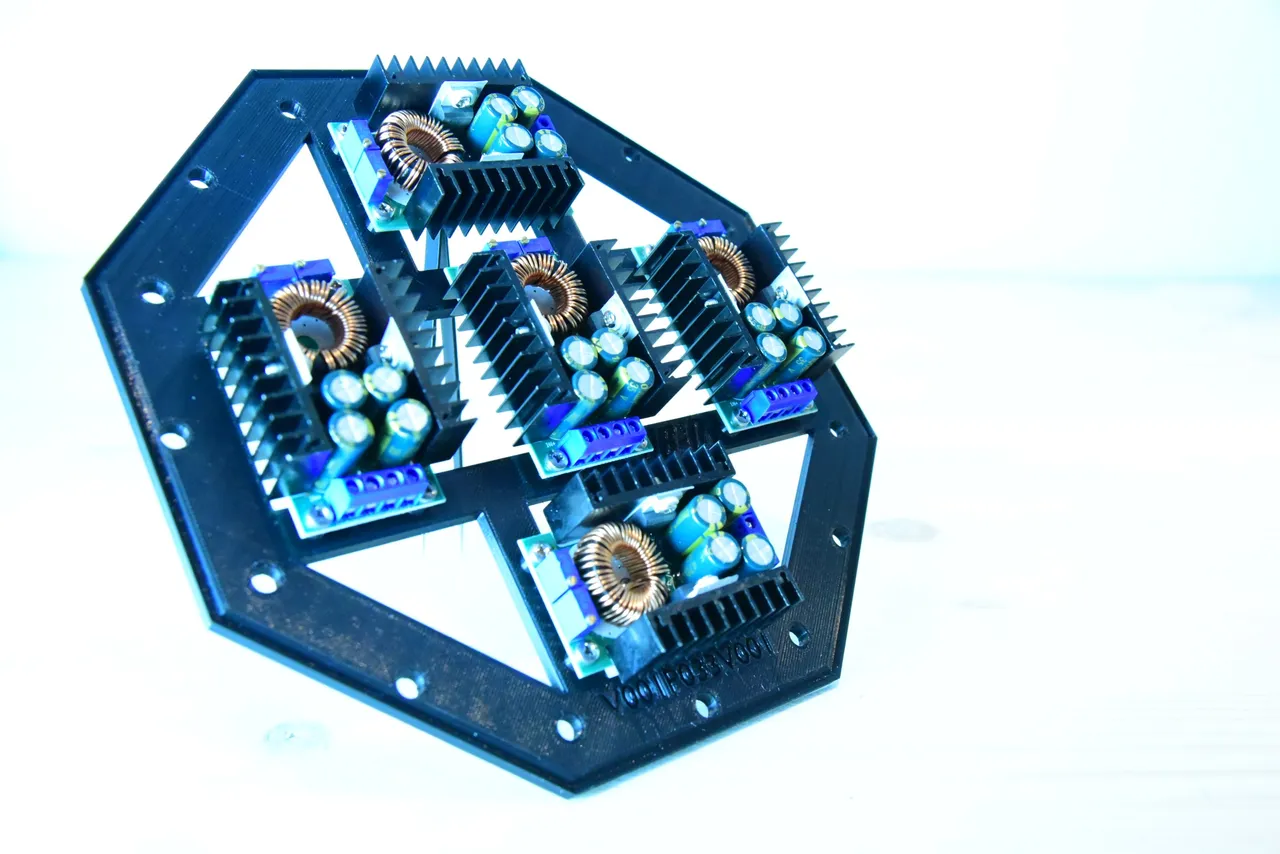
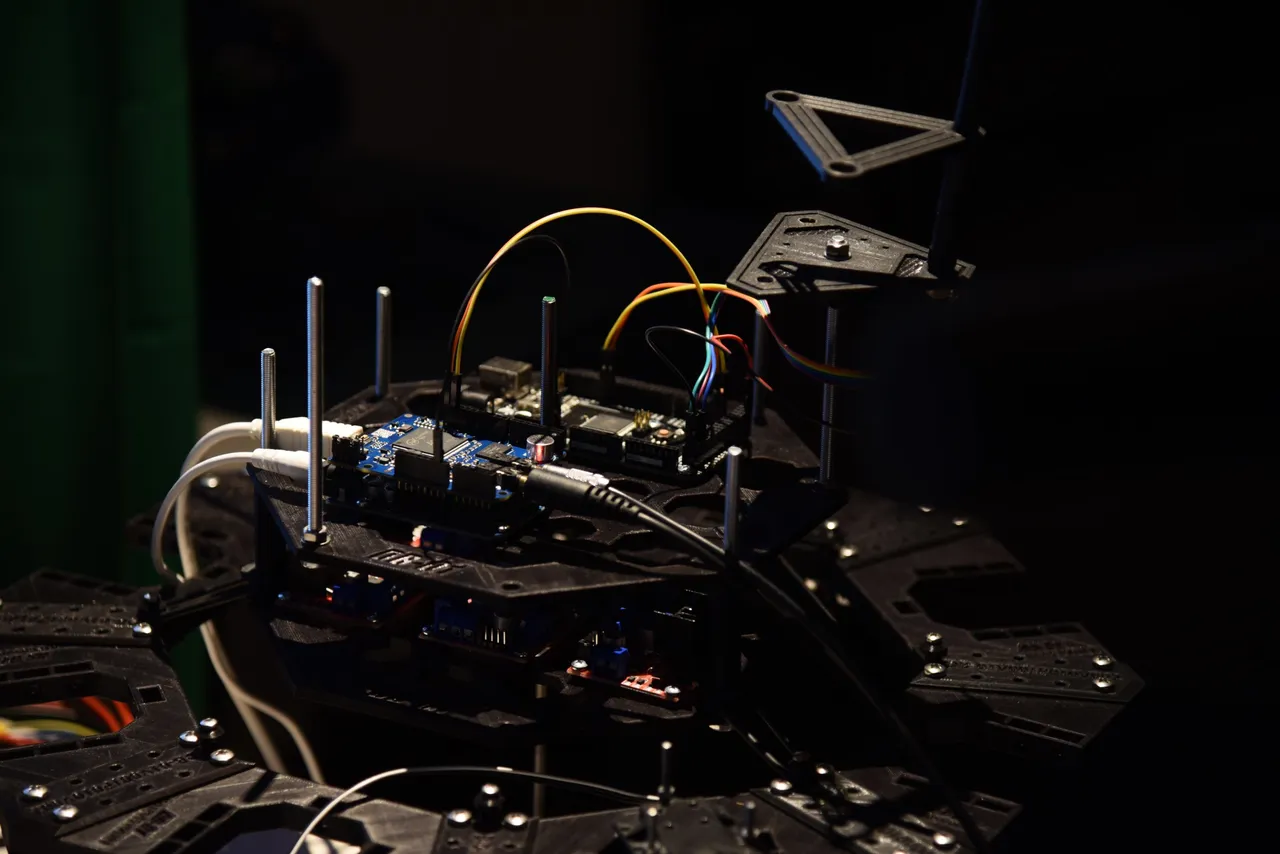
The electronics was stacked on several plates which I stacked in the center of the robot. One plate had mostly several elements for a specific function. Here you see a element with converters to regulate the voltage for the different electro components:
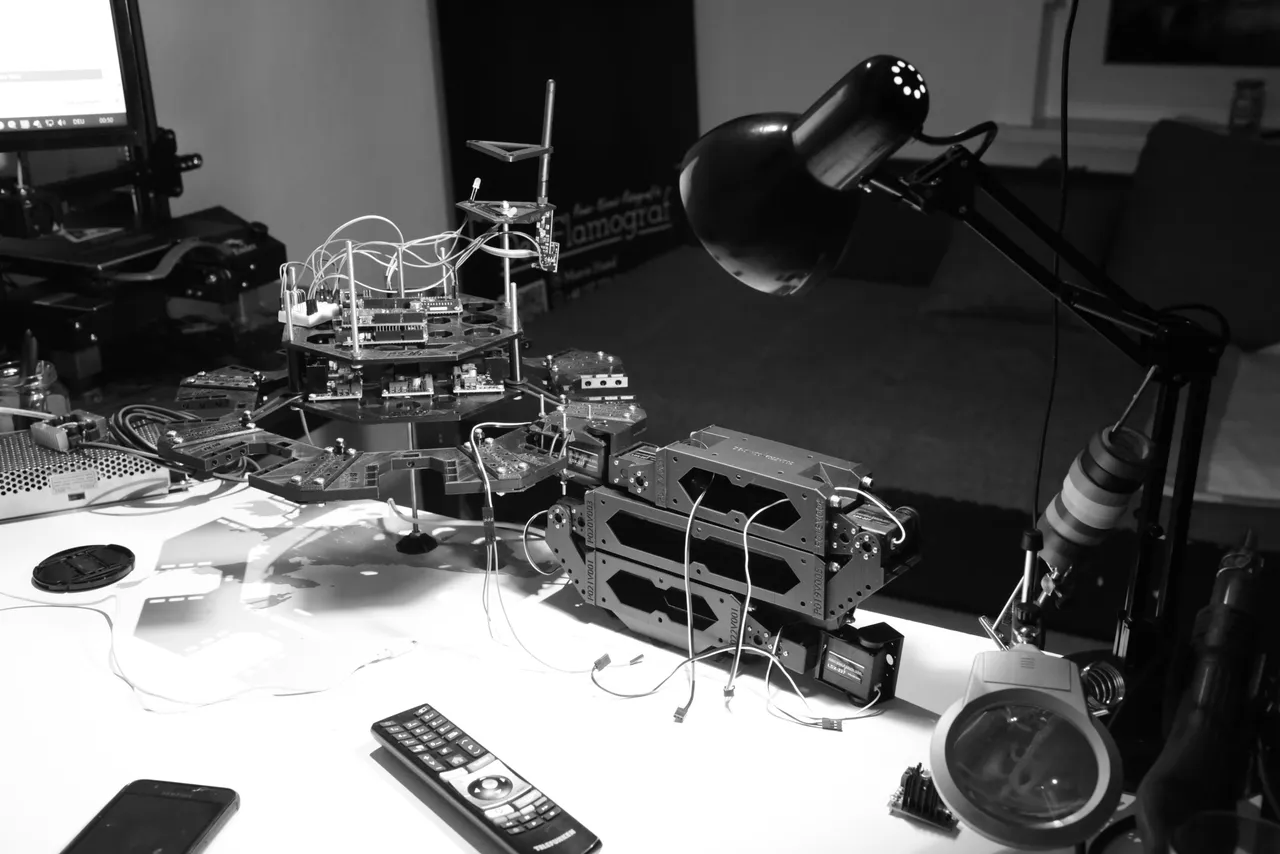
All these plates, are centered in the middle of the robot and positioned by shock absorbing springs. Around these center plates there is a ring. And on this ring there are the legs mounted. You can see this very good in the next pictures:
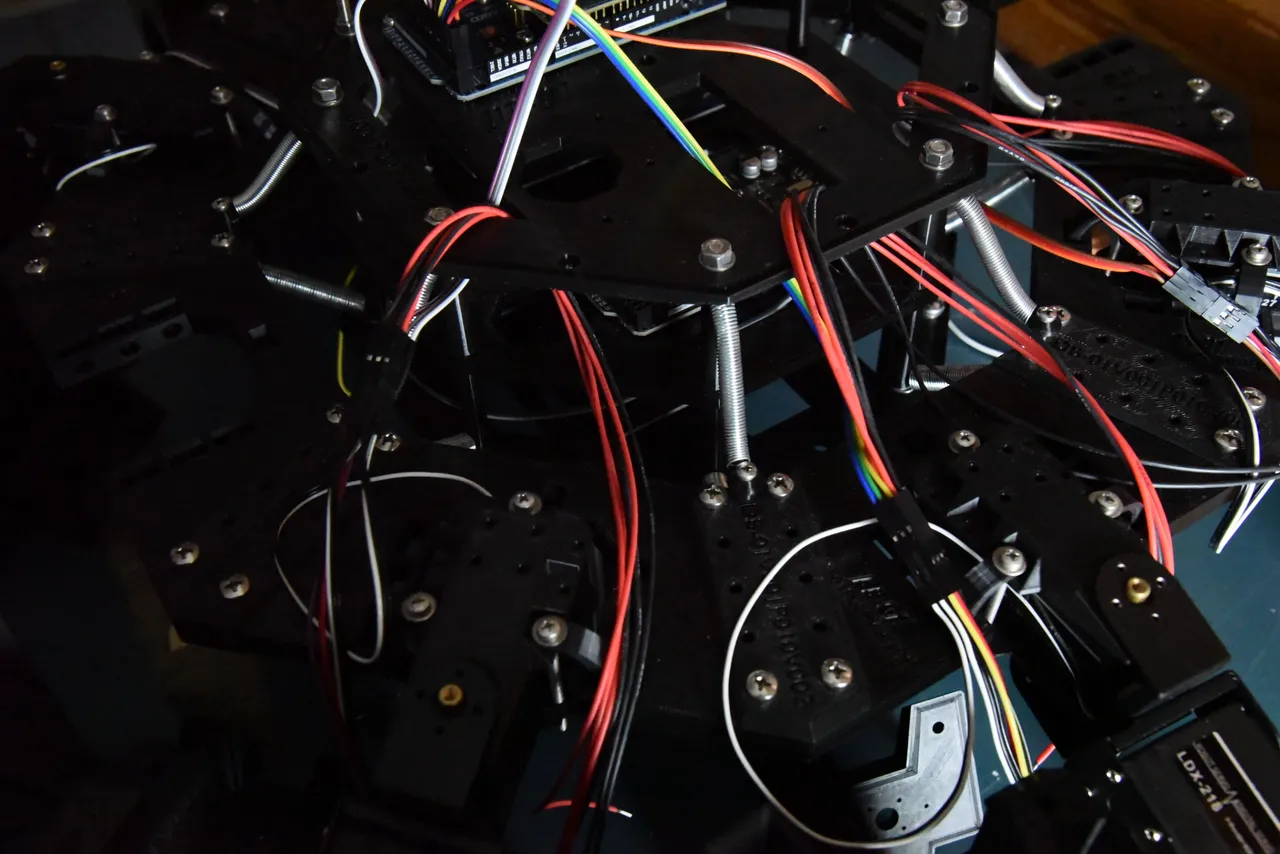
And lastly a pic in a basic arrangement. The plates in the middle, the system behind, was designed to be modular. So when I needed a further plate for let's say space for the Raspberry (which is not included in the pic), I just needed to print a new plate, a few spacers and stake it up. The following plate combination looks more like a first basic setup in the times where I made first progress with the walking mechanism at the point where I regulated and distributed the power for the first leg motors, because I can see a few Arduinos, the voltage converters and the power splitter/distributor. And I can see the rod which holds a few radio/antenna components

Maybe I could inspire you, dear reader. Don't dream about - build your dreams! You can do it! And this project is years old! Nowadays you can achieve moch more & better stuff/robotics at your home. You didn't learned/studied this? Don't care about! I didn't, too... You have to learn a little, but when I can do it, you can do, too. Have fun!
(Damn... when I wouldn't have sufficient work with @CryptoCompany, I would revive this project... Maybe one day...)
[EDIT:] Oh I found a few more pics and I really like to share them...
Oh yes... now I remember the speech synthesizer... This thing was able to speak. Not comparable with todays AI, but I though this robot should be able to understand and output a few words/commands. (The top thing on the Arduino where all the cables are going thru is this speech output/recognition module.)
And because I really like the legs, let me share two more leg pics:
RE: 🧰Share a DIY pic🧰 HSBI Giveaway