Hello, and welcome to my page!
Over the past week or so, I've been working on the brakes on my 1993 Ford Explorer. The problem started when the brake line that runs from the front of the vehicle to the back for the rear brakes rusted out enough to develop a leak. The brake line that rusted out was actually a replacement for the original line that had failed at some time in the past. The original line had been replaced with a 2 piece line with a brass connector in between the 2 pieces of line. The line rusted through at the rear end of the line, close to the rear axle.
That section of brake line was not particularly difficult to replace, once I was able to get the part from the auto parts store. I found out that you can now buy a highly corrosion resistant line made from a copper/nickle alloy. It's more expensive than the standard steel line, but it's worth the cost for a vehicle that gets driven in the salty slush of winter driving in the upper great lakes region.
The next problem that I ran into was air in the brake line. I needed to bleed the air out of the line, but the bleeder screws in the rear wheel cylinders are rusted in, so I wasn't able to bleed them in the normal way.
I decided to try to loosen up one of the fittings on the rear axle brake lines to see if I could bleed it that way. The result of that attempt was that I broke that brake line in the process. So now I needed to replace that line as well. And, of course, there was no way to get the brake line fitting out of the wheel cylinder, so I was stuck with having to replace the wheel cylinder to solve the problem. That meant another trip to the auto parts store for the brake line and the wheel cylinder. At this point I had put a plug on the brake line going to the back, so I had front brakes only for the time being.
I started working on the rear wheel brakes yesterday. The first thing I ran into was a real difficulty with getting the wheel off the hub so that I could get to the brakes. The center hole in the alloy rim is a fairly tight fit to the hub center, and it refused to come off the hub. I had to spray penetrating oil around the cub center and let it sit overnight before it would come off. As it was, I still had to use a small sledge hammer on the back side of the rim while turning the wheel by hand to convince the rim to come off the hub. I was concerned that I might break the rim with the hammer, but I didn't have to hit it that hard.
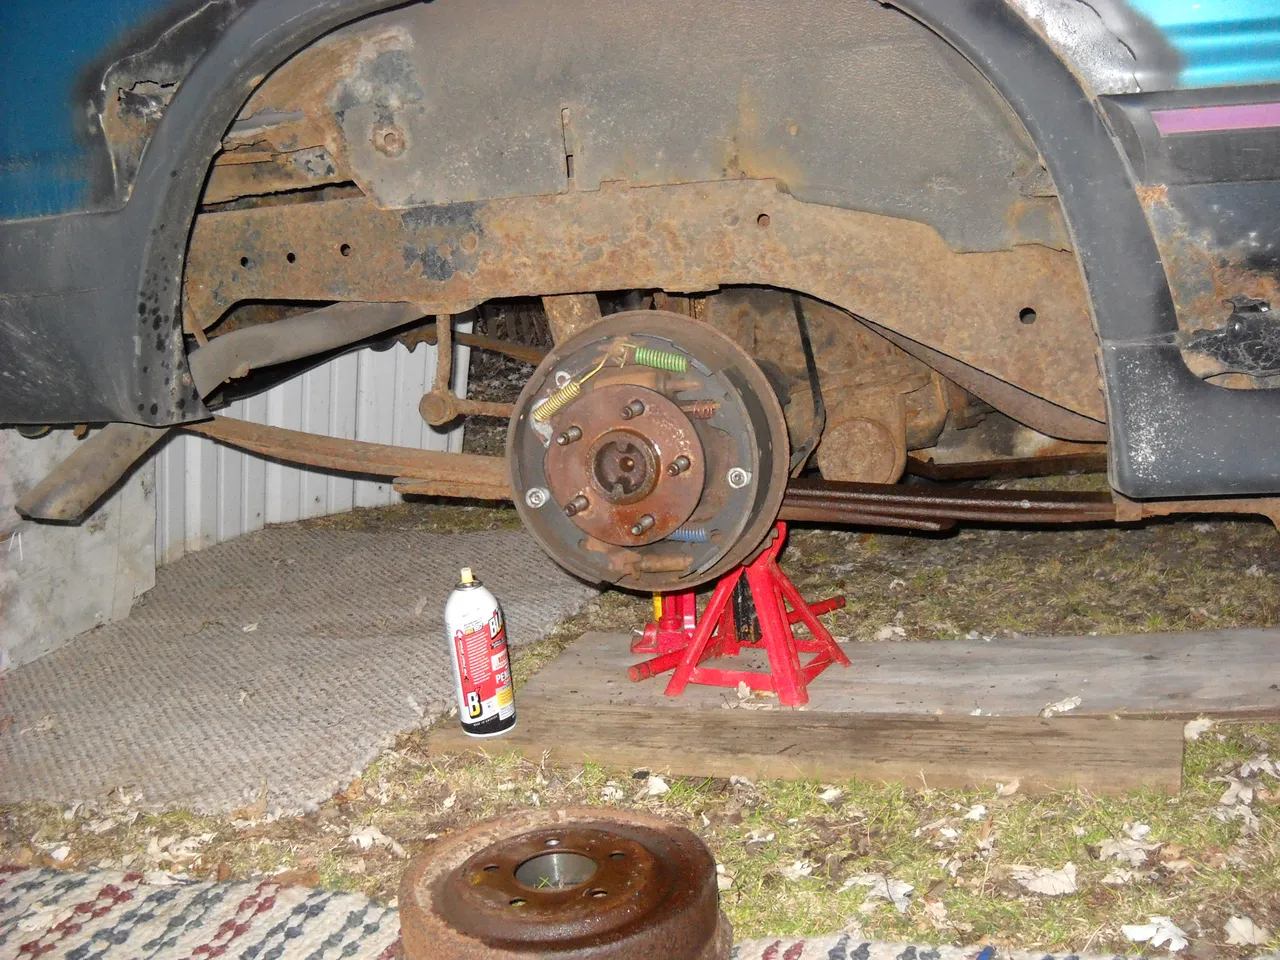
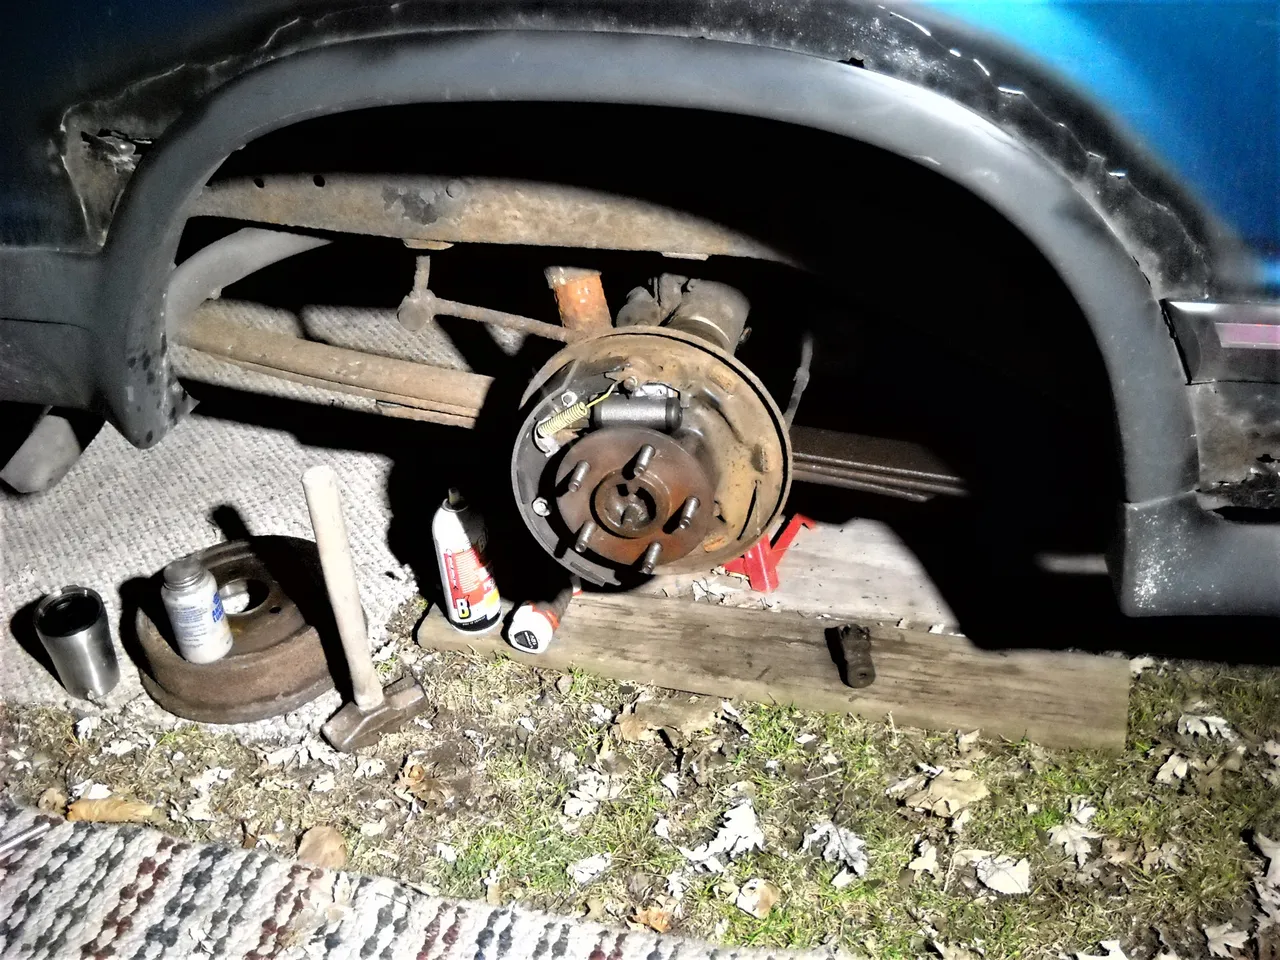
The next step was getting the brake drum off the hub. That took a bit of doing, but it was certainly easier than getting the wheel off the hub. You can see that the springs in the brake assembly still have paint on them, and the shoes have a good amount of wear left on them before needing replacement. The back brakes were replaced a few years ago, but there's probably no more than about 5000 miles on the shoes.
The wetness on the forward half of the axle spring is brake fluid from when I broke the old brake line off.
Then I had to remove the brake shoes to make it easier to get the wheel cylinder off the back plate. That's not a difficult job if you can manage removing the springs that hold them on. Here, the forward shoe is off the back plate. You can see the old wheel cylinder above and behind the hub.
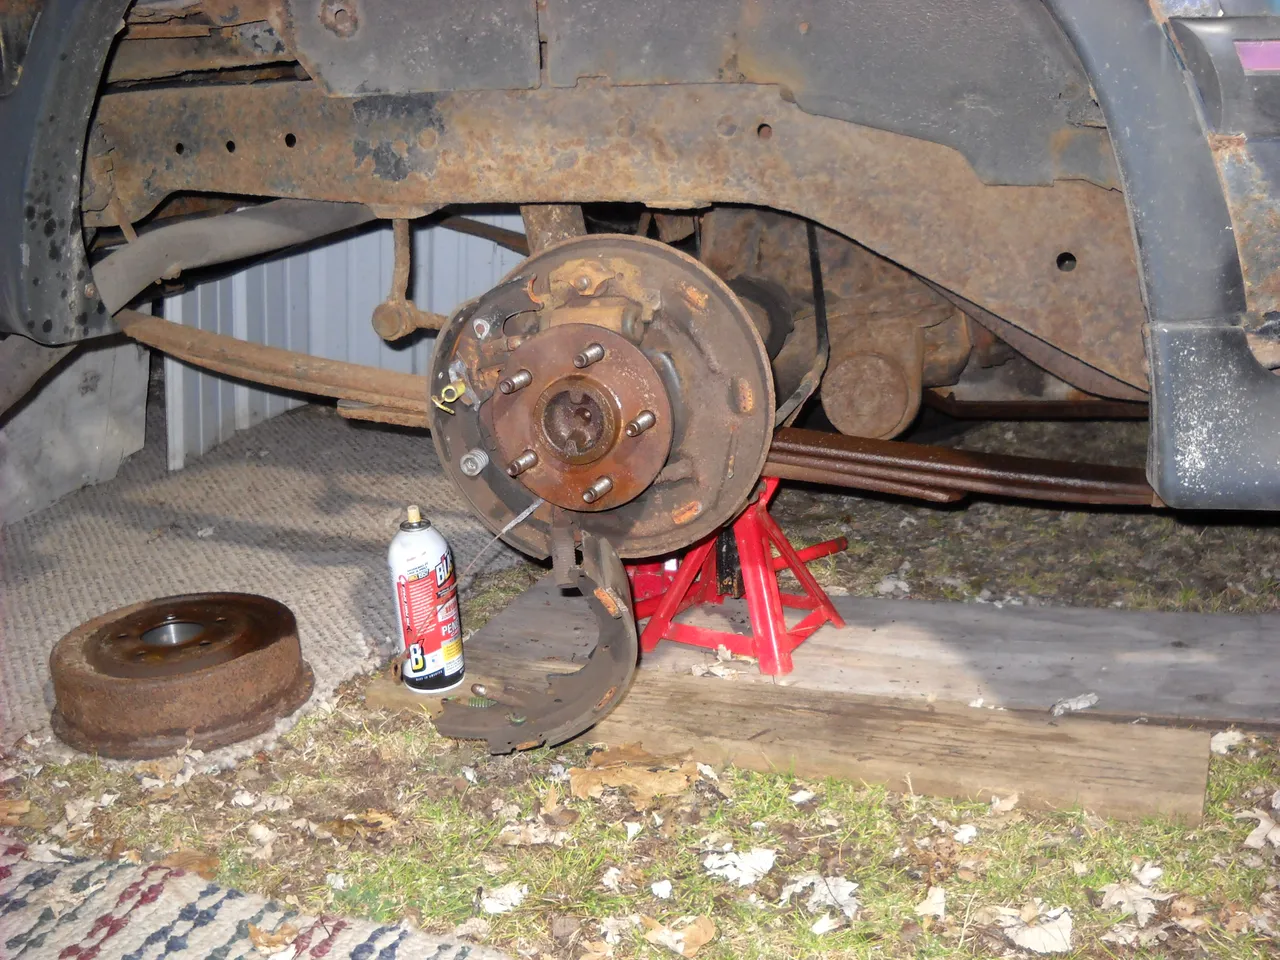
After I took the rear brake pad off the back plate, I pulled the old wheel cylinder off the back plate. It's held on the back plate with 2 bolts. I thought I might have a lot of trouble getting those bolts out, but they weren't rusted in. I was able to get them loose with a 6 point socket and a ratchet wrench.
You can see the hole in the back plate that the wheel cylinder fits into.
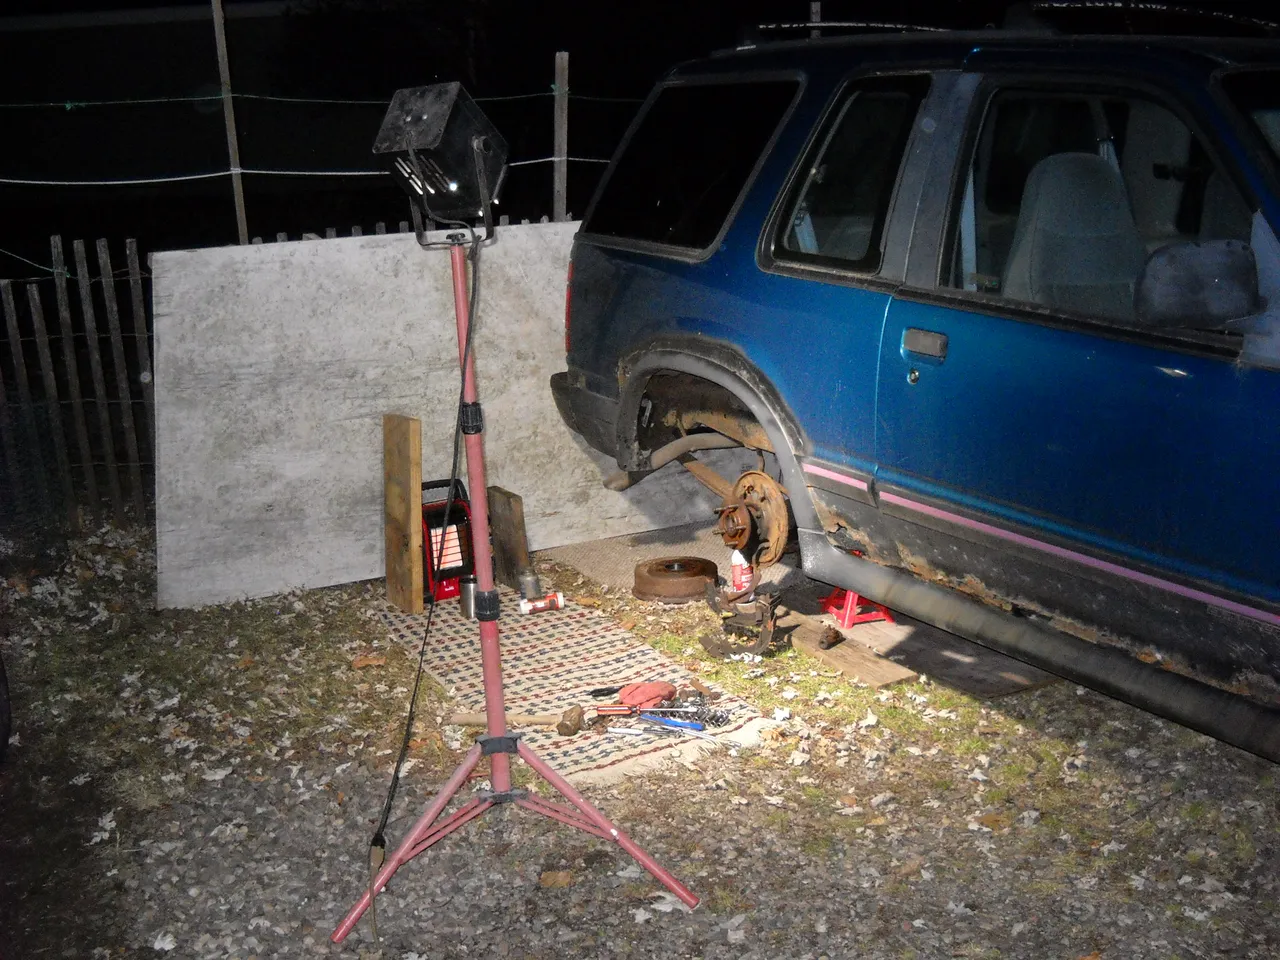
By the time I got to this point, it was cold and dark. It had been windy all afternoon, so I had set up a bit of a wind break to help with wind chill. I had my tripod light set up so that I could see what I was doing, and I had brought out my little propane "buddy" heater and fired it up to warm up my hands as needed. The boards next to the heater were to block the wind from getting into the heater and blowing it out. I figured that out after the fact...
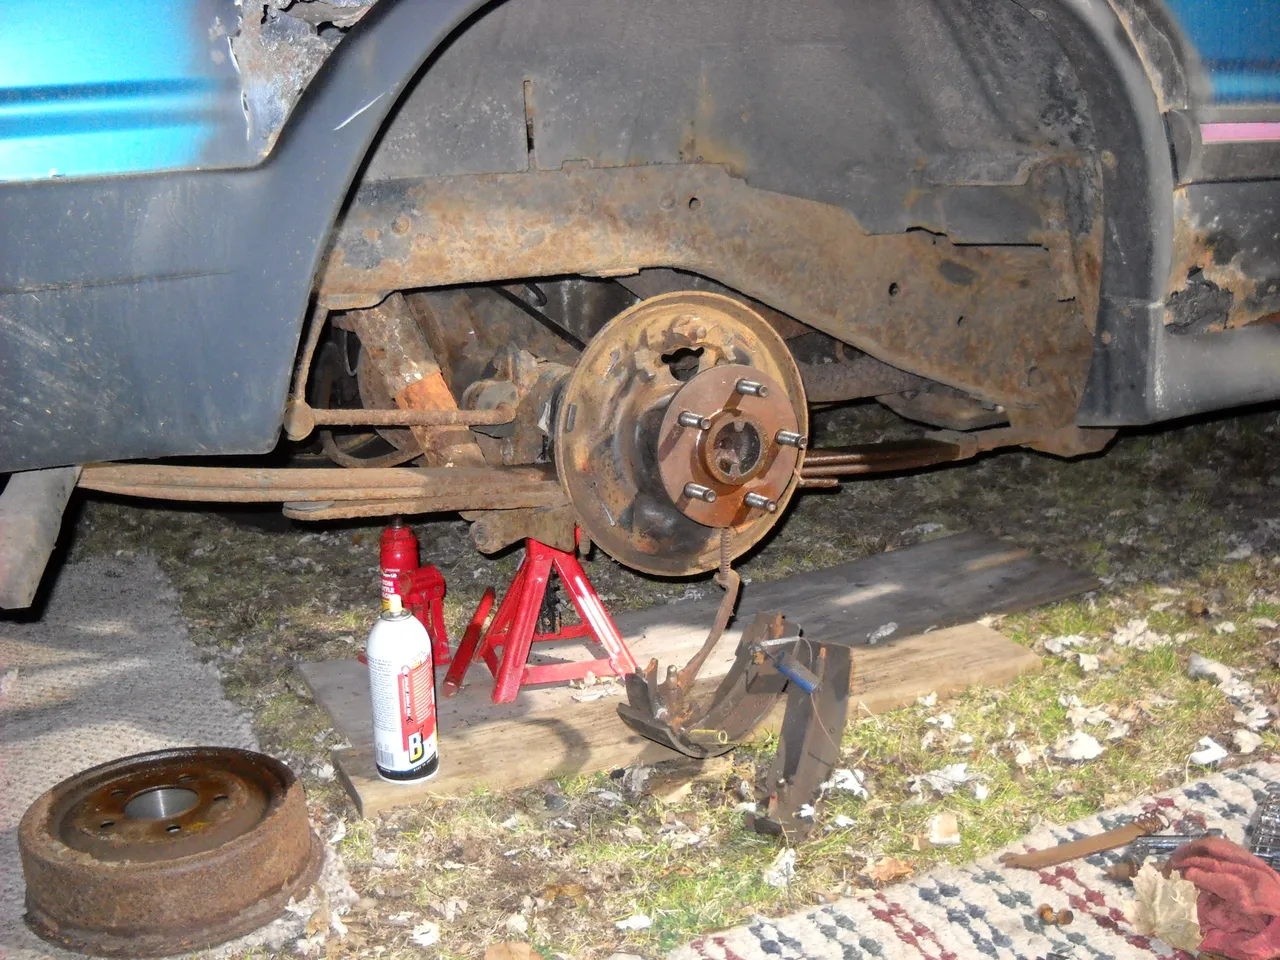
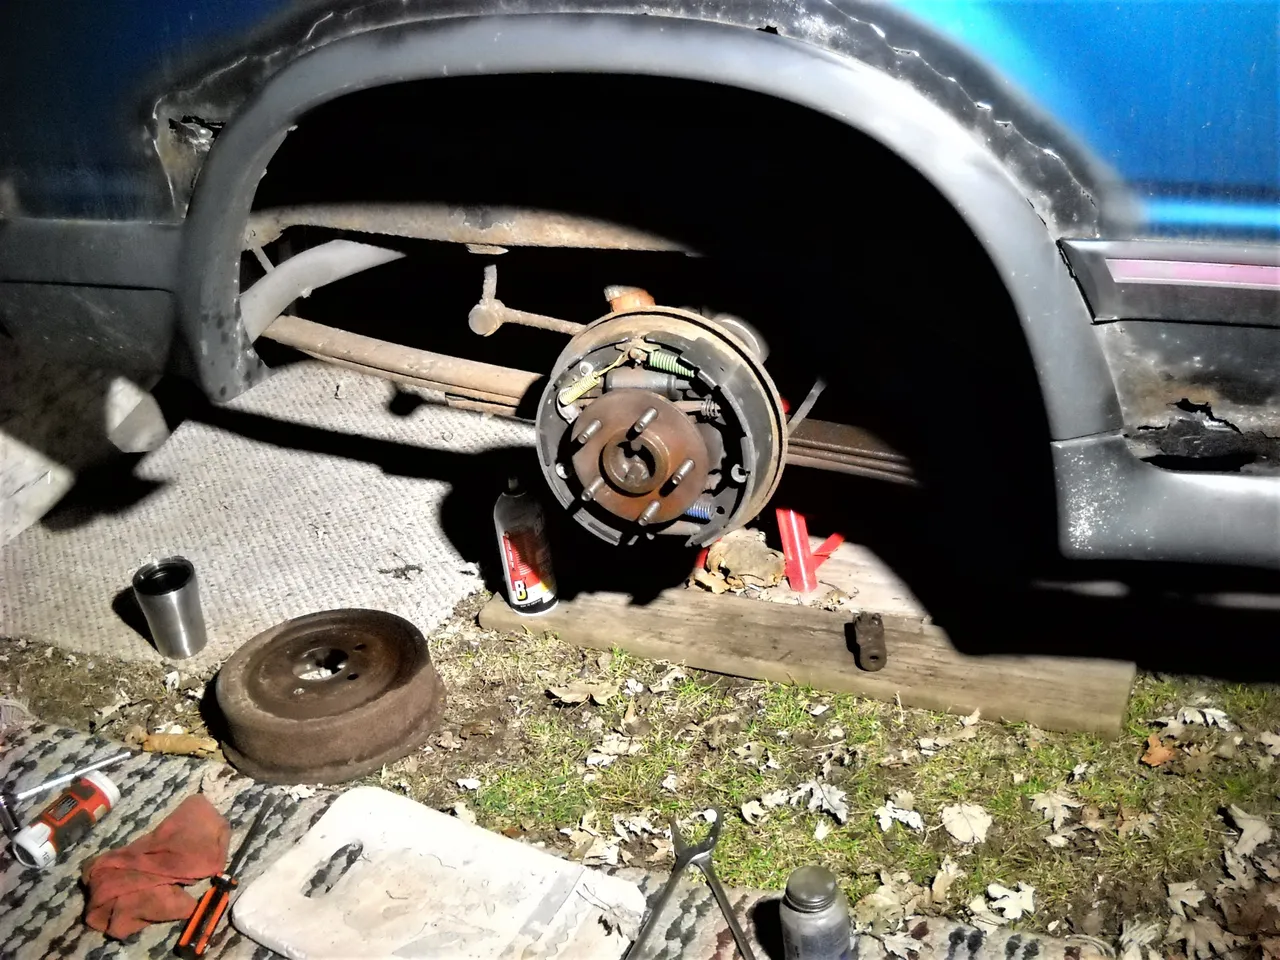
I mounted the new wheel cylinder onto the back plate, having cleaned the 2 bolts with a small wire brush and then using anti-seize grease on the threads. That way, if it ever needs to be removed, the bolts won't be rusted in. After that, I started mounting the brake shoes on the back plate.
You can see the old wheel cylinder sitting on the board below the leaf spring.
Then the other brake shoe was mounted.
I had to clean up the automatic brake adjuster assembly to make sure that it would work before I put it on. It goes between the 2 shoes at the bottom. The wire brush and a bit of anti-seize grease did the job on that.
I adjusted the brake adjuster to take most of the slack out of the brakes before putting the drum back on. It was a matter of adjusting it a bit and then trying the brake drum fit. Once I had most of the slack out of the shoes, I put the drum back on. I cleaned up the inner face of the brake drum, and the mounting face of the hub, and applied anti-seize grease to the hub center before I put the drum on. That may help in the process of getting it off if I need to do it again for brake work, such as shoe replacement.
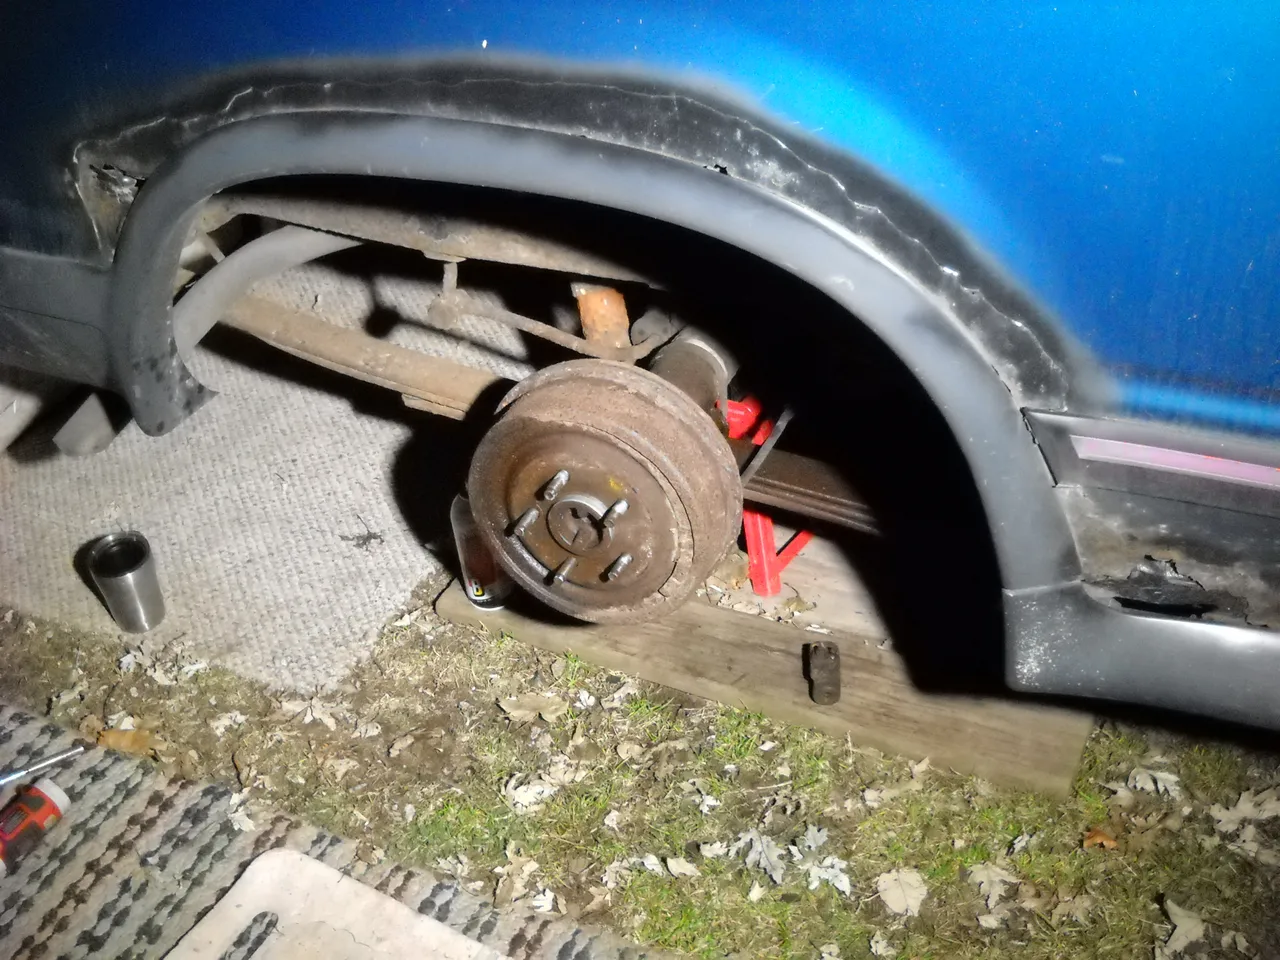
After I got the brake drum on, I decided to quit for the day, the cold was starting to get to me. I'll have to crawl under the back of the vehicle tomorrow, weather permitting, to put the brake line on and to bleed the air out of the line, but most of the preparations for that have already been done, so that should be a fairly simple job. I don't have to put very many bends in the line to get it to fit, so that also helps with the process. Hopefully, I'll be able to get all the air out of the brake line, but if there's a bit of air in the line to the other wheel, that will end up being another problem to have to deal with.
I do have to ponder why this stuff always seems to happen when it's cold outside, but at least there's no snow on the ground to have to deal with. In the past, I've had to work on the car in the snow and it's not much fun. Still, sometimes you gotta do what you gotta do, right?
Well, that's all I have for this post, thanks for stopping by to check it out!