
Hello everyone, i'm publishing my first article on wordpress theme development. Did you ever wish to develop a site like buzzfeed? In this article we'll get started in building our first clone wordpress theme. By the end of this development series you'll be having a fully functional buzzfeed look a like site. I'll be sharing the theme at the end of the series. Here's the link for the BuzzFeed Demo.
This article is an introduction. We'll be setting up all the things required to build the theme.
index.php ( This is the main file where our content will be linked )
functions.php ( It will contain all our php functions )
header.php ( This will contain navigation files )
footer.php ( The footer contents goes here )
style.css ( This is where we'll add our css to )
Style.css:
/*
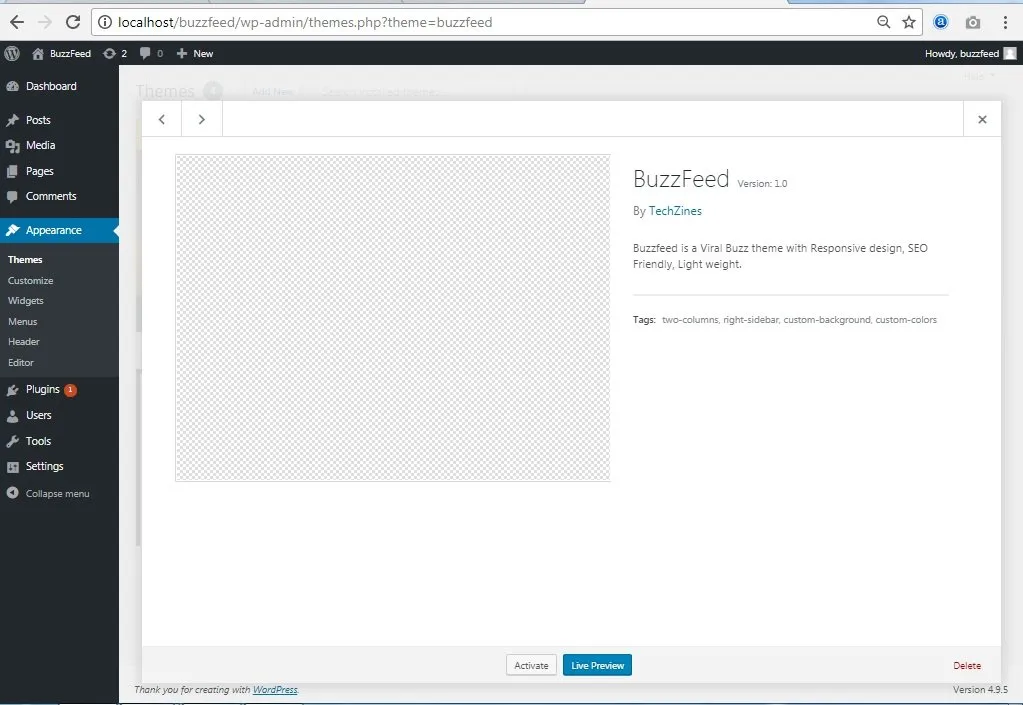
Theme Name: BuzzFeed
Theme URI: http://www.techzines.com/
Description: Buzzfeed is a Viral Buzz theme with Responsive design, SEO Friendly, Light weight.
Author: TechZines
Author URI: http://demo.techzines.com/buzzfeed
Tags: two-columns, right-sidebar, custom-background, custom-colors
Version: 1.0
License: GNU General Public License v2 or later
License URI: http://www.gnu.org/licenses/gpl-2.0.html
Tags:
Text Domain: buzzfeed
*/
Give it a theme name, theme url and text-domain, rest all are optional. The text-domain is what you need inorder to prefix your functions. The license and license url are optional ( only use if you are planning to launch themes on wordpress directory )
Bootstrap is a css framework which provides easy and quick development environment.
Navigate to http://getbootstrap.com and download the latest version of bootstrap. Here we'll be using bootstrap 3.
Then Create a new folder in the theme folder and name it as assets. Under assets create two more folders and name them as css and js. ( This is where we add our bootstrap css and js files and link them through functions). The assets folder structure goes as follows -
assets >
css
js
Next Extract the Downloaded bootstrap files and copy bootstrap.min.css to the css folder and bootstrap.min.js to the js folder.
Enqueuing styles and scripts :
} function theme_js() { }
function theme_styles() {
wp_enqueue_style( 'bootstrap_css', get_template_directory_uri() . '/assets/css/bootstrap.min.css' );
wp_enqueue_style( 'main_css', get_template_directory_uri() . '/style.css' );
add_action( 'wp_enqueue_scripts', 'theme_styles');global $wp_scripts;
wp_enqueue_script( 'jquery_js', 'https://ajax.googleapis.com/ajax/libs/jquery/3.2.1/jquery.min.js' );
wp_enqueue_script( 'bootstrap_js', get_template_directory_uri() . '/assets/js/bootstrap.min.js');
add_action( 'wp_enqueue_scripts', 'theme_js');
Adding Fontawesome
FontAwesome allows you to add beautiful icons to your website with ease.
Navigate to https://fontawesome.com/ and download the latest version. We'll be using FontAwesome 4.7.
Now extract the files and copy font-awesome.min.css to your css folder. Then enqueue the style as explained above
To use any icons https://fontawesome.com/v4.7.0/icons/ and copy the code and paste it in your website markup.
Thats it for the Intro! In the next part we'll continue building with header.php & index.php.
Hope this information is helpful!