(Image heavy post!)

I like images, especially when it comes to showing how things are done... So the following post is a very image-heavy post about how I created a 3d-figurine for a GURPS pen & paper role-playing game. I did one for each of the player-characters because we had decided to use models for the battles, but also because I wanted to try 3d-printing. If you reach the bottom of this post (good luck) you will see the small scale model made on @evilhippie's Ultimaker 2. (If you are interested in 3d-print or any other creative crafts follow his profile.)
The model was made in Blender, a great open source 3d-application on my trusty Mageia Linux machine, and was based on a drawing by the player. I will add some comments below the images, but the images should tell most of the story.
 Some simple geometry to start with
 Now with shoulders: notice the 3d-pencil that I used as reference.
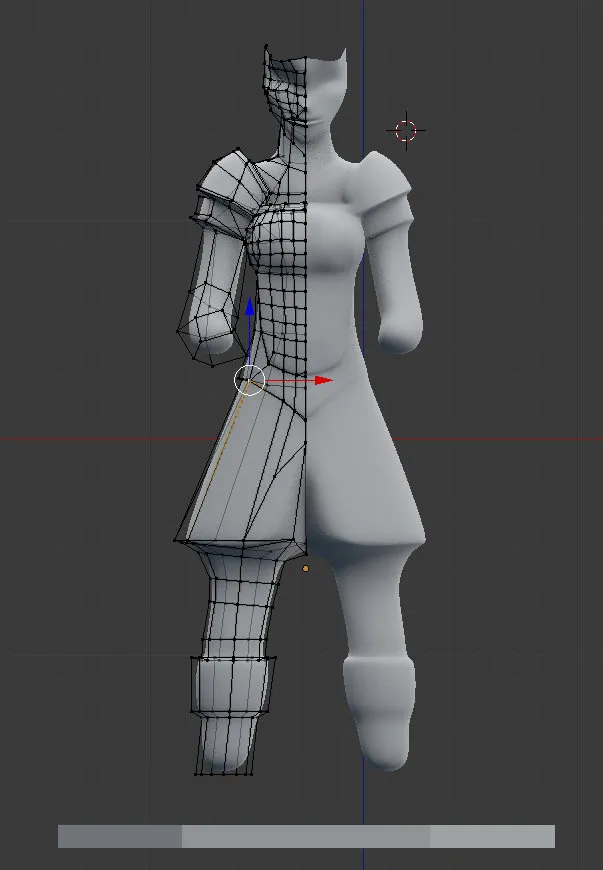
 The neck and the arms added. I only model one side and then the program mirrors it.
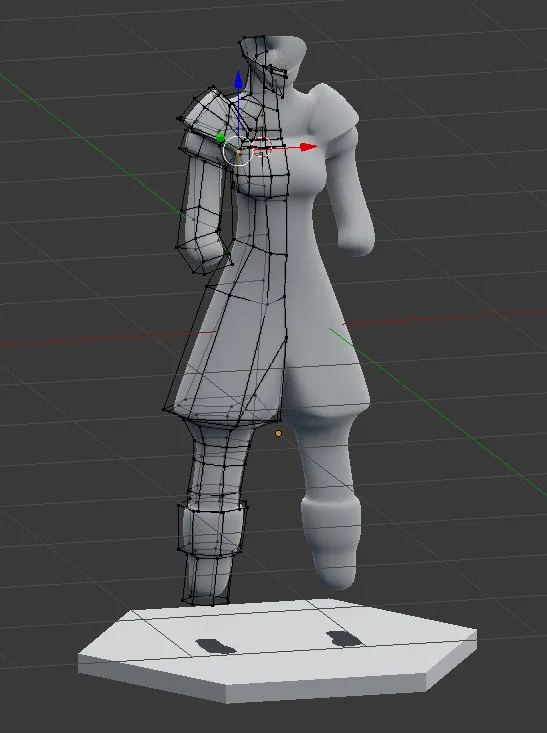 Same as above but with the Catmull-Clark algorithm that smooths and doubles the polygons.
 The Face is added. I now use the smoothing of the box model constantly to see what is going on.
 The head from behind.
 Kind of a status image to be compared with the next.
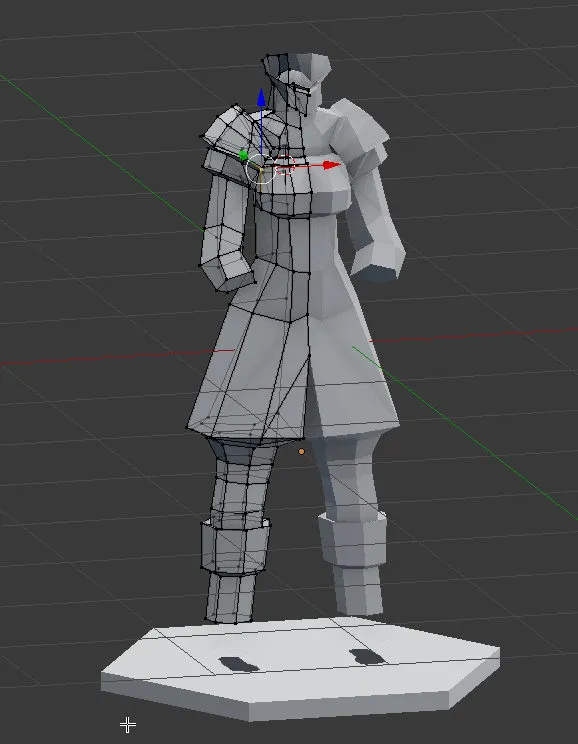
 I have added the feet and the arms are prolonged and fitted to the body.
 This is done to make the printer build the model without support-columns. The printer builds in layers from the bottom and up. And it can't start out in the open air. By connecting the arms to the body the printer will be able to connect the limbs.
 The feet are connected to a temporary base.
 First part of the hair.
 Second part of the hair.
 The head from behind
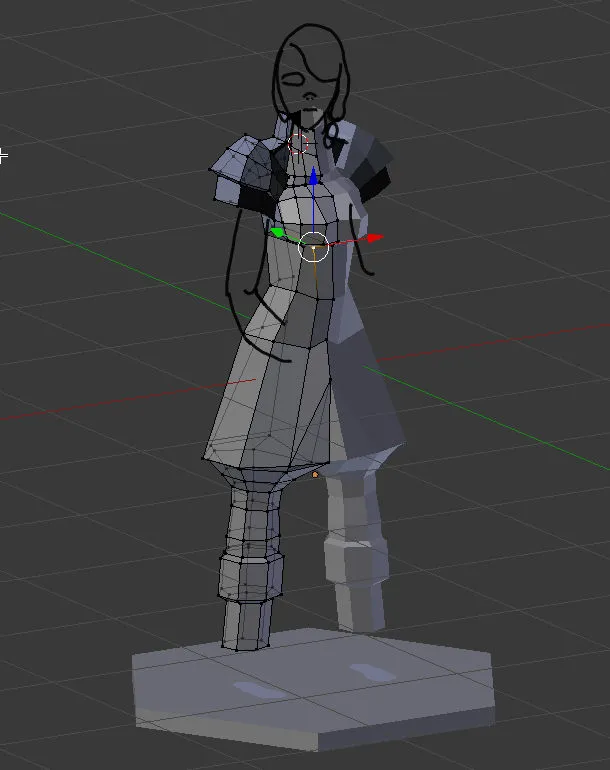
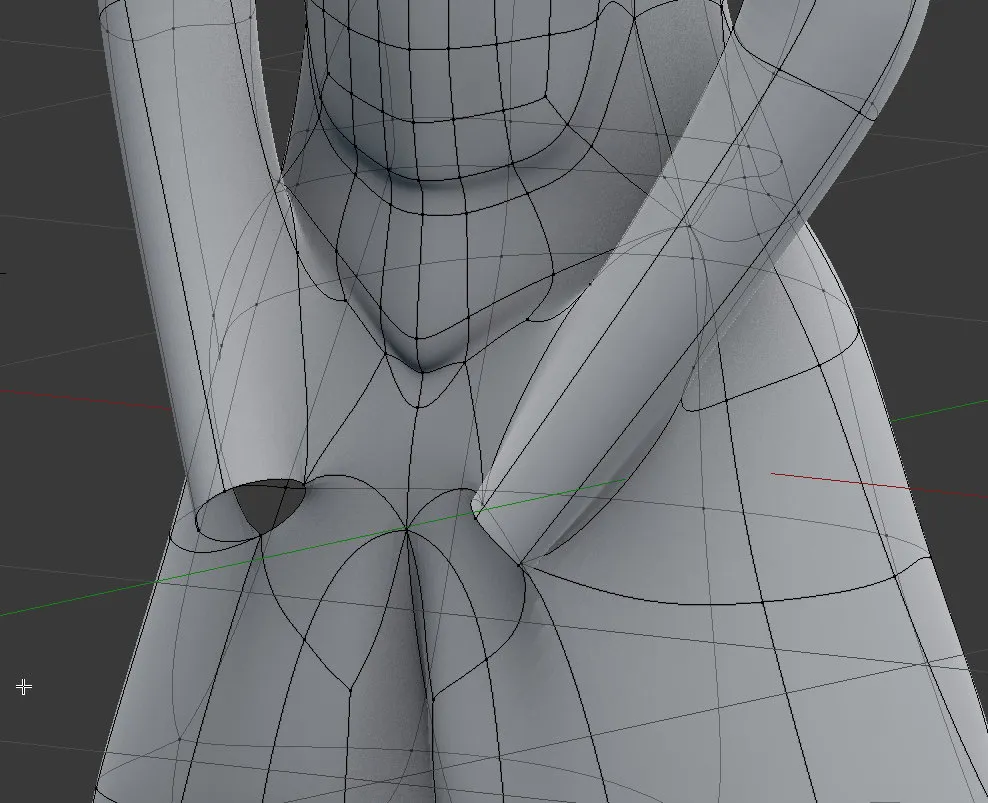
 Hands and a dagger
 As explained above the whole thing must be connected and the angle not too flat. There are a few angles here that are too flat.
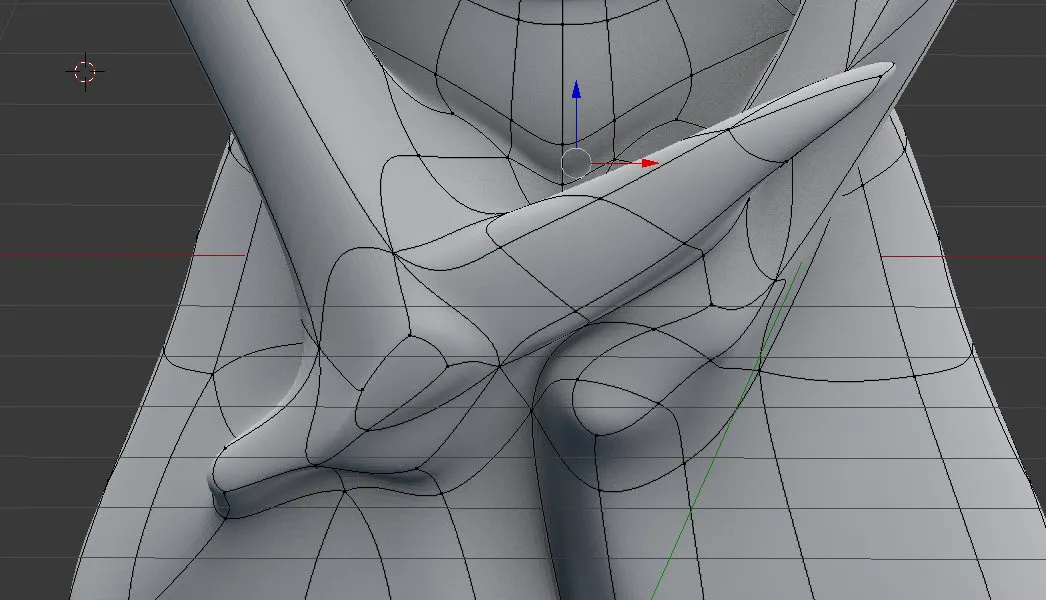 As I planned to use the sculpt tools I did not bother to make the hands too precise.
 Premature try-out with the sculpt-tools - I reverted this version because something important had to be done first. (see next image)
 The feet are attached to the base!
 Here you can see the unnecessary high resolution I used.
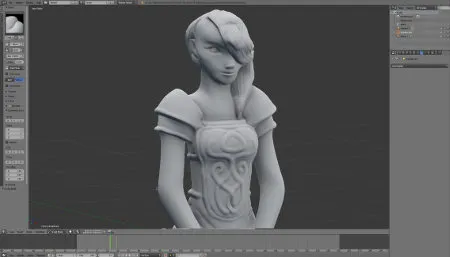
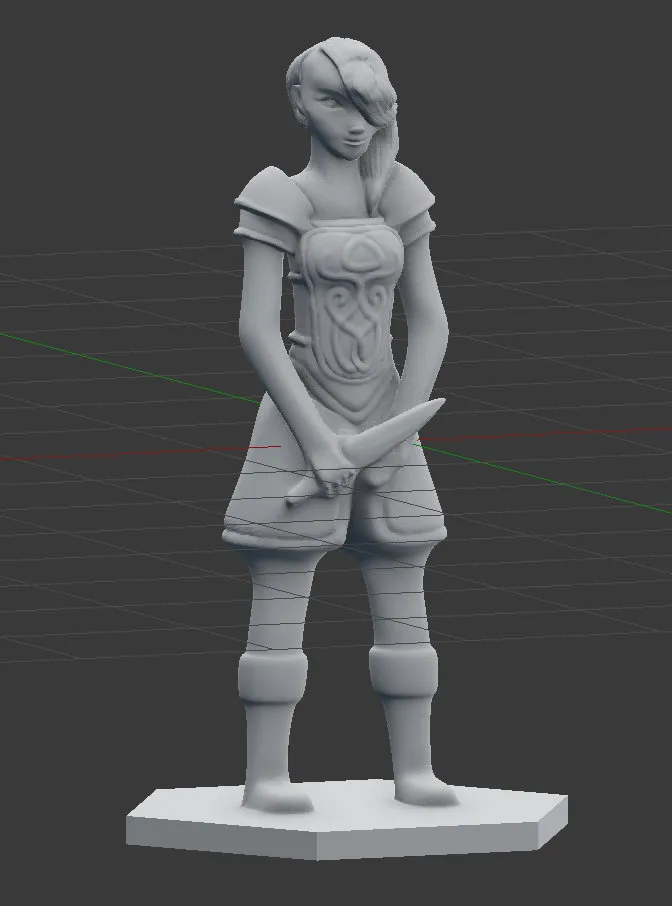 The finished figurine with a new sculpt-finish.
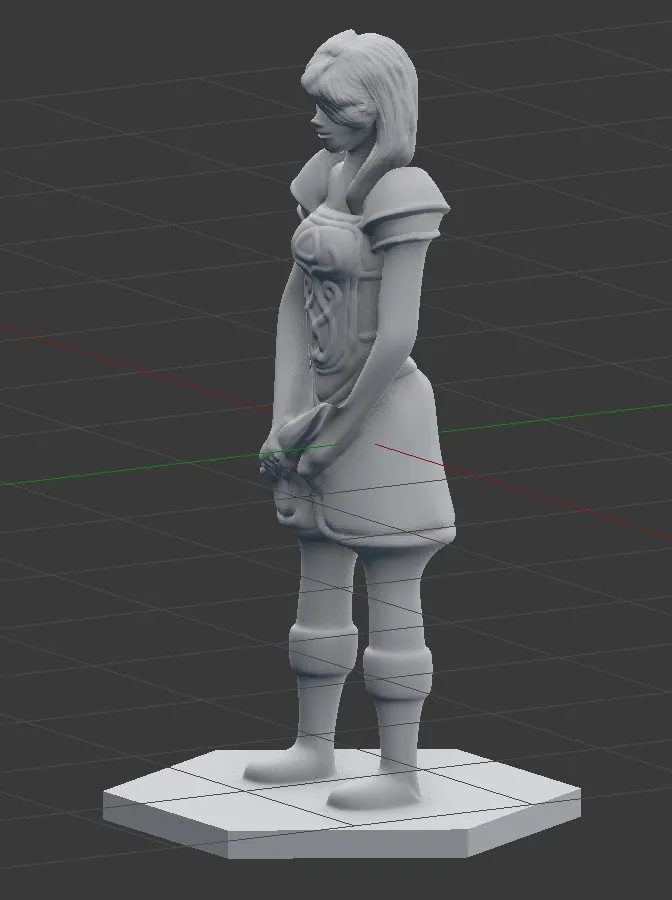 ...And another image from the left.
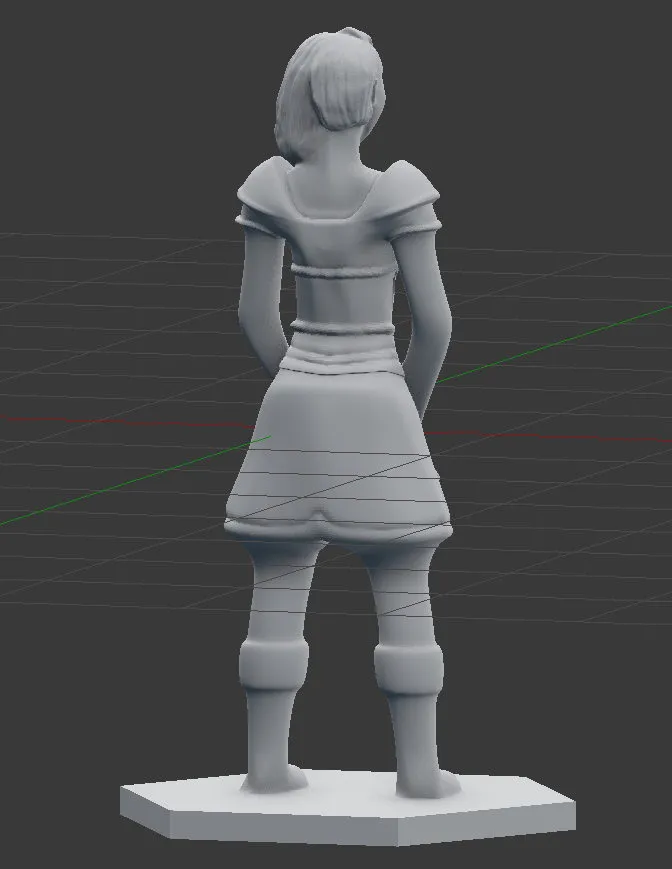 And from behind.
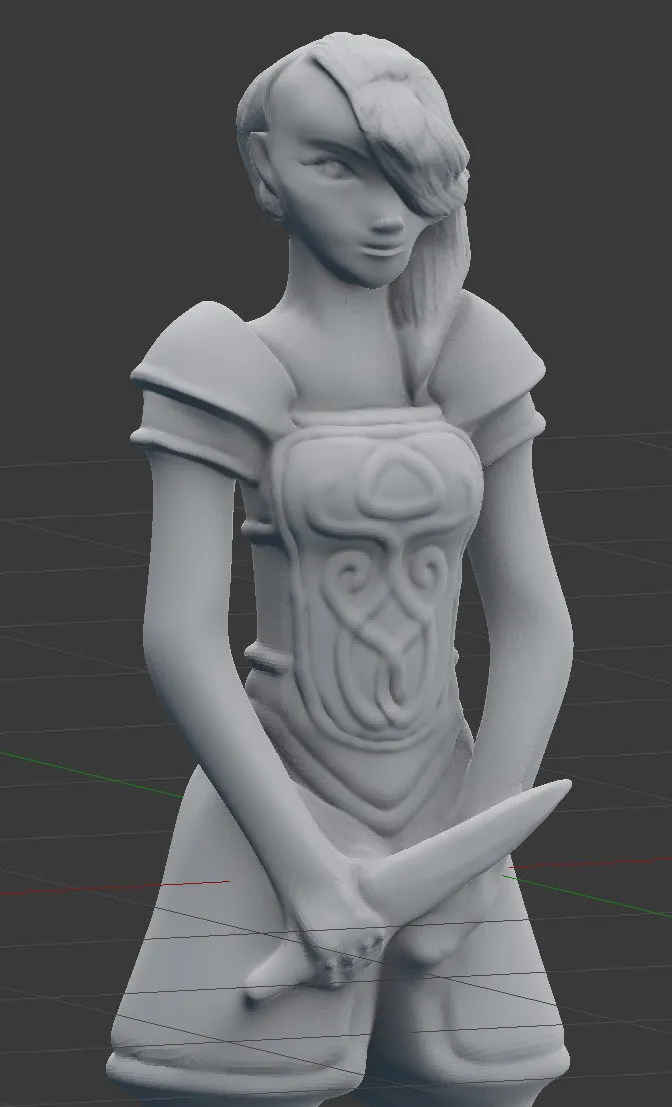 ... And a close-up!
 Finally the printed version. The Ultimaker is normally used for a bit larger prints, but the model is there and can be used again when @evilhippie buys a fine detail resin-printer (or what they come up with next... )
Edit: please take a look at this post and you can see the Ultimaker 2 machine in action:
https://steemit.com/fantasy/@evilhippie/3d-printing-henna-the-faunette.
