I'll just keep going with this since finishing this cover is one of my main focuses this week. Last time, I showed you how I altered Saara's dress to more appropriately fit her - and fine-tuned their hands to get the contact that I wanted for the scene I've chosen for my cover.
This time, I'm building the rest of the scene... and will get here:
How I got there...
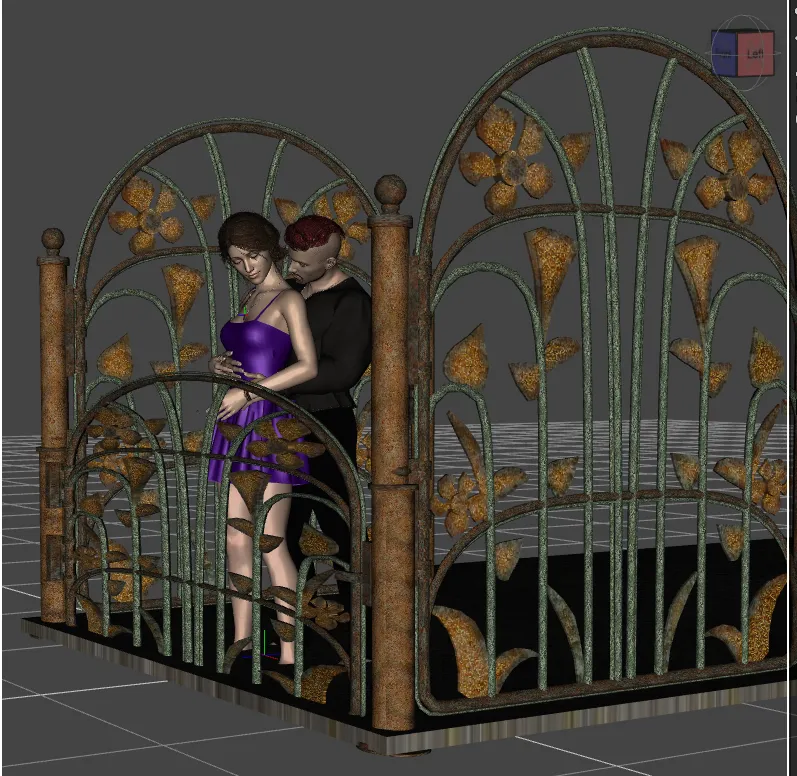
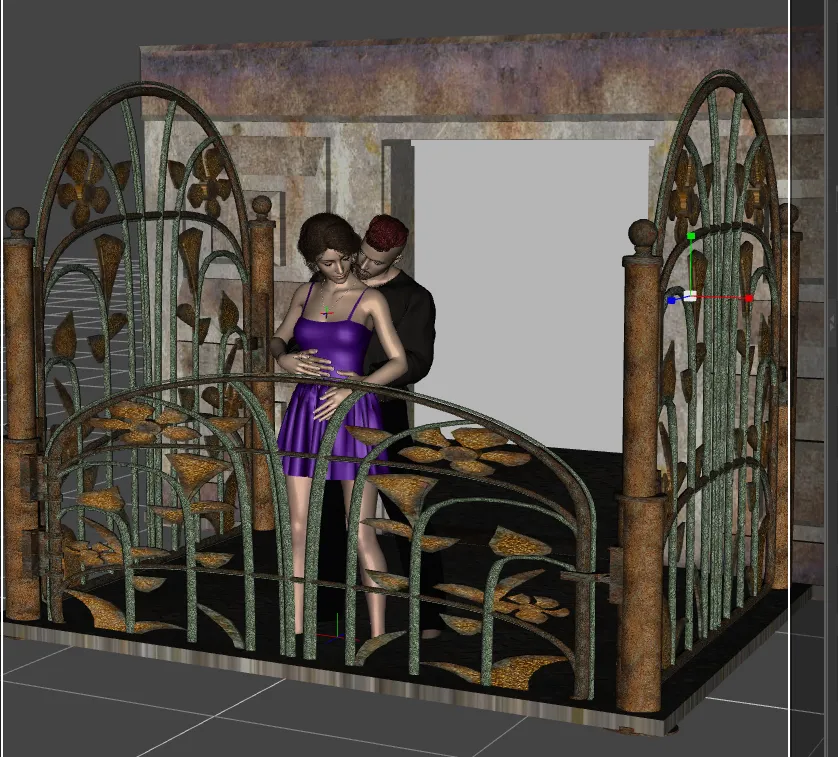
As I clothed my characters, I was very attentive to pieces of scenery that I saw along the way. This flower gate (by DNA) attracted my attention. Perfect for a balcony!
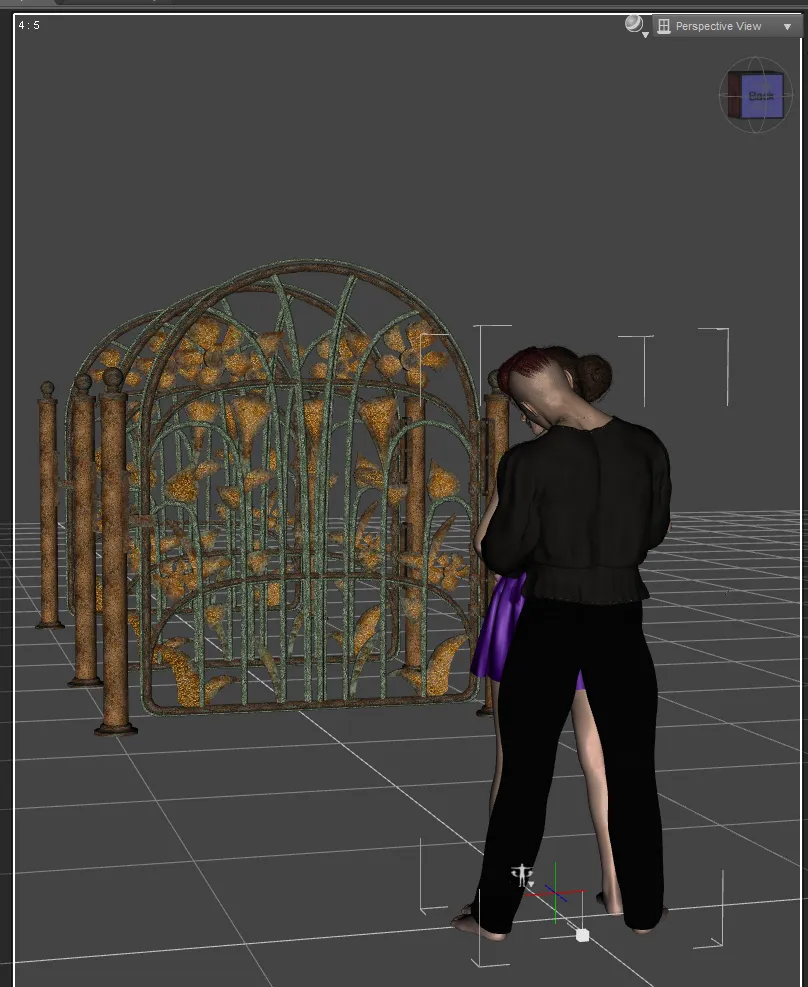
So, now that my characters are posed where/how I want them, I can move these pieces into place. The front piece, I scaled to make it look the way I wanted. I will fix the textures later. Viper's expensive penthouse isn't going for the shabby chic look!
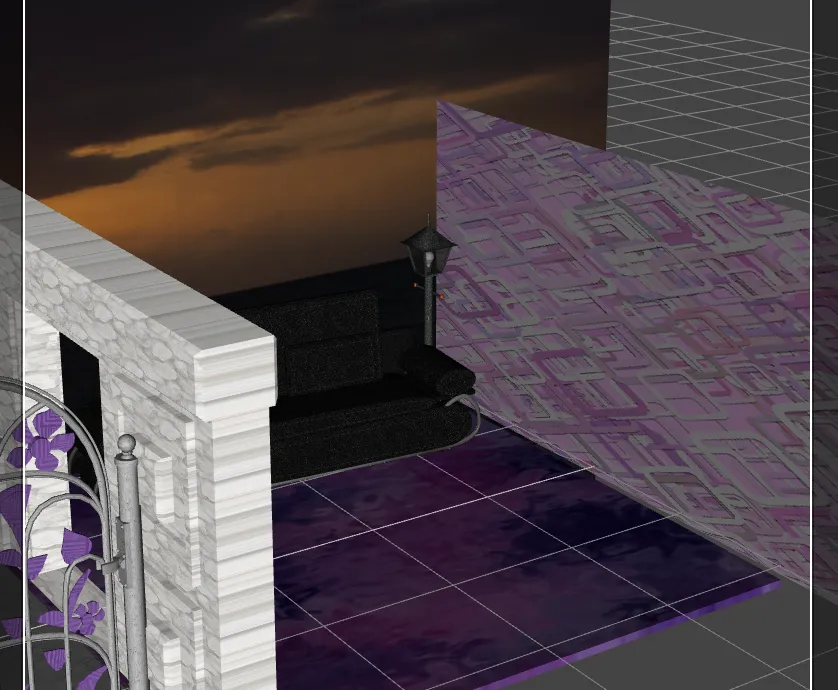
I also placed the floor pieces using some steempunk stuff I have - again, this was DNA's work. The fact that the texture is ugly is immaterial. I will fix it later. The shape is the most important part.
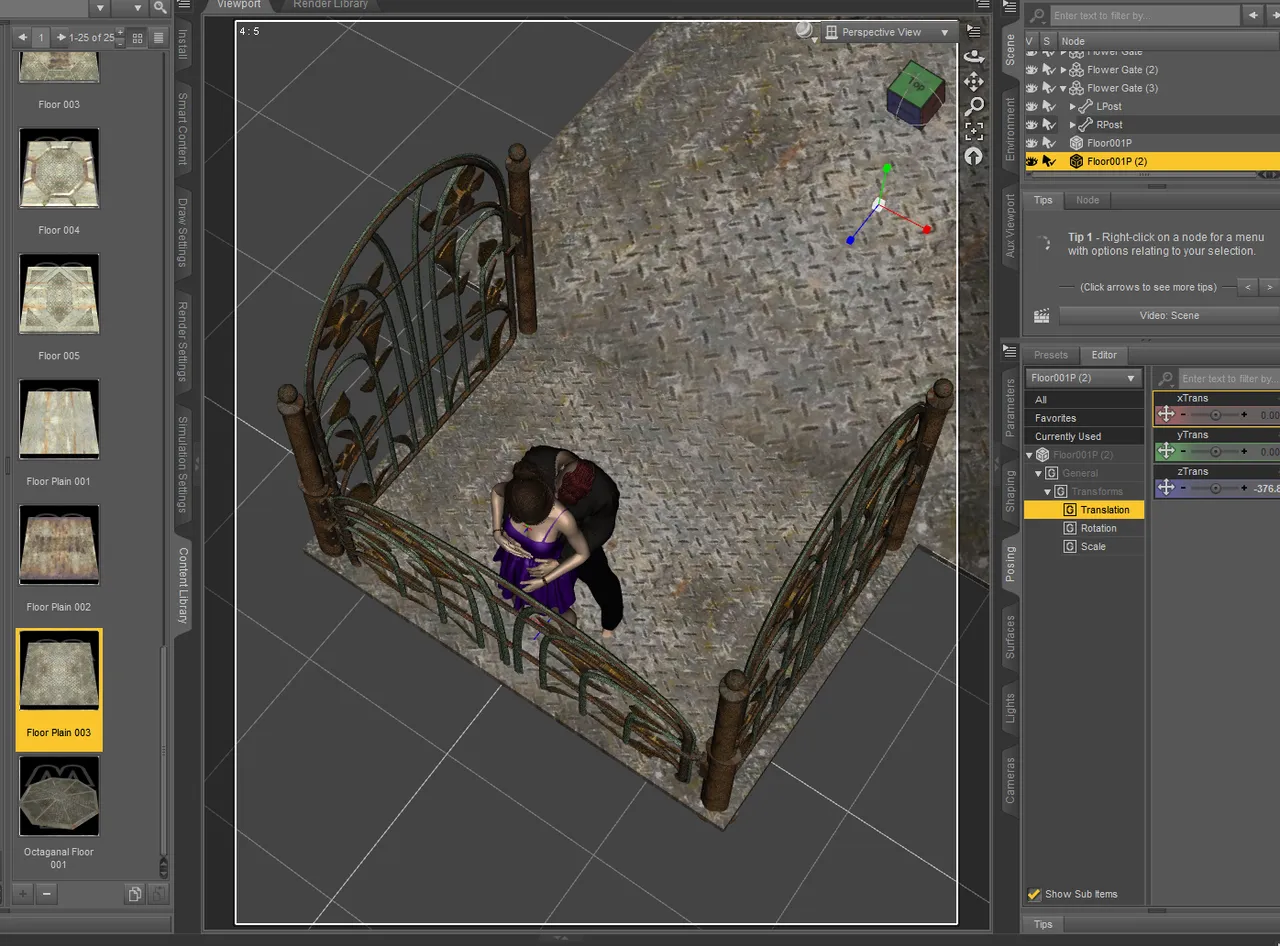
I created the doorway and placed a backdrop in the background. Backdrops are so important in my sets. They can become walls, floors, or just set pieces to host a background image.
Now, you can see more of what I've done. I've added a couch and a lamp in the living room. I've put textures on the walls and floor, changed the feel of the doorway and the balcony as well. I've even found a sunset picture courtesy of PxHere.
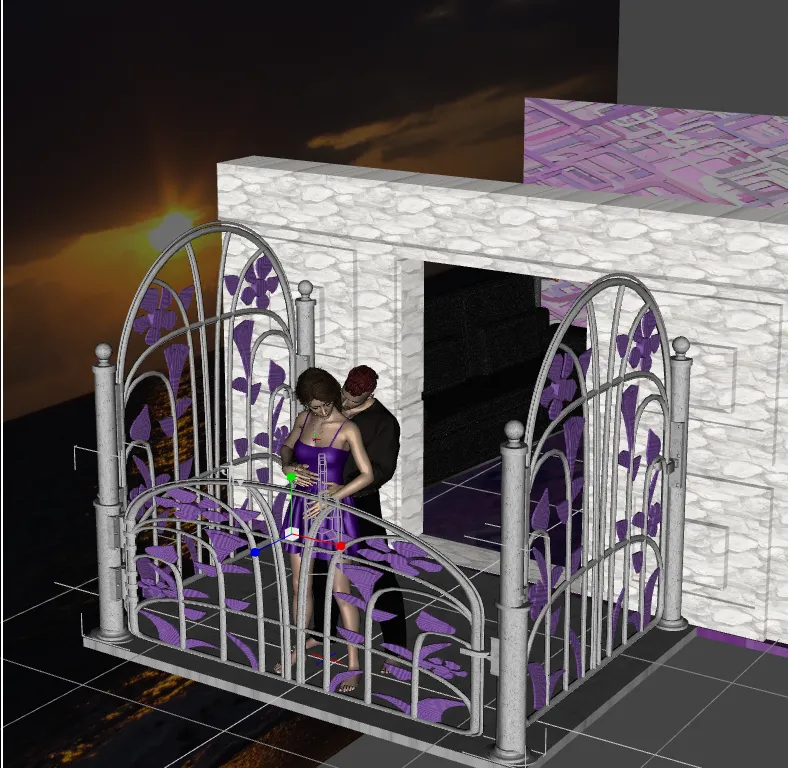
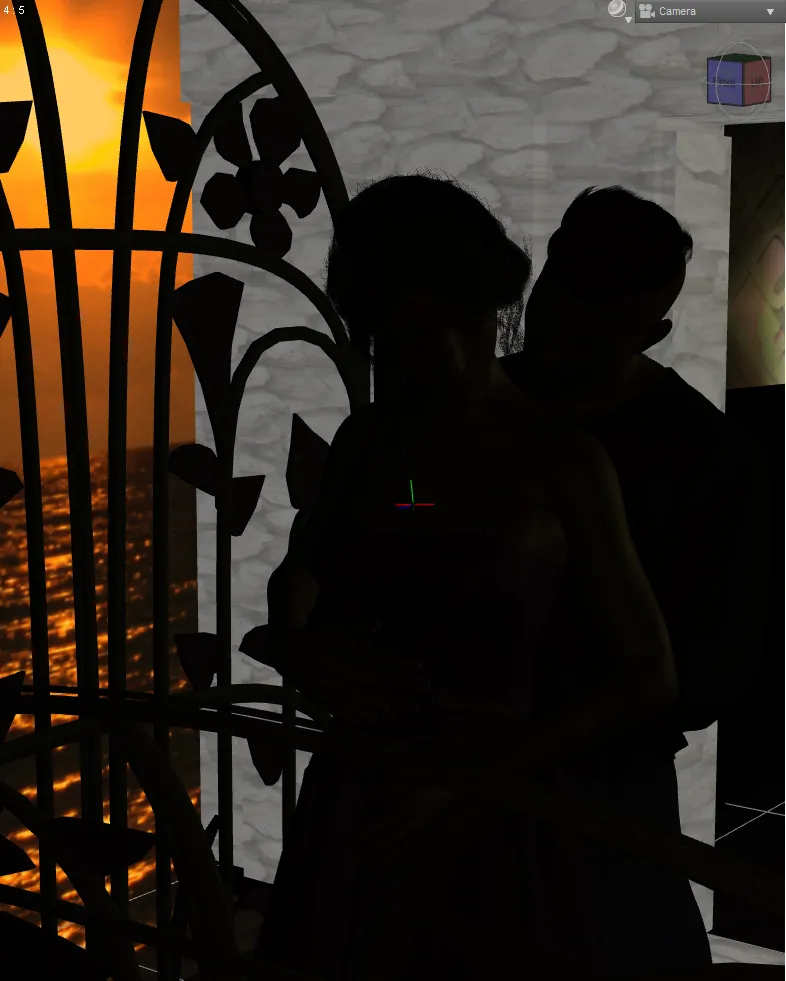
Everything the right color/texture, I go to my camera and see where I am...

I really like it, but I see that some of the shortcuts I took are showing. So, I grab another backdrop for the third wall in the living room and put another lamp out on the balcony.
I also make the sunset wall "emissive" - as well as my two lamps... Then, I placed a couple of point lights for good measure... And turn out the main lights...

Oh yeah! I love the intimate lighting of this scene. I'd like them to be slightly brighter, but we'll play with that next time, when I start really messing with settings.. looking for that perfect render.
All work done by myself on: Photoscape, Gimp, Krita, and/or Daz 3D Studio
Cross-posted on: Steem, Whaleshares, WeKu, Hyperspace
Other parts of this tutorial: part 1, part 2 - correcting clothing and poses,
Past tutorials:
- Map Development for Alacantis (on GIMP), part 1, part 2, part 3, part 4
- Cover image for Acting the Part
- Cover image for Brighid's Blood (part of the update).
- Cover image for Birth of the Neví, part 1, part 2
- Map Development for Velantia, part 1, part 2, part 3, part 4
- Map Development for Kranisis, part 1, part 2, part 3, part 4
- Cover Image for Name of the Neví, part 1, part 2, part 3, part 4, part 5, part 6
- Beginning with Daz 3D Studio - my cover image for Mind of the Neví: part 1, part 2, part 3, part 4, changes
- Cover image for Game of the Neví, part 1, part 2, part 3
- Cover image for Pawn of the Neví, part 1, part 2,
Photo salvages:
Droplet, Bellis Daisy, Baby Blue Flowers, version 1, version 2, 2-Spot Ladybug, version 1, version 2, Bridge Over River Kennet
Coloring Tutorials & Mini-tutorials:
Zen colouring #43, Zen colouring #39, Zen colouring #38, Zen colouring #37, Zen colouring #36, Zen colouring #35, Zen colouring #34, Zen colouring #33,
Butterfly Colouring #11, Butterfly Colouring #10
Halloween Artwork:
2018 - Pumpkin Patch Harvest
2019 - Haunted Pumpkin House, Jack-o-Lantern Forest Cemetery, Shadow in a Misty Forest
Miscellaneous Artwork:
Lori Svensen
author/designer at A'mara Books
photographer/graphic artist for Viking Visual
verified author on Goodreads
find me on Twitter
blogging on: Steem, Whaleshares, WeKu, Hyperspace


Join us in the Official Whaleshares server in the text channel "the-phoenix-project"