I don't know about you, but I hate changing times just for the sake of the "daylight saving" nonsense. Combine that with a 5am alarm for my husband to go to work and I didn't have enough cognition to be able to write today. So, I decided to work on my next book cover - and take you along with me on the journey.
First of all, I had to decide who needs to be featured for the cover and in what pose. I finally decided to feature Jerreck Mastin (the abári at the time) and Jilia Thule (his first adviser at the beginning of this book) when they are on the ship back to Irola. It's not a romantic scene, to be honest, but it's probably the most picturesque I could think of - and that wouldn't be completely impossible for me to put together myself.
Daz 3D Studio
I went to Daz 3D Studio which is a powerful (and free!) 3D art studio.
I opened it and started with two figures, both free with the program. I did throw some basic clothing on them to avoid NSFW worries on this post, as they do show up nude (though without obvious genitalia.)
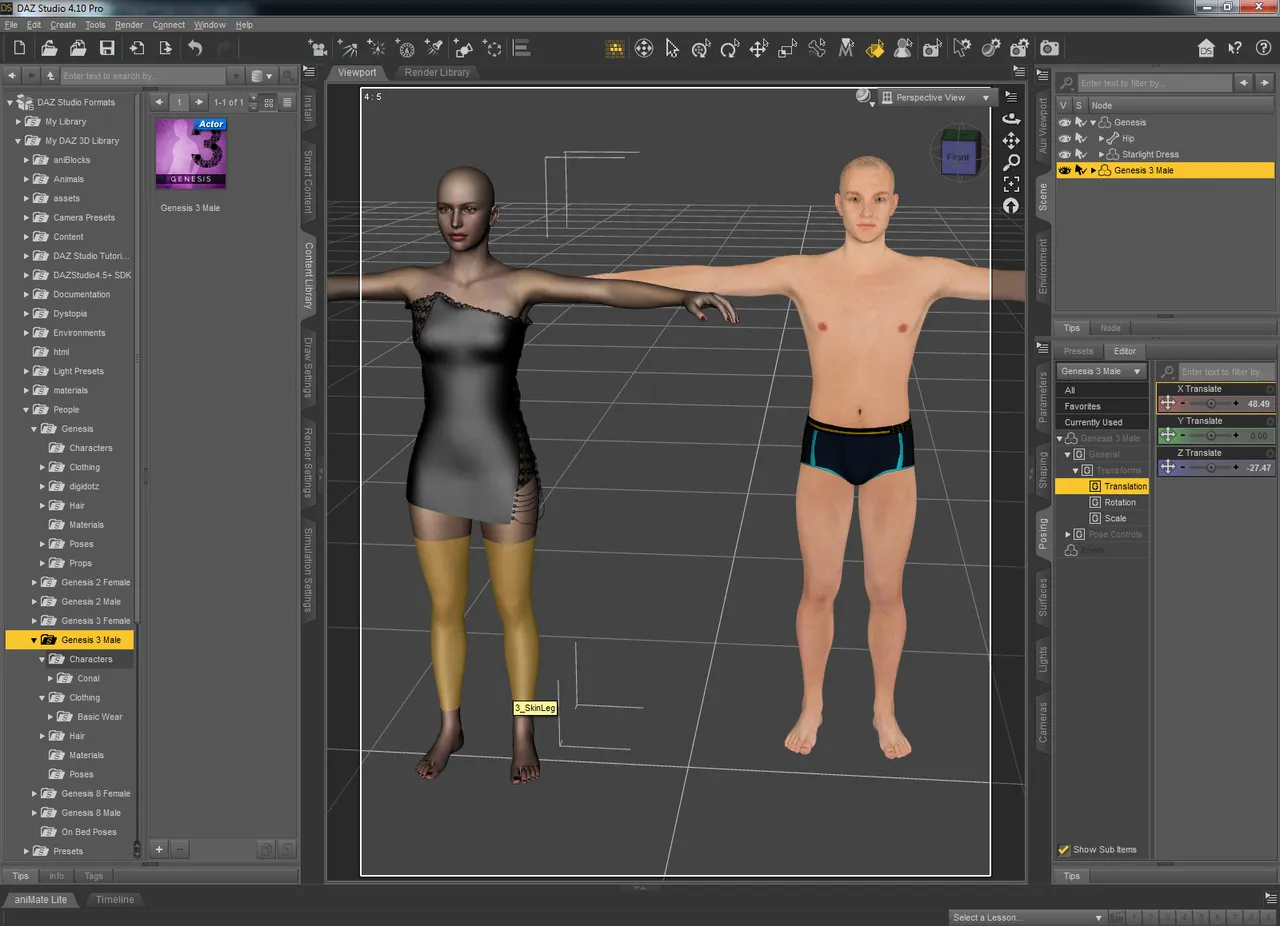
I have started with a Genesis female and a Genesis 3 male - I can't remember why, but I seem to remember it working better with some of the freebie clothing I've picked up over the years.
Here, you can also see some of the way Daz 3D is set up by default. It's highly customizable though, so you can move or remove docks as you like. I've left my Gen 3 male highlighted because I'm going to work with him first. Firstly, I dealt with his hair and beard. It's not great because most of my men in my books actually have long hair. If I see some hair (later) that fits better, I'll grab it, but for now, I'll focus on it being hidden under his cloak. (I don't have a problem with grabbing female hair and fitting it to a male character.)
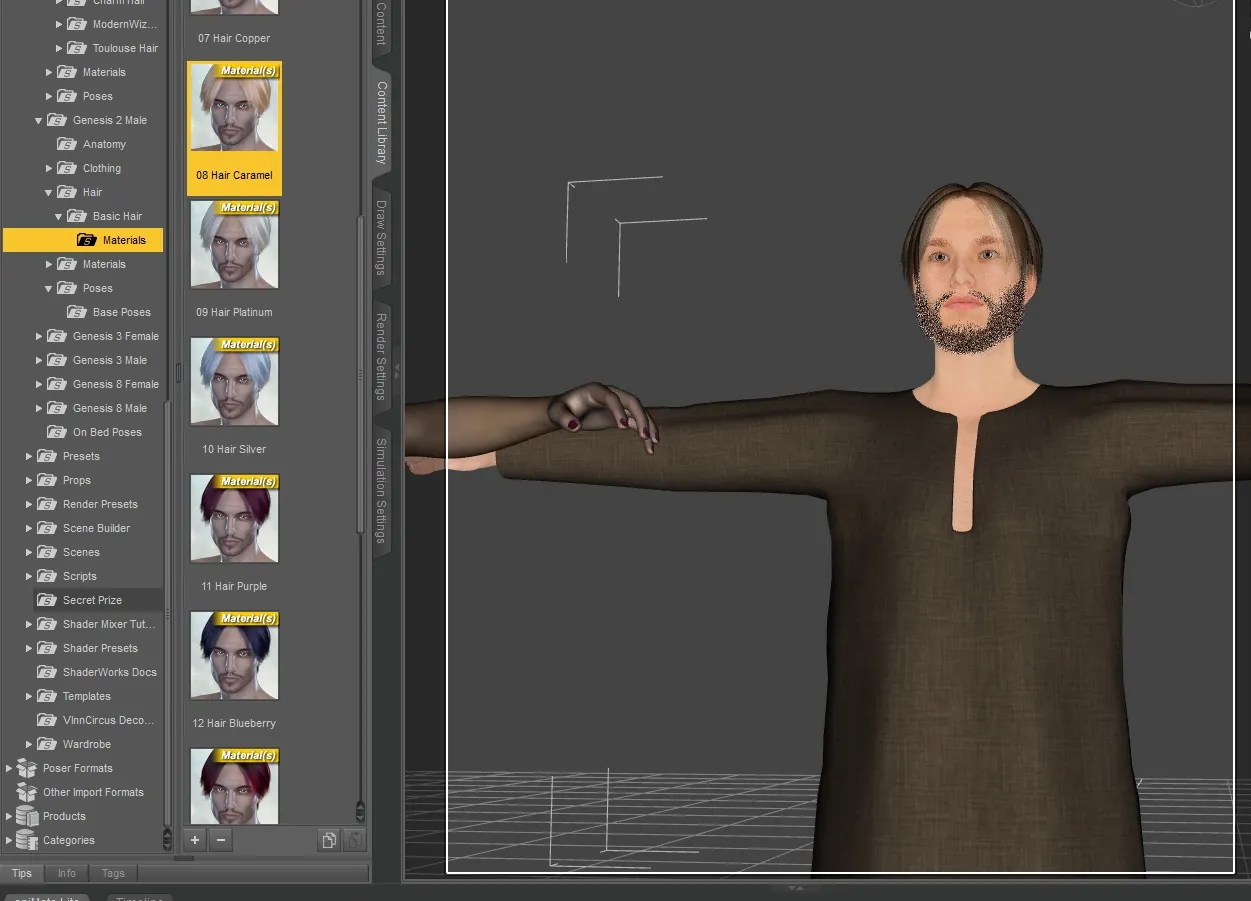
So, to do this, I clicked on my Gen 3 male (make sure his character is highlighted in the "scene" selector (currently the top right part of the screen), then I click on this "Basic Hair" - which gave it to him in white. I then chose the Caramel color in the "materials" submenu.
Don't worry about the fact his beard looks scraggly beyond belief. This is fixed in the rendering later on. (Rendering takes a LONG time, so we don't do it until we're done...)
Once I'm happy with his basic appearance (you can play with eye color and lots of other things as well, though I haven't had the need yet), I move on to the clothing. (I changed my mind on the shirt in this image...)
Clothing
I wanted a tunic of some sort, pants, boots and a cloak. I will show you some of this process.
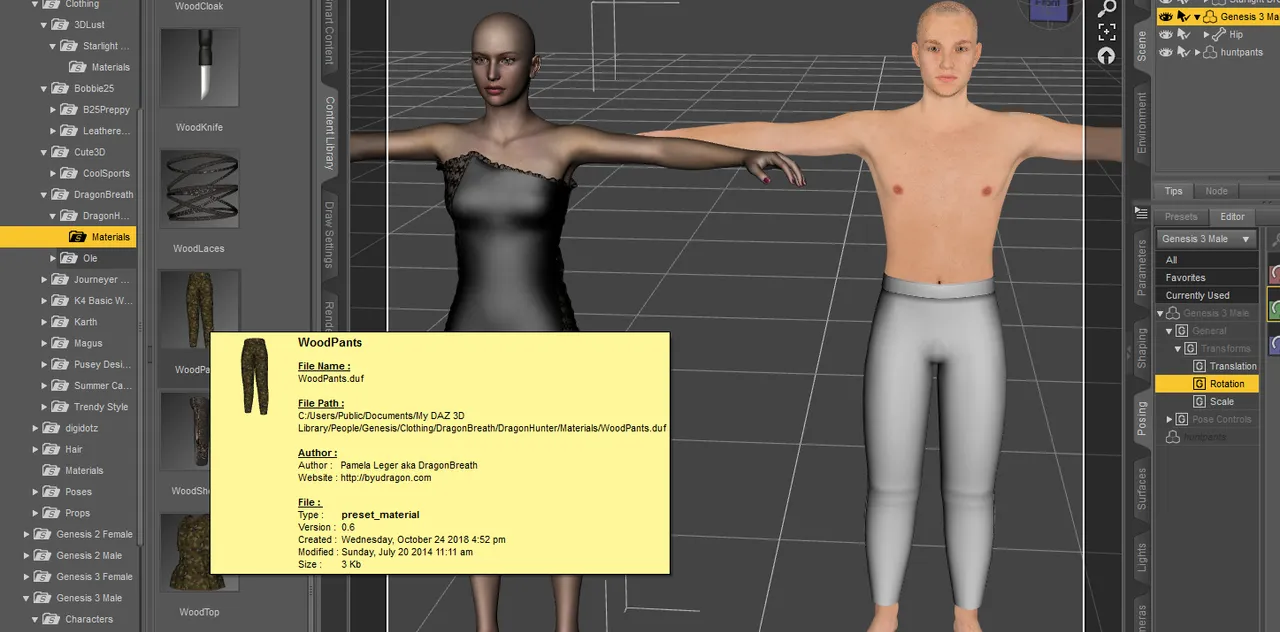
I went through my library at all the clothing options until I found one of my favorite sets from a lovely lady known as Dragonbreath - who makes many of her products free on some of the file sharing sites (I'll share some of those another time.) Anyway, you can see how her details are highlighted as I choose those pants for my character. (BTW, the underwear previously had to come off or it will interfere with the fit of outer clothing. Unless it's required to be visible, we don't use it.)
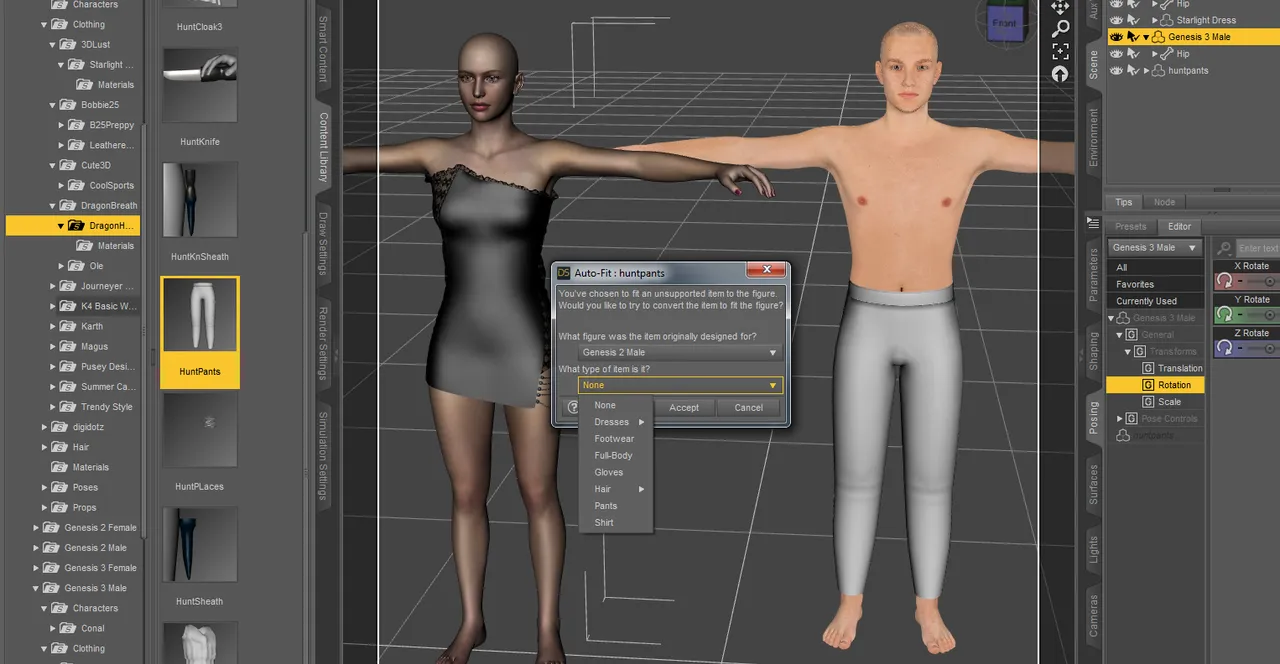
When I clicked to put these pants on my character, the program wanted to know who the original clothing was made for (Gen male) and what kind of clothing it was.
I'm going to skip on the shirt for the moment because I'm not convinced this is the one I want to use... I'll keep an eye out as I cloth the Genesis female - next time.
However, I did want you to see what sometimes happens when you first add something to a character such as these boots.
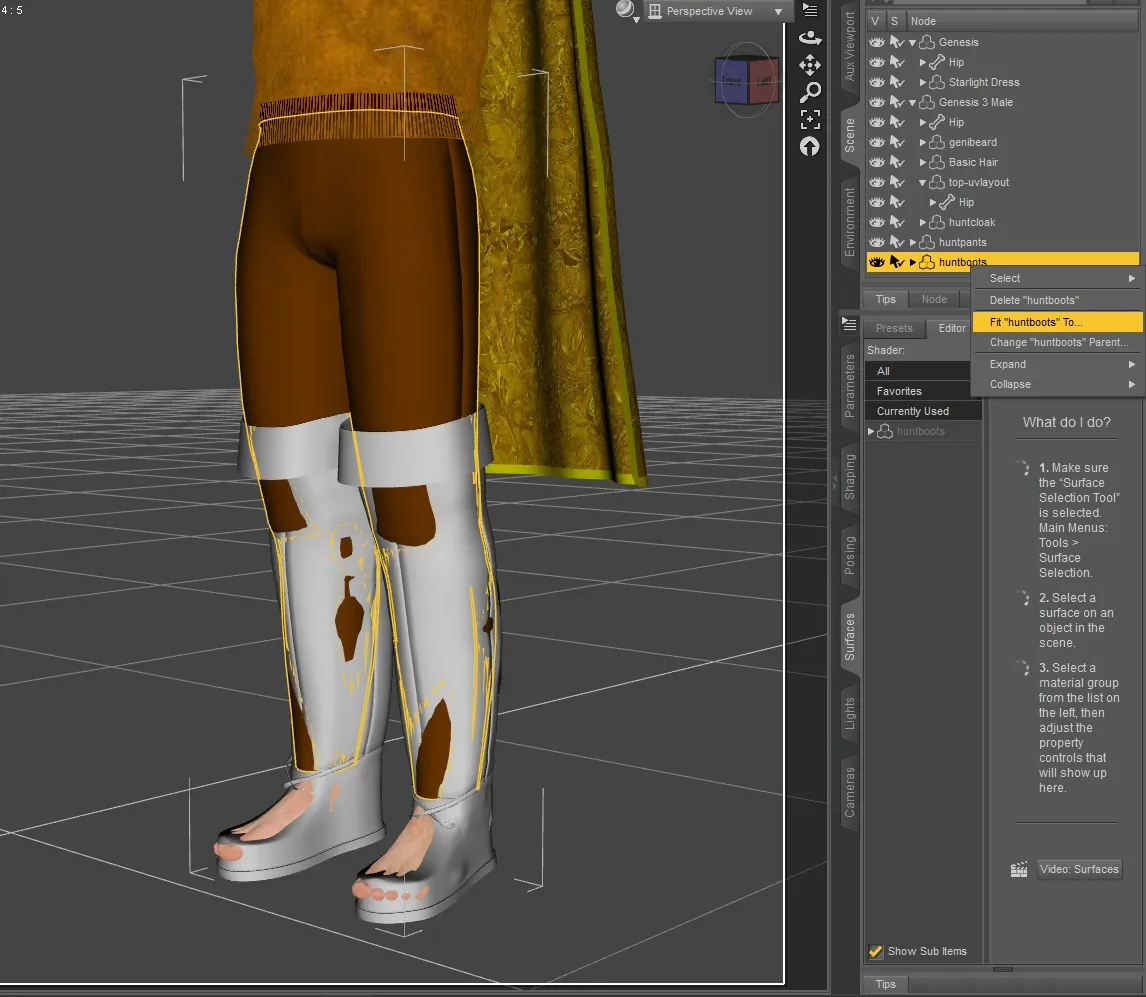
It looks like a bit of a dud, doesn't it? Don't give up too quickly though... I right-click on the item in the scene, as shown. Then I ask it to "fit ... to..." - and it opens up the same dialog I had before, asking for which character it was designed and what kind of article it is. Voilà it works perfectly now!
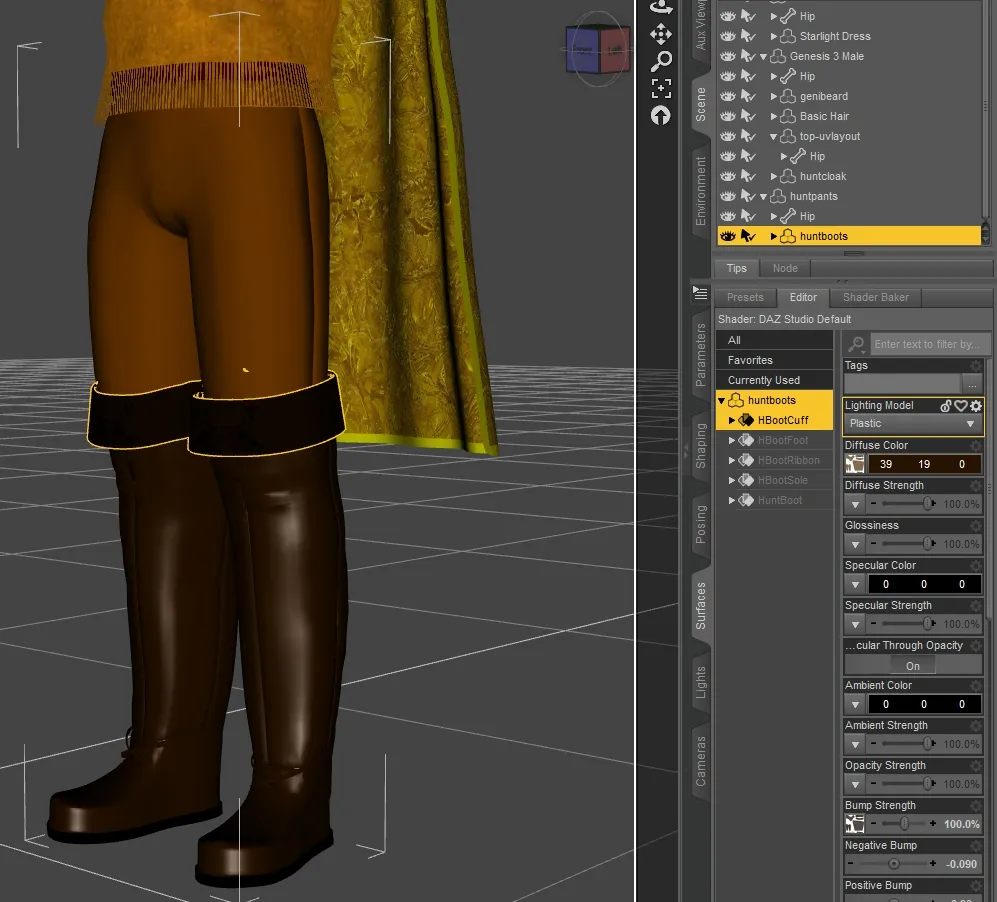
After applying the material of the boots, I decided to change some of the colors... that's why I have the lower right-hand toolbox open here with the tab "surfaces" open. I made sure the boots were selected first, then used the "editor" in this "surfaces" window. In particular, I wanted the top cuff of the boot darker, so I clicked on that surface and changed the "diffuse" color to a darker brown. Now it's pretty close to the color I want.
I will take you through that step-by-step another time - maybe as I'm working with my lady.
I also already grabbed the hooded cloak from Dragonbreath and learned how to change it as well - that was surprisingly simple as it turned out - something that I was afraid to try!
For the moment, however, I'm pretty happy with how Jerreck has turned out.
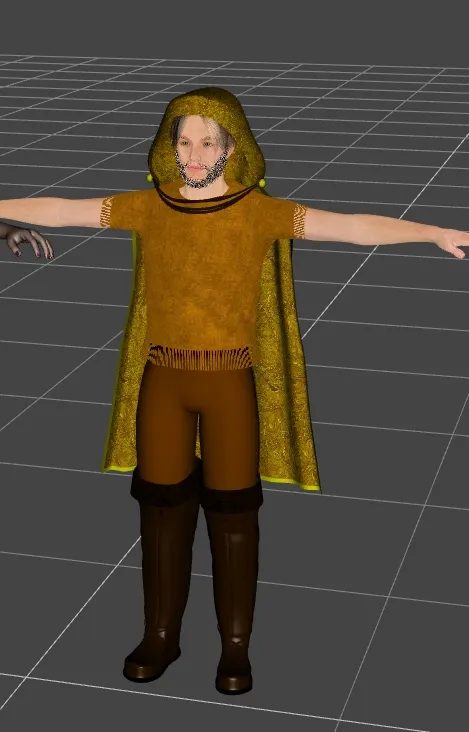
I'll still be watching out for a tunic I like better... Honestly, the cloak should be longer as well, but I'm not yet that talented with this - and besides, the final image isn't likely to show boots and cloak length anyway. But that's for another day.
Next time, (maybe Wednesday or Thursday...) I'll start working on Jilia, and I'll show you how to take a piece of clothing and change its color and design without a huge amount of technical or artistic expertise!
Images are all screenshots of my work today - and feature products, characters and items which were free to use.
Crossposted at Steem, Whaleshares and WeKu.
Lori Svensen
author/designer at A'mara Books
photographer/graphic artist for Viking Visual
verified author on Goodreads
find me on Twitter
also on: Whaleshares, WeKu