
The rose is a rose,
And was always a rose.
But the theory now goes
That the apple's a rose,
And the pear is and so's
The plum, I suppose.
The dear only knows
What will next prove a rose.
You ofcourse are a rose -
But were always a rose.
-Robert Frost, The Family of Rose
A Rose is such a lovely flower. It is absolutely stunning and powerful epitome of flowers.
It is in variegated colors to remind us that everyone is unique and our colors fall under individual differences. Comparison is not appropriate. We are born with one of a kind finger prints. Different colors it may be Red, Pink, Peach, White, or Yellow keep us mindful about the choices we made in life. Choices that whatever the outcome should be stood upon and accept the consequences.
It has torns to remind us that every eye candy has its own limitation. It says, "for your eyes only". Torns are representation of security and aggressiveness. This world we live is full of danger and being able to defend ourselves against probable trouble is a great weapon for safety. We should never let anyone hurt us and in return we should never hurt anyone too.
It has a natural blend fragrance that reminds us to not only look good and feel secured, but also smell good. It spreads a positive vibes in our senses. Smelling good is tantamount to smelling clean. It uplifts our mood and calm our soul. We must have that ability I guess...influencing others to have a positive outlook in life. Let us be that fragrance of our own will that whenever people smell our fragrance they can decipher which is ours and which is not.
Of all the flowers, Rose is the most overused symbol for love. It is a prominent subject for arts. It has been said to me when I was younger that if you could draw a rose flower then you will have a bright future as an artist.
Then I became Laboratory Scientist. I laugh. Maybe it's just a hearsay.
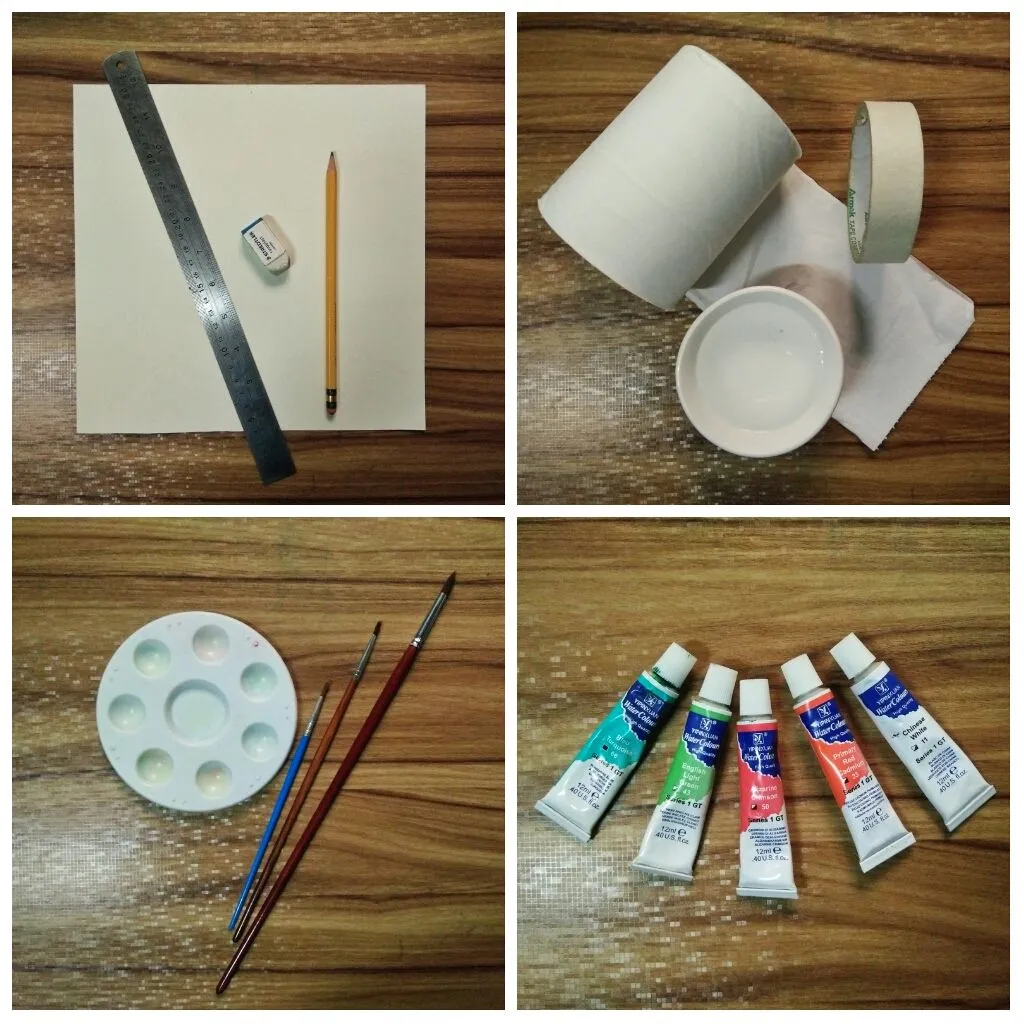
I want to make this day a productive day too as I did yesterday in cleaning my room (felt a bliss of relaxation after all). There so much time to do watercolor painting this week and today MONDAY is a holiday, A DAY OF VALOR ("ARAW NG KAGITINGAN") so I'm gonna grab this moment to show you how to paint ROSE in watercolor.
So roses are red, violets are blue...let us get going!
This is a tedious process so please keep your patience intact. Patience is the key to a more bearable output. I put few GIFs in selected procedures and I also used PhotoGrid to present some of the procedures in an orderly manner. I don't want photos to be everywhere in the first place. I made it orderly in a way you will easily understand.
1.) SKETCHING/OUTLINING
The sketch is the framework of our structure, we need to make a good skeleton.
Use the pencil lightly when sketching.
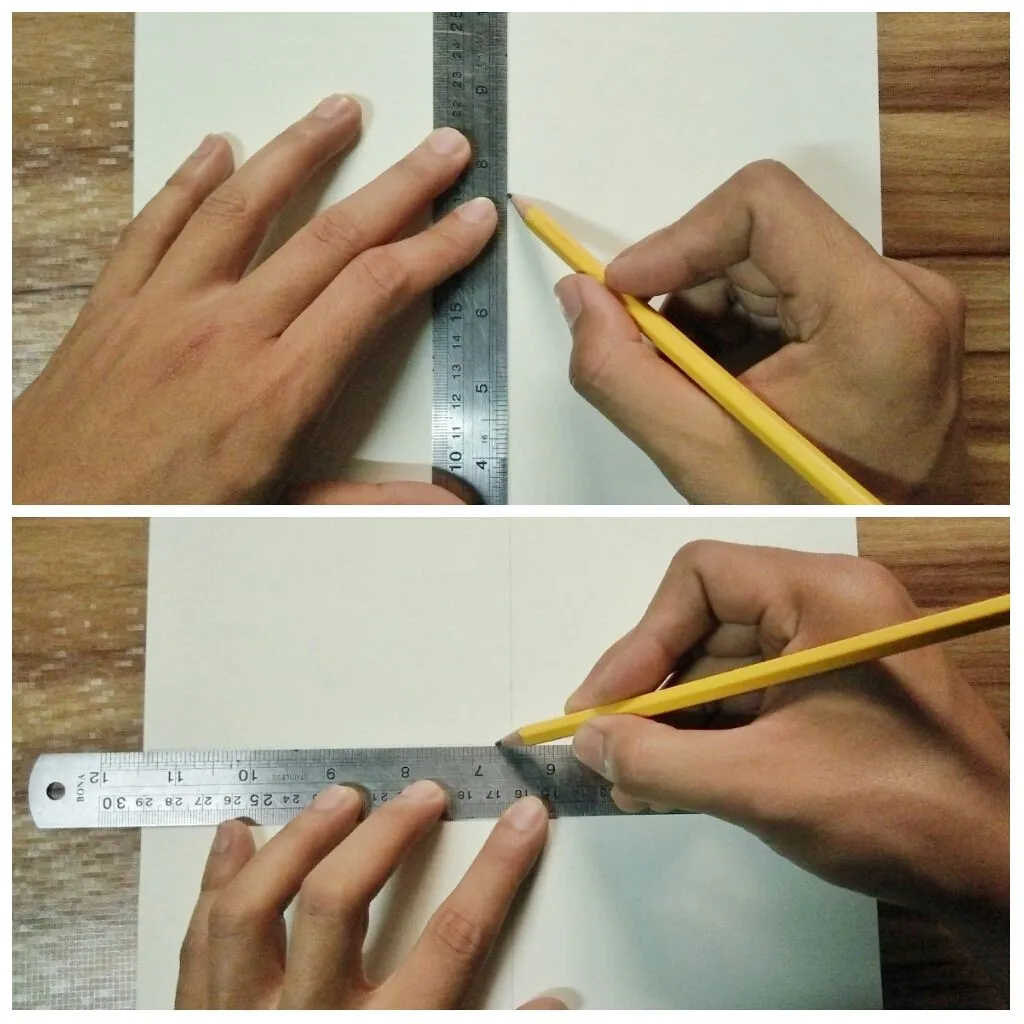
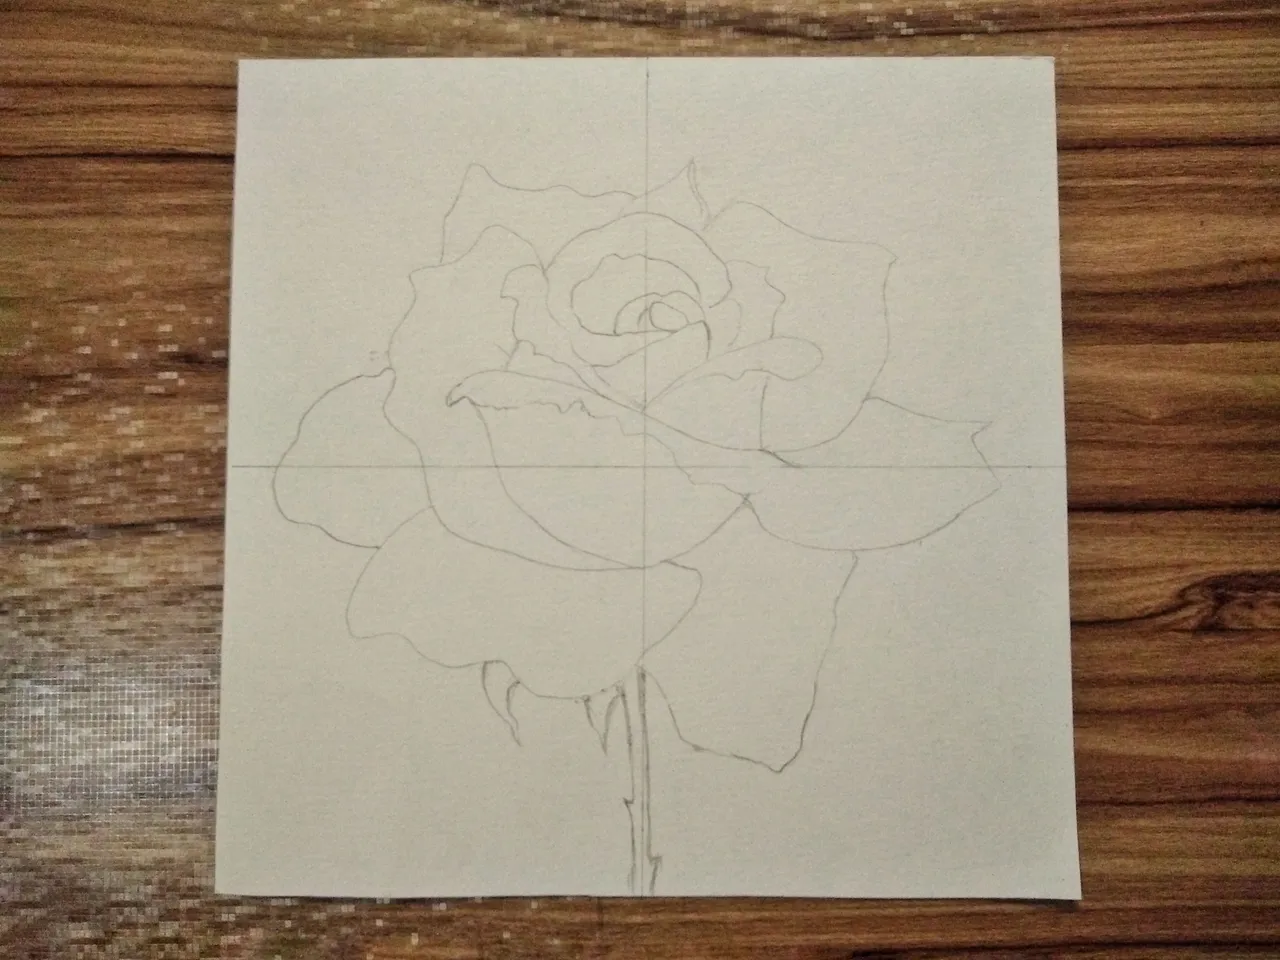
Start by creating four chambers of the watercolor paper. Since it has four equal sides it is easier to outline simply by using the ruler mark the center of the sides in 12.5 cm. Then trace a vertical line followed by a horizontal line.
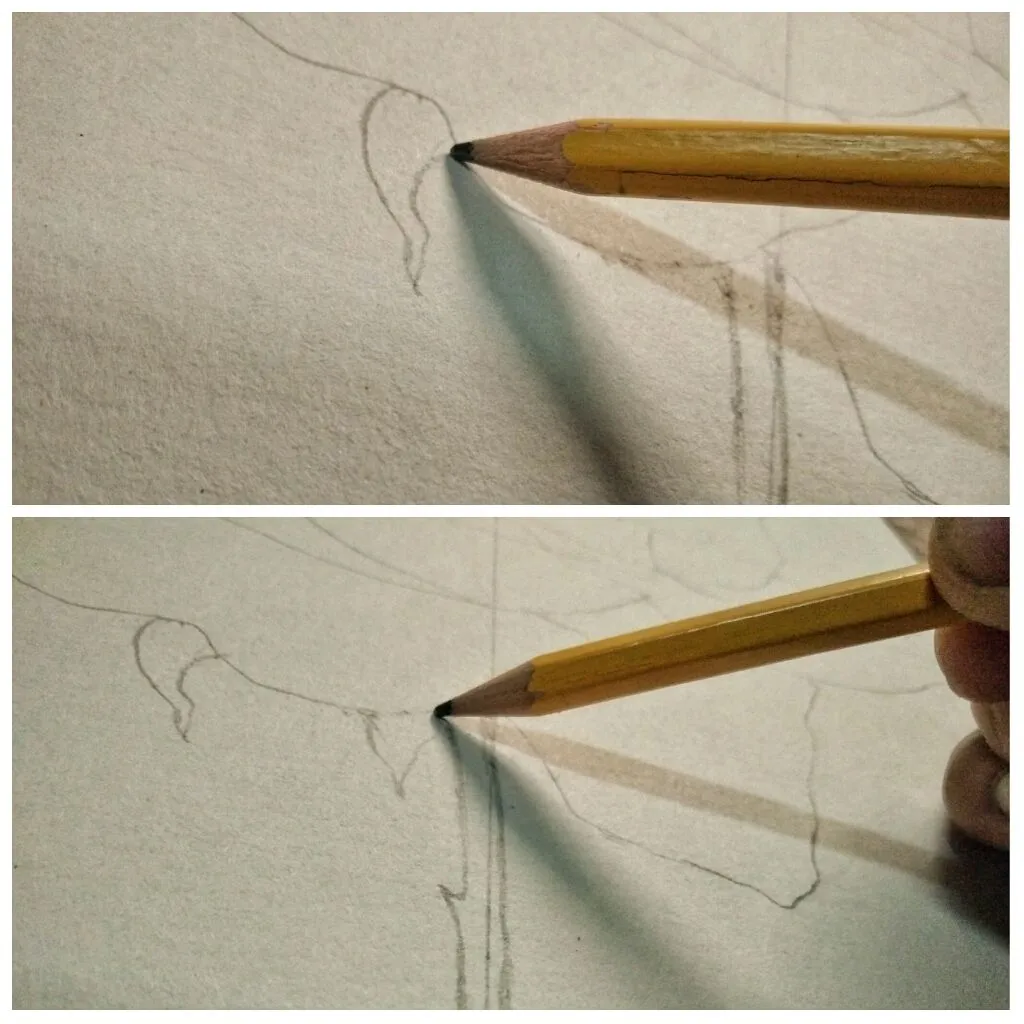
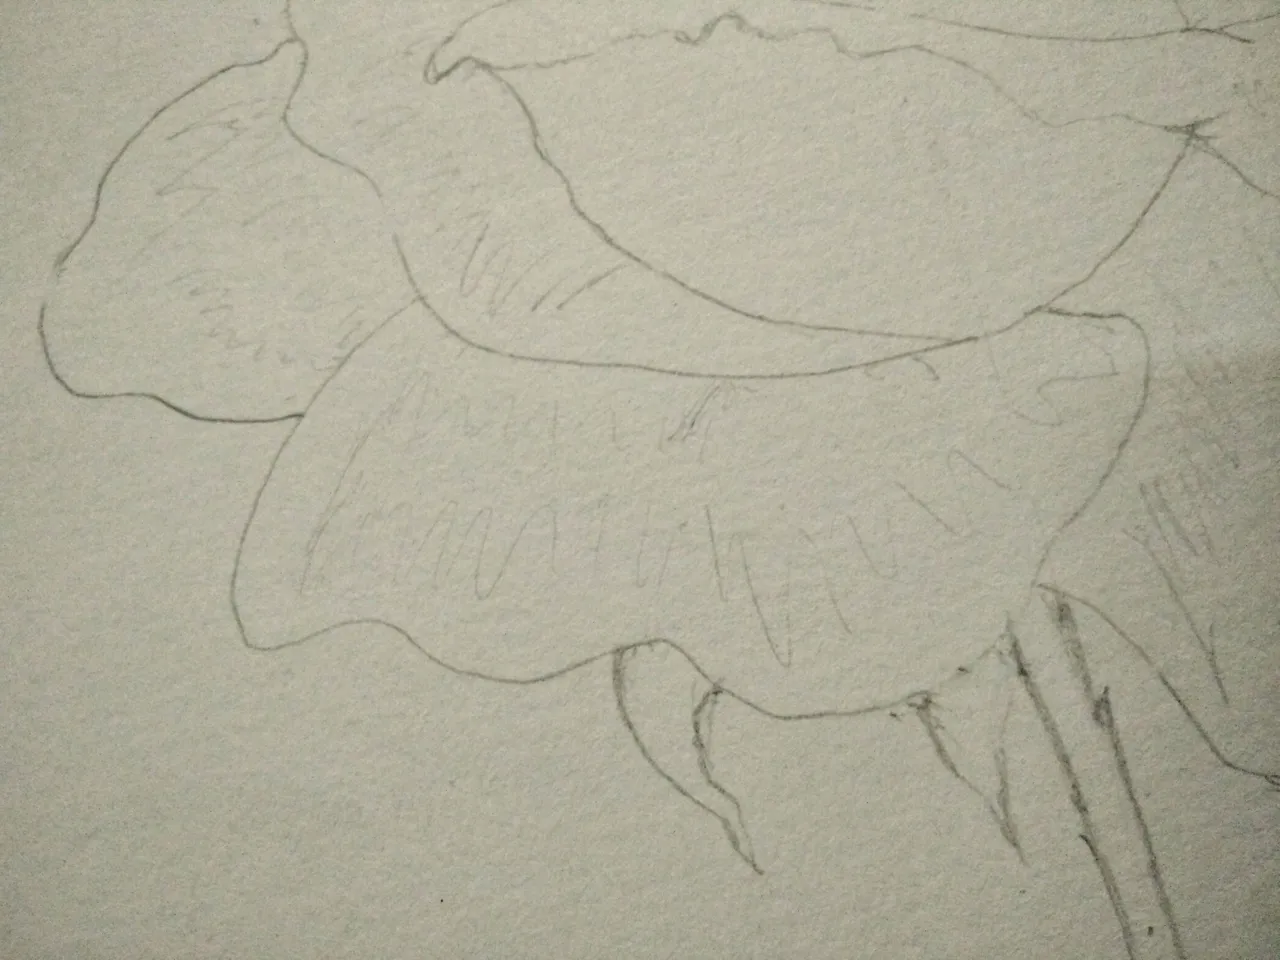
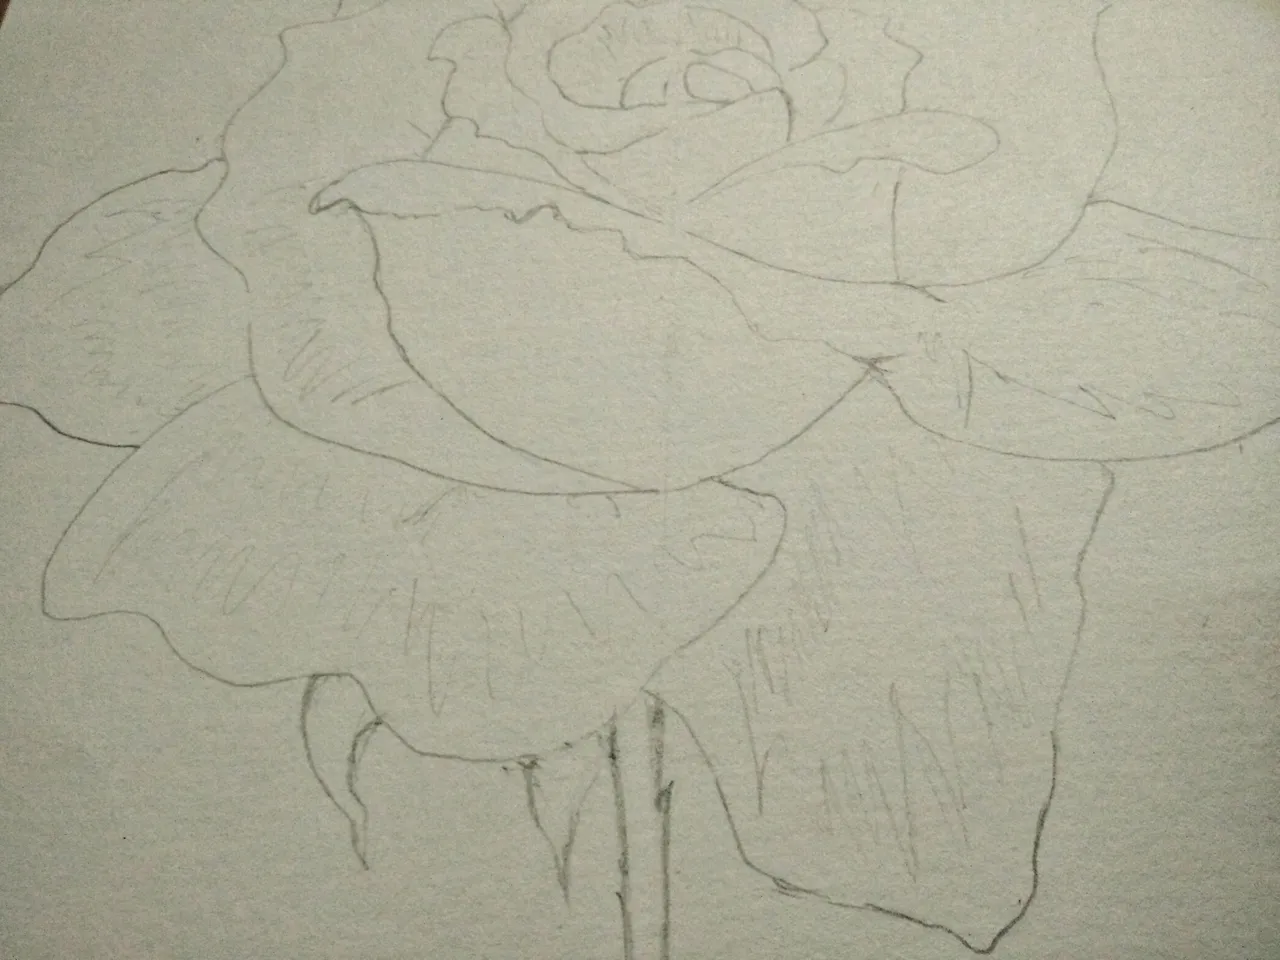
Next draw a face like outline in the center of horizontal and vertical line. When base is done, propagate the petals of the rose. Just make sure that one petal goes after the other. There should be a connection on the base of the rose.
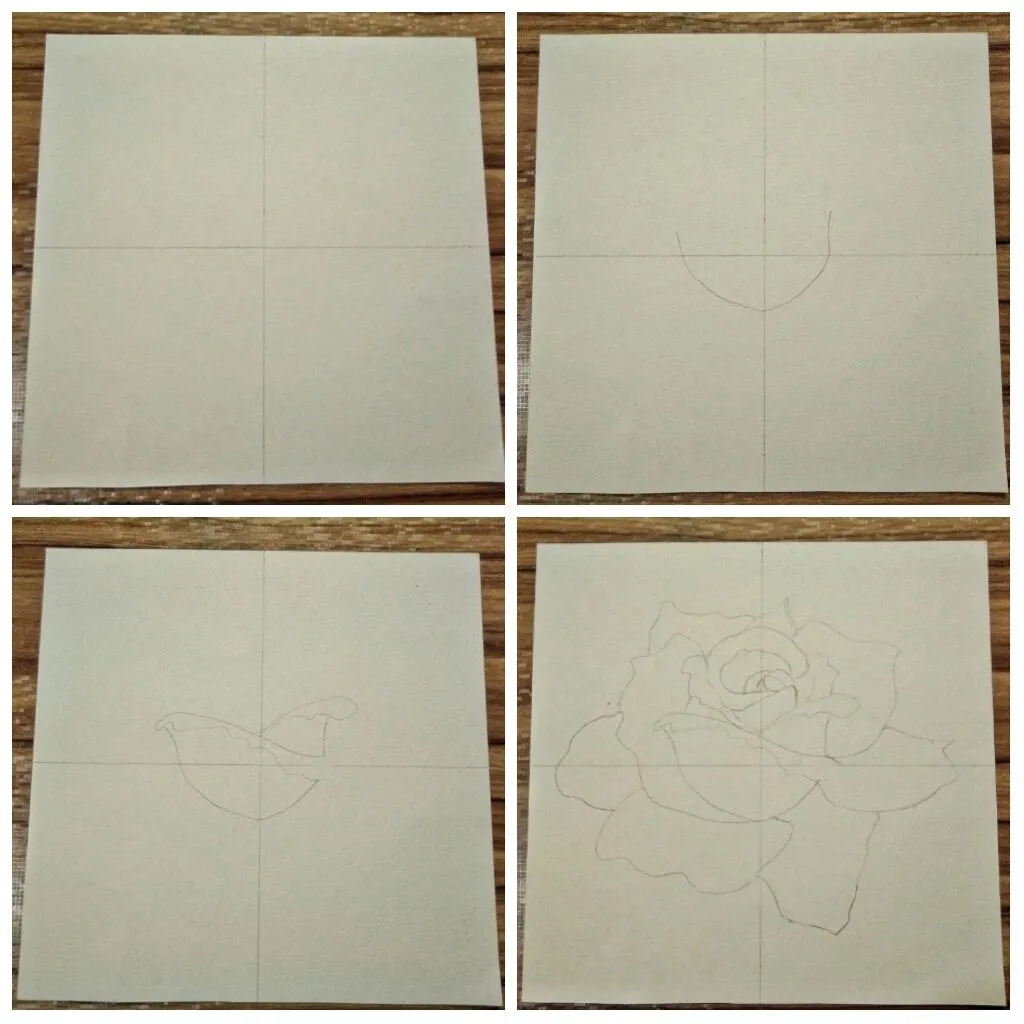
After the petals, we do the short stem and the sepals of the Rose.
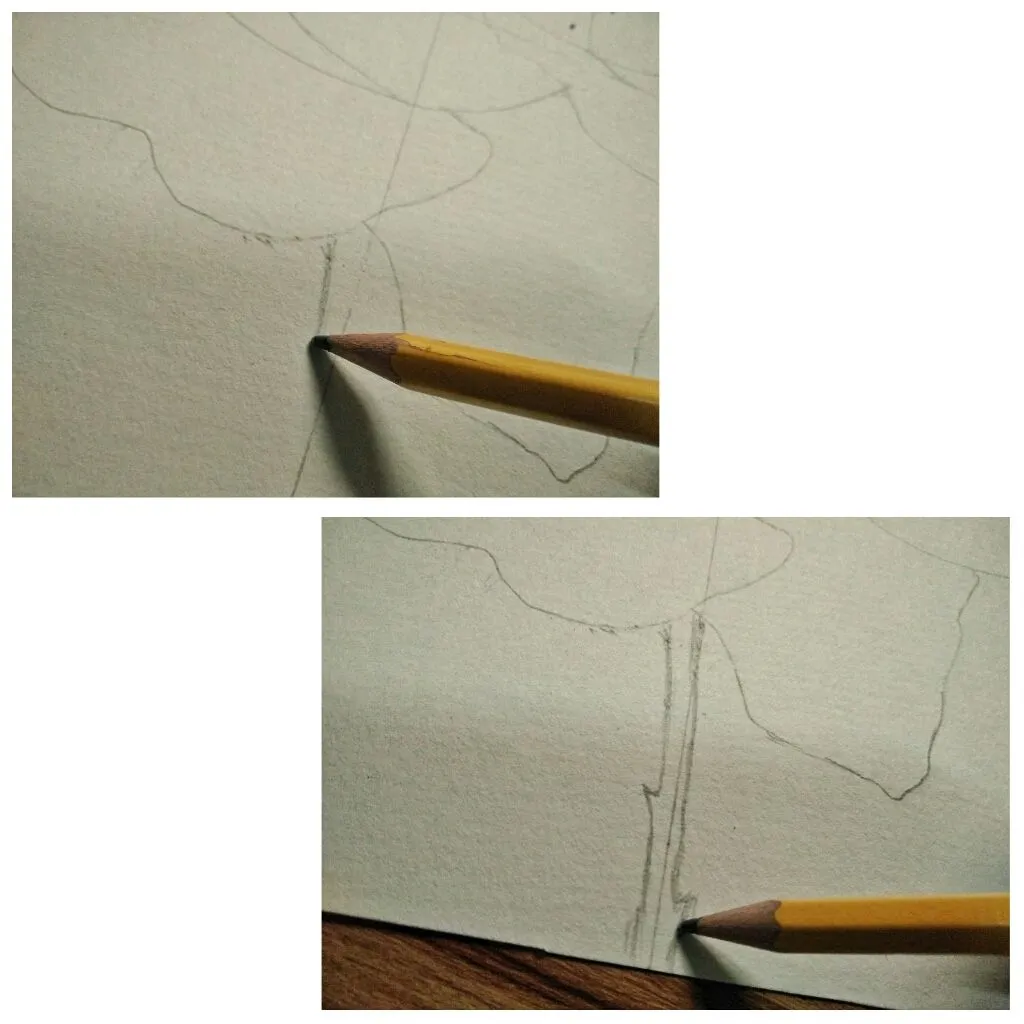
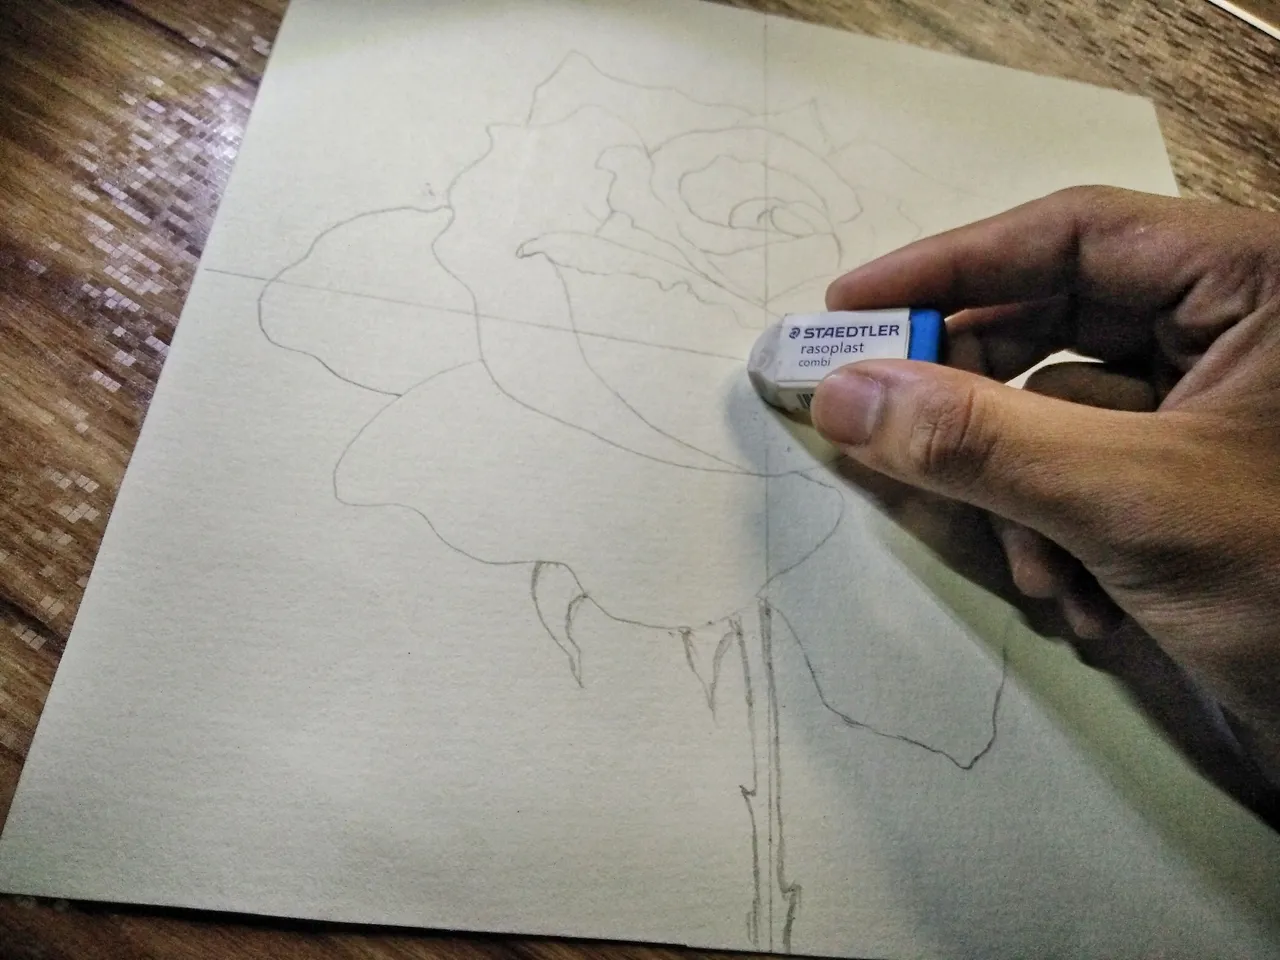
Erase the horizontal and vertical lines. And put masking tape in the four corners of the paper. These will anchor our paper on the table so it will not move.
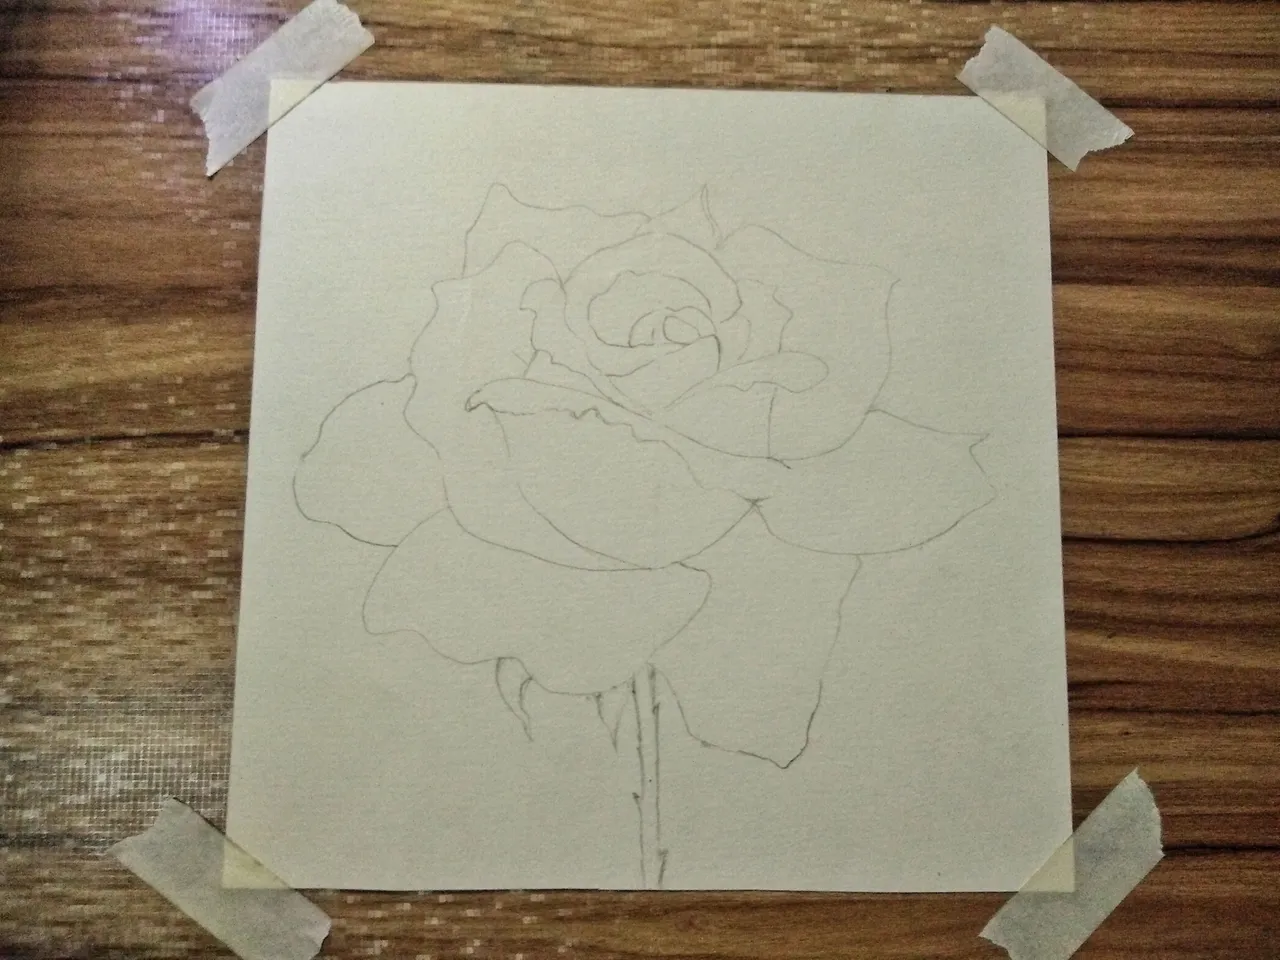
To complete the sketch, mark the parts of the flower that will have a lighter color. Draw a monster like teeth outline.
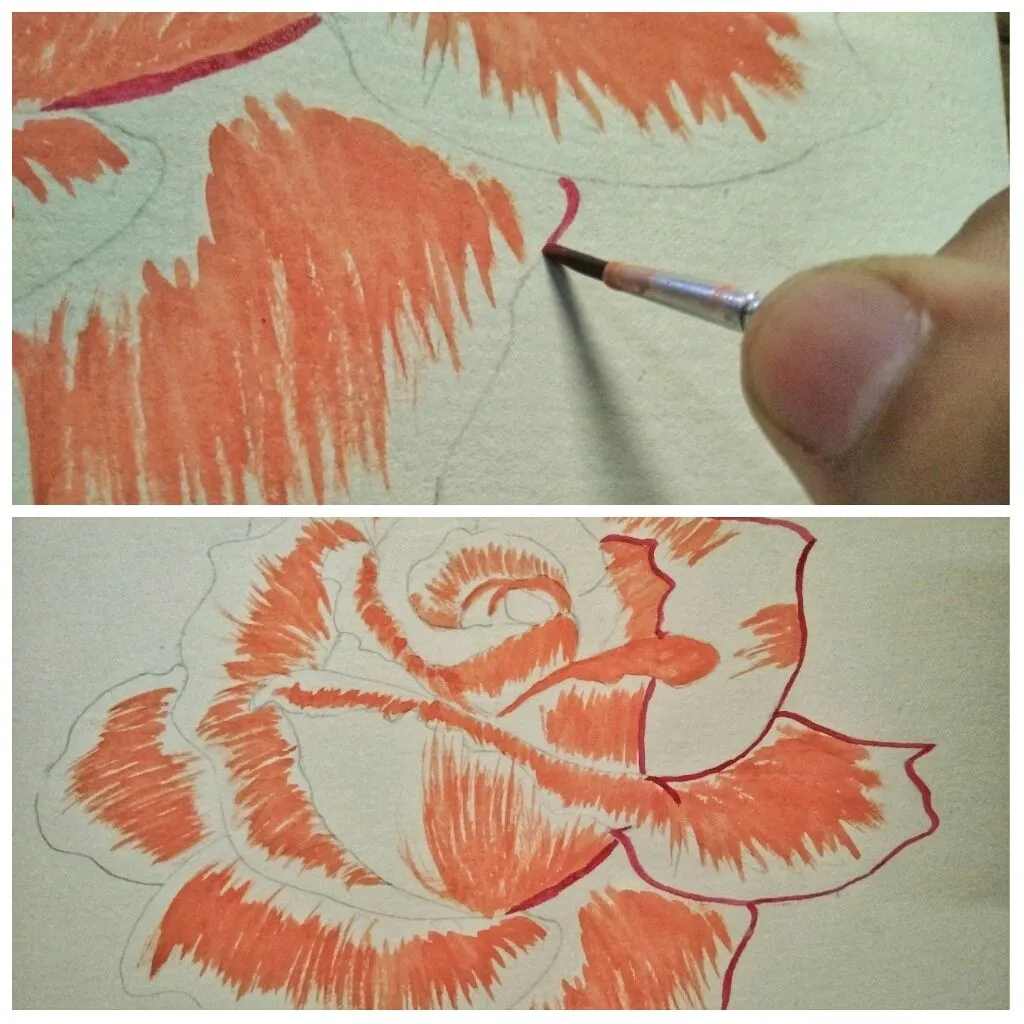
2.) LIGHT COLOR FIRST
Now the exciting part, coloring!
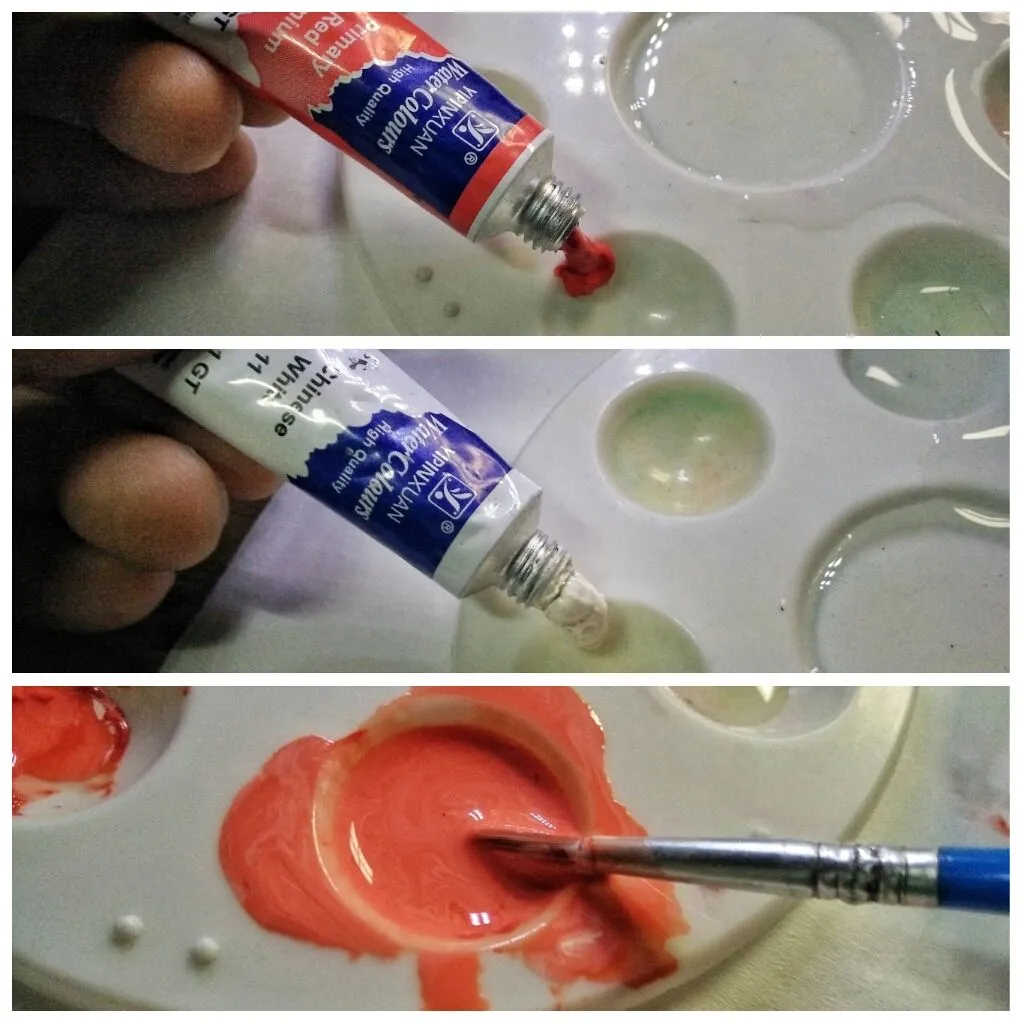
In the Palette mix the Primary Red Cadmium and Chinese White watercolor to produce a creamy-like red orange color. The result seems to be a combination of ketchup and mayonaise. Lol.
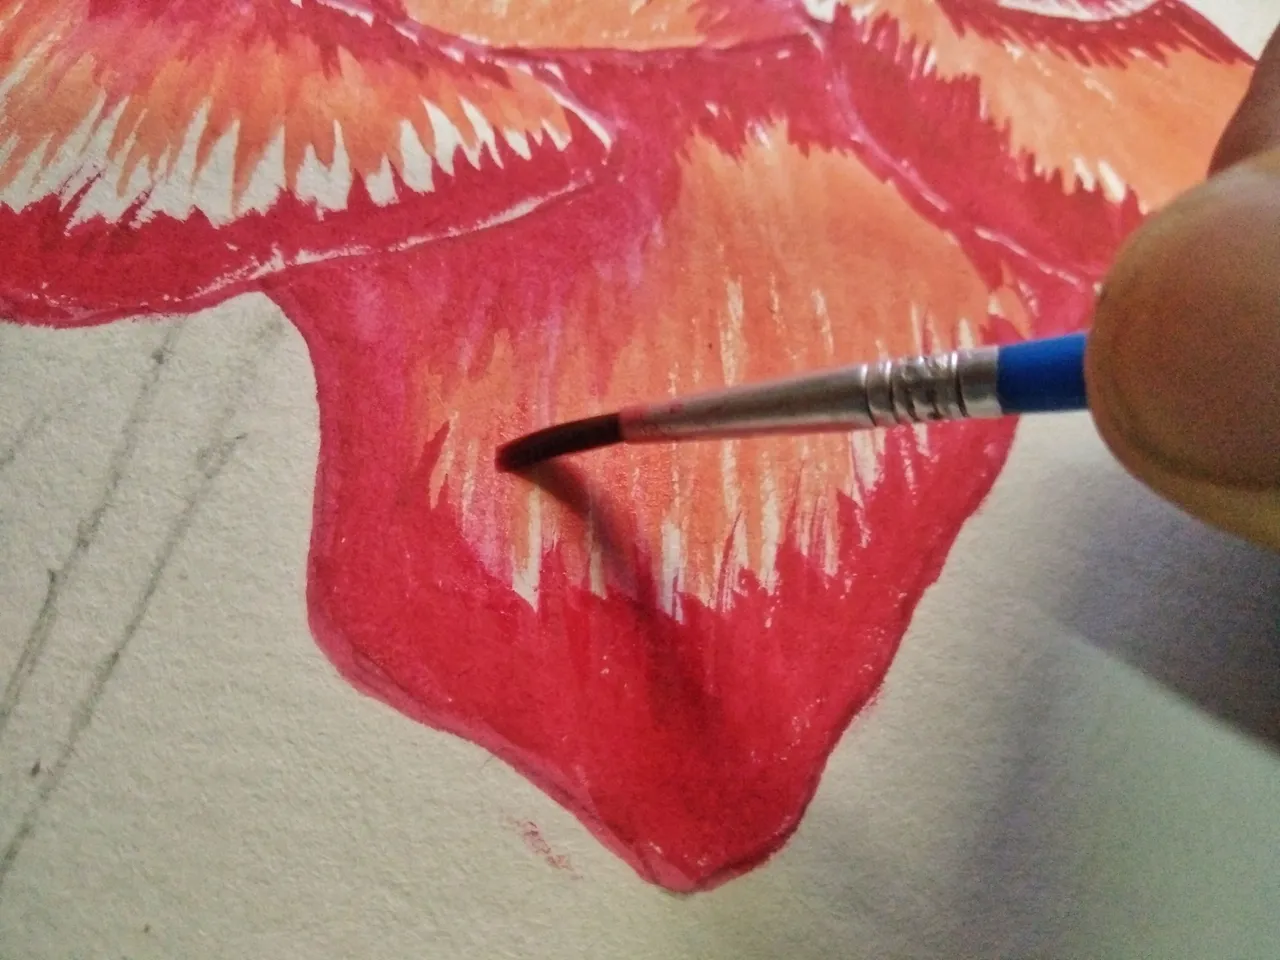
Use your thinnest paint brush to spread the color in a smooth d vertical manner.
Vertical stroking is very important in creating a texturized illusion. Do vertical strokes according to the direction of the petals.
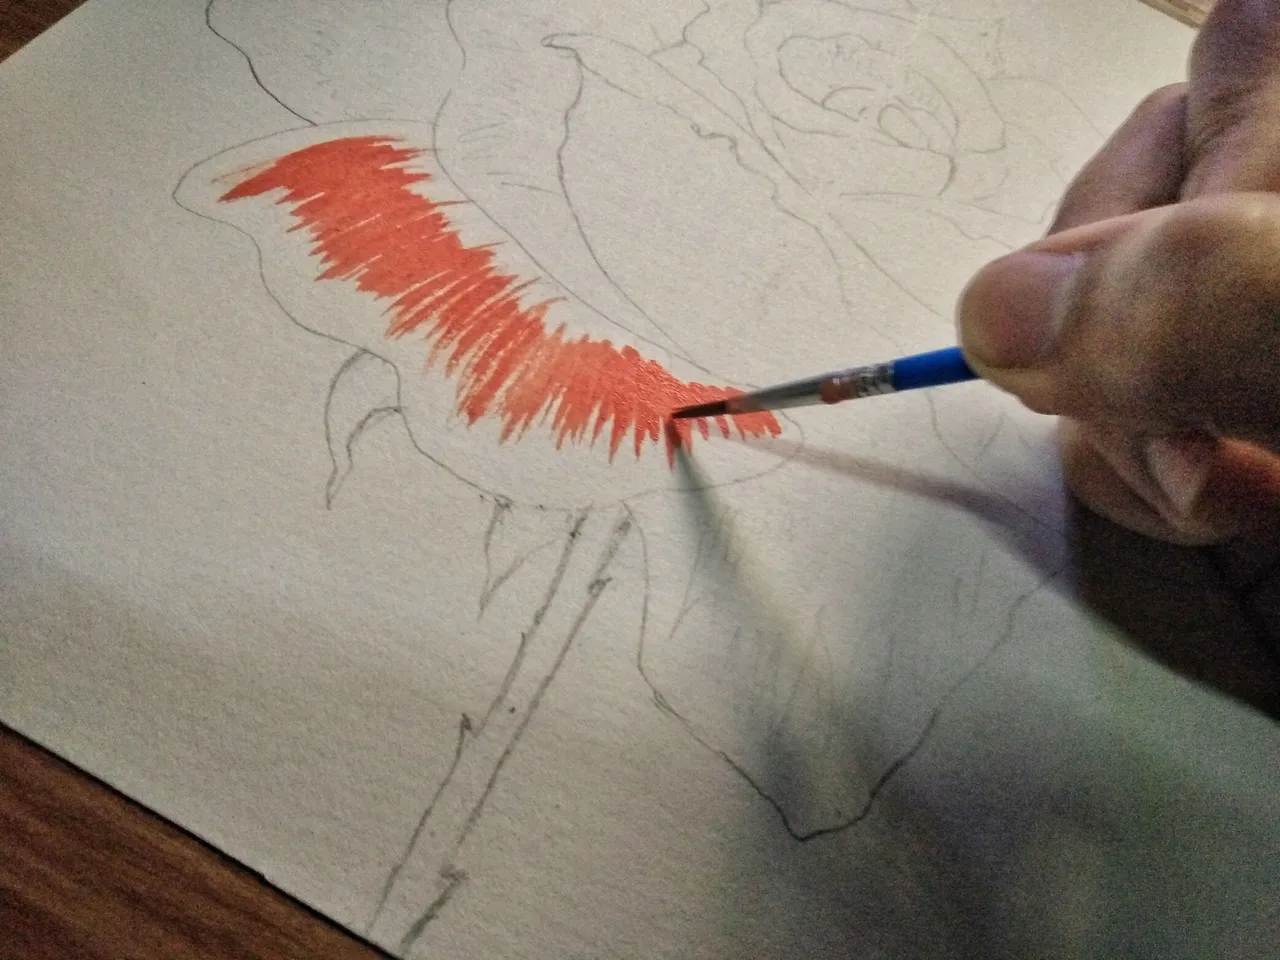
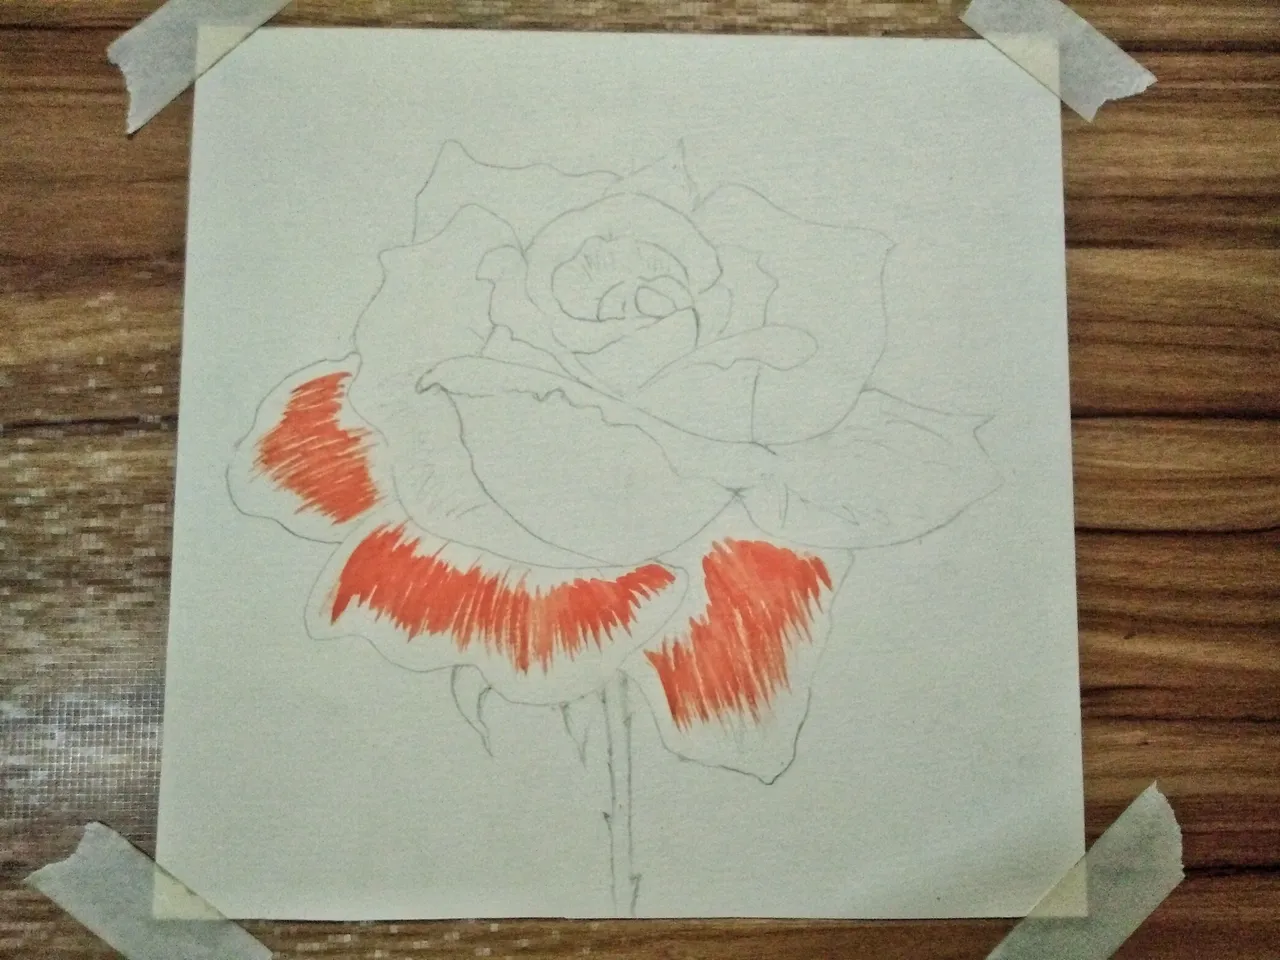
The spaces will be the jurisdiction of the Red color.
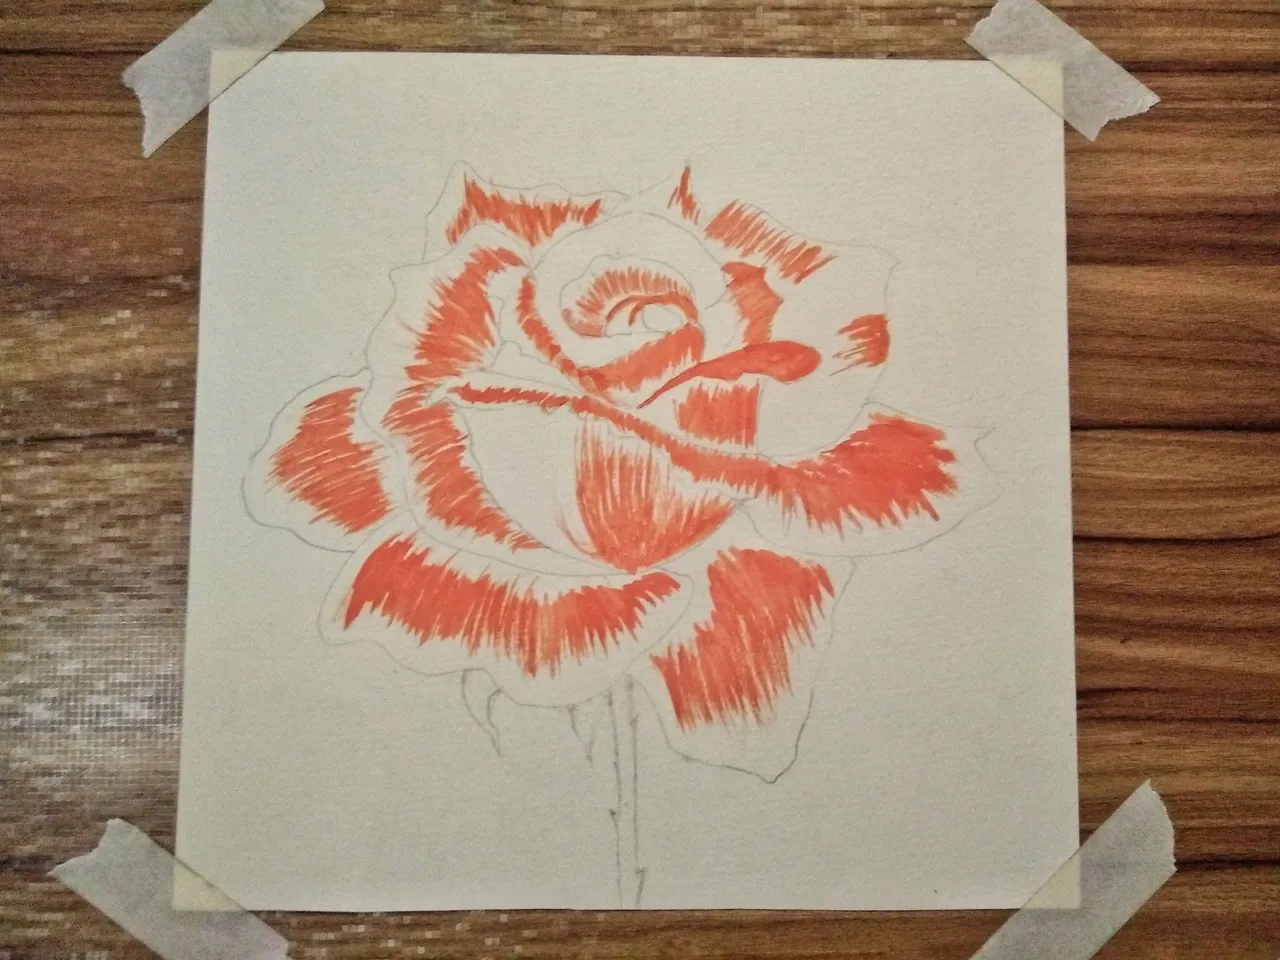
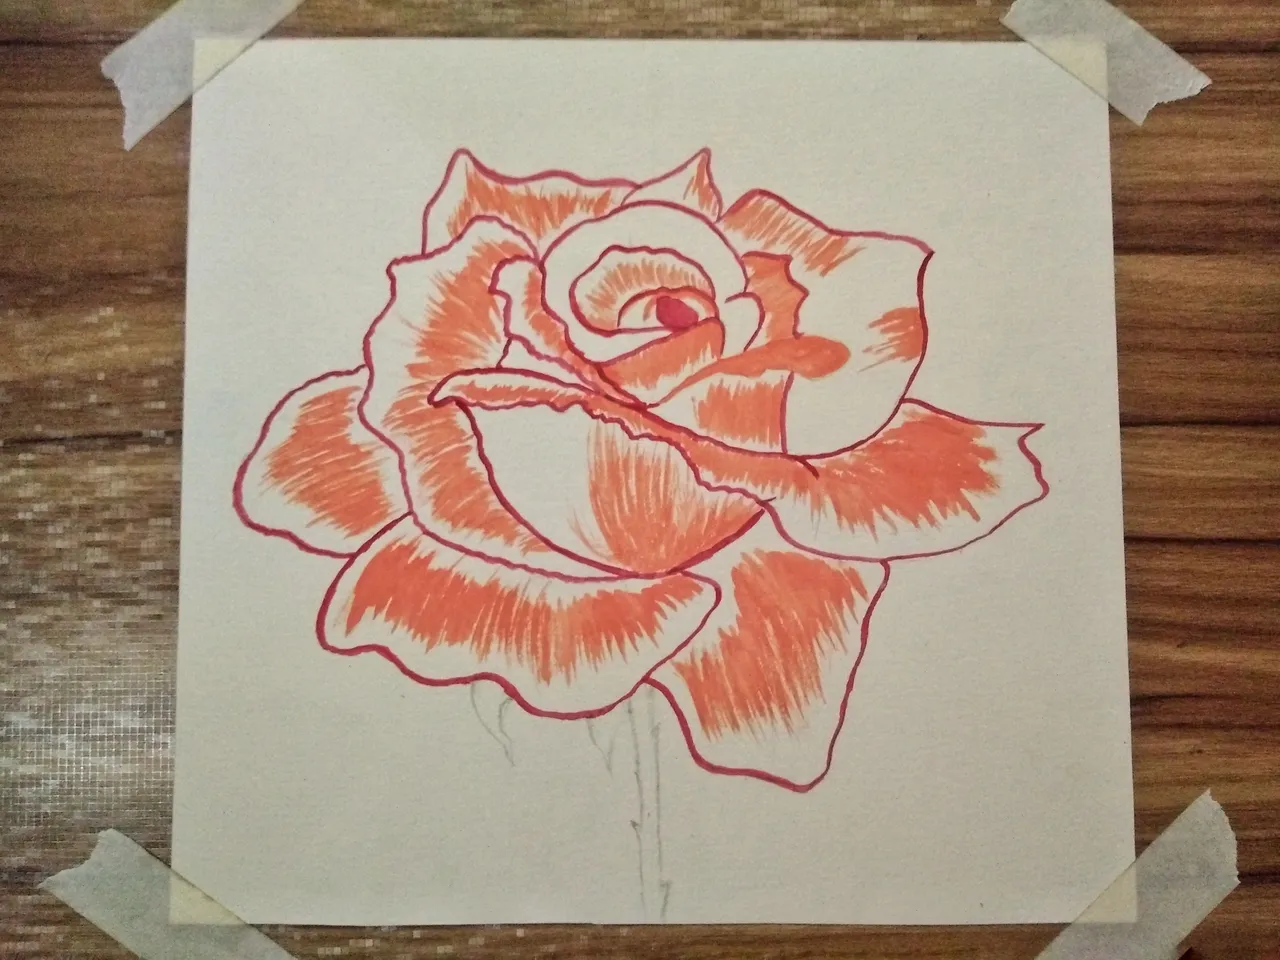
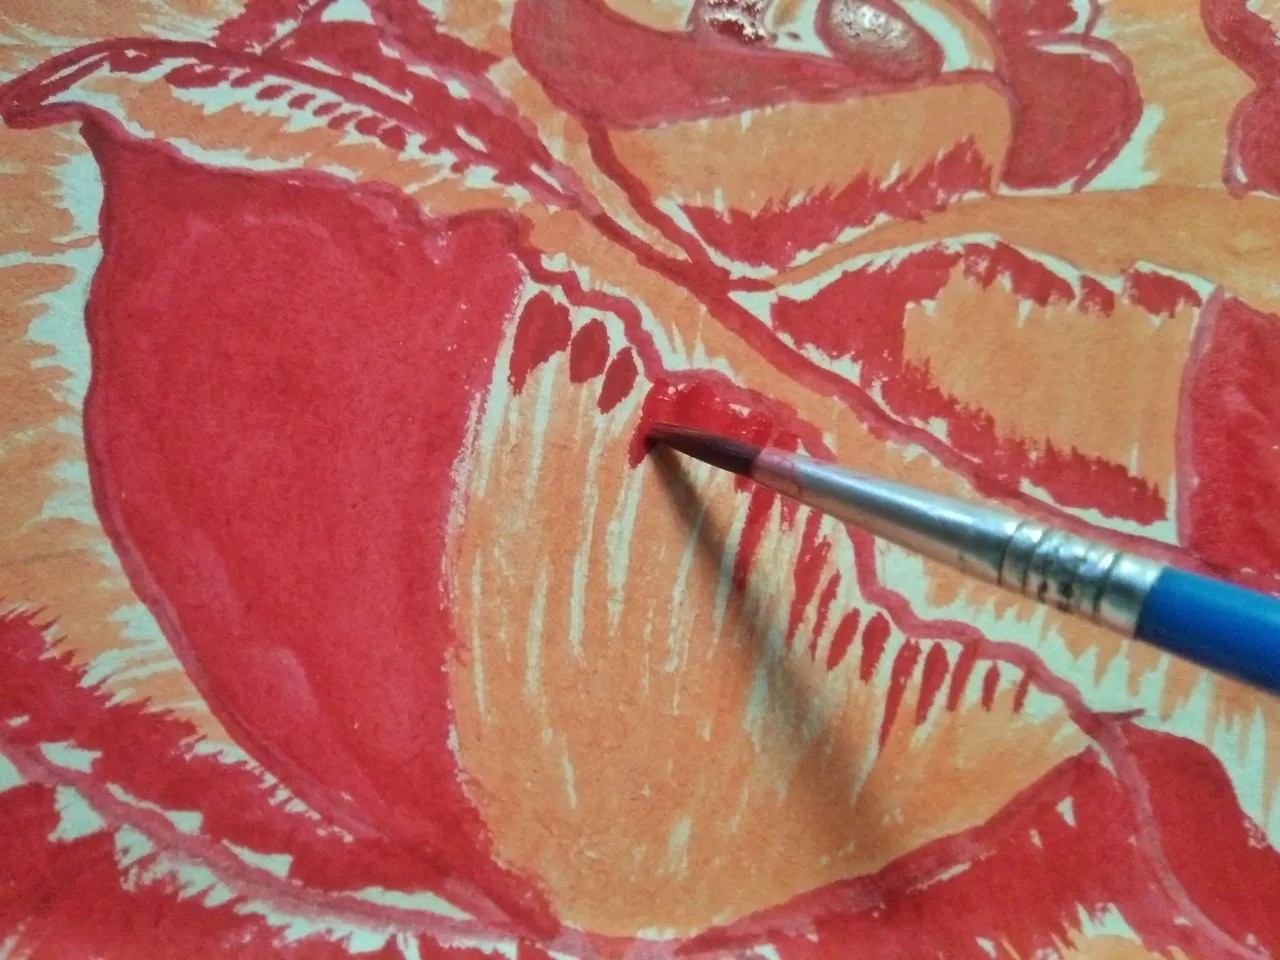
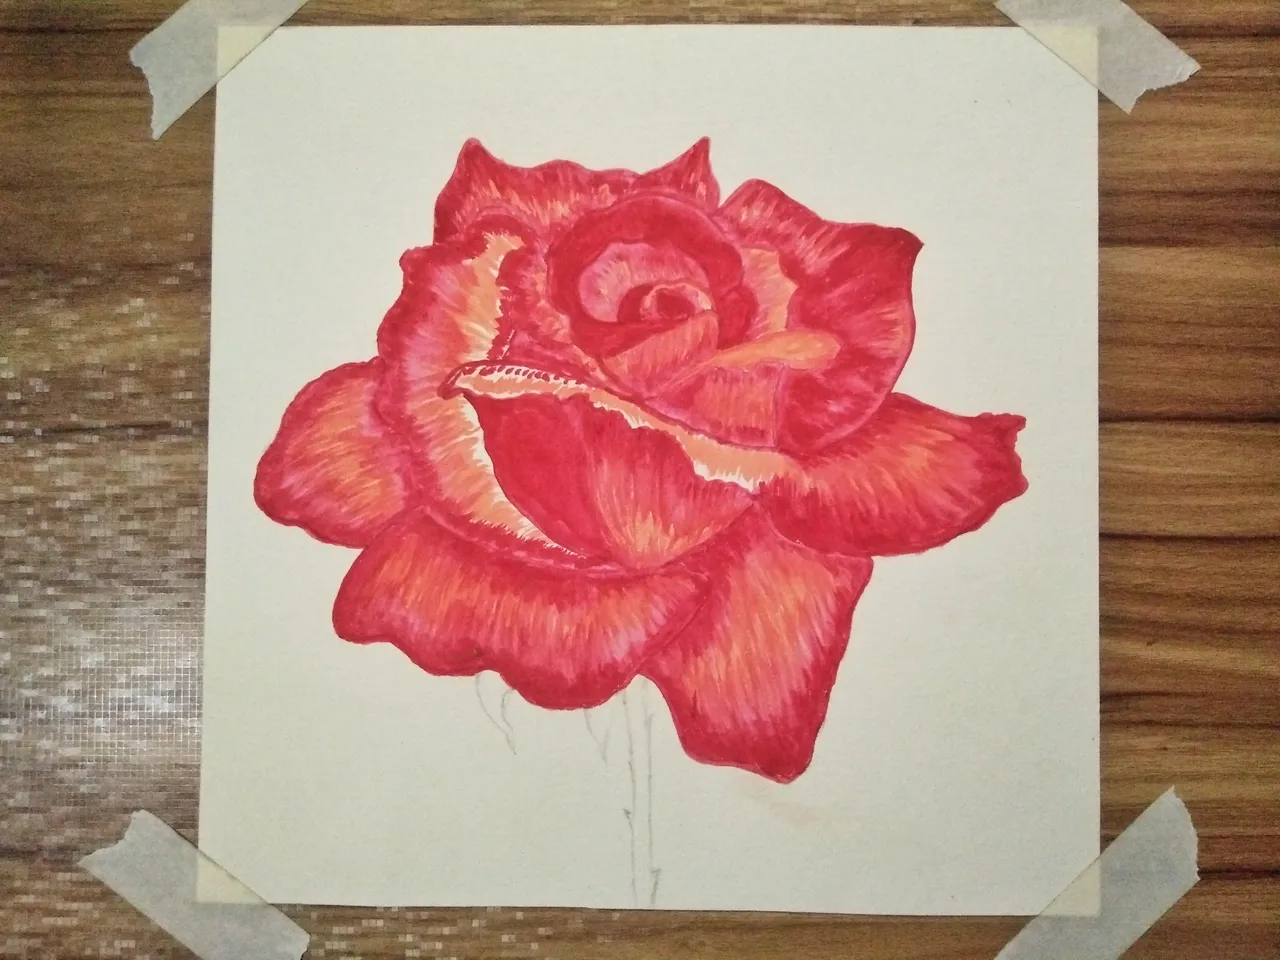
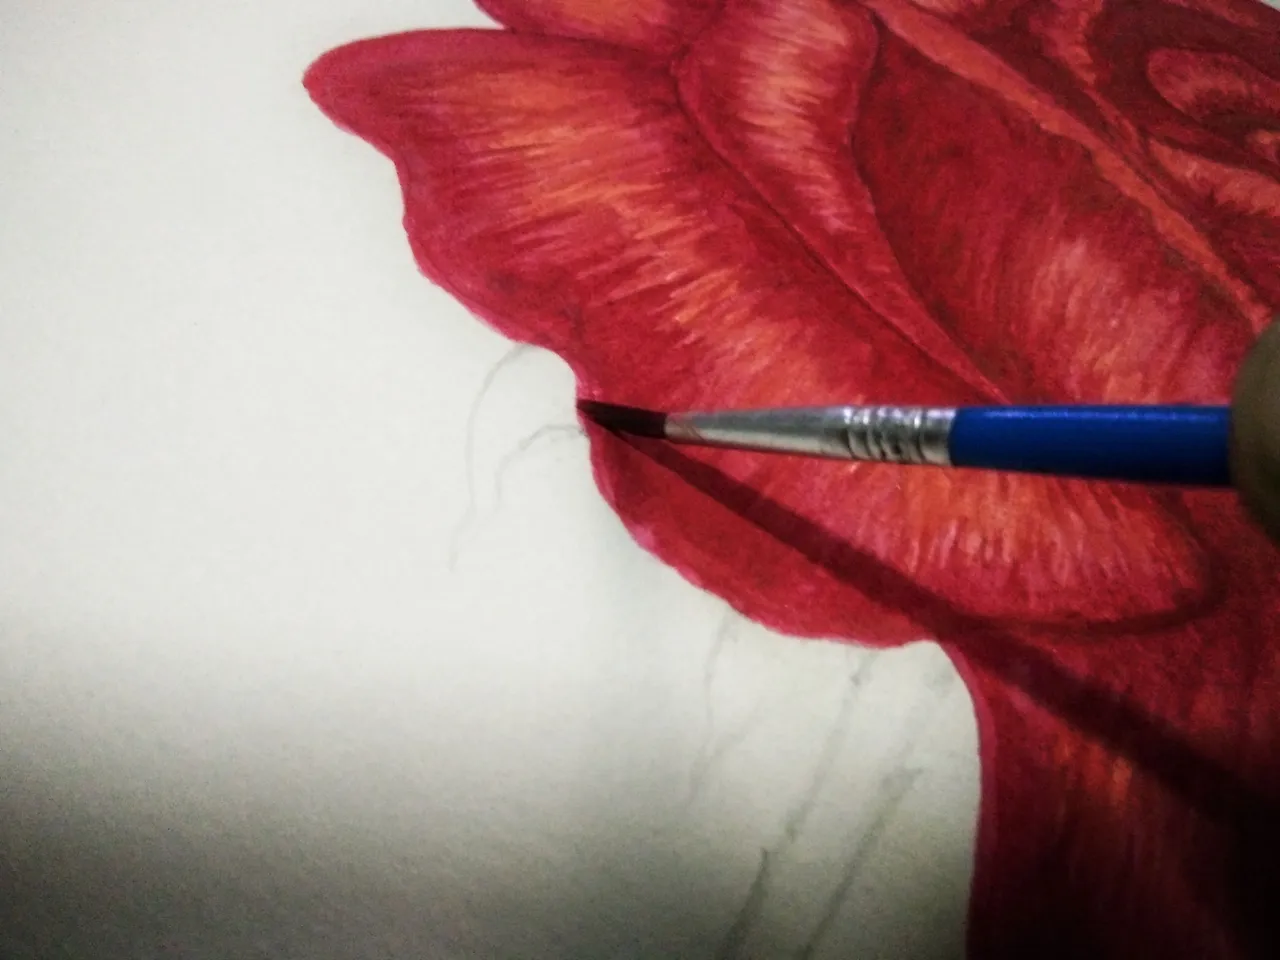
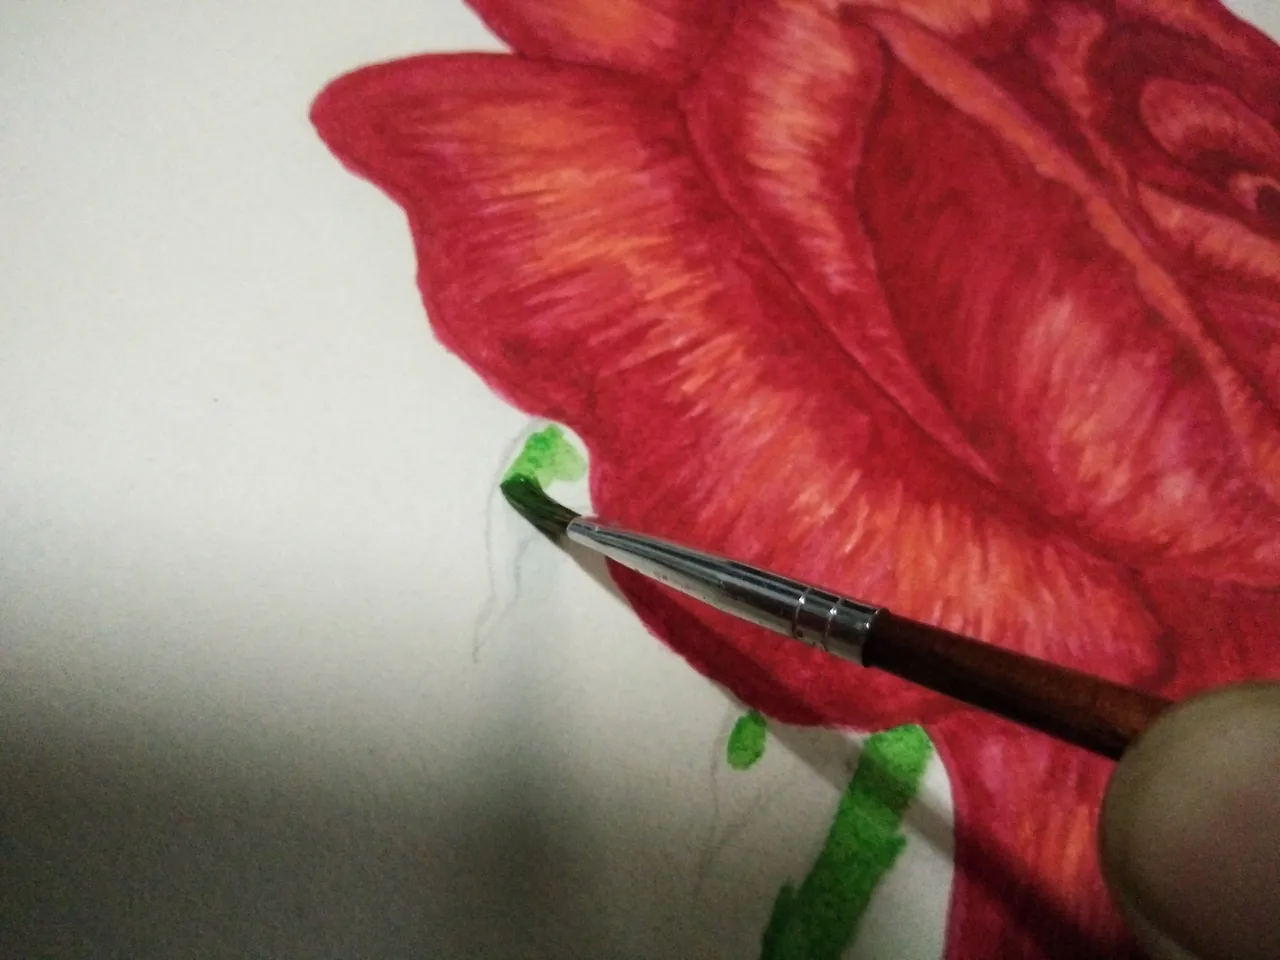
3.) COLORING THE EDGES
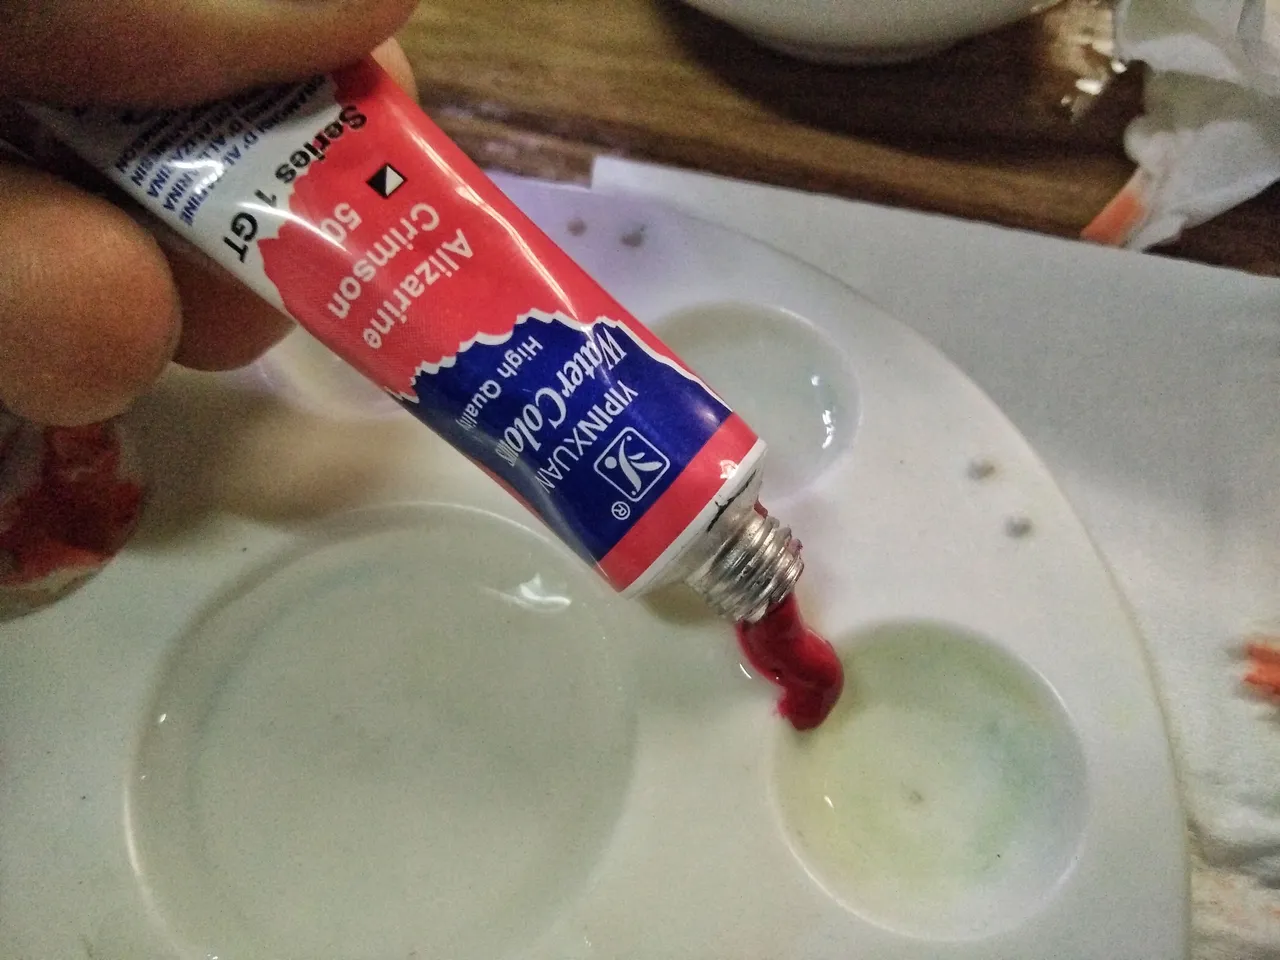
Now we color the edges of the Rose using Alizarine Crimson. Just follow the outline. Do not be afraid if it is not straight or perfectly done, for me it is better to be crooked and wavy especially on the edges of the petals, it adds visual texture.
When tracing, do trace one part after the other to avoid color smudging.
4.) COATING THE SPACES
Again use the Alizarine Crimson, our main color for the Rose to fill the spaces.
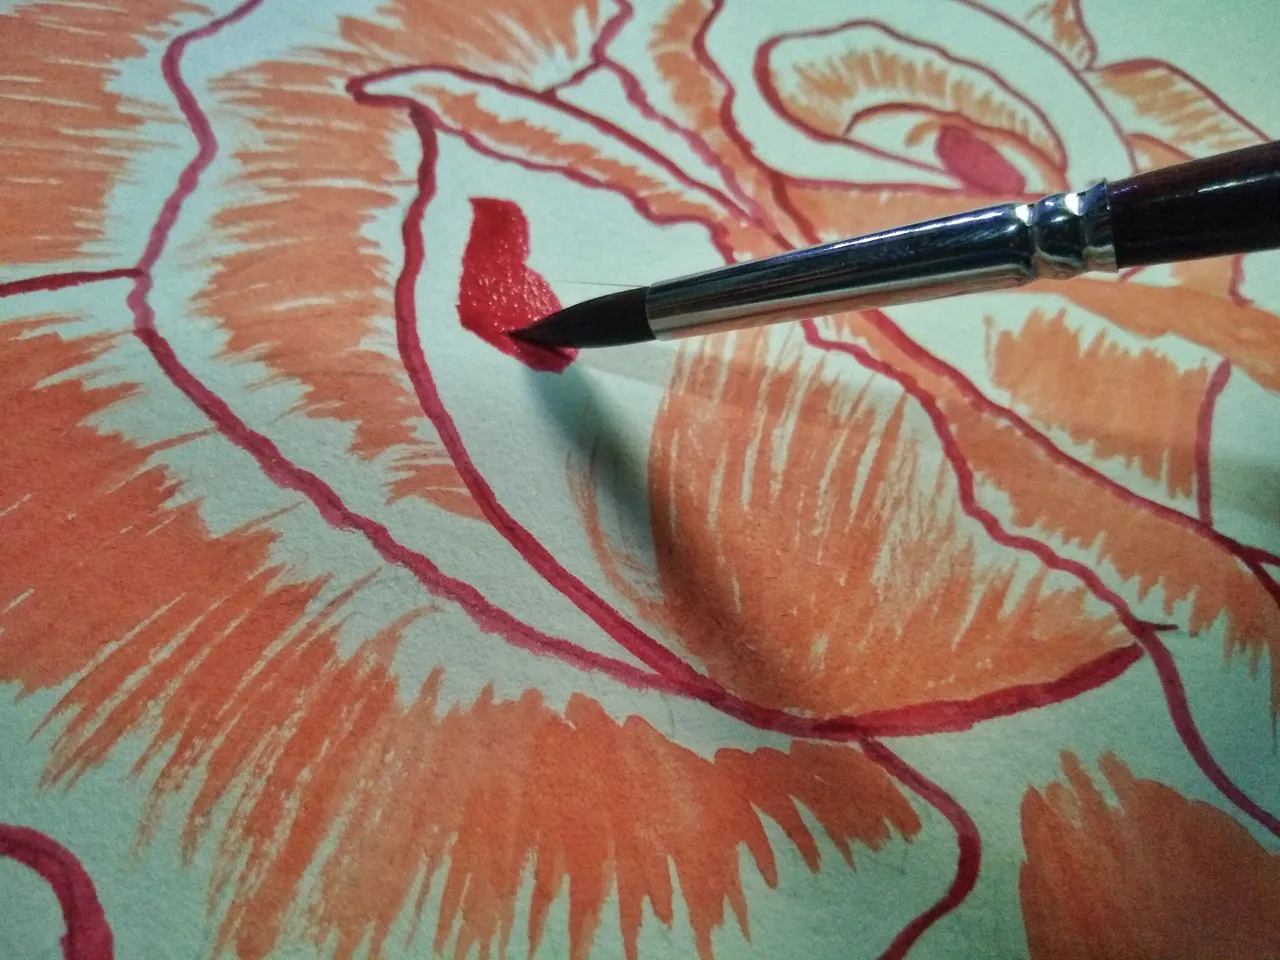
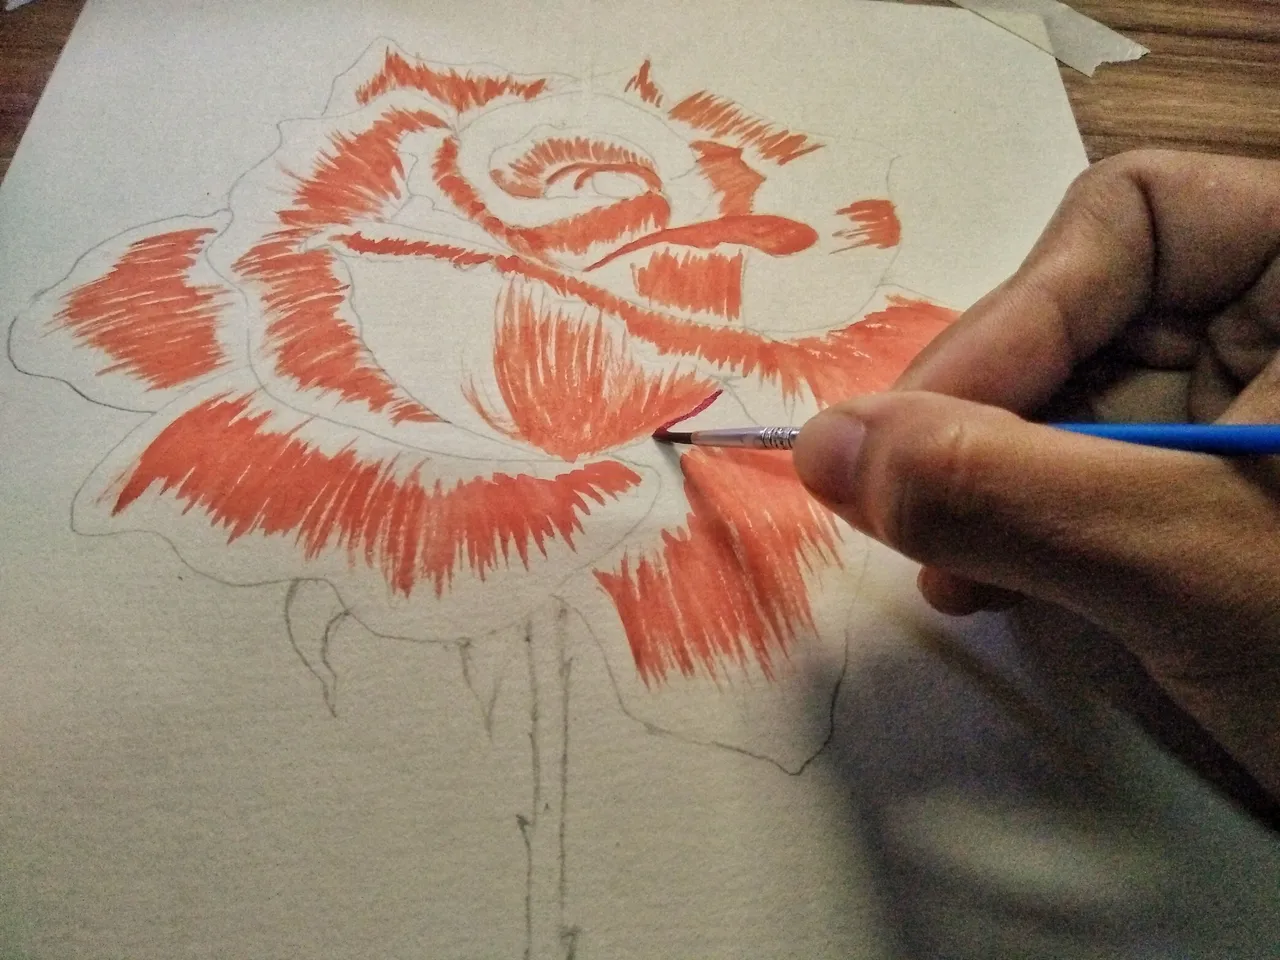
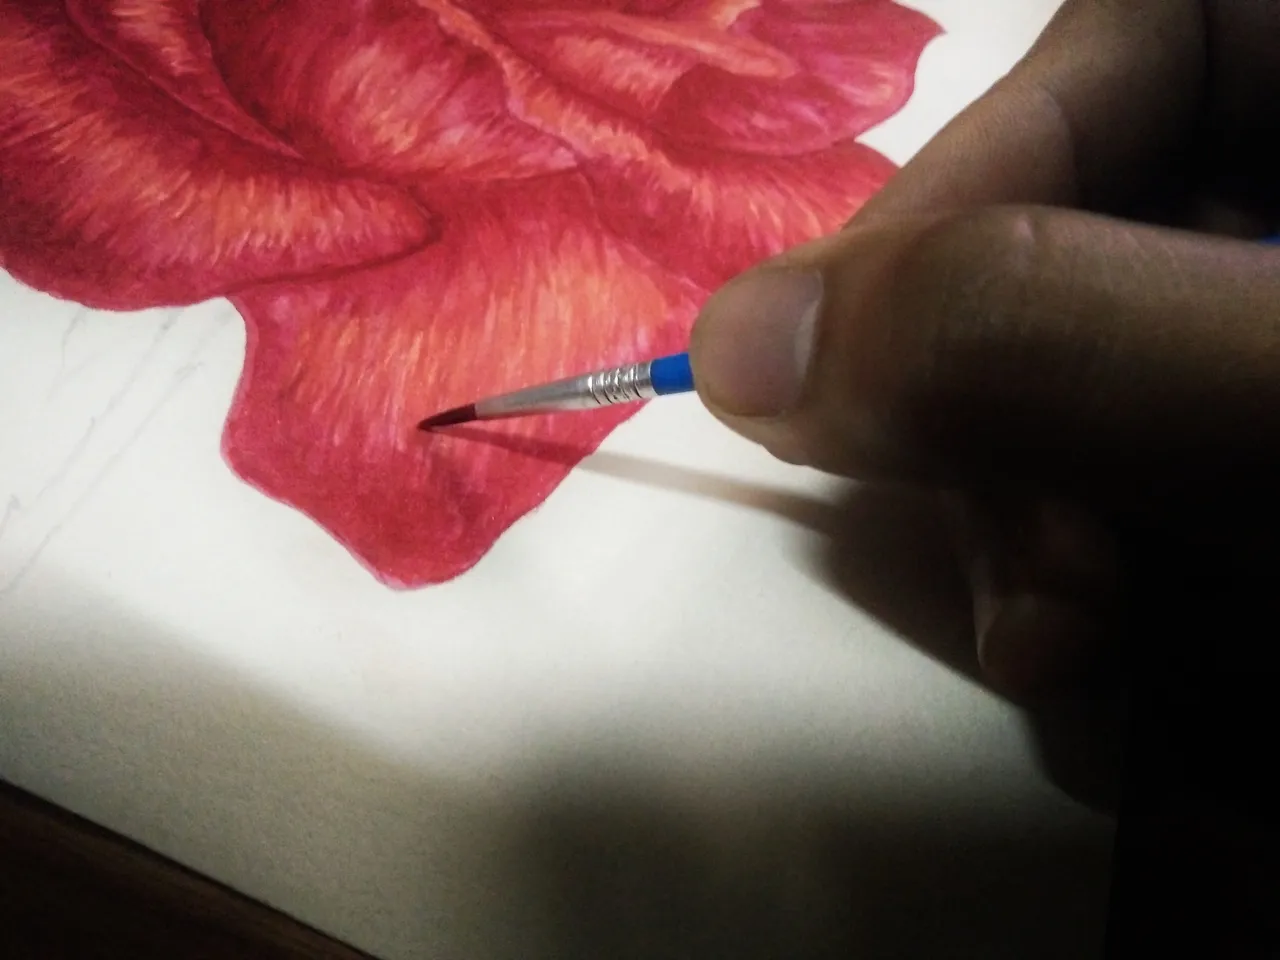
5.) BRIDGING THE GAPS
Let us go bridging! As I have taught you in my last watercolor tutorial, bridging is an essential process to connect the gaps between two colors especially dark to lighter hues.
Just wet the brush and start pushing from dark color going light to create a feathery and natural look union of the colors.
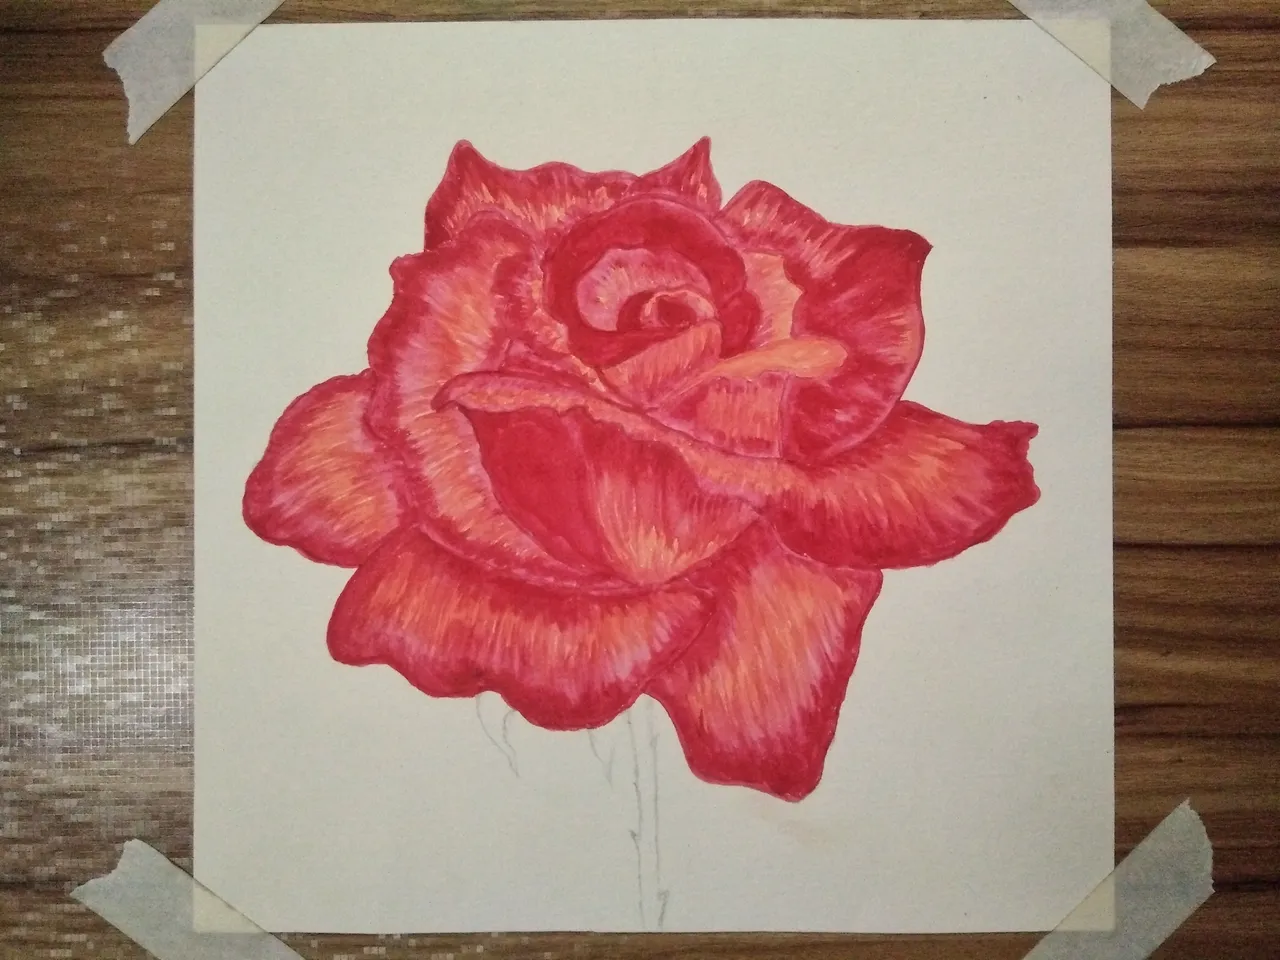
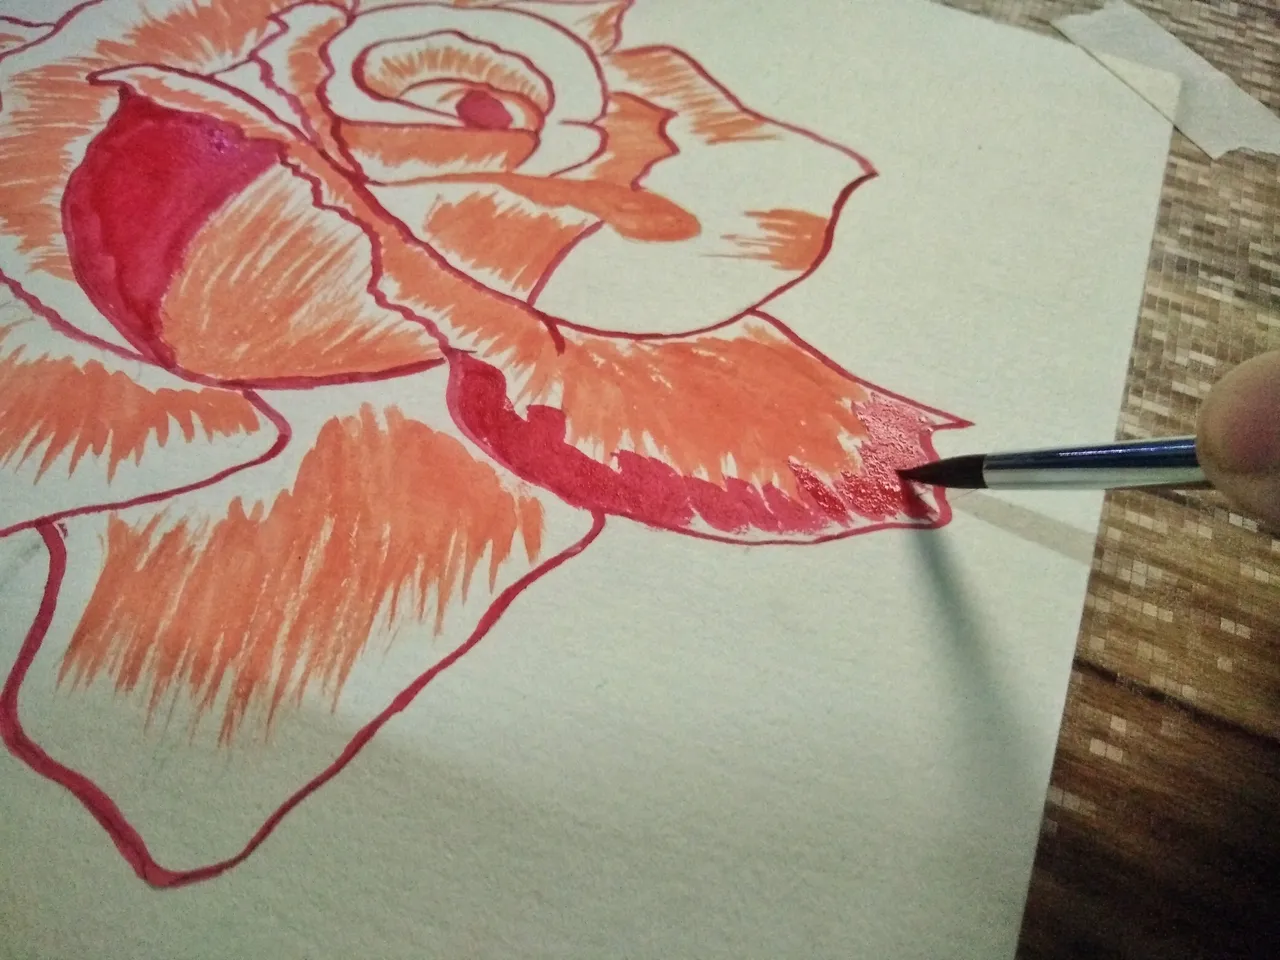
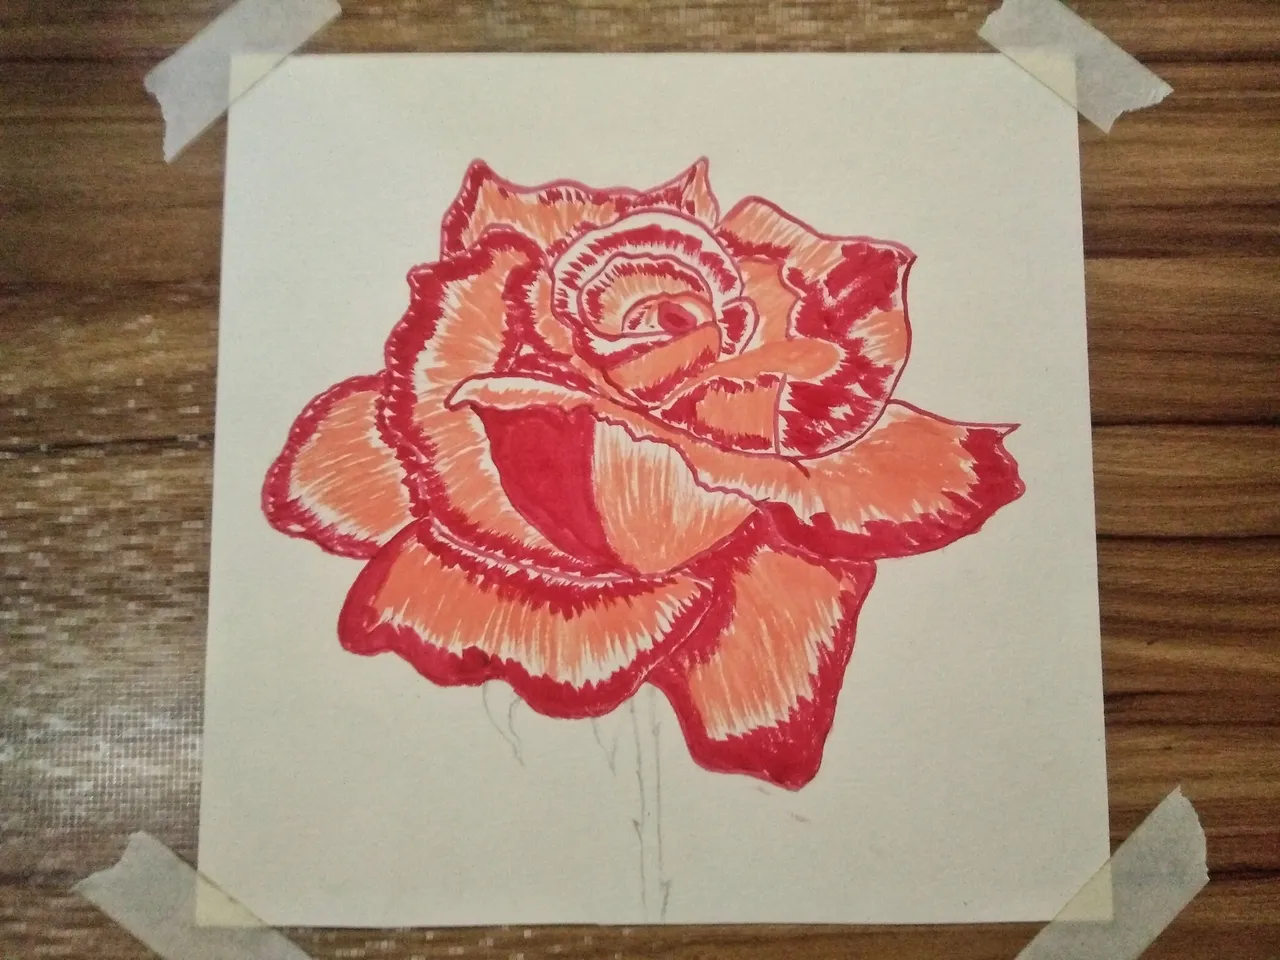
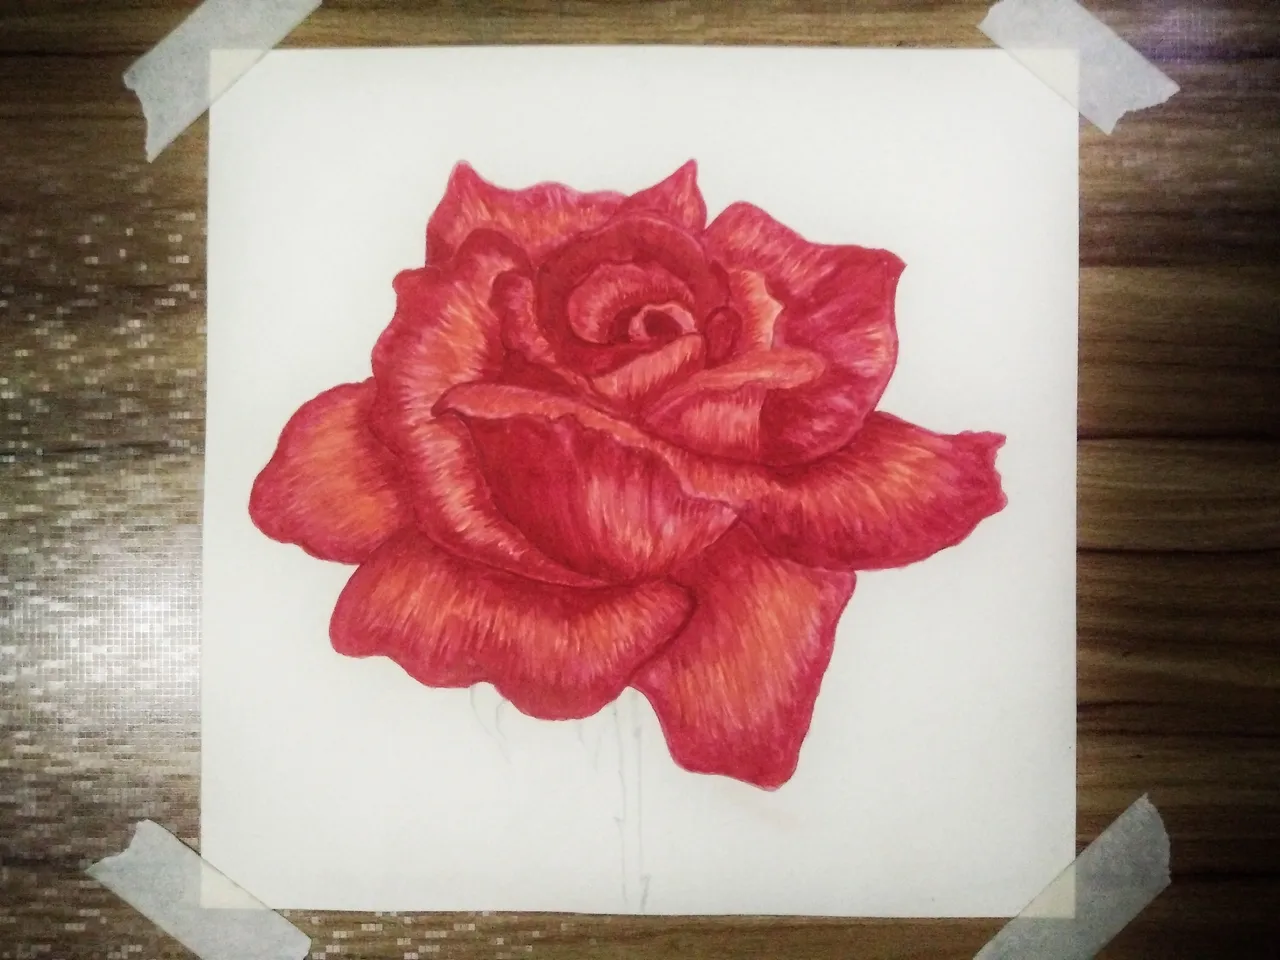
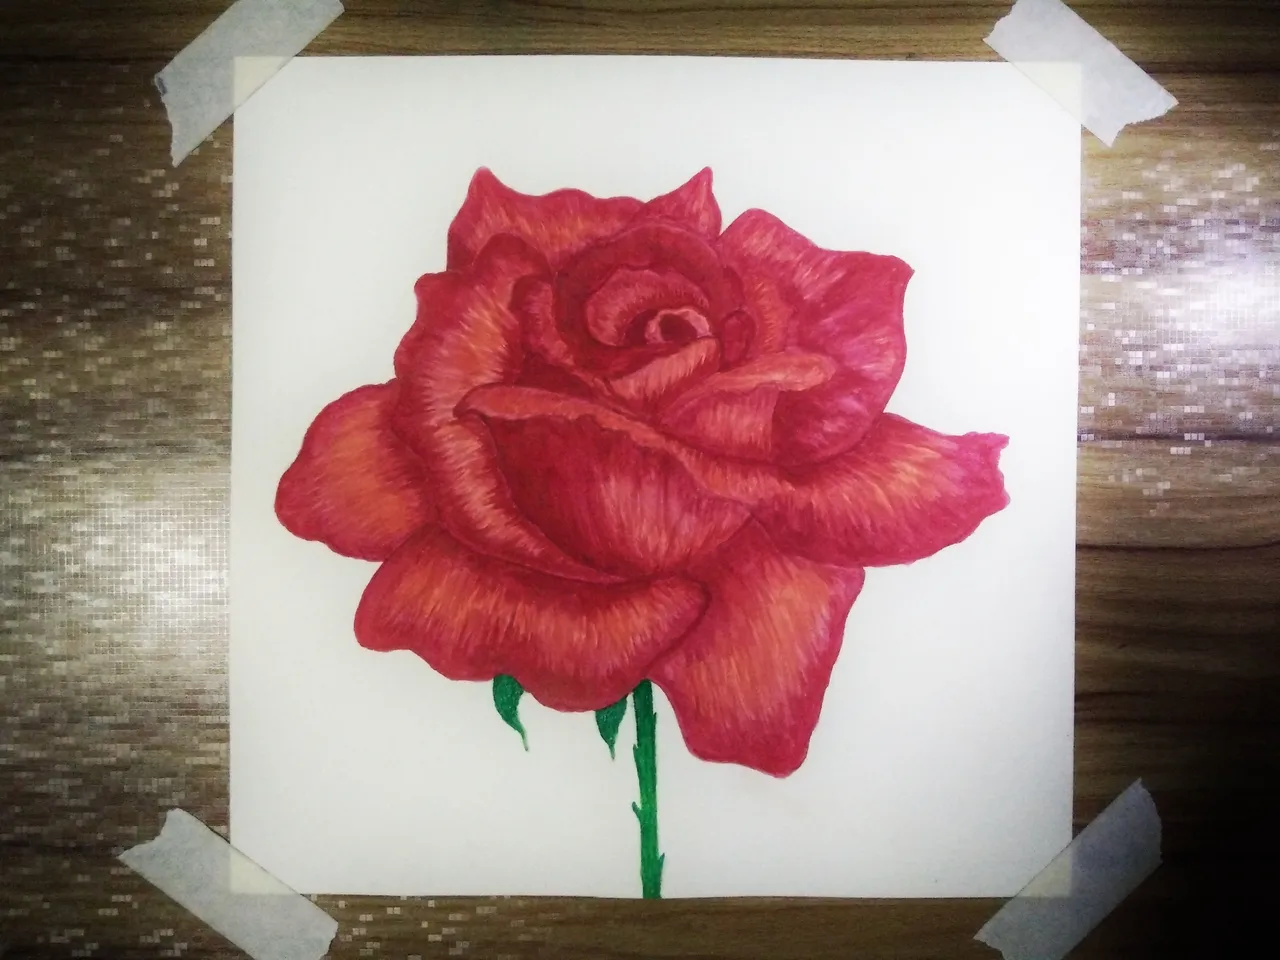
6.) INTENSIFYING THE REDS
After connecting the spaces, intensify the Red color by adding another layer of Alizarine Crimson. The edges need to be done and darkened. This will serve as shadows for the three dimensional look of the Rose.
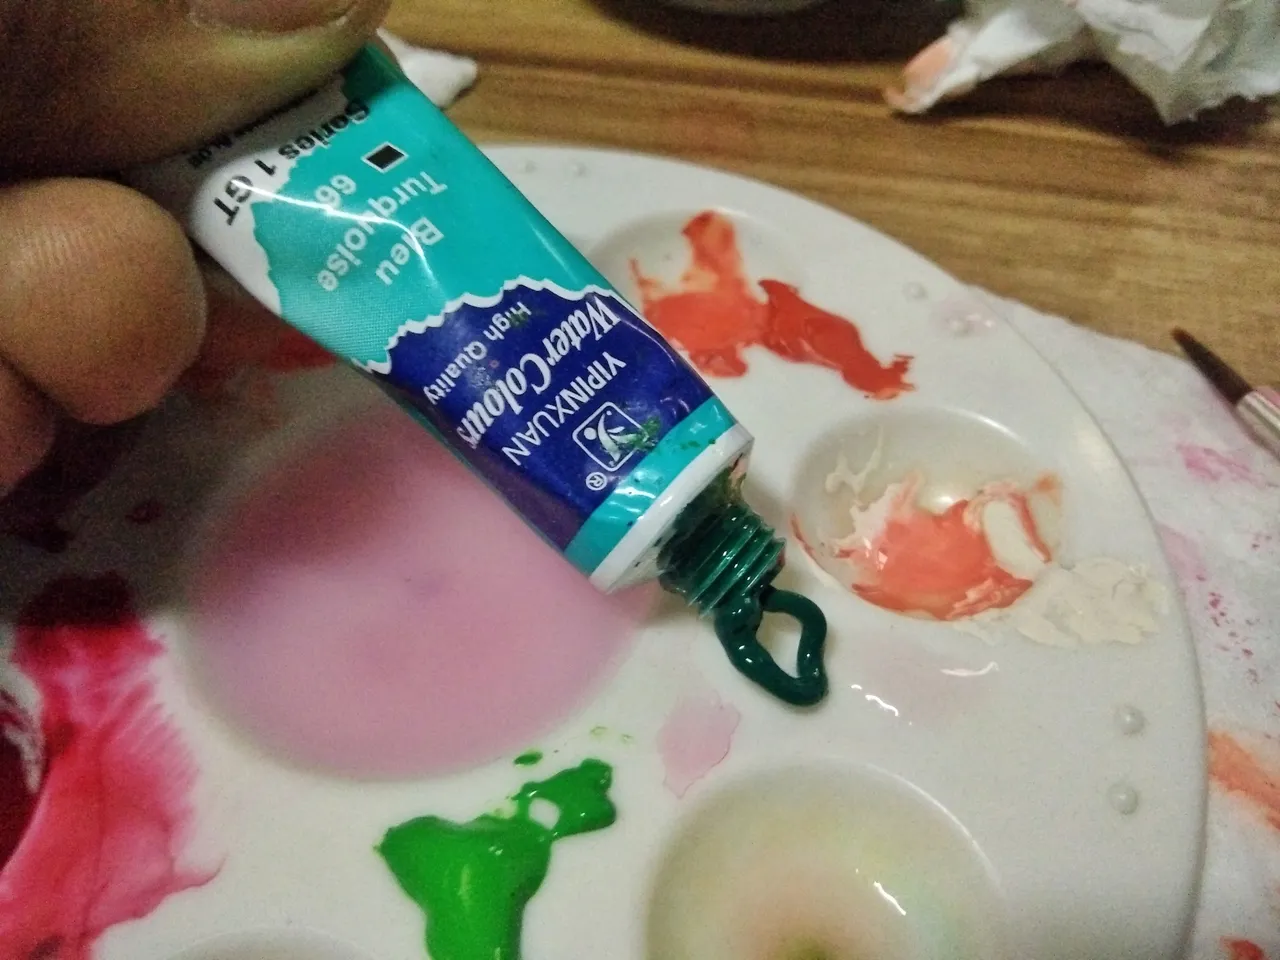
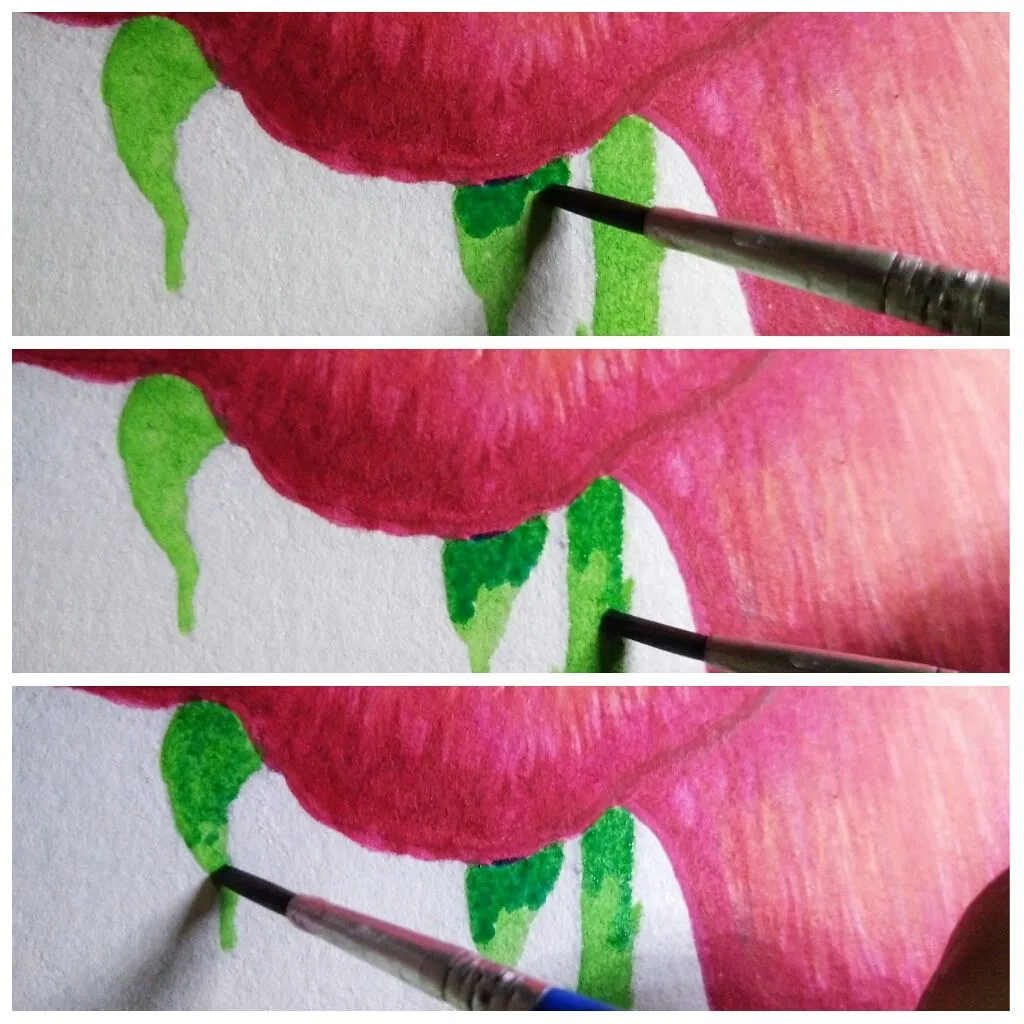
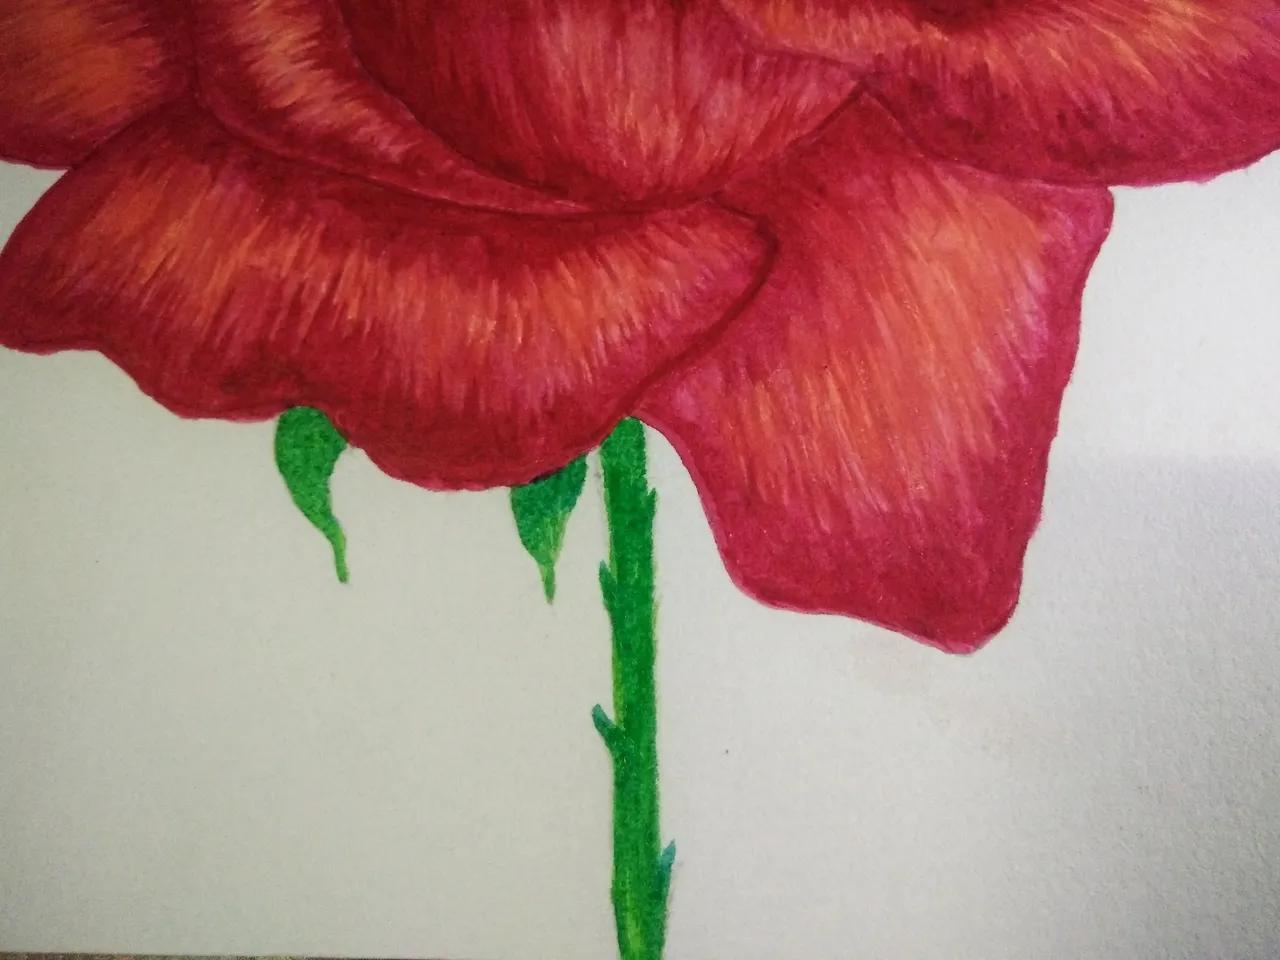
7.) COLORING THE STEM AND THE SEPALS
Use English Light Green as the base color of the stem and sepals.
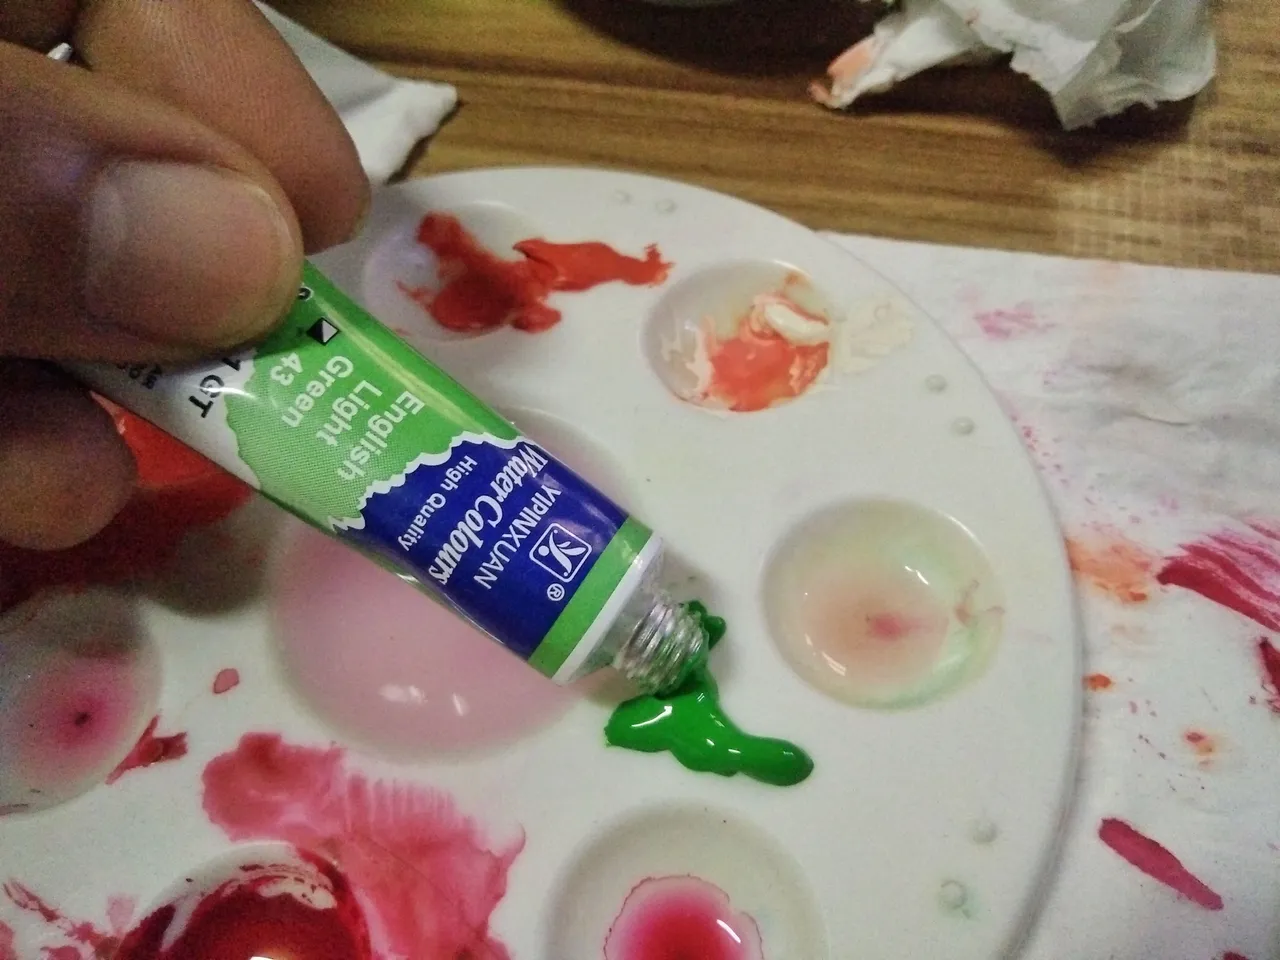
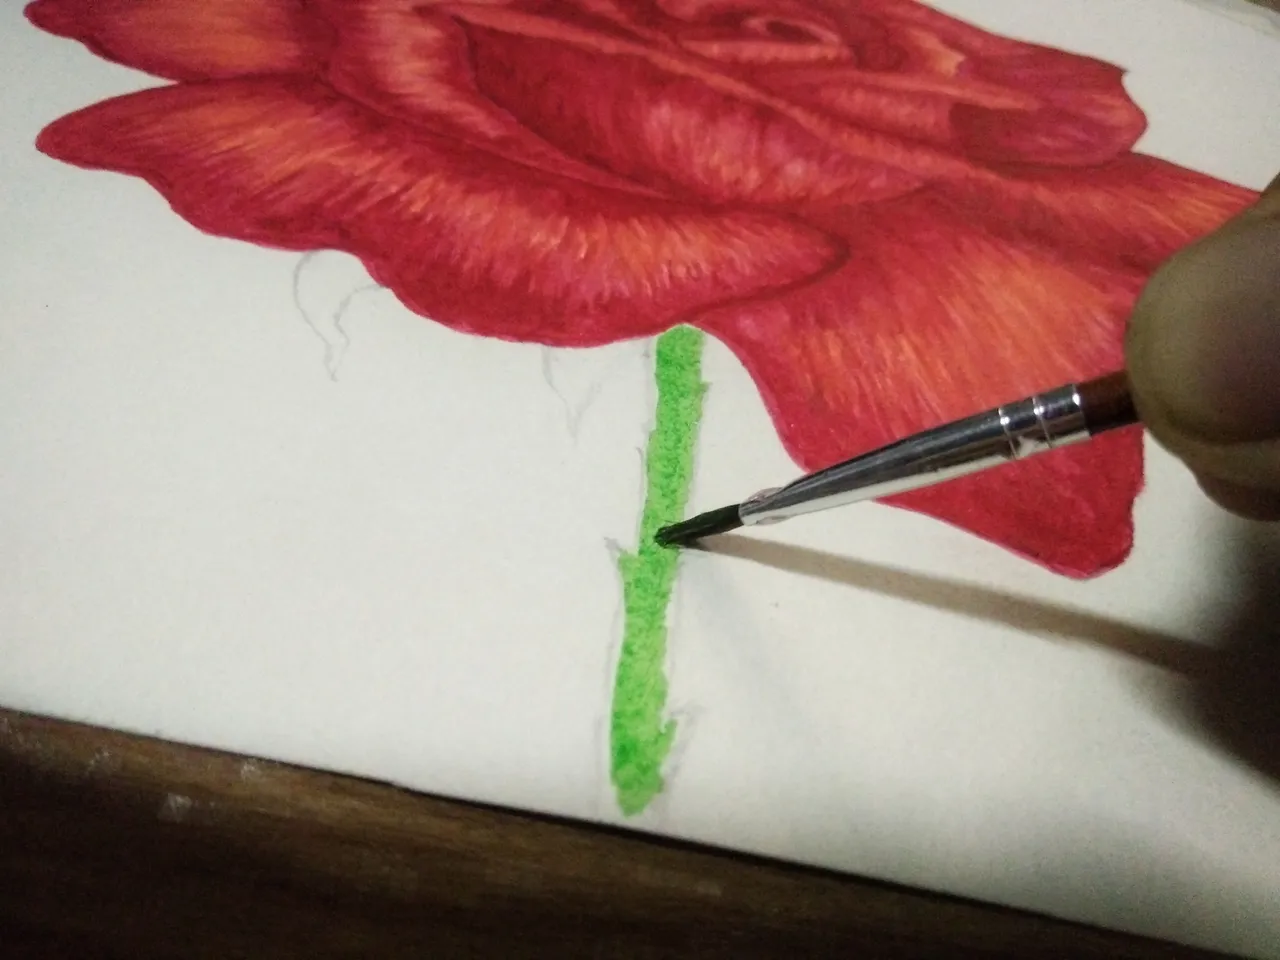
When dried, use Blue Turquoise as the dark pigment for the stem and sepals. Do not just put the color imagine where the light source is. Therefore, the parts near the petals should be darker.
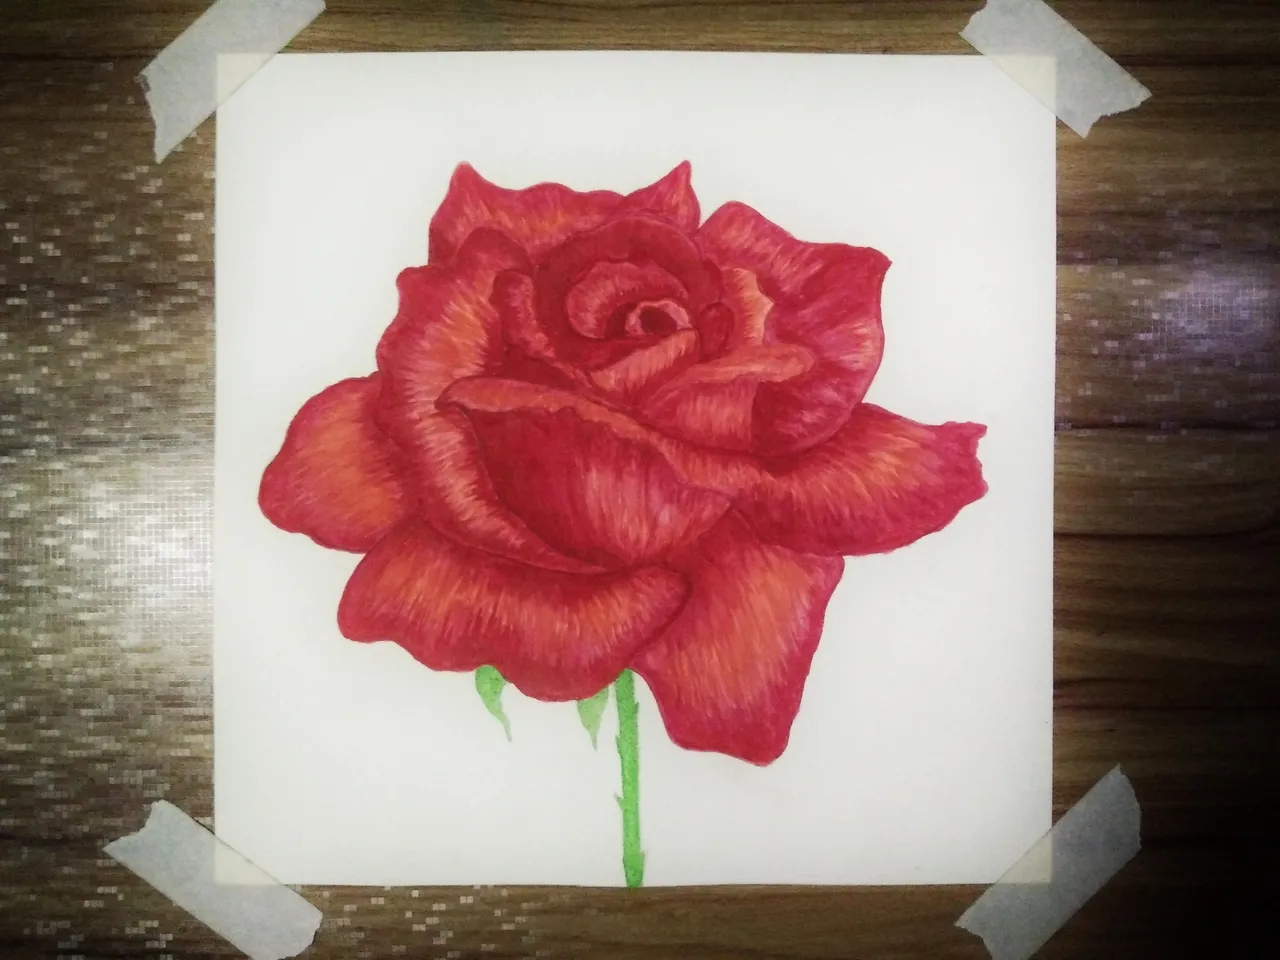
8.) AFFIXING YOUR SIGNATURE AND DATE
Yeah! Do not forget to affix your signature! Be proud of your art! Let it be known to the world that you didi it!
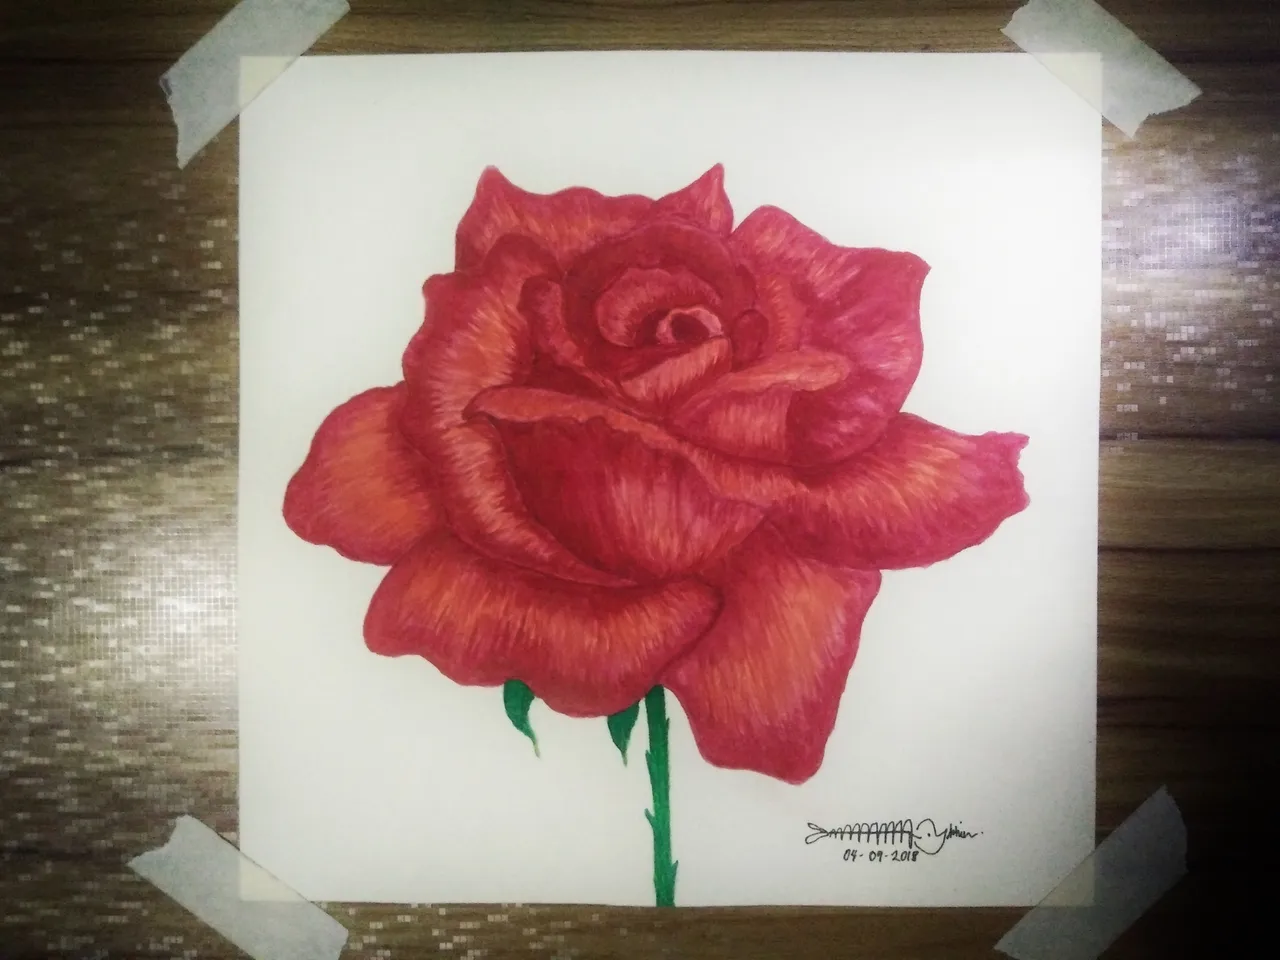
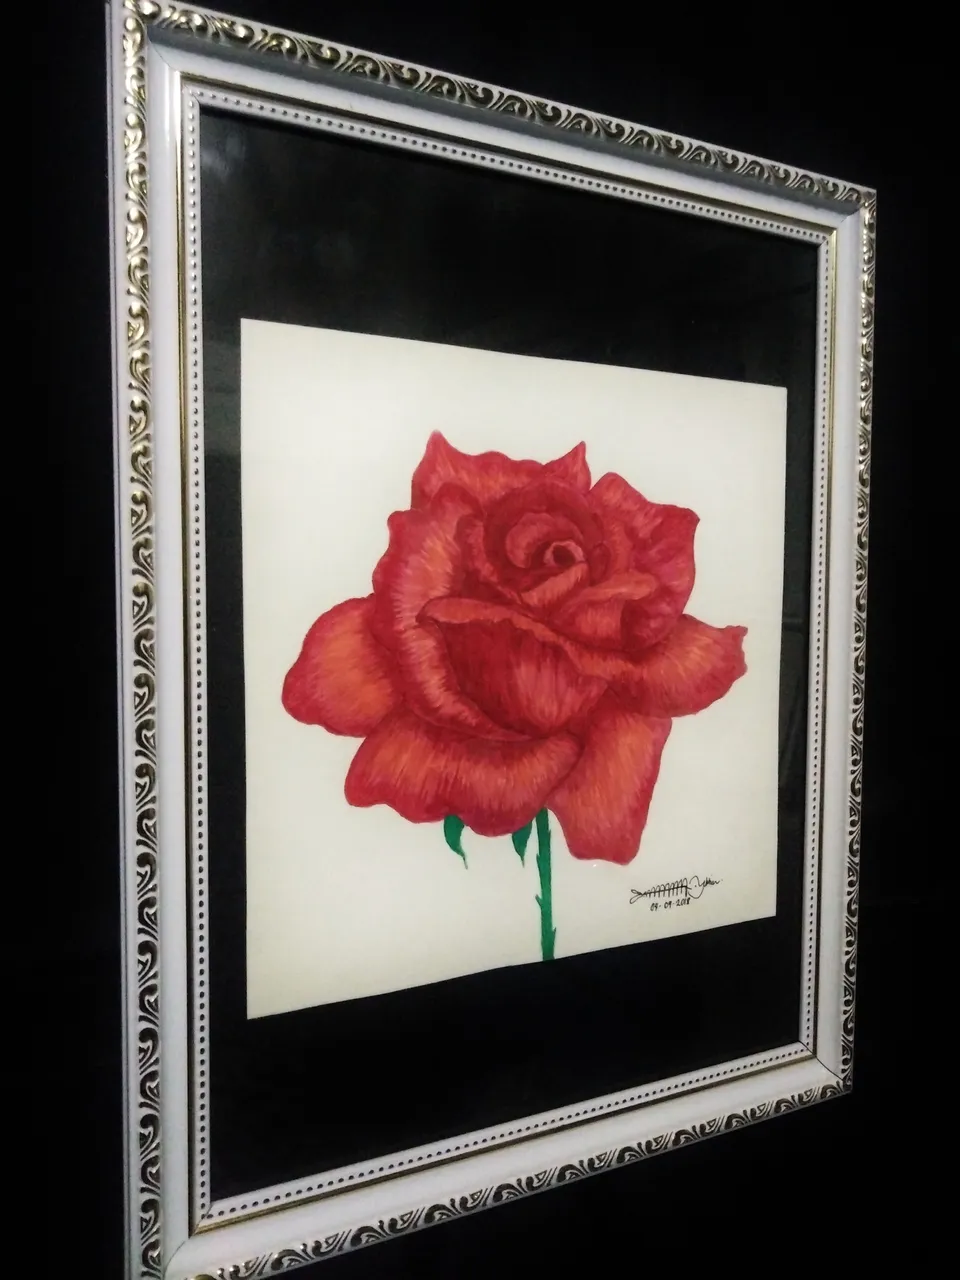
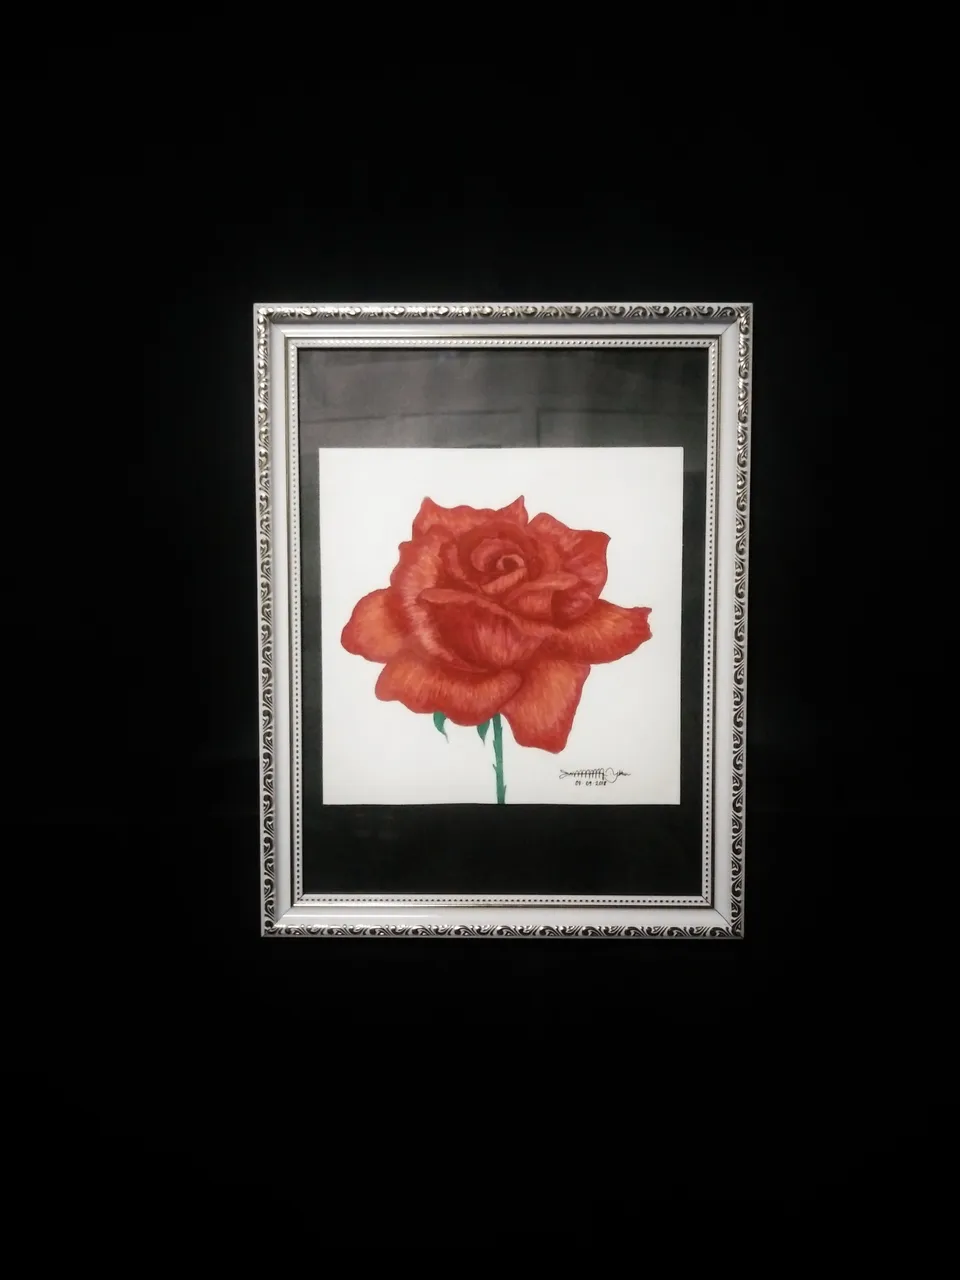

Thanks God! I did it! It is actually my first time to paint an intricate Rose in watercolor and in that big size! I guess my patience served me well today.
I hope you learned from me today guys. Remember that we can all do art. YES! All you have to do is put your heart on it...in everything that you do and you will be rewarded. Do not worry if it's not perfect it's still an art by the way so chin up and keep on doing things that you love and never stop learning. IT IS ALWAYS IMPORTANT TO HAVE FUN!