I think it was in 2017 I made a drawing of a rolling Mustang. I remember that I thought it was one of the best drawings I made. When I was younger I made some really good ones but they were much bigger and it is easier to get more details on a bigger drawing.
I started this drawing on A3 paper but after walking in heavy rain with everything in my backpack, all my A3 papers got destroyed. So I was back at where I started but I still wanted to finish it. The problem was that I only had A4 papers and I didn't know if it would get detailed enough. I decided to challenge myself to make it as detailed as I could, just to see If the new gets better than the one from 2017.

Below I will go through the process of how I drew this Mustang. At the bottom you can se the one I made in 2017, I would love to hear your opinion in the comments :)

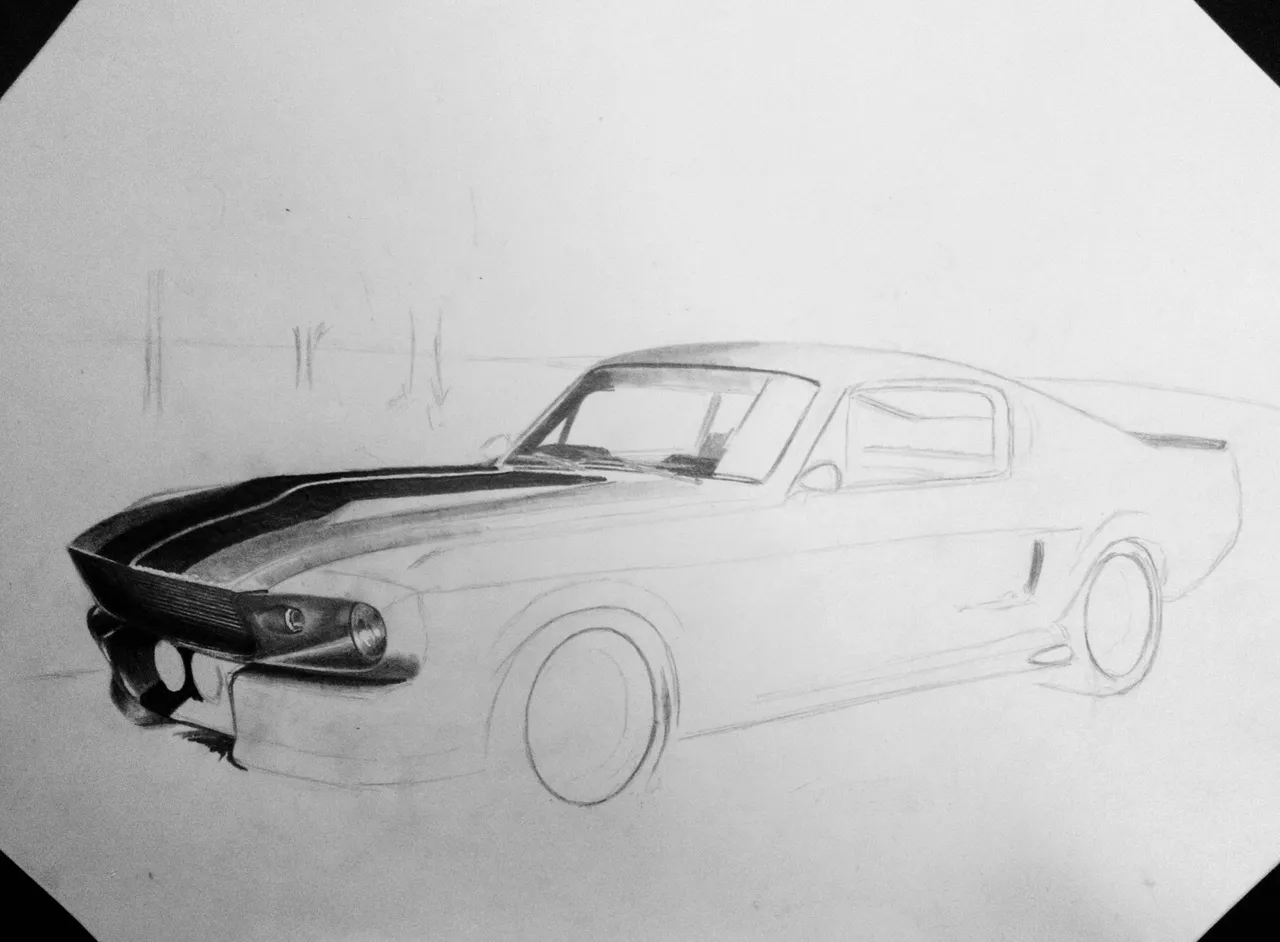
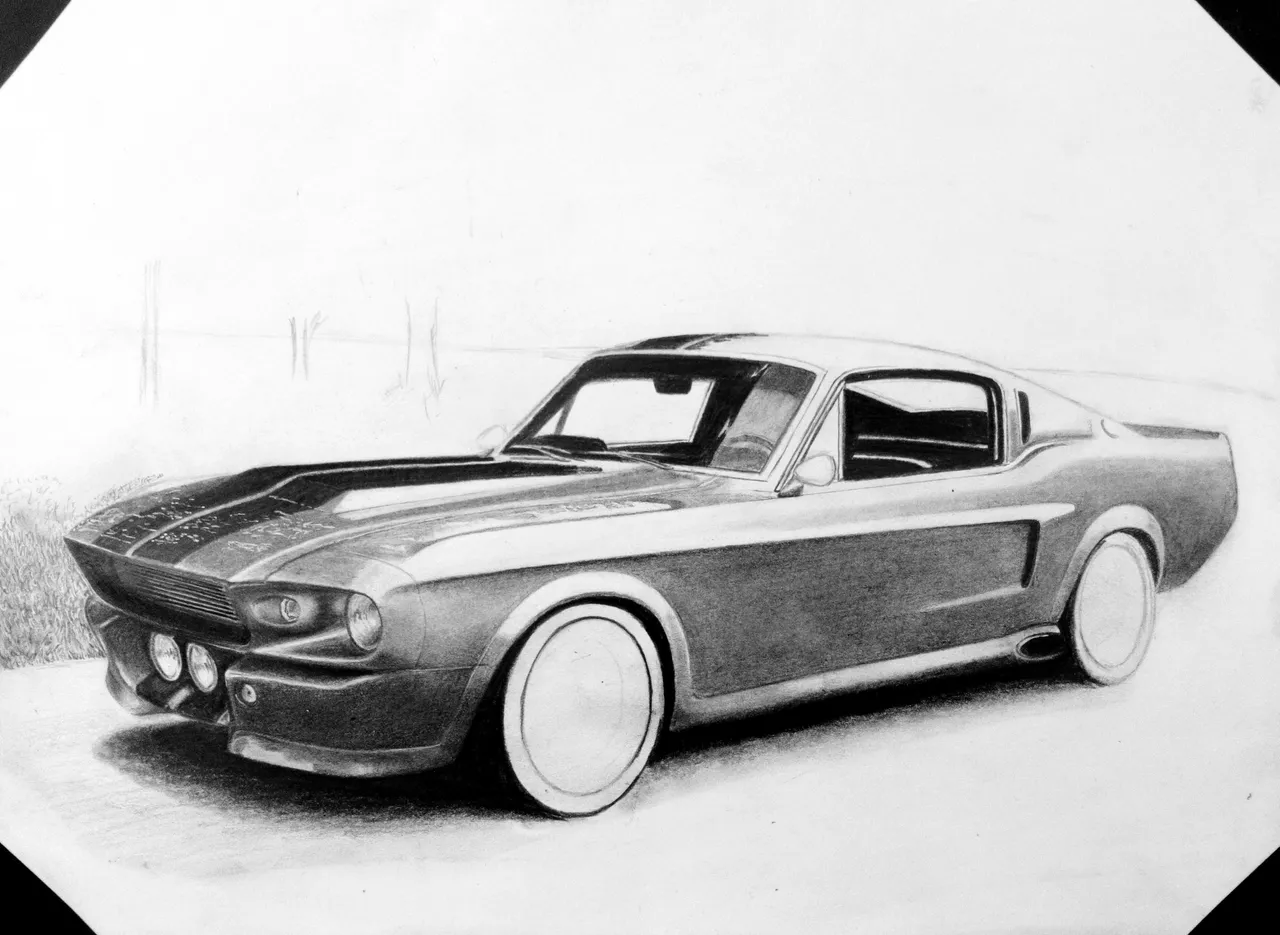
I start with making a sketch by hand like I always do. I use a HB graphite pencil and press gently to be able to erase easily and not get ugly marks on my paper. I mesure with a ruler to get the proportions right. If you are not experienced you can use something called the grid method, basicly you divide the picture into smaller squares which makes it easier to draw like the reference photo. If you would like me to have a tutorial of the grid method just comment below.
When I'm happy with the sketch I start shading starting from the front of the car and going back. I do this because I draw with my right hand and I don't want to mess up my drawing with my arm.
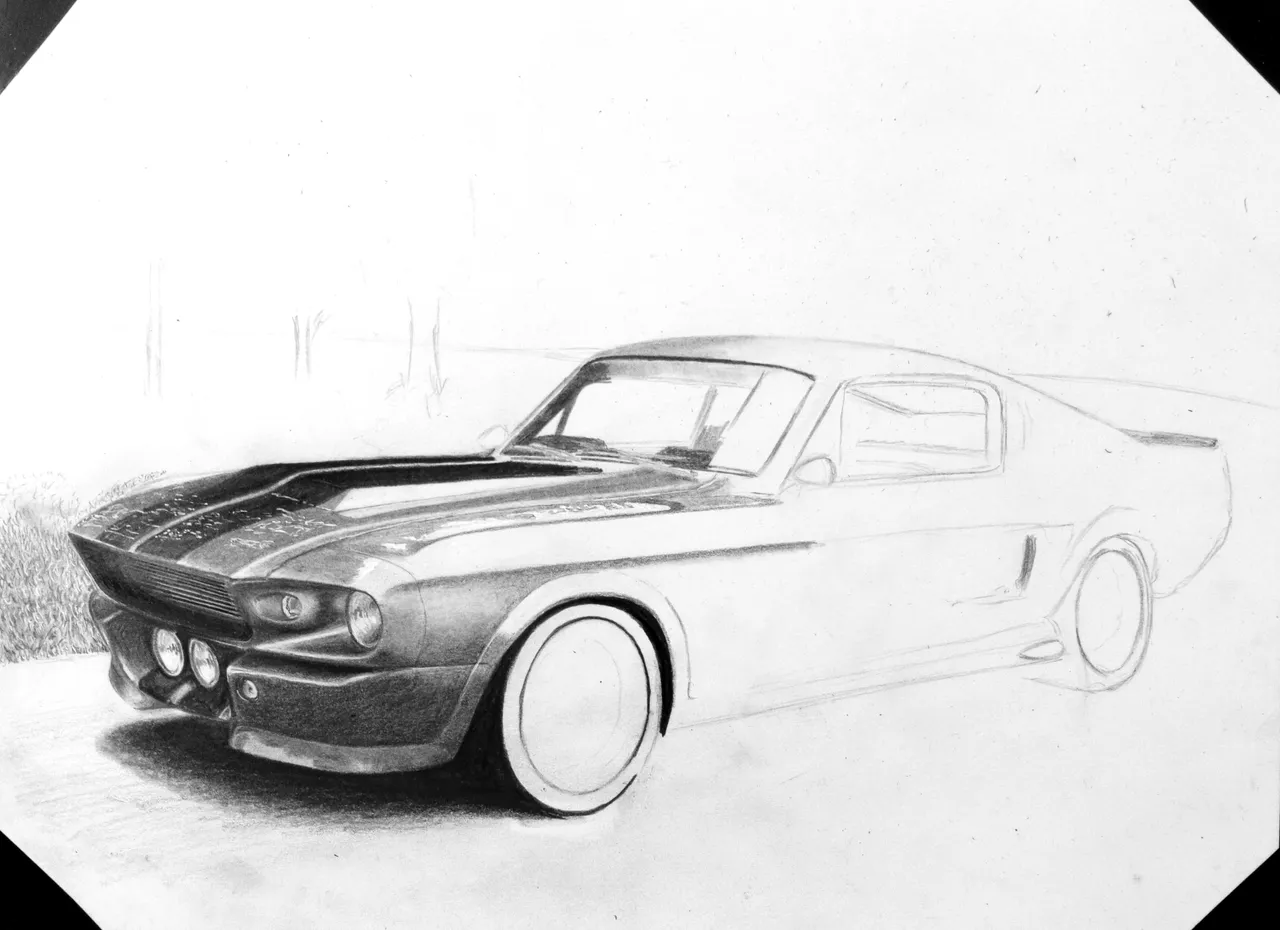
I continue to shade from front to back. I alter between 2B, 4B and 6B graphite pens to get the real sharp contrasts I want. Usually I start with shading a base and then build up the contrasts gradually. But this time I wanted to do something different. Everyone have their own technique and sometimes it's good to try out others.
I look closely on the reference photo and I also compare the shading by putting the reference ontop of the drawing. In this way I can easily see if I need to make it darker or brighter.
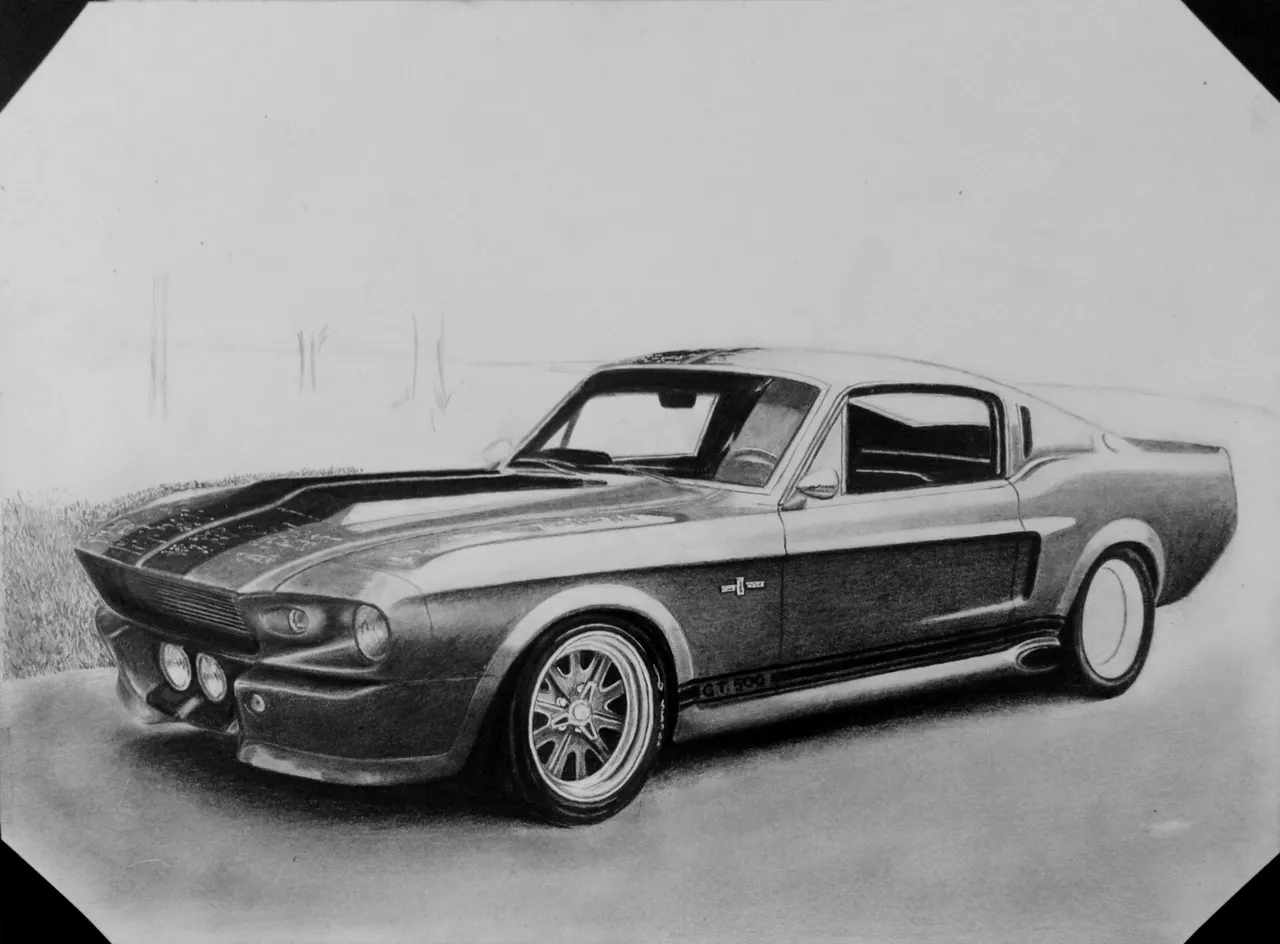
When most of the car is shaded I start with the wheels, I can alwas come back and refine things that I notice later. The wheels are a bit tricky to get real in my opinion, and because it's on a A4 paper it's harder than it would be if the drawing was bigger. To get the details I want I'm using my phone to zoom in on the wheels on the original digital photo. Usually I only look at a photo that I've printed out but why not use technology when you can :)
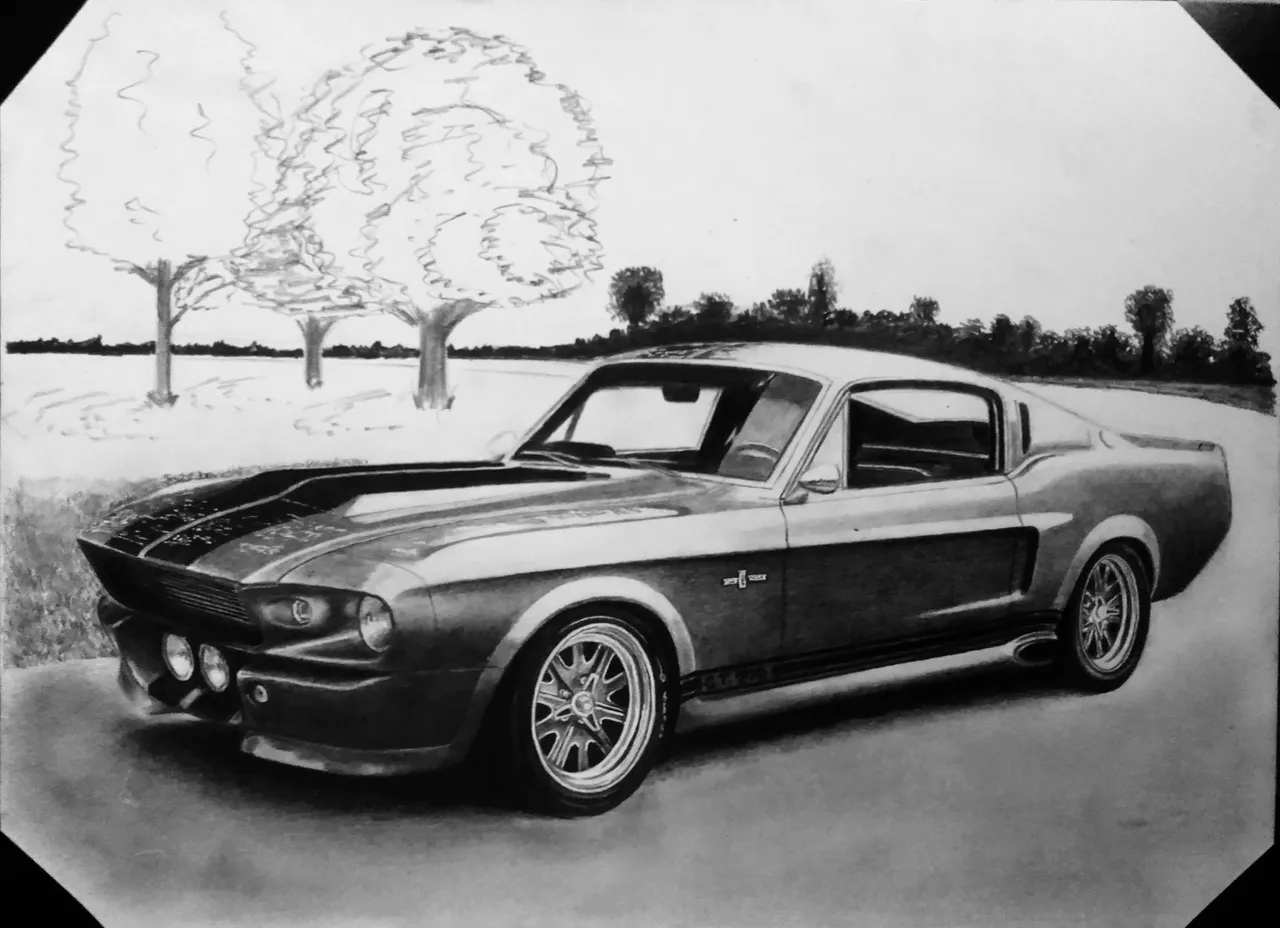
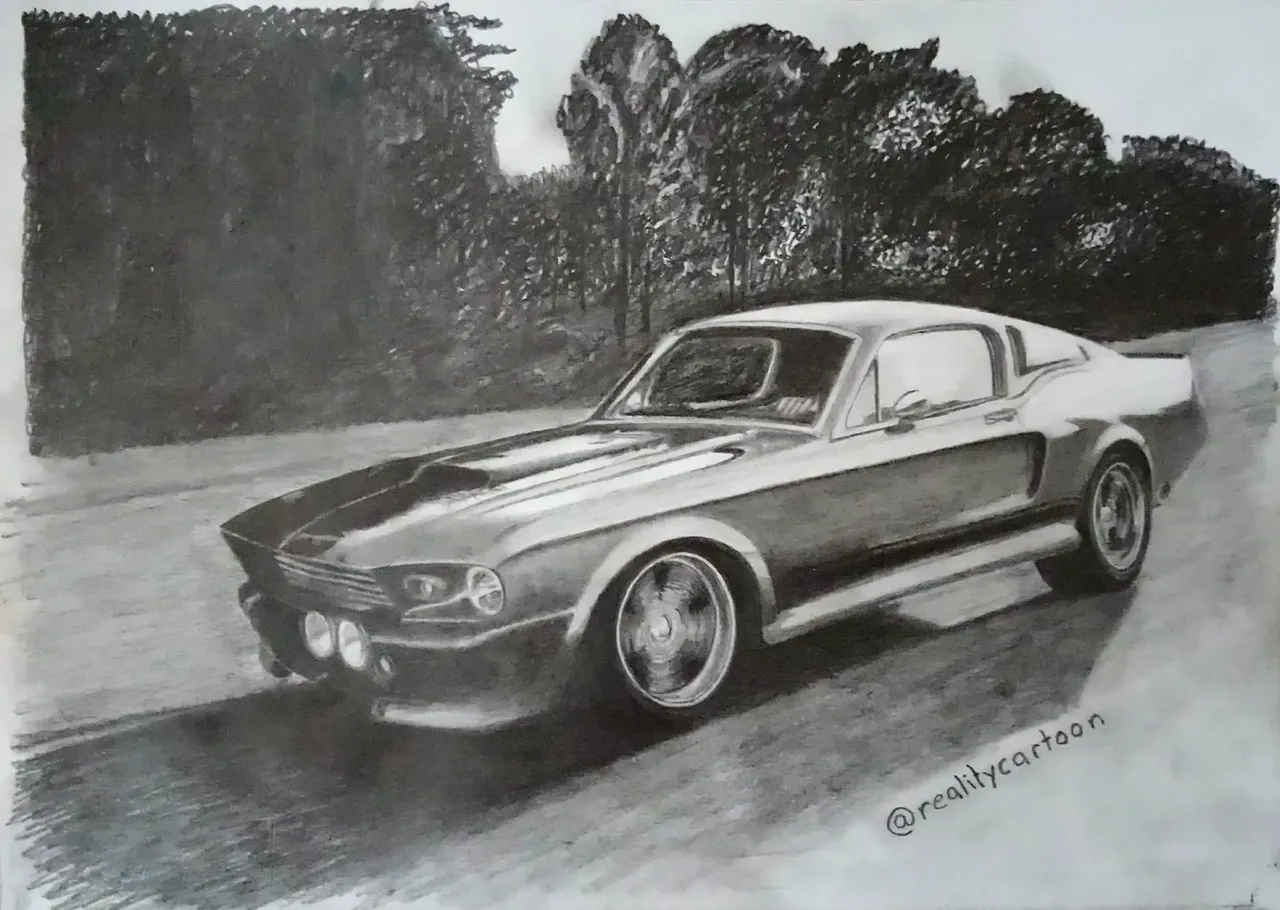
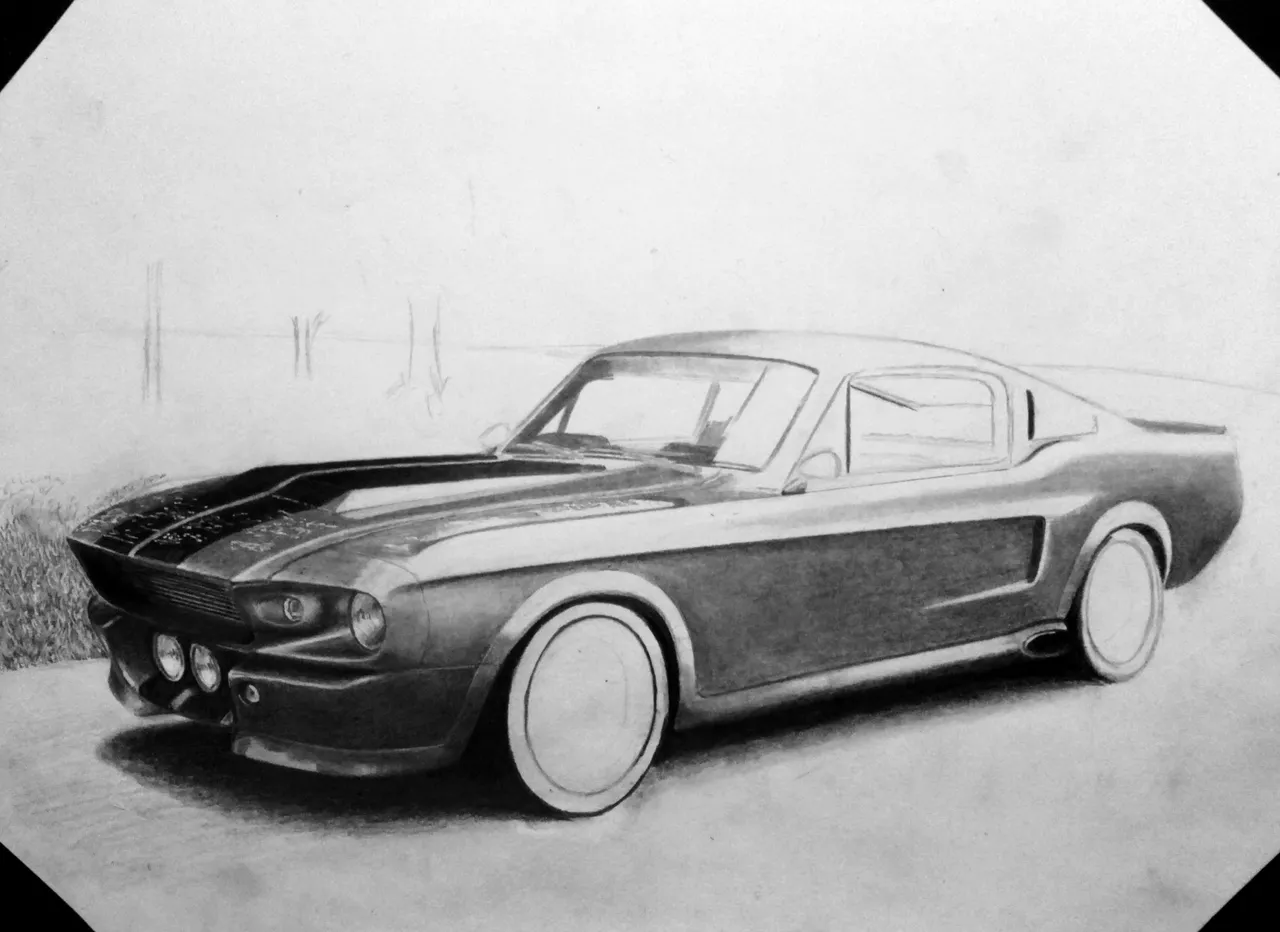
When the car is all finished I start with the background. First I wanted to make it easy by drawing from my own imagination but it ended with something similar to the reference photo.
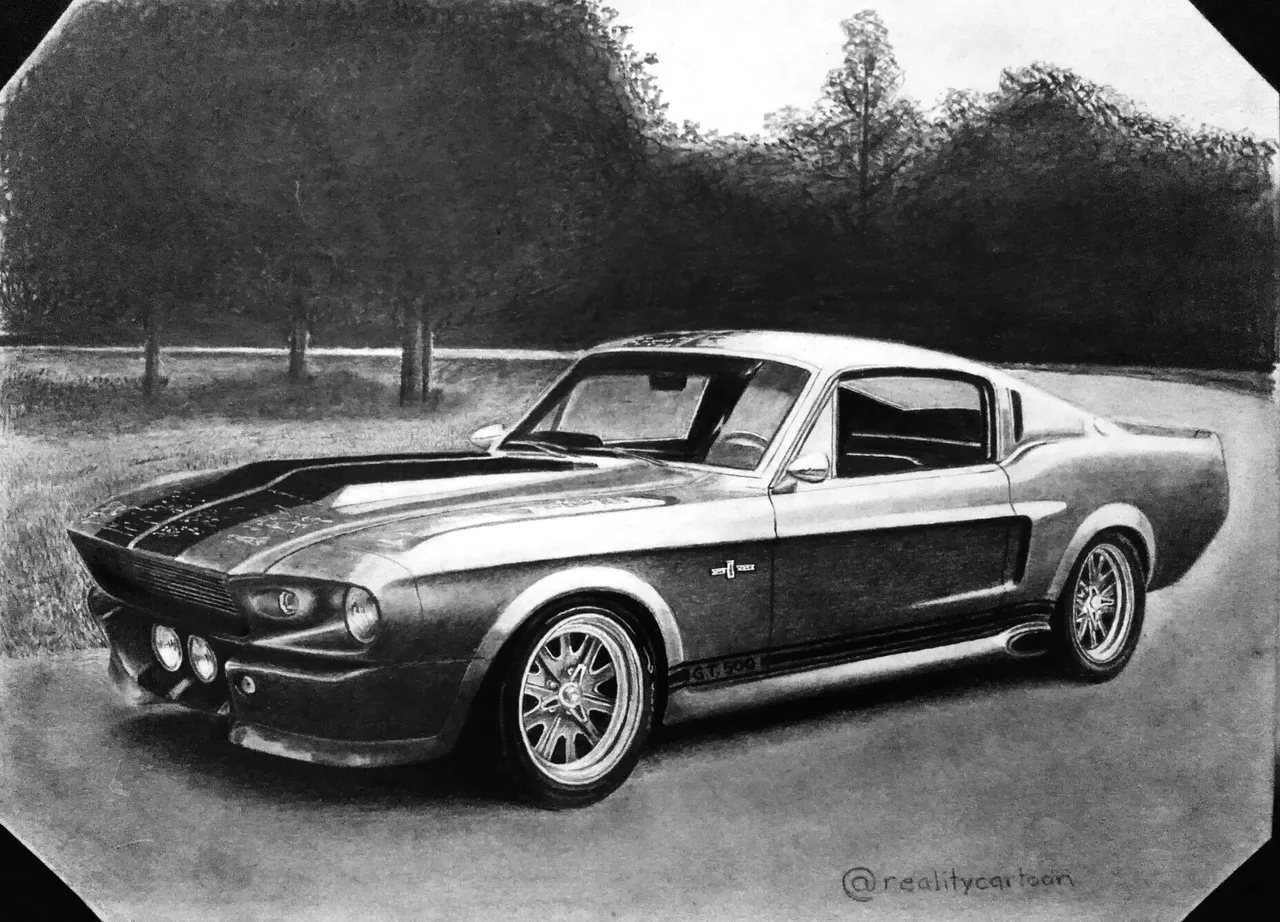
A key thing to make a good drawing is patience. The more time you spend the better it's gonna get. You just have to decide if the result is worth the time you spent. If it isn't you need to spend more time ;)
The finished drawing got better than I first thought. When I compare the two drawing that I made with 2 years in between I can really see how I have developed as an artist. The finished drawing you can see below.

2017 vs 2019