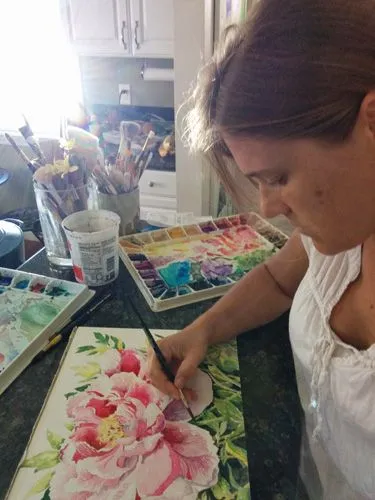
Isn’t it fun to see behind the scenes into how something is made? I thought it would be cool to show you the process I use when creating a watercolor.
STARTING WITH INSPIRATION
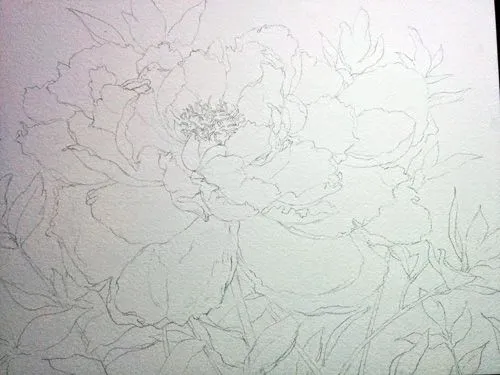
I usually find some photos that inspire me and then start sketching using a regular old pencil (nothing fancy). I’ve got lots of different pencils that I use for sketching and drawing, but for watercolor, I usually go with something that marks very lightly. I draw directly onto a watercolor “block” which is a bunch of pieces of watercolor paper glued together at the edges (so they won’t warp when the water/paint is applied).
GETTING IT DOWN ON PAPER
I break the photo down and draw small sections at a time. I keep comparing the size of each element (one leaf, compared to another for example) to make sure that I’m drawing it accurately. Sometimes I add in my own variations if the photo isn’t exactly how I want it to be.
LIGHTENING UP
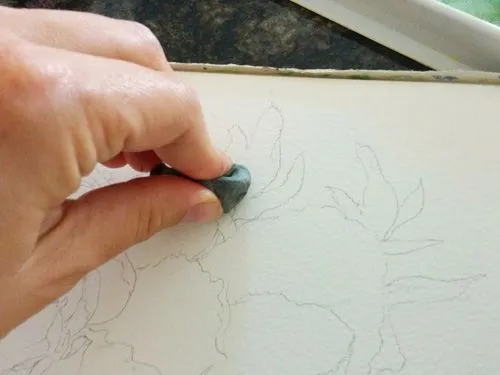
Once I’m happy with the drawing. I use what’s called a kneaded eraser (it’s soft and squishy and kind of fun to make into shapes, when my inner kid comes out!) I press the eraser against the pencil marks to make them get lighter – I don’t want people noticing heavy pencil lines, I want them to see the beauty of the watercolor.
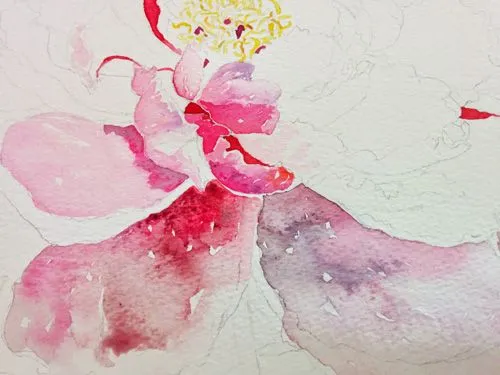
WHERE’S THE STARTING LINE?
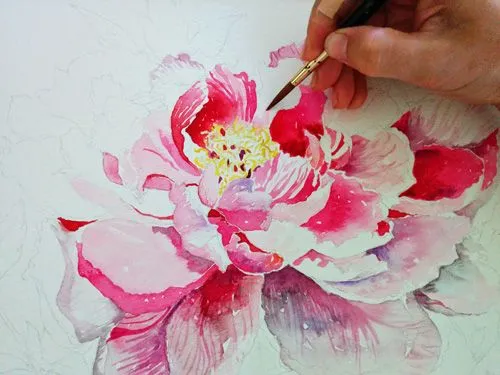
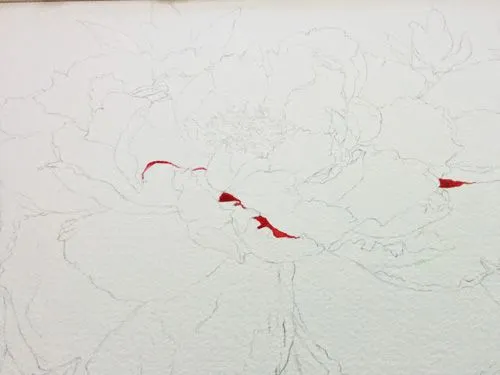
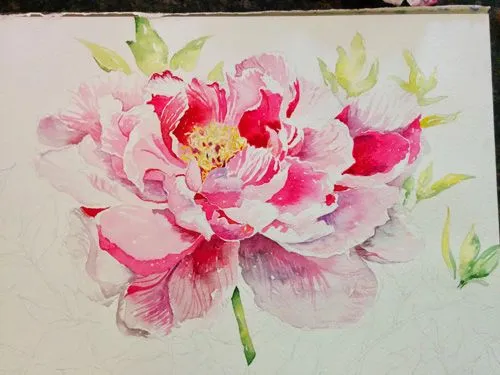
If I’m painting a landscape I usually start with the background colors, but for something like this, I get right into painting some of the deep dark colors. I like to paint a petal at a time, making each one have it’s own variations and beauty.
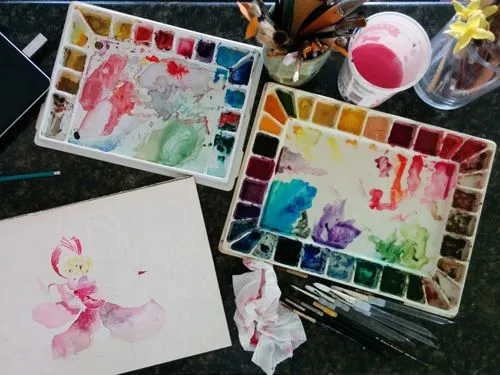
IF ONE PINK IS GOOD, 4 IS BETTER
Next, I get all the colors in my watercolor pallet wet. I’m always using lots of variations of colors. To get a really vibrant and rich deep pink, for example, I use 3-5 variations of pink to give it variation, as if the sunlight is shimmering through the colors.
LEAVING GOOD ENOUGH ALONE
While and area is wet I drop in and spread my colors - and then I leave it alone to dry! I continue working in other areas until I love what I’ve got. Important side note: In general, when an area is wet, I don’t go over the same spot more than 1 or 2 times. It ends up damaging the paper, getting kind of “muddy” looking, and you loose some of the “sparkle” that can come from letting the watercolor be transparent. I wait until a painted area is dry and then add small details on top.
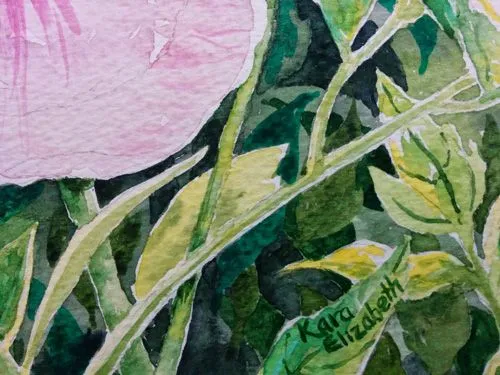
GIVE ME SOME BACKGROUND
For a painting like this, I then dive into the background – the leaves and stems. I use the same technique of using multiple greens to create rich colors on each leaf and stem.
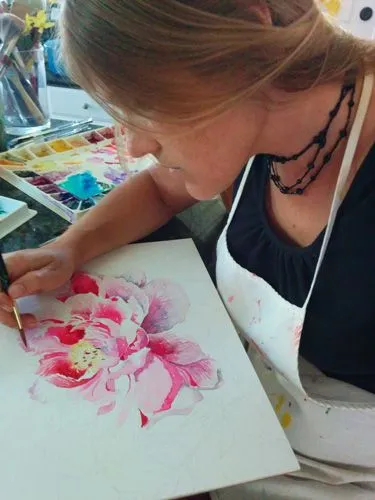
GETTING DEEPER
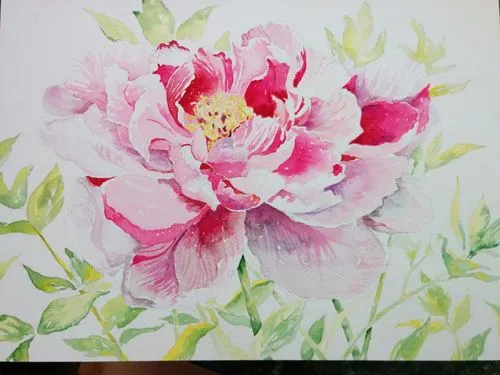
I generally start with the lighter colors and see what I need to add, and where I need to add more drama. The contrast is where the drama and depth comes from so I pay attention to where the lights and darks are close to each other.

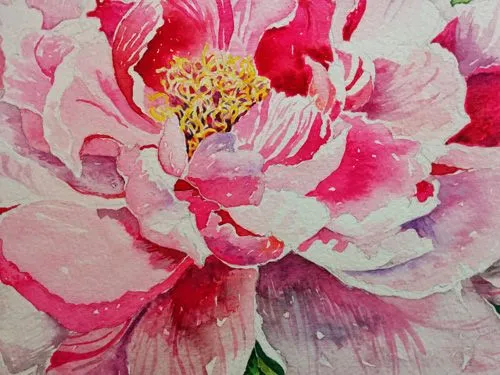
TA-DA!
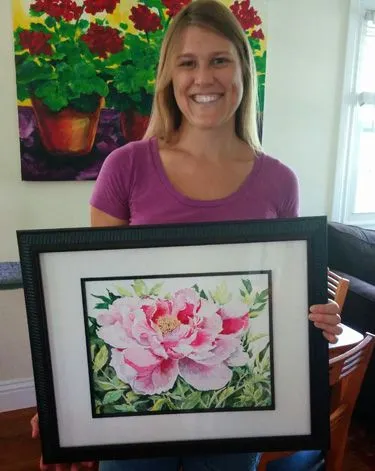
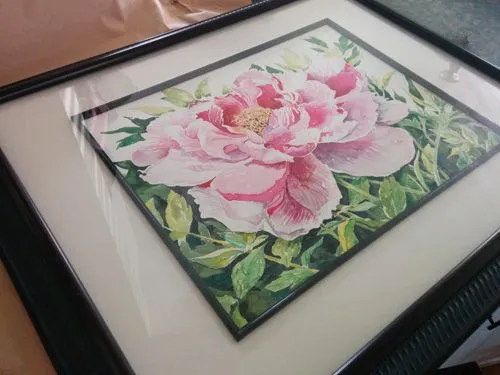
Then I take a step back and enjoy the end result.

FRAME OF MIND
Once it’s complete and dry, then it’s time to frame. With watercolors I use frames with glass to protect the paper. I generally use a nice large matte (the thick paper that creates a border around the painting) for watercolors to make the painting really have some “room to breathe” inside the frame. It generally looks better that just a tight frame around the work.
Then it’s all packaged up and shipped to the person who commissioned the painting (a commission means someone requested a specific painting to be created custom for them, and paid for a portion of it in advance).
So there you go, a behind the scenes look at a watercolor coming to life!
I hope you enjoyed it. Follow me for more!
Kara Elizabeth