“If you want your children to be intelligent, read them fairy tales. If you want them to be more intelligent, read them more fairy tales.” - Albert Einstein
And let them play the game too.
A couple of years ago I started to figure out a way to combine my love for fairy tales with my illustration in an unexpected way.
I decided to turn one of my favorite classics, Little Red Riding Hood, into a board game.
In elementary school I was always excited by shadow box projects. I loved dioramas and those big painted background settings in natural history museums as well - anything that invited the spectator in to another believable world. The idea of creating a 3D fairy tale landscape experience was intriguing. Why not make it interactive?
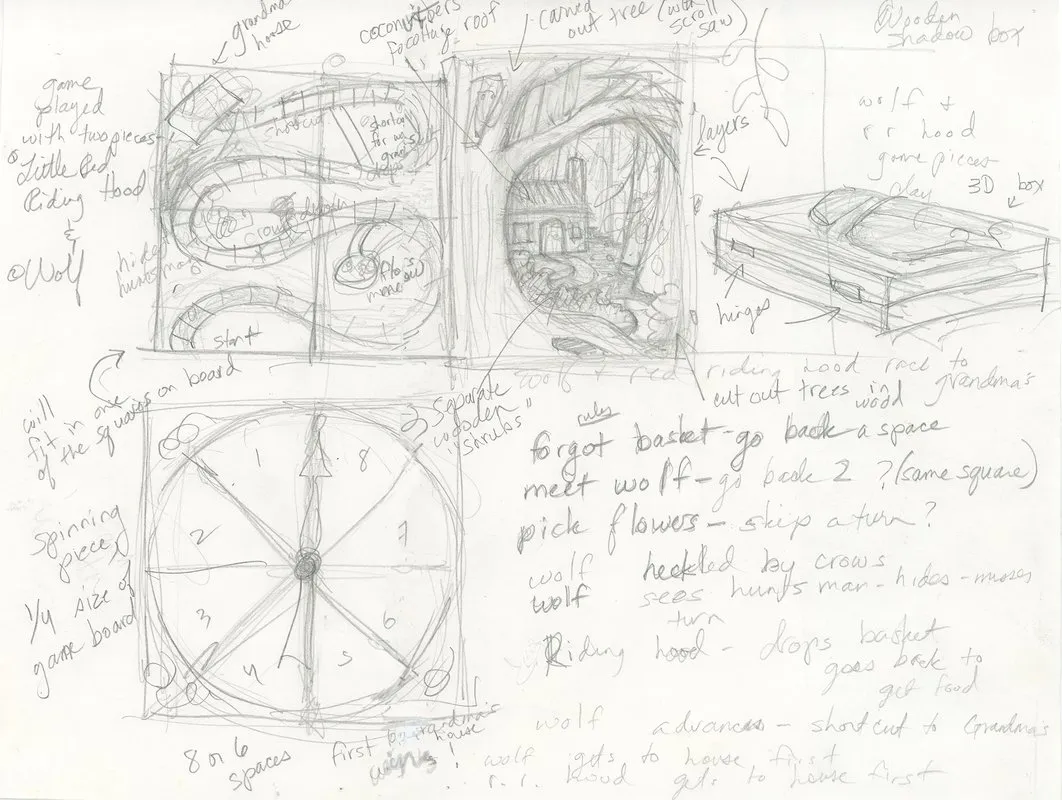
Initial concept sketch
What do board games have? I was not sure how to put this all together. I really wanted a storybook experience where the game itself would be housed. In order to keep it from being huge and cumbersome, I designed it to be like a giant storybook that opened. Inside would be the game and its pieces. But I needed a clever "cover." I didn't want a simple boring flat top. My 3D wheels kicked into high gear.
I picked up some artboard panels that were like box lids. I stacked two on top of each other, right side up. On the bottom I would store the pieces and instructions. The top would hold the shadow box like setting. Hinges would hold them together.
Each were primed with gesso and set aside as I made a design for the tree to attach on the top.

The top of the box - the game is inside
I designed a box with a cutout tree on top with the background painted in.
On Etsy I found antique millinery supplies, things a hat maker would have used to adorn fancy hats long ago. Those became my leaves for the tree fastened on top of the wooden case.
It was difficult to put the thatched roof on the cottage. I’m still figuring out the best way do it. I wanted to create a little world that invites you into the setting of the story, somewhere deep in the Black Forest.
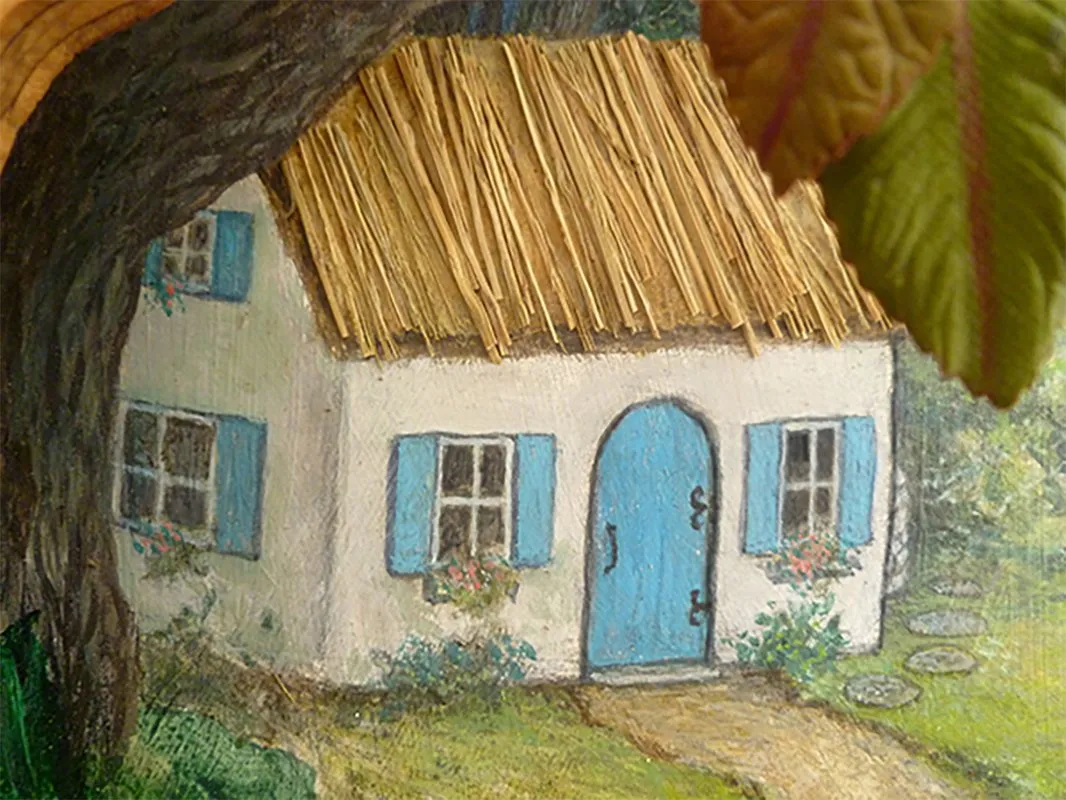
Thatched cottage detail with coconut fiber roof - each tiny stalk had to be applied with tweezers. I'm going to make it a few layers deep
Next I ordered a tiny pair of antique hinges from Ebay and coated the outside of the box with a light stain.
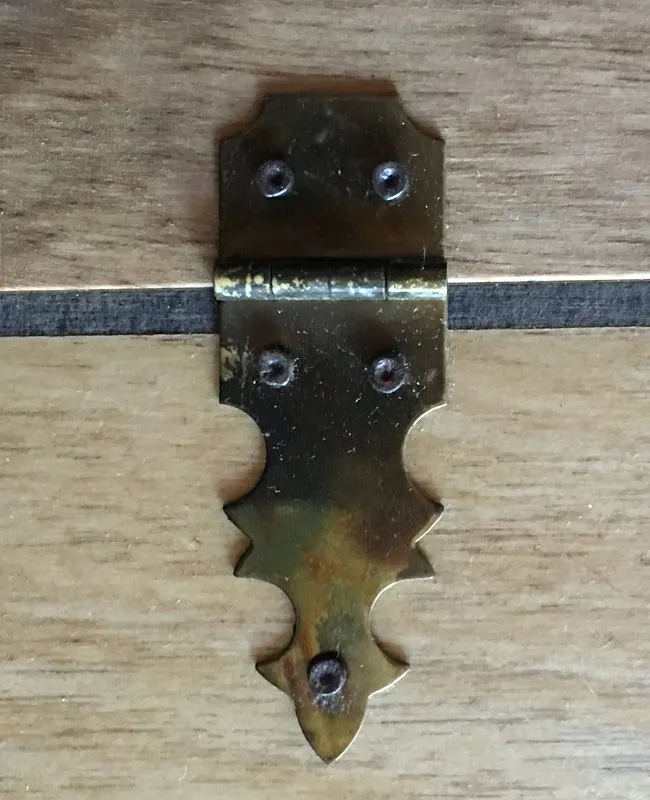
One of the hinges that holds the box together
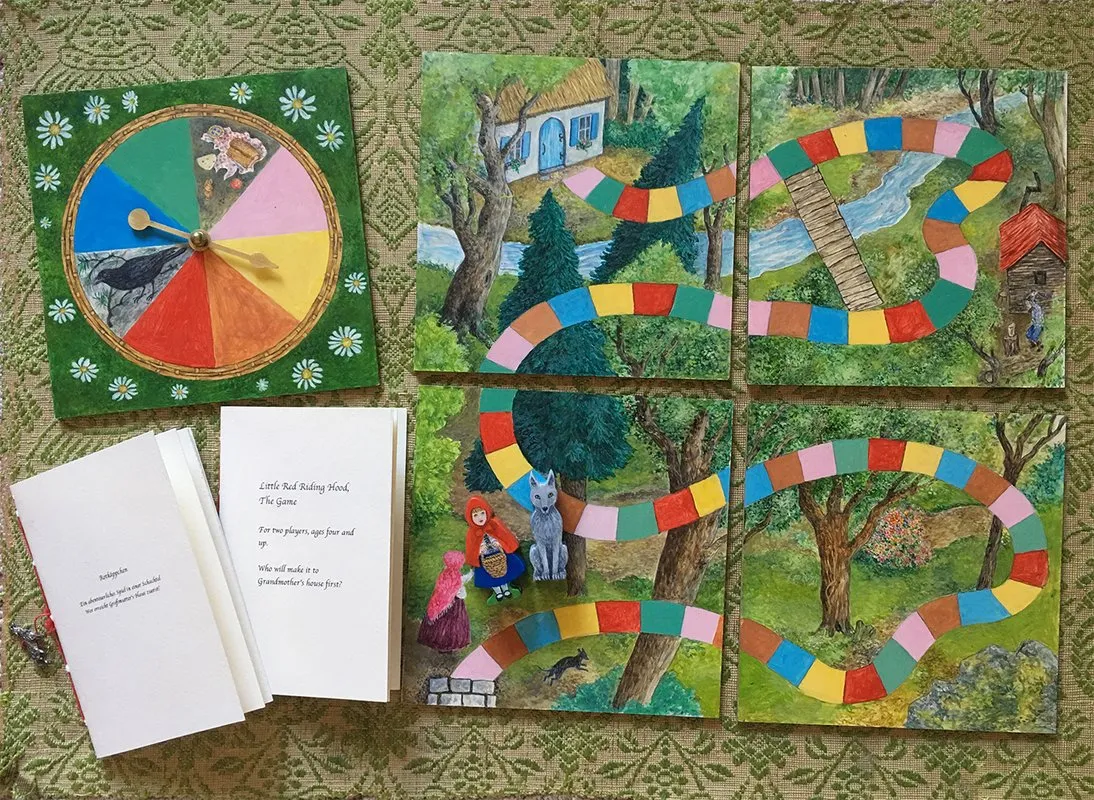
How to design the game board? A long folded cardboard piece wouldn't work to keep this project in a manageable size. I came up with the idea of using four masonite pieces that fit together in puzzle fashion. I had to decide the mechanism in which the players could advance. How about another masonite square with an antique spinner? I could color coordinate where the spinner landed with the colors on the path.
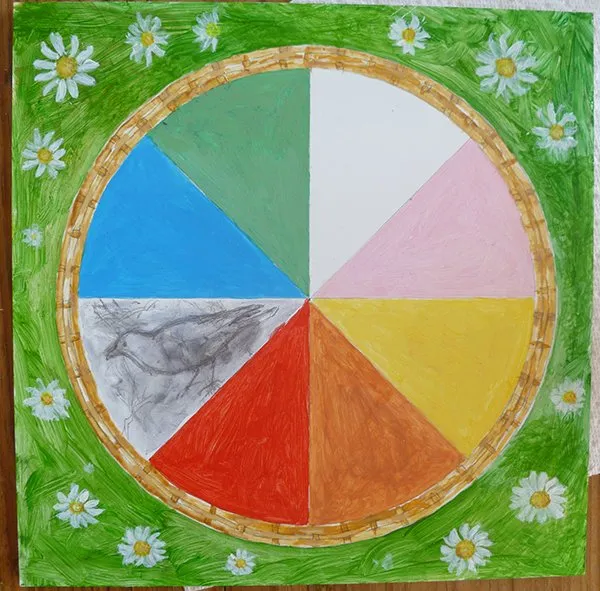
In progress
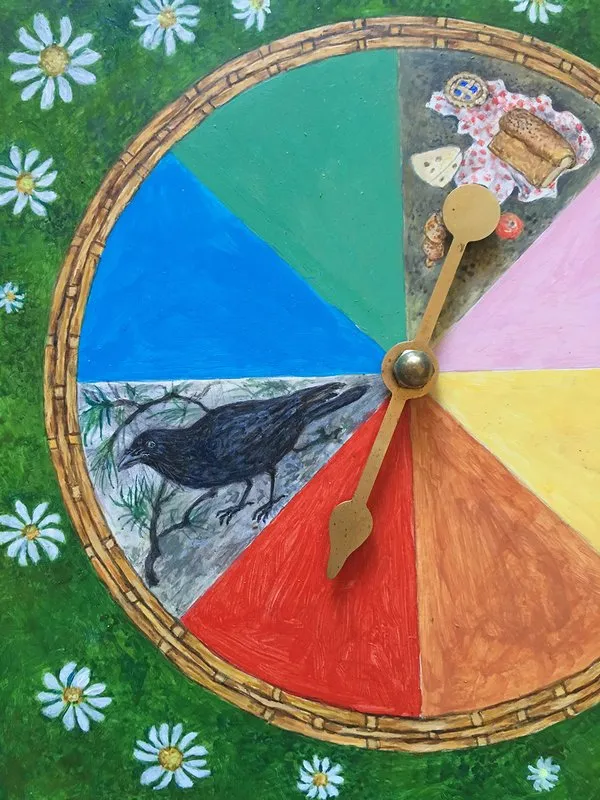
Close up of spinner my husband made with a CNC router
To keep things interesting, if the spinner landed on the crow or the spilled picnic, the player would move back a few paces.
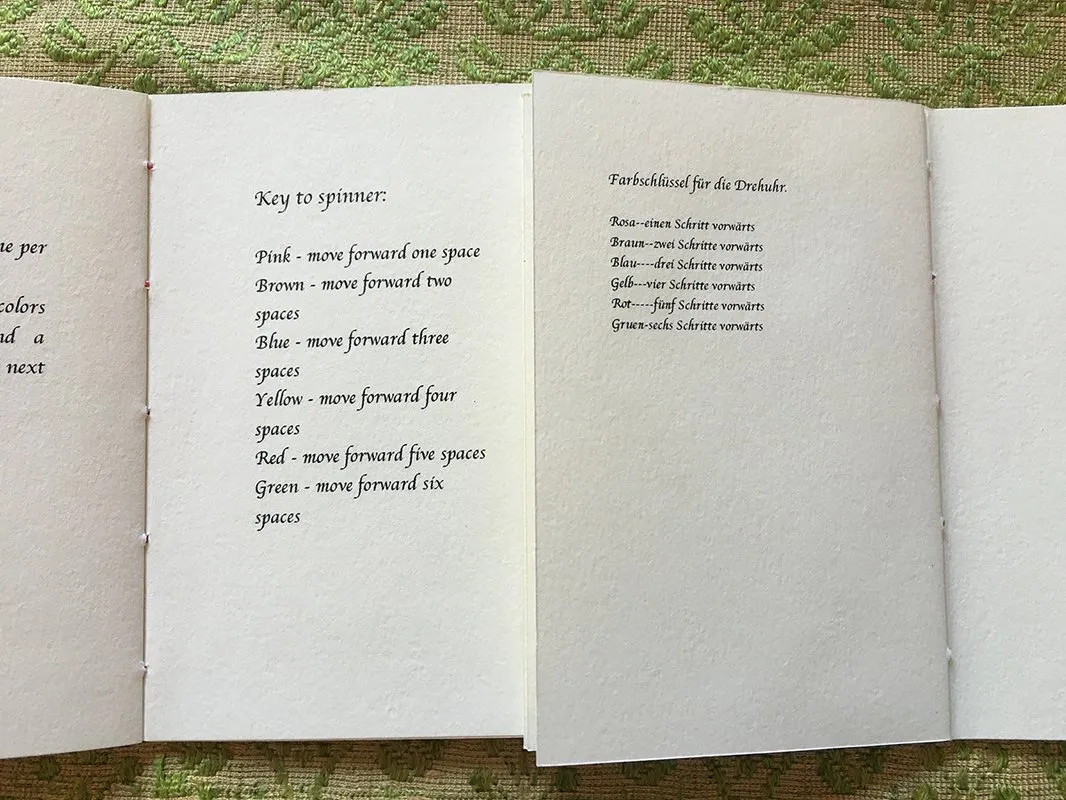
What the different colors indicate
I painted the inside of the box green like moss, and fitted the divisions inside so that all the pieces would fit snugly together.
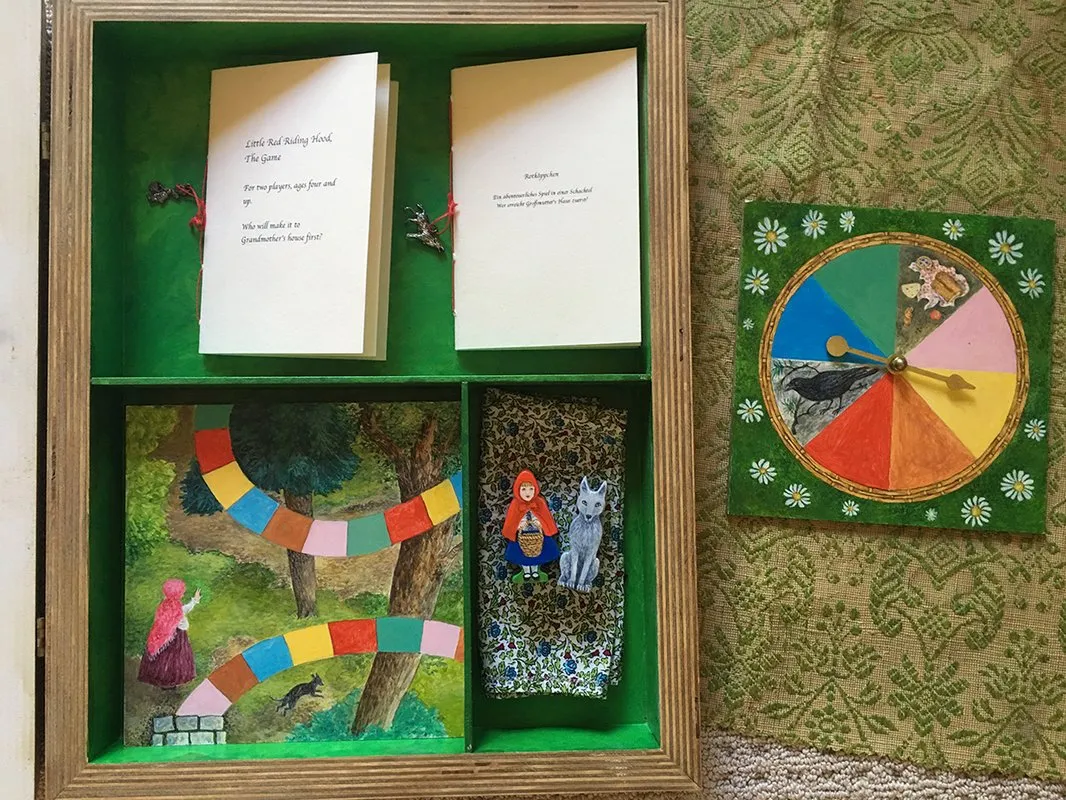
A view inside
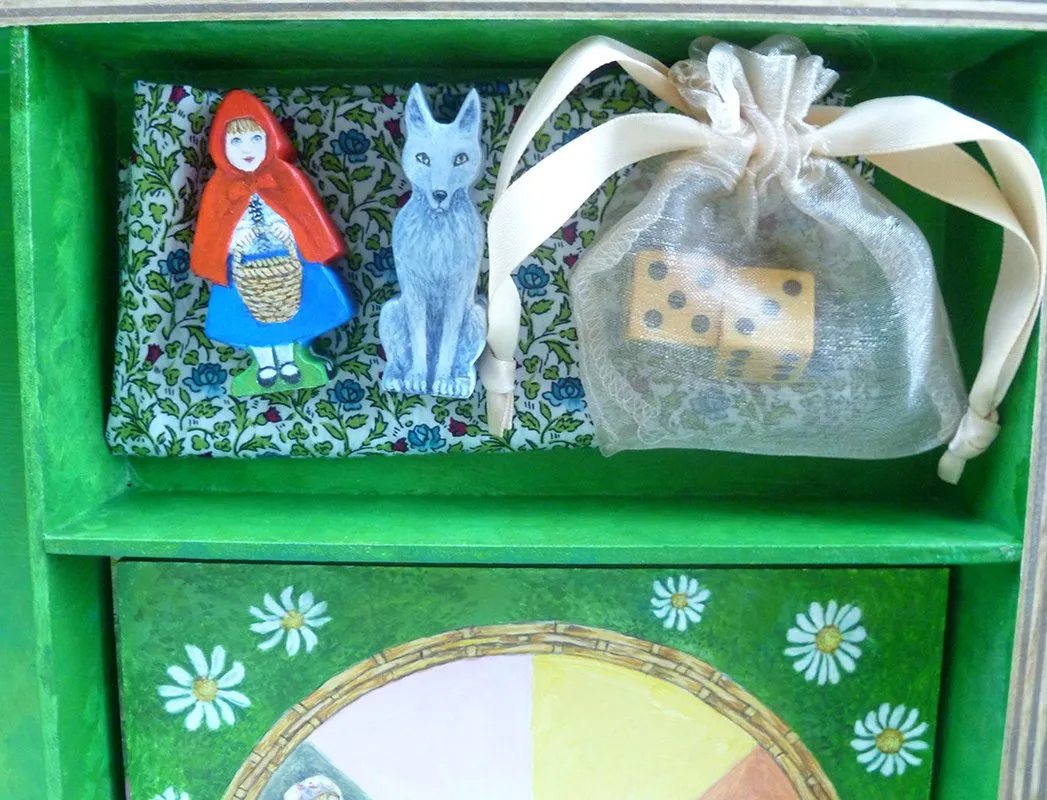
Detail with vintage dice
I had my husband help me cutout the wooden pieces with his jigsaw, and then I painted them.
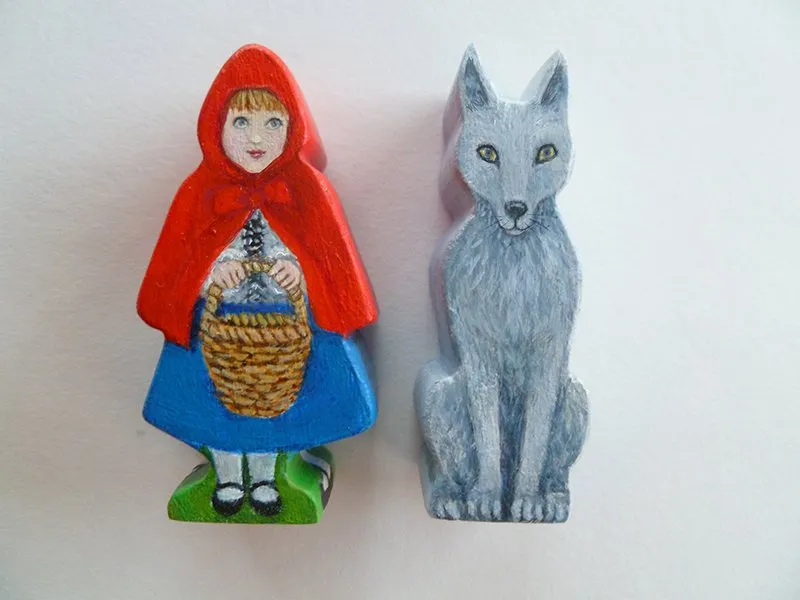
The game pieces. I want to do a whole series of hand painted fairy tale characters like this. They would be perfect lining the shelves in my studio
Since Little Red Riding Hood, also known as Little Red Cap, was originally published in German, I thought it fitting to include written instructions for the game in both English and German, then hand bind them using red bookbinding thread. Tiny silver charms add the finishing touch. My best friend's mother helped me with the German translation.
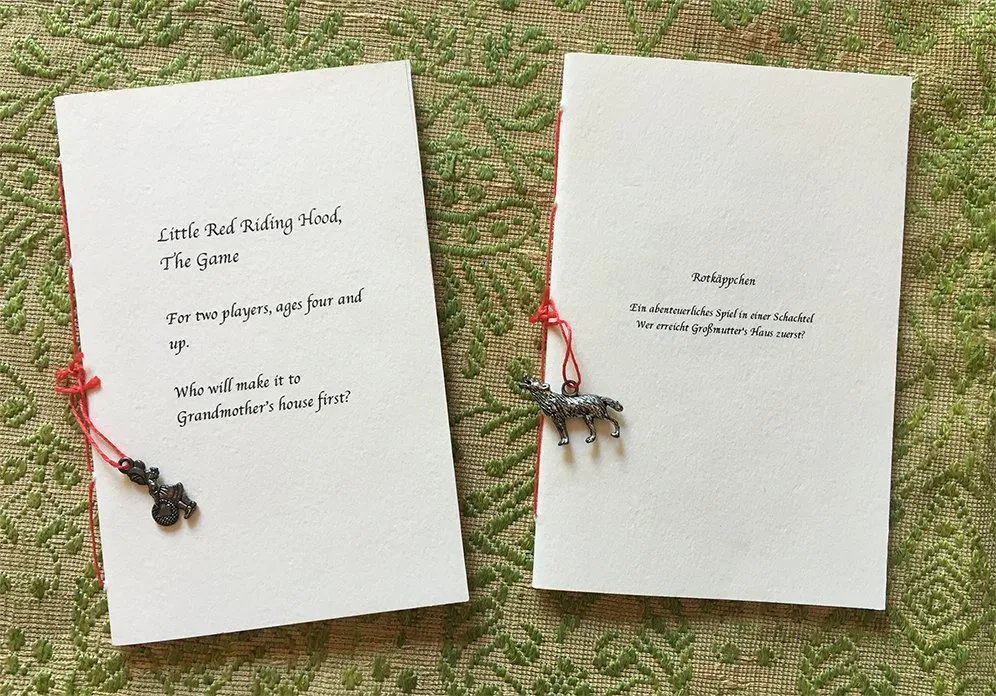
Game instructions
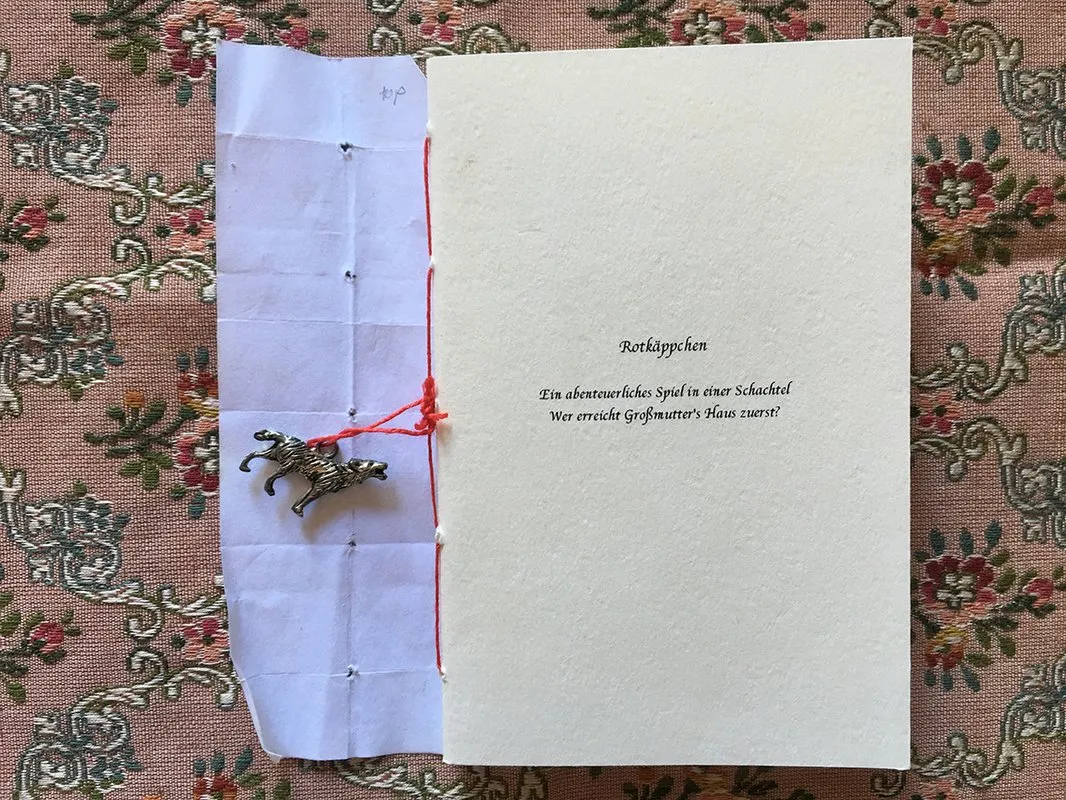
Template piece I used as a guide for making the holes for the binding - this way you know exactly where to put the holes for sewing the signatures (groups of folded paper) together
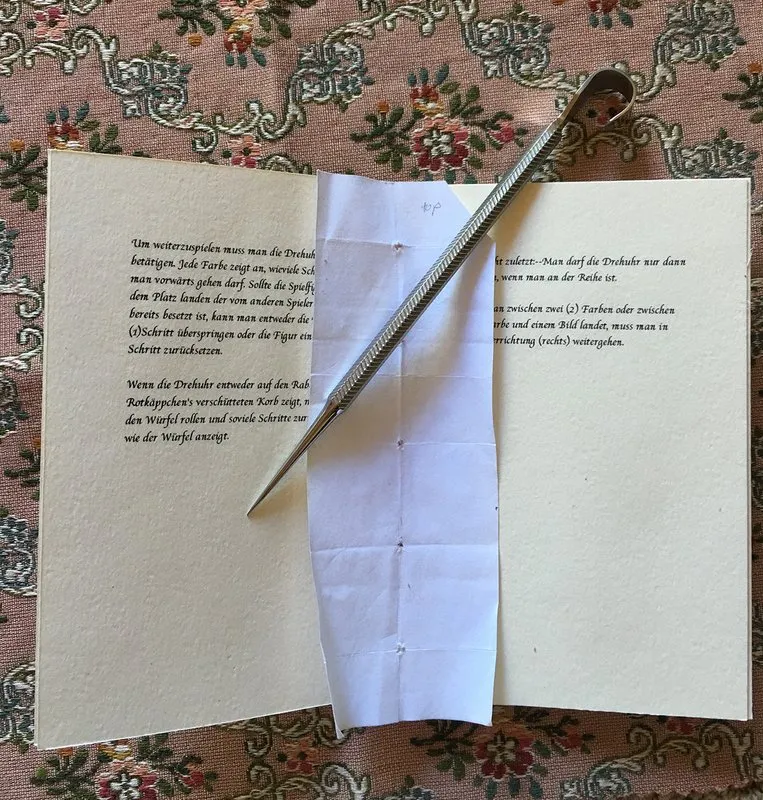
It's easiest to put it in the middle of the group of open pages. Make sure it's exactly to scale. It will save endless mistakes if you are careful first
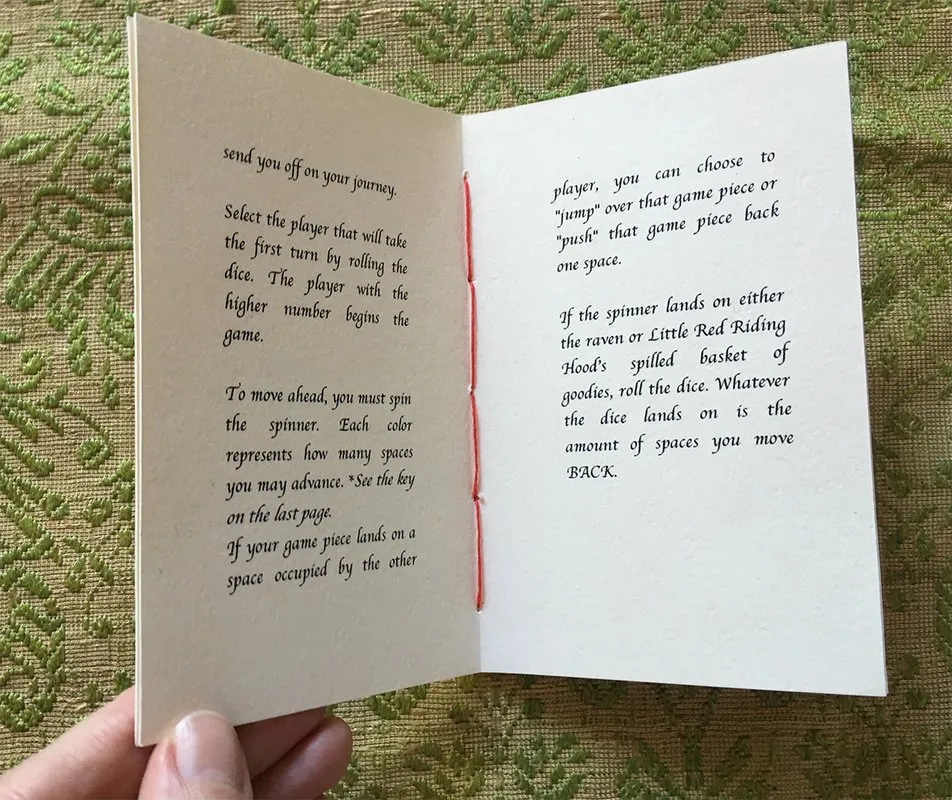
Inside view showing the red thread binding
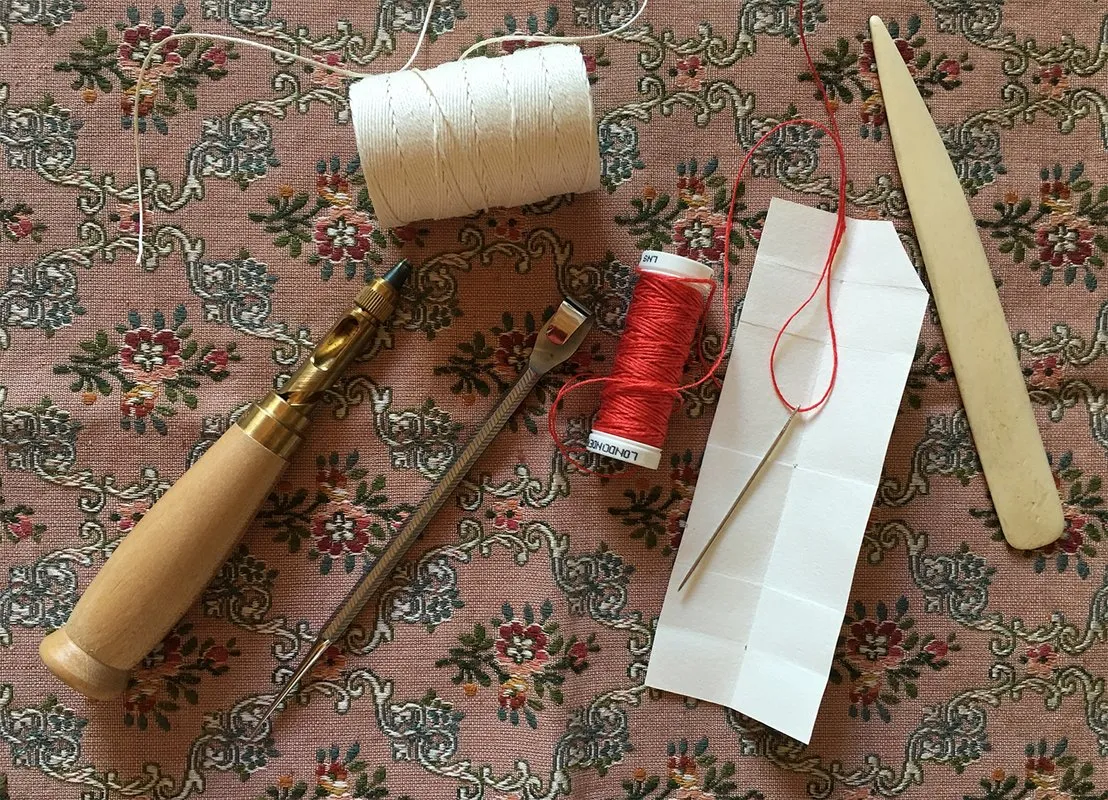
Some bookbinding tools of the trade - from left to right: My beloved Japanese hole punch (mainly used for harder board cover material), bookbinding thread, awl for making smaller holes in paper, template guide for hole punching in the binding shown with needle, and bone folder. A bone folder is a fabulous little tool everyone should own; it gives you sharp creases when you fold paper if you rub it over the fold
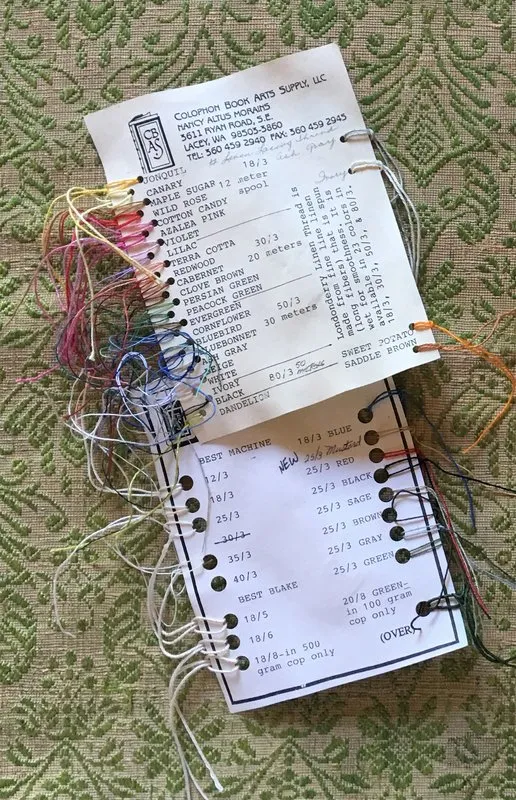
Wonderful samples of bookbinding thread you get when you place an order from Colophon Book Arts Supply - nice to be able to feel it and see the colors in person
This was the most fun I have ever had in combining my love for book illustration with bookbinding. I plan on doing many more projects like this with different fairy tales in the near future.
All images were hand painted with acrylic paint.
Illustrations and book project ©Johanna Westerman 2016