
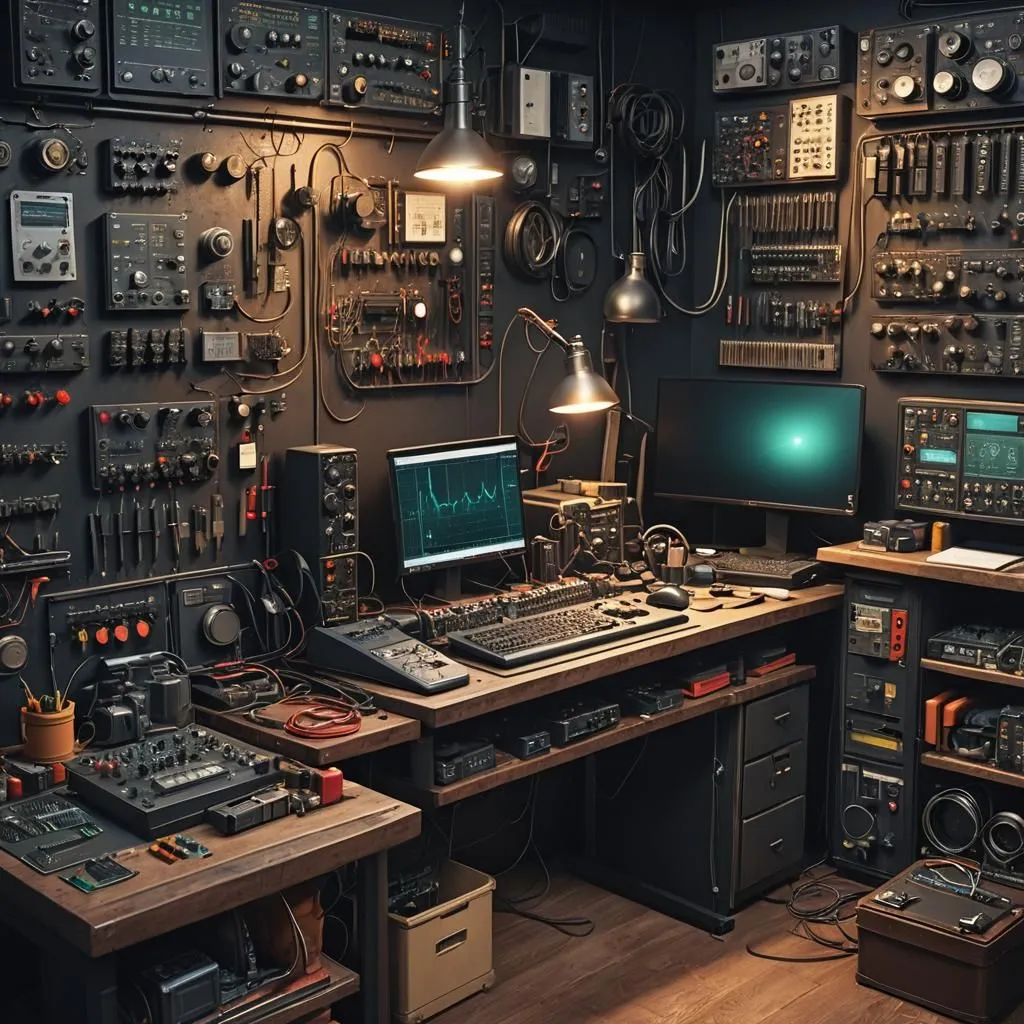
Greetings to the Hive DIY community, happily I have been able to get back into the swing of things and publish.
Take advantage of the break time to use the tools that my brother shared a few days ago, and improve the presentation of the publication, I hope you like it.

Post Resources for publications
My old cat, Vero, was poisoned the last few days and I spent a couple of days without sleeping, until I managed to get him to recover, then the baby cat that had just arrived, appeared with an injured and swollen paw and I had to dedicate myself to curing him too. .
Finally, my health was not good, but now that we are all better, we are moving again.
I share with you a couple of repairs I made to recover a little time.

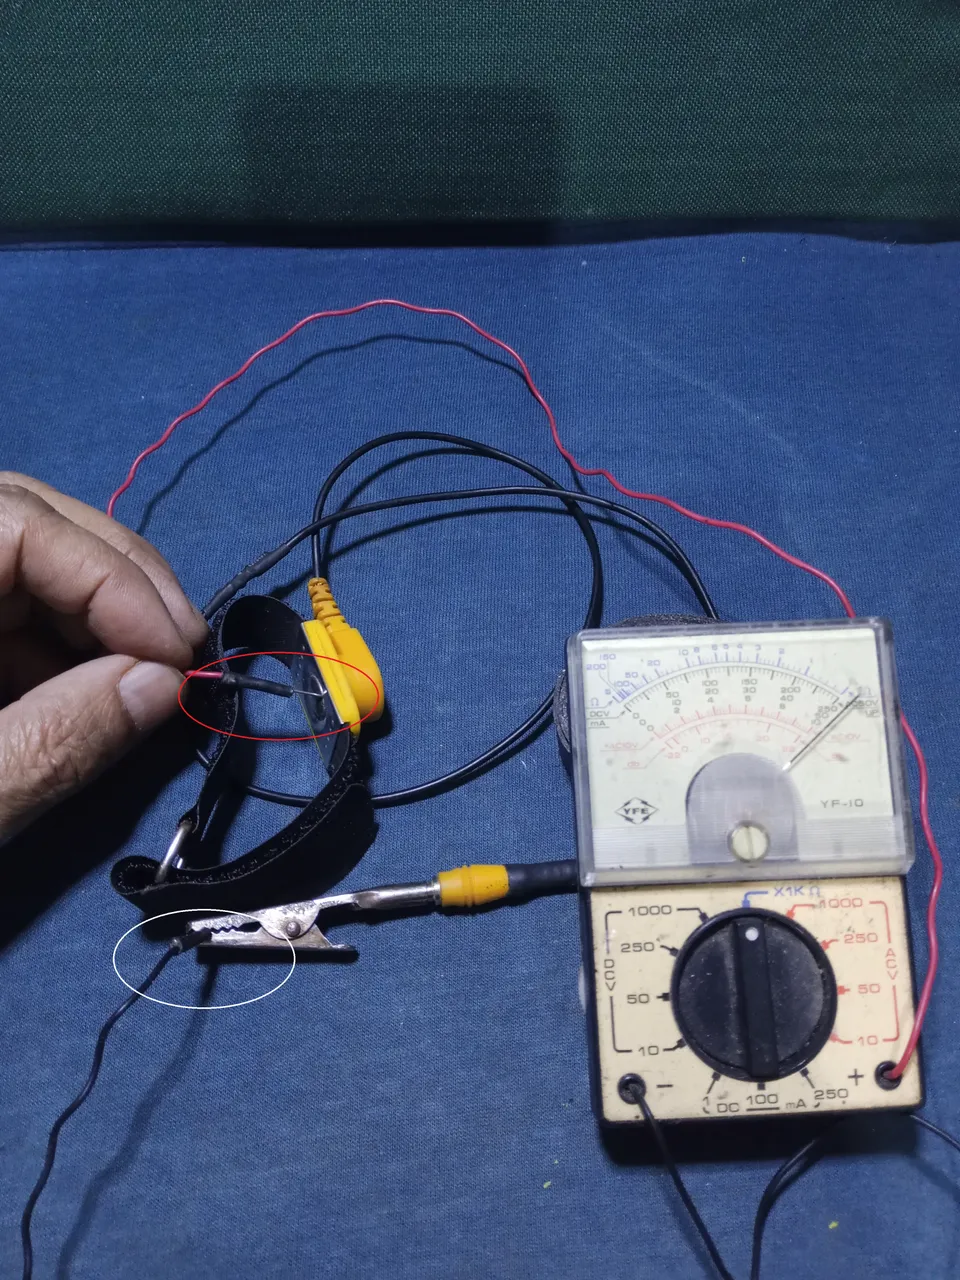
My antistatic bracelet after a couple of decades suffered severe deterioration and the cable simply disintegrated, I think the plastic of the wiring degraded.
The metal parts had rust on them, so I let them soak in cooking vinegar overnight, then just polished them a little with a hand wire brush. It is a trick that works with tools and rusty iron parts, it is quite effective and economical.

The conductive material is not exactly cable as we know it, it is a thin fabric with copper, similar to that used in headphones, it is very difficult to solder and replace.
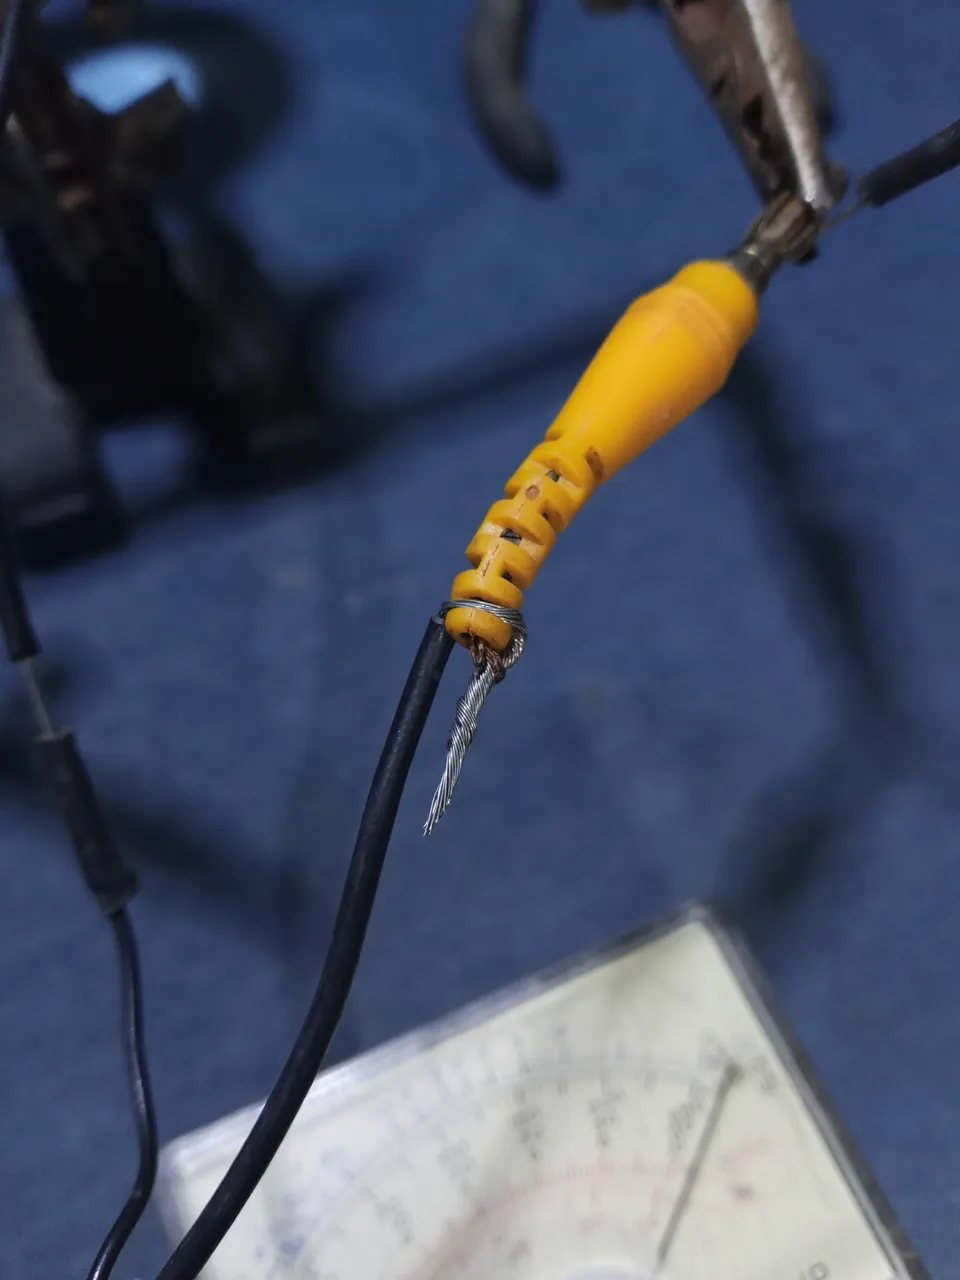
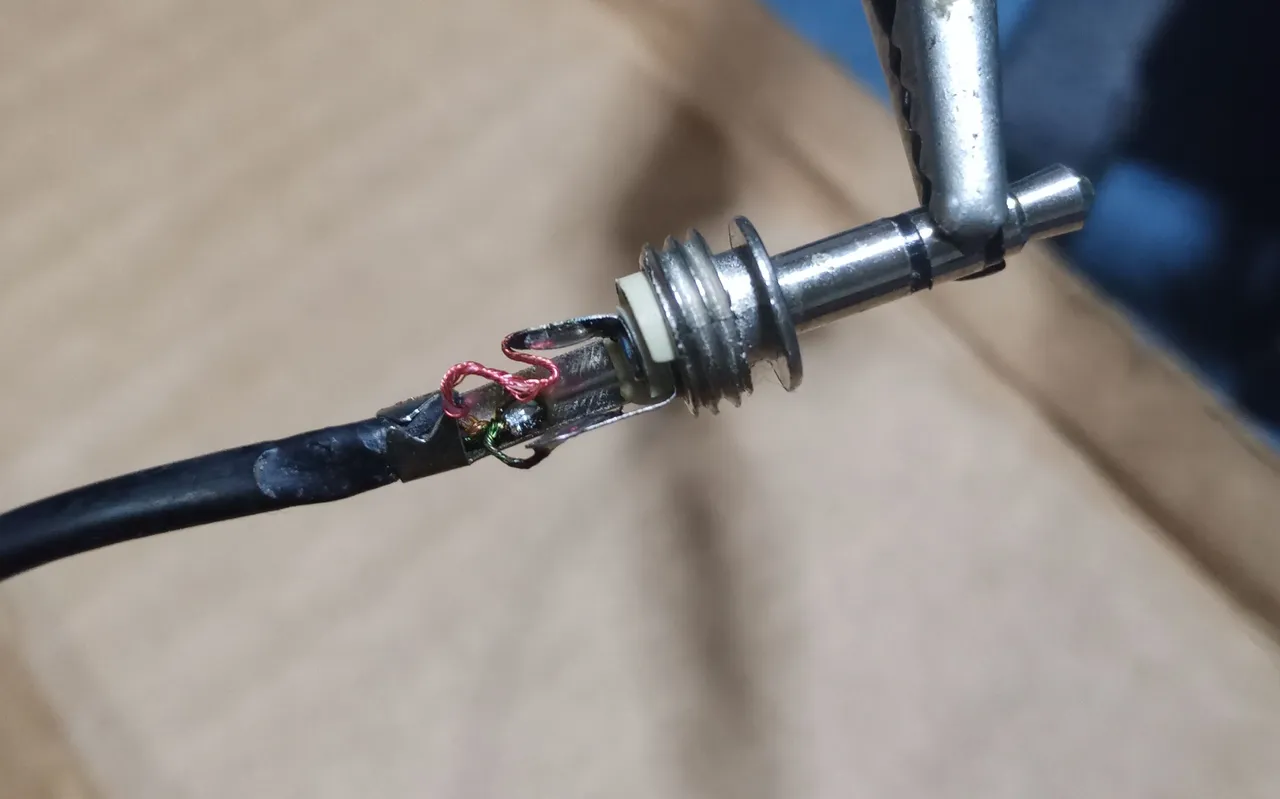
Getting the wire tinned with the copper took some patience and time, I had to secure the new wire to the plastic protector.
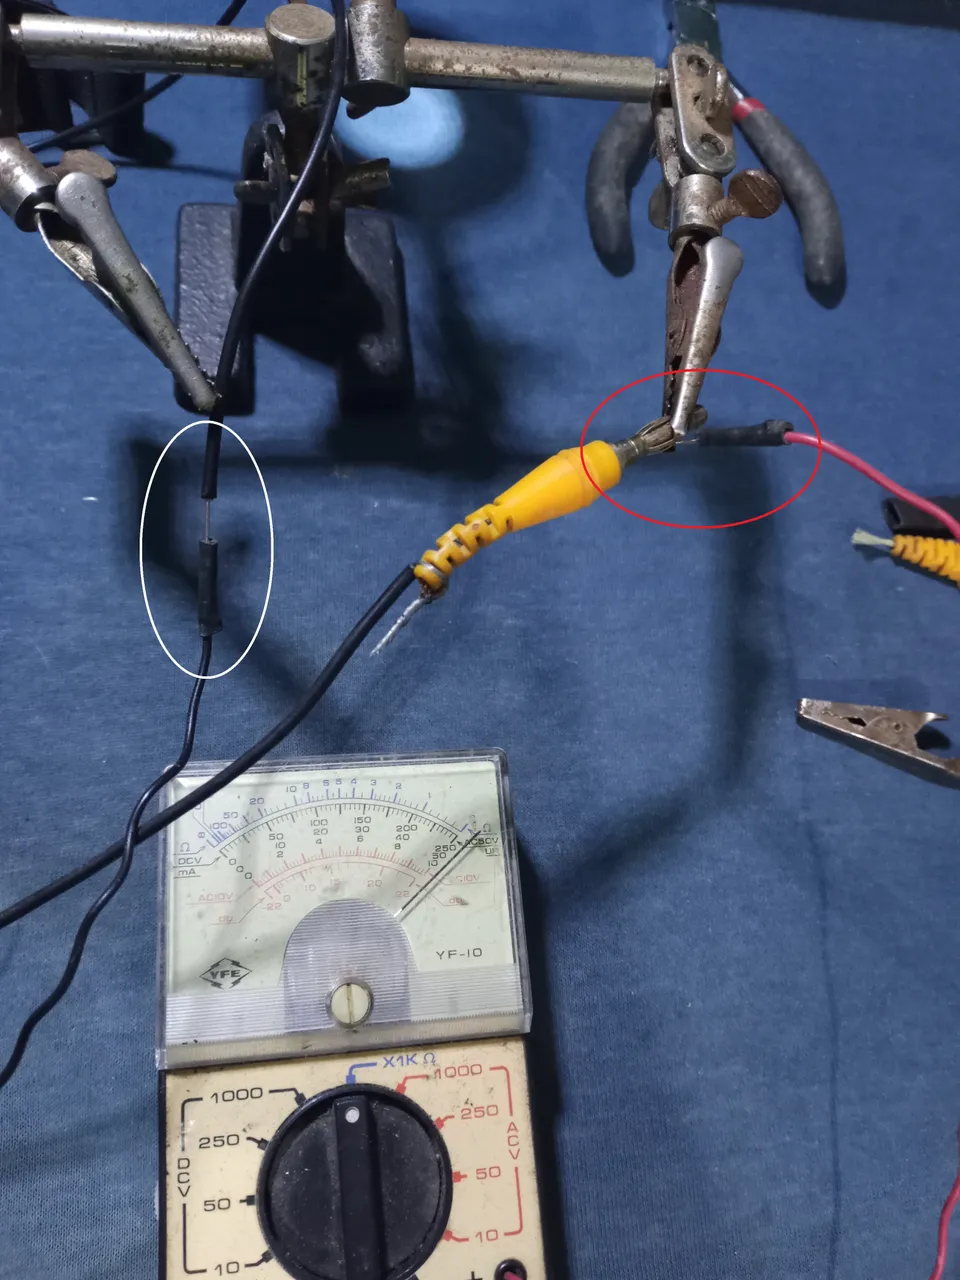
I checked the continuity of the cable and the connector, with the analog tester before isolating the solder from the tie.
The bracelet clip no longer had copper, only the fabric remained, it couldn't be soldered, but I didn't want to remove it, so I worked on the piece so I could attach the wire.

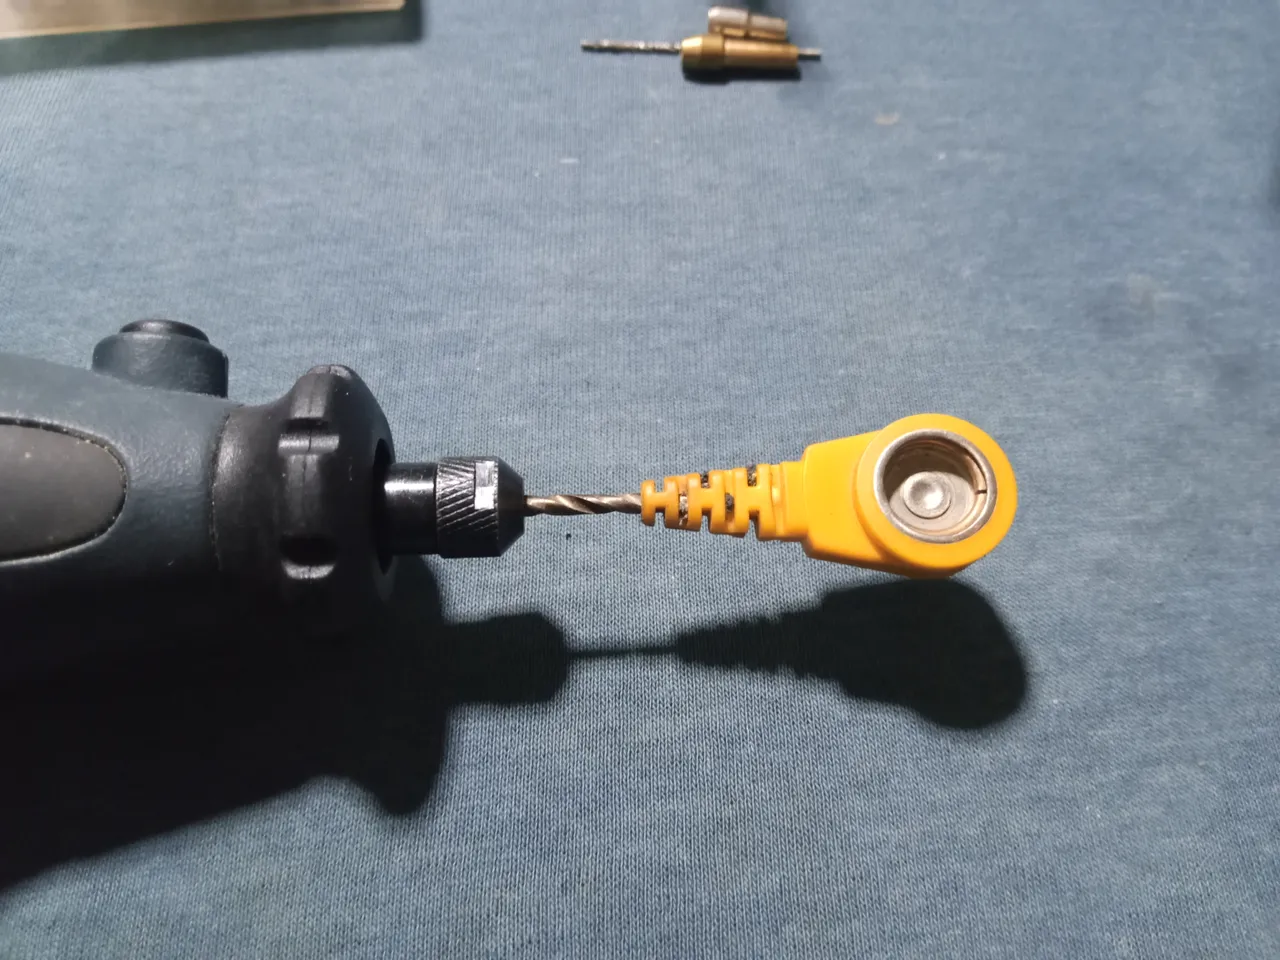
Use a copper wire as a guide, until you pass the cable without problems, I did not want to damage the clasp mechanism, so I did not go through it, place the cable quite far apart from the wires, carefully so that the pressure parts fit.
I checked the continuity and it turned out without any problem.

It is a useful tool, for when we work with circuits that are delicate, many people consider it unnecessary. In my case, I used to accumulate static electricity and if I worked with a delicate circuit I had to discharge the static so as not to damage it.
I spent a lot of time working on more rustic things (mechanics and electricity), that's why I wasn't using it, but now that I'm doing repairs in the more careful workshop, I'm going to need to use it.

My brother's hearing aids had an accident when we found the poisoned cat. The cat was about to fall from the stairs to the floor below, I asked him for help quickly and in his hurry he forgot to take off his headphones before going out to help me catch him.
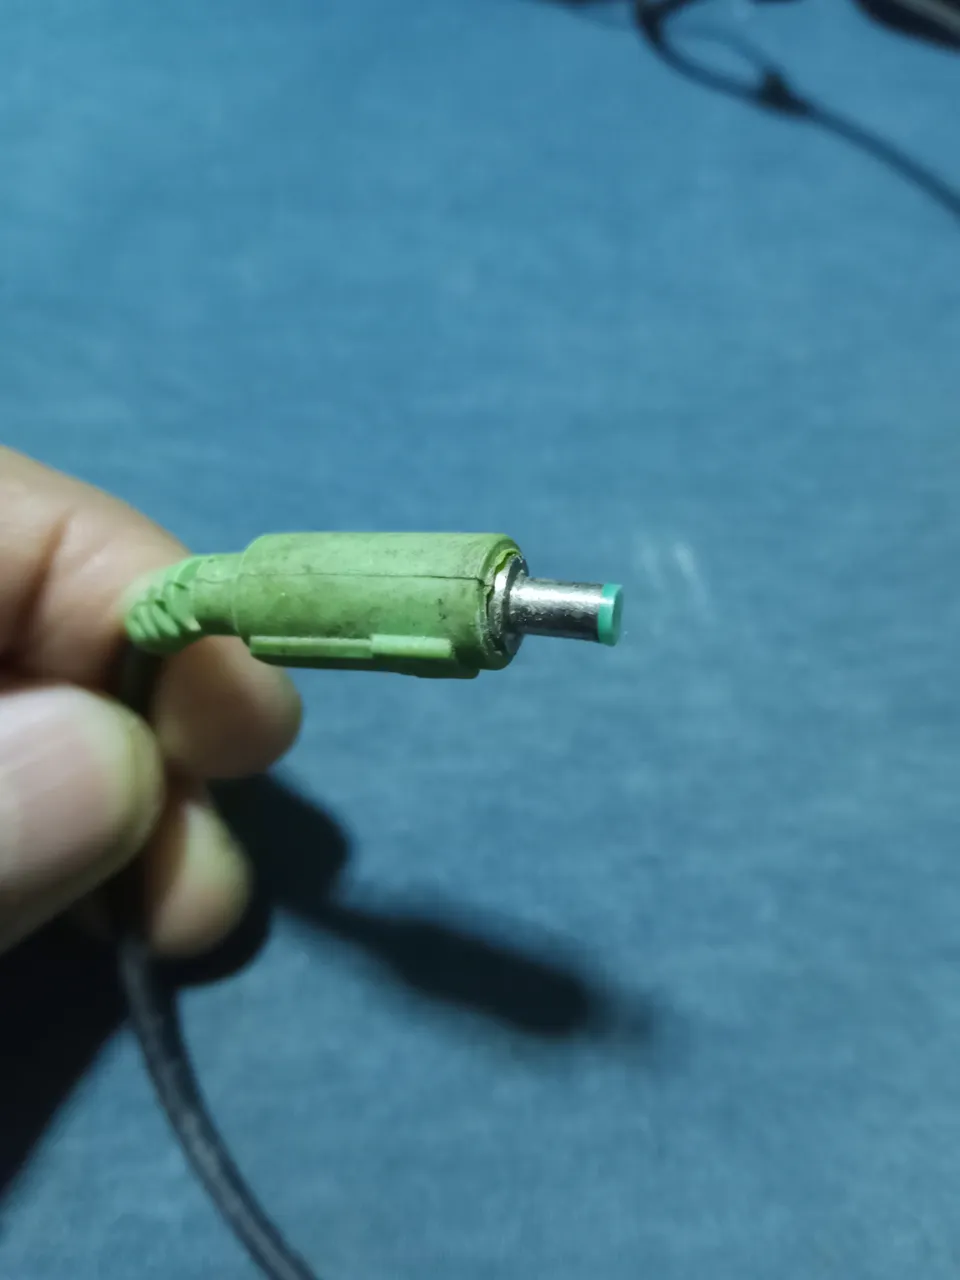
I just have a spare plug left, so I won't be able to connect to the microphone.

It is not complicated to make the connections, 1 is the left side, 2 is the right side and 3 is the negative.

For some reason, the Asian teams I've worked with don't always respect the color code, (in fact, most of the time they don't respect the color code).
To save myself the trouble of disassembling even the horns to see the order of the cables, I used a signal injector and located the right and left channels.
I have to make a new signal injector, the one I use is from when I was studying 30 years ago, it already needs a change for a better one, so I will explain more about the tool and its use later.

Well, this is a simple post and I'm trying to improve the presentation a little, I hope you like it.
Thank you very much for stopping by and reading me.
Have an excellent week.
Peace.
The cover image was made in NightCafe, a free tool.
Effect letters are created in TextStudio
[Image's Source - Image Source](Font Generator)The workshop images are screenshots of my work.
I have used Google translator for the English language.

Saludos a la comunidad de Hive DIY, felizmente he podido volver al ruedo y publicar.
Aproveche el tiempo de pausa para usar las herramientas que compartió mi hermano hace unos días, y mejorar la presentación de la publicación, espero que les agrade.
Post de Recursos para publicaciones
Mi viejo gato, Vero, estuvo envenenado los días pasados y pase un par de días sin dormir, hasta que logre que se recuperara, luego el gato bebe que recién había llegado, apareció con la pata herida e inflamada y tuve que dedicarme a curarlo también.
Finalmente, mi salud no estuvo bien, pero ahora que todos estamos mejor, ya estamos en movimiento nuevamente.
Les comparto un par de reparaciones que hice para recuperar un poco el tiempo.
Mi pulsera antiestática después de un par de décadas sufrió un fuerte deterioro y el cable simplemente se desintegró, creo que el plástico del cableado se degradó.
Las partes metálicas tenían óxido, así que las deje sumergidas en vinagre de cocina por una noche, luego solo las pulí un poco con un cepillo de alambre de mano. Es un truco que funciona con herramientas y partes de hierro oxidadas, es bastante efectivo y económico.
El material conductor no es precisamente cable como lo conocemos, es un tejido fino con cobre, parecido al que se usa en los audífonos, es muy difícil de soldar y sustituir.
Lograr estañar el cordel con el cobre llevo algo de paciencia y tiempo, tuve que asegurar el cable nuevo al protector de plástico.
Comprobé la continuidad del cable y el conector, con el tester analógico antes de aislar la soldadura del empate.
El clip de la pulsera ya no tenía cobre, solo quedaba el tejido, no se podía soldar, pero no quería eliminarlo, así que trabaje en la pieza para poder colocar el cable.
Use un alambre de cobre como guía, hasta pasar el cable sin problemas, no quería dañar el mecanismo del broche, así que no lo atravesé, coloque el cable bastante separado los hilos, con cuidado y que calzaran las partes a presión.
Verifique la continuidad y quedo sin ningún problema.
Es una herramienta útil, para cuando trabajamos con circuitos que son delicados, muchas personas lo consideran innecesario. En mi caso, yo solía acumular electricidad estática y si trabajaba con un circuito delicado tenía que descargar la estática para no dañarlo.
Pase bastante tiempo trabajando en cosas más rústicas (mecánica y electricidad), por eso no lo estaba usando, pero ahora que estoy haciendo reparaciones en el taller de más cuidado, me va a hacer falta usarla.
Los audífonos de mi hermano pasaron por un accidente, cuando encontramos el gato envenenado. El gato estaba a punto de caerse desde las escaleras al piso de abajo, le pedí ayuda rápido y con las prisas él se olvidó de quitarse los audífonos antes de salir a ayudarme a atajarlo.
Solo que me queda un plug de repuesto, así que no voy a poder conectar al micrófono.
No es complicado hacer las conexiones, el 1 es el lado izquierdo, el 2 el lado derecho y el 3 es el negativo.
Por algún motivo, los equipos asiáticos que he trabajado, no siempre se respeta el código de colores, (de hecho, la mayoría de las veces no respetan el código de colores) para ahorrarme el trabajo de desarmar hasta las cornetas para ver el orden de los cables, use un inyector de señales y ubique el canal derecho y el izquierdo.
Tengo que hacer un inyector de señales nuevo, el que uso es de cuando estudiaba hace 30 años, ya necesita un cambio por uno mejor, así que explicaré más de la herramienta y su uso luego.
Bueno, esta es una publicación sencilla y estoy probando a mejorar un poco la presentación, espero que les guste.
Muchas gracias por pasar y leerme.
Que tengan una excelente semana.
Paz.
La imagen de portada fue realizada en NightCafe, herramienta gratuita.
Las letras de efectos son creadas en TextStudio
[Image's Source - Fuente de la Imagen](Generador de fuentes)Las imágenes del taller son capturas de mi trabajo.
He usado el traductor del Google para el idioma Inglés.