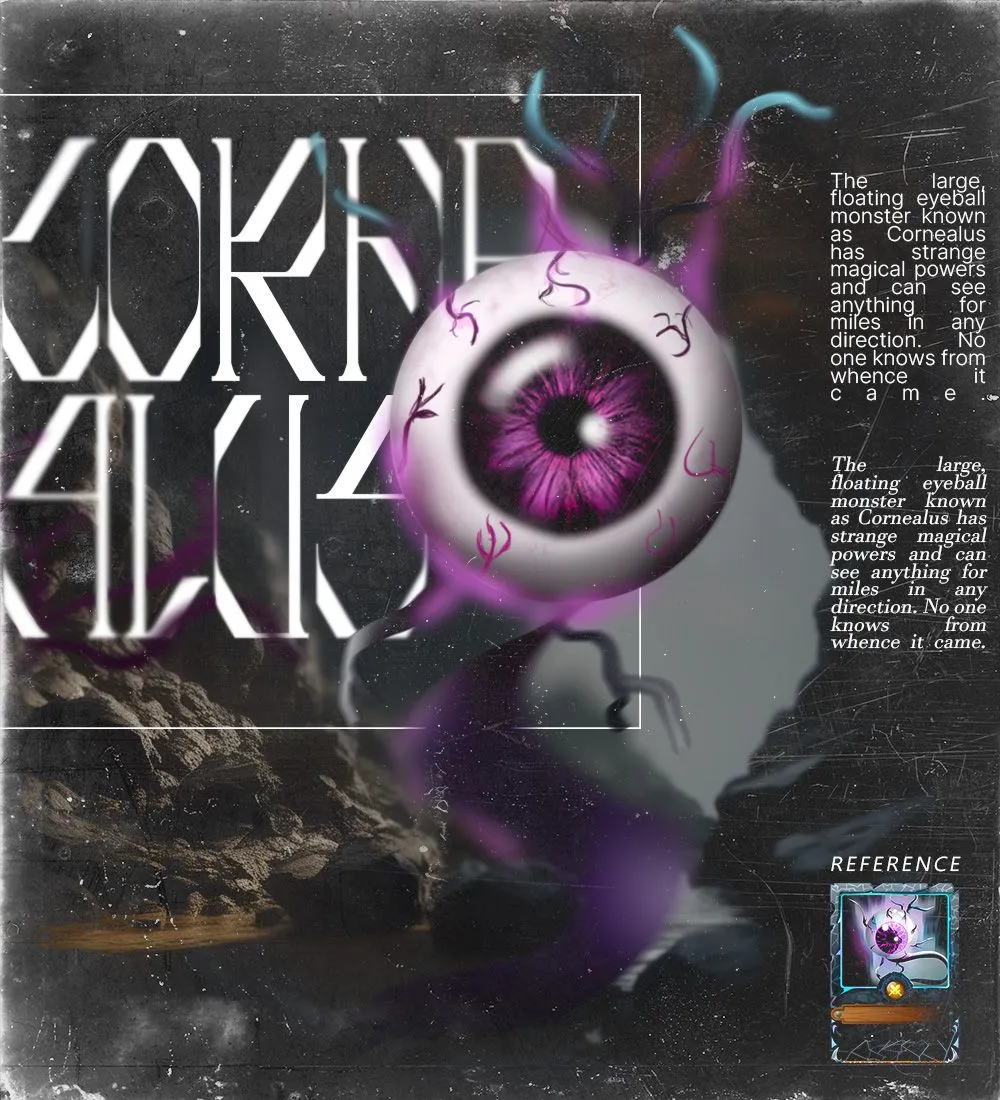
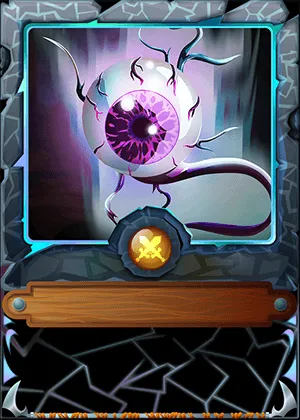
Hello Splinterlas community, here's a new post with my participation. This time, I brought Cornelius. I found it interesting to interpret him because he has a style that, although may seem basic to some viewers, has something captivating in both design and context. Without further ado, let's dive into the design process.
Hola comunidad de Splinterlas, aquí un nuevo post con mi participación. En esta ocasión, decidí traer a Cornelius. Me pareció interesante interpretarlo debido a que tiene un estilo que, aunque para algunos espectadores pueda parecer básico, tiene algo que cautiva en su diseño y contexto. Sin más preámbulos, pasemos al proceso de diseño.

PROCESS
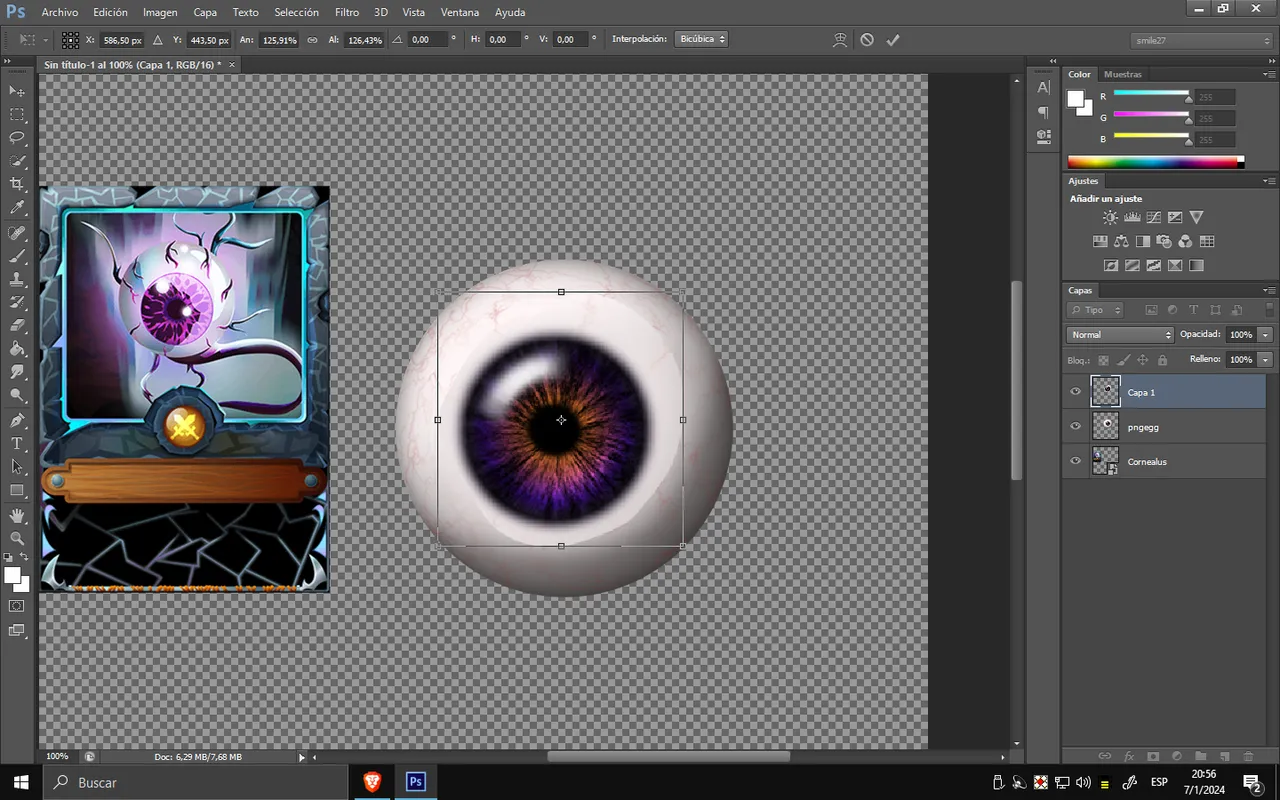
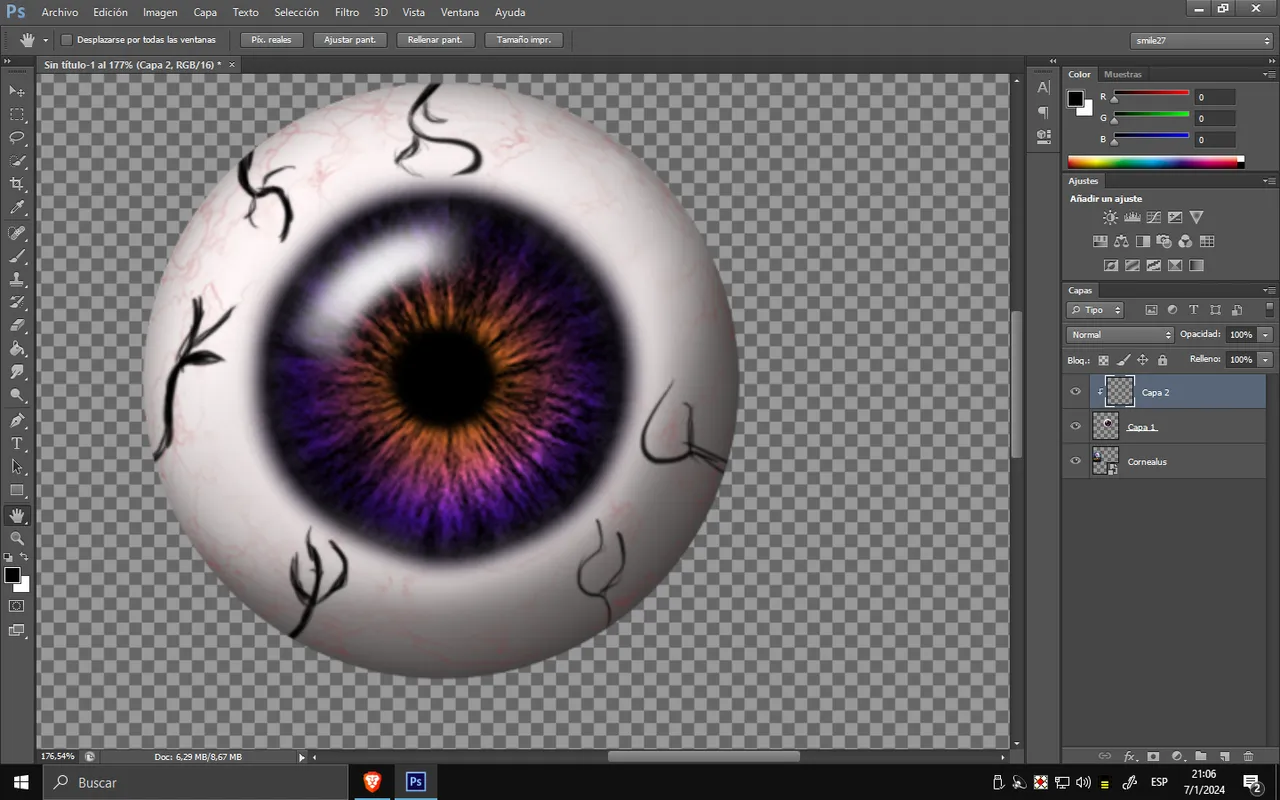
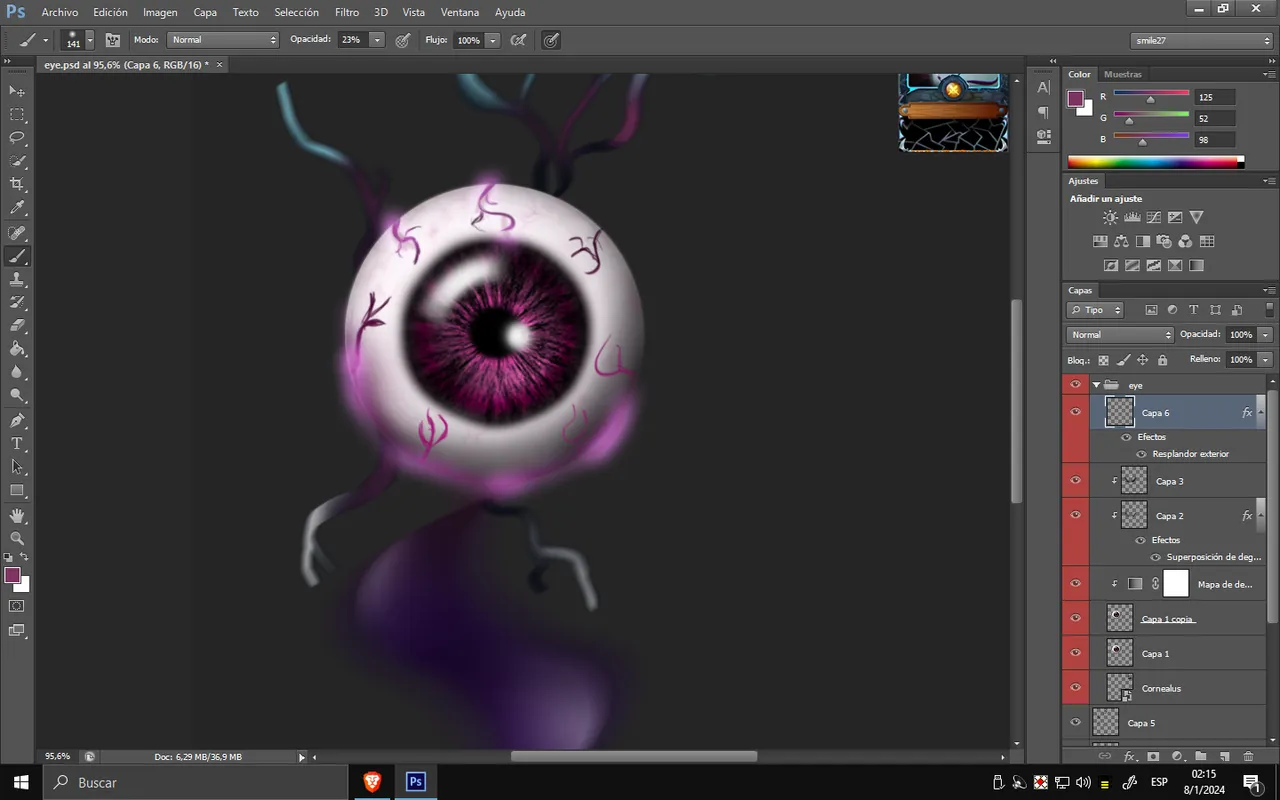
For the eye, once generated, I noticed that the iris was a bit smaller. So, using the lasso tool, I copied the iris and enlarged it. I employed the eraser and smudging tool to achieve a similar result. Afterward, I enhanced the roots in the eyes that would form the connection with part of his body.
Para el ojo, una vez generado, noté que el iris era un poco más pequeño, así que con la herramienta de lazo, copié el iris y lo agrandé. Utilicé la herramienta de borrado y difuminado para lograr un resultado similar, luego procedí a realzar esas raíces en los ojos que formarían la unión con parte de su cuerpo.
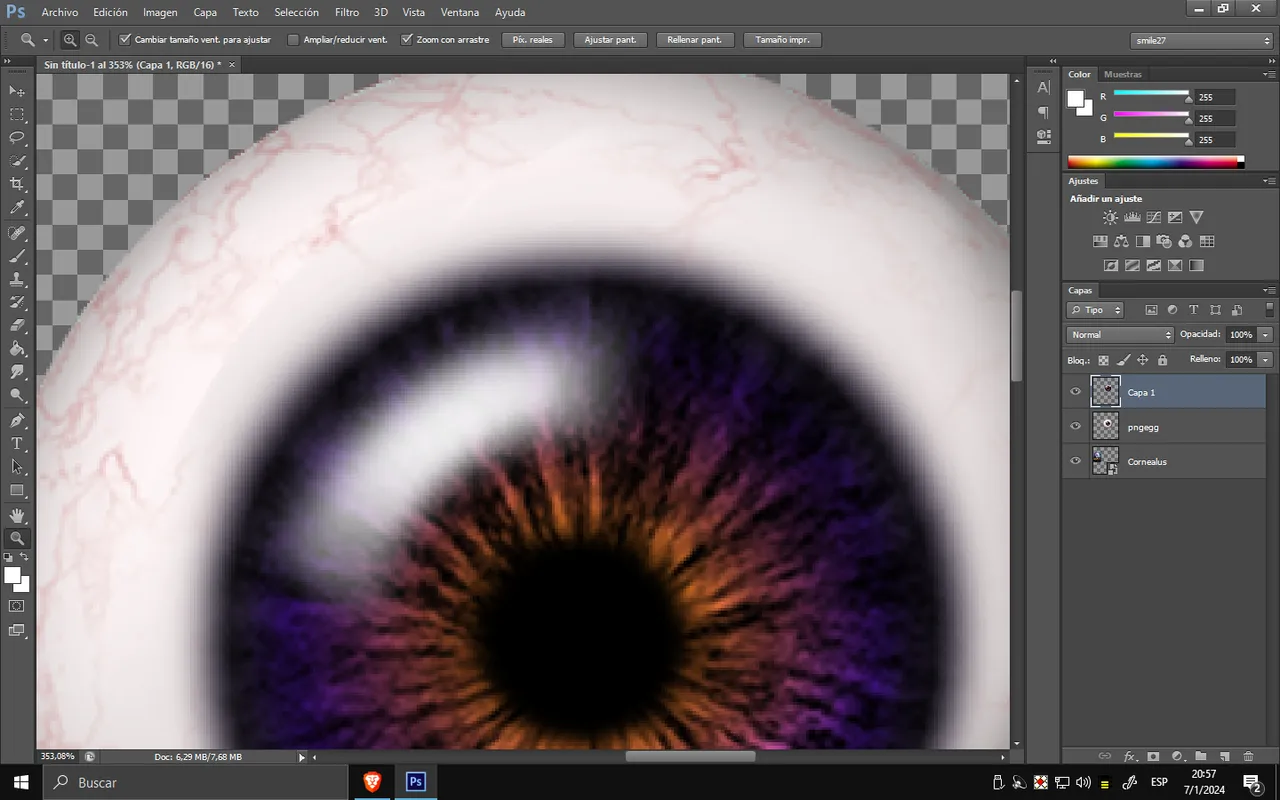
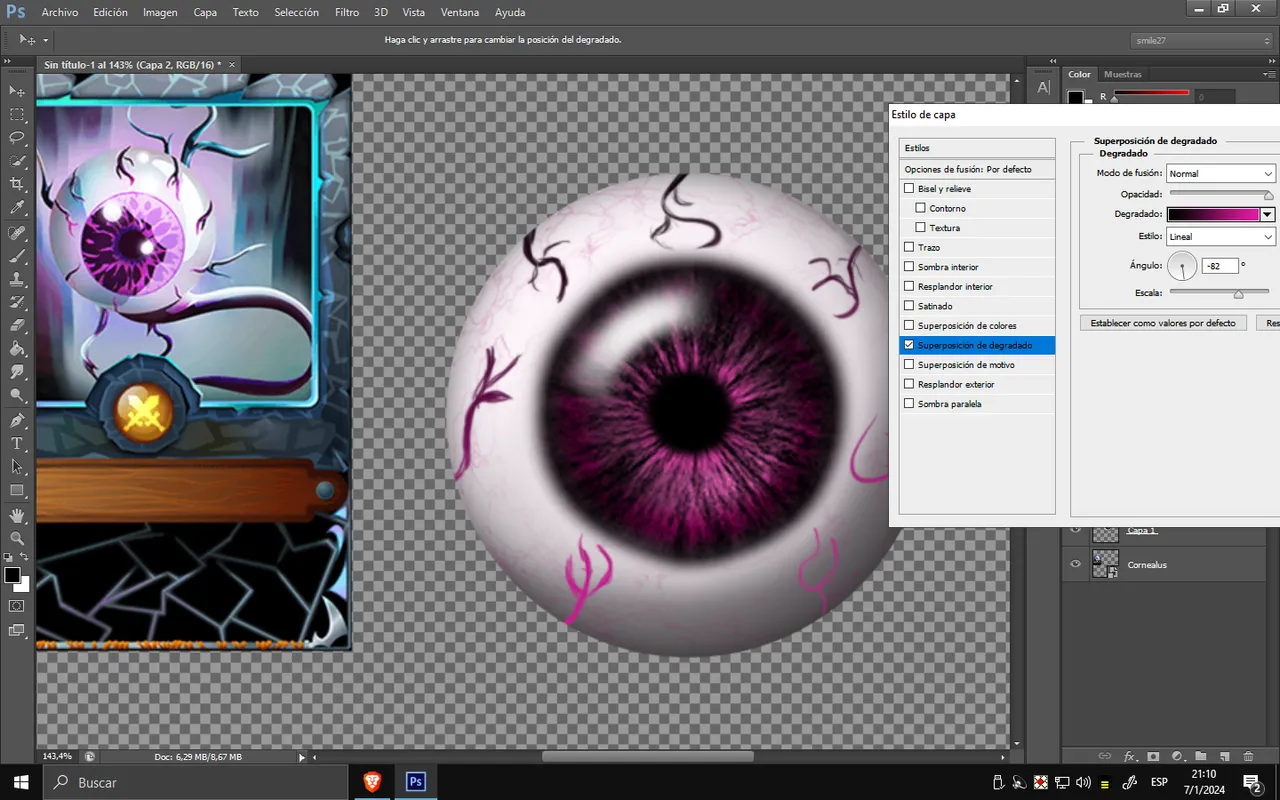
At this stage, I began to capture his colors, and once obtained, I created a gradient map that would incorporate the shadows and highlights using the colors present in the illustration, striving to assimilate it as accurately as possible.
En esta etapa, comencé a tomar sus colores y, una vez obtenidos, creé un mapa de degradado que capturaría las sombras y luces con los colores presentes en la ilustración, intentando asimilarlo de la manera más precisa posible.
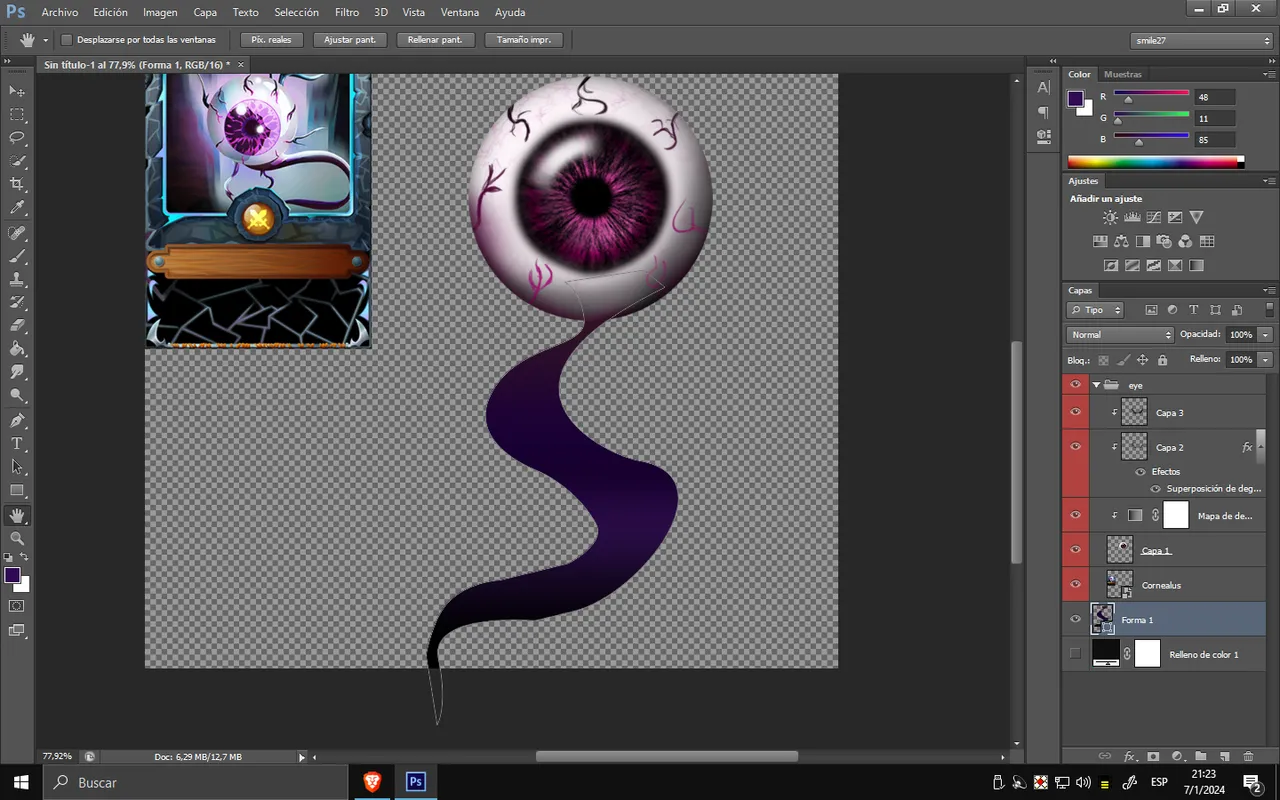
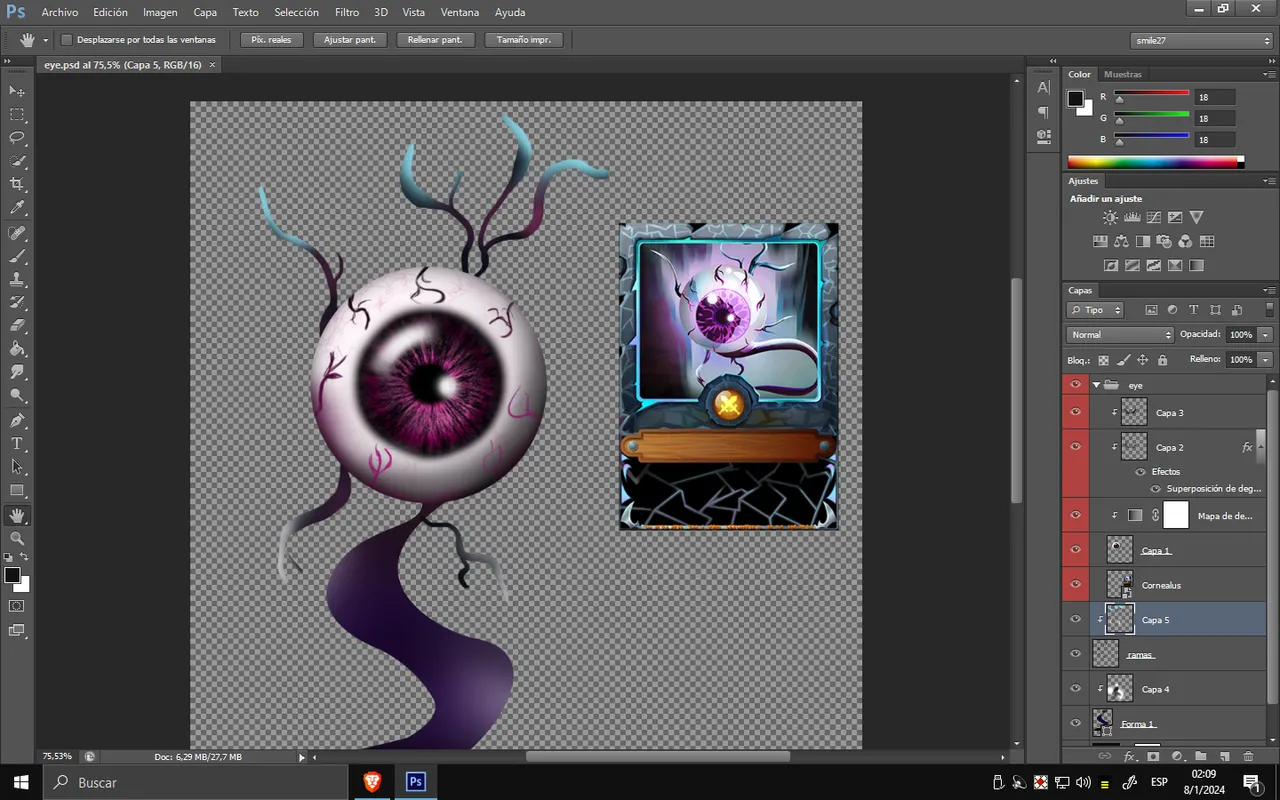
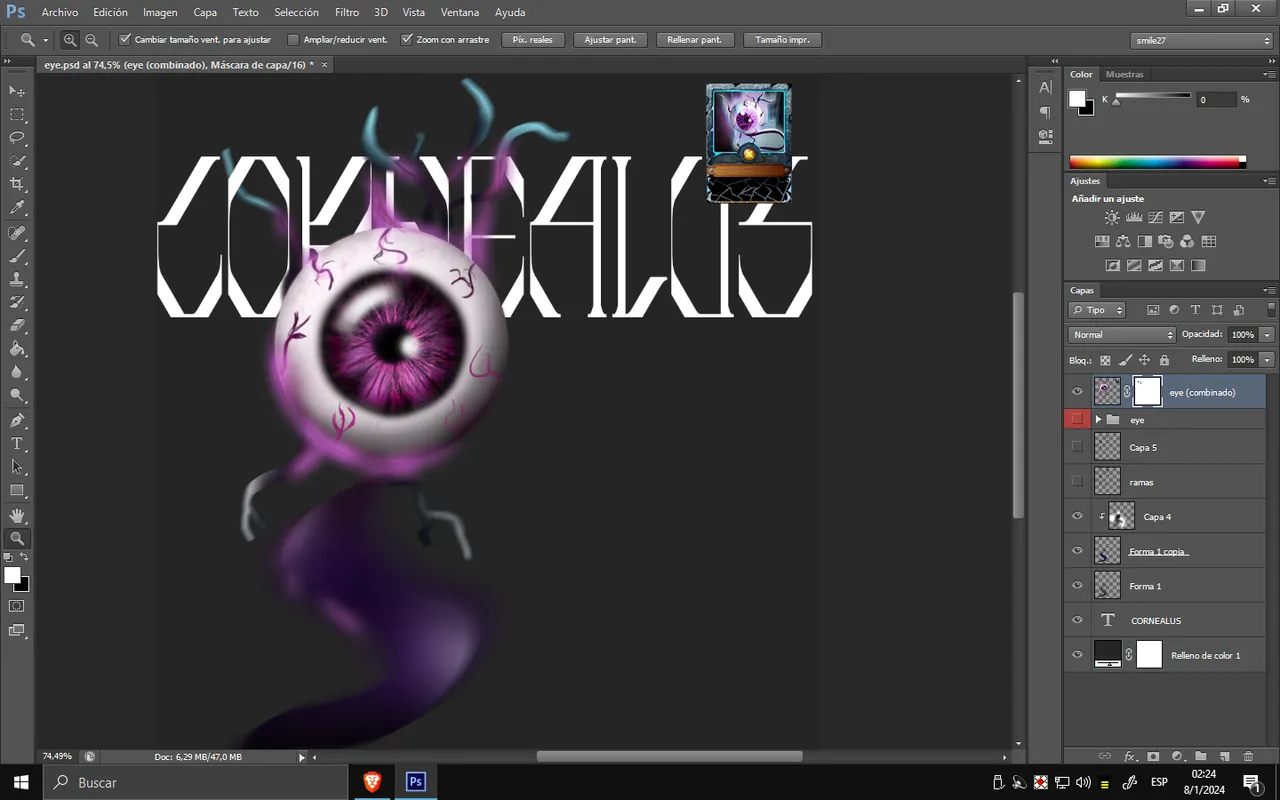
For the body, I employed the pen tool to create the remaining part, mirroring the eye colors and adding highlights to each section of the body. Afterward, I proceeded to apply blur to certain areas to enhance the overall effect of the image, resulting in a final design.
Para el cuerpo, utilicé la herramienta pluma y creé la parte restante del mismo, imitando los colores del ojo y agregando luz a cada sección del cuerpo. Luego, procedí a aplicar desenfoque en ciertas partes para proporcionar un efecto mejorado a la imagen, que finalmente quedaría como un diseño completo.
BACKGROUND
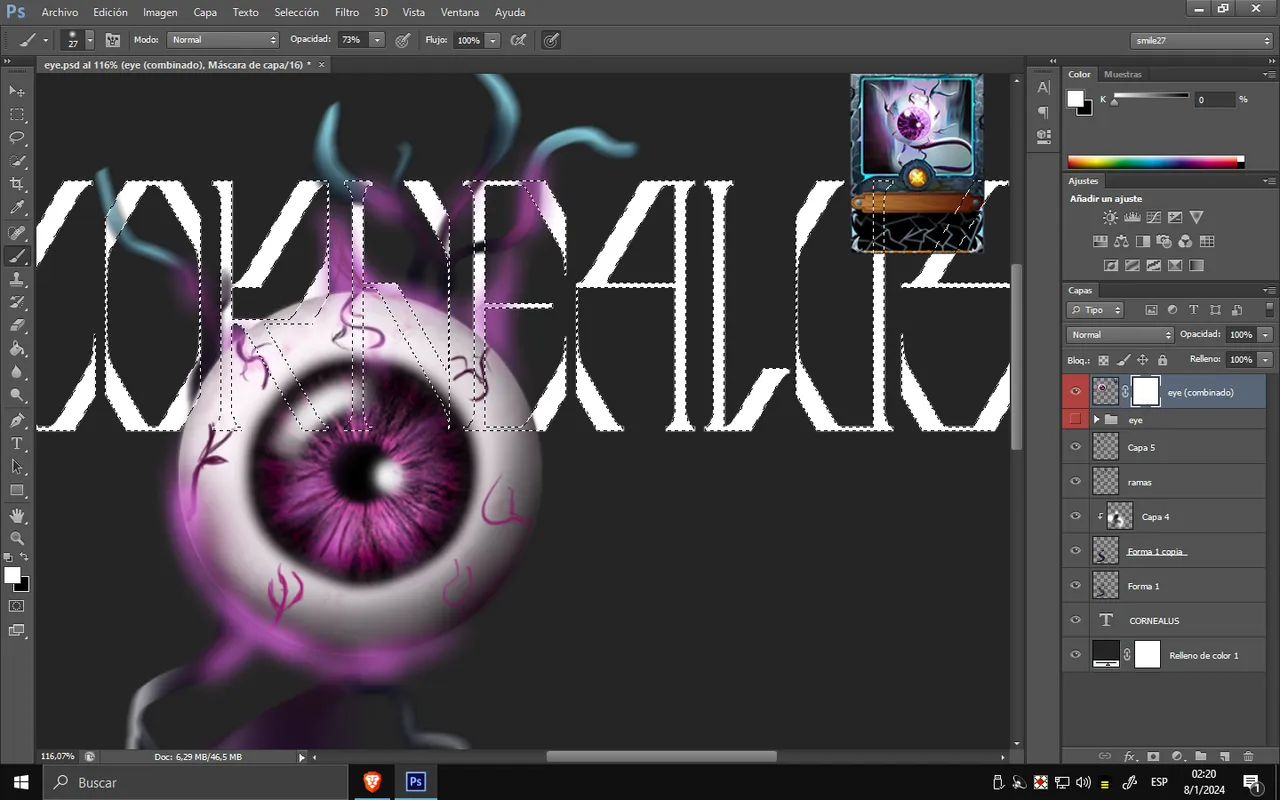
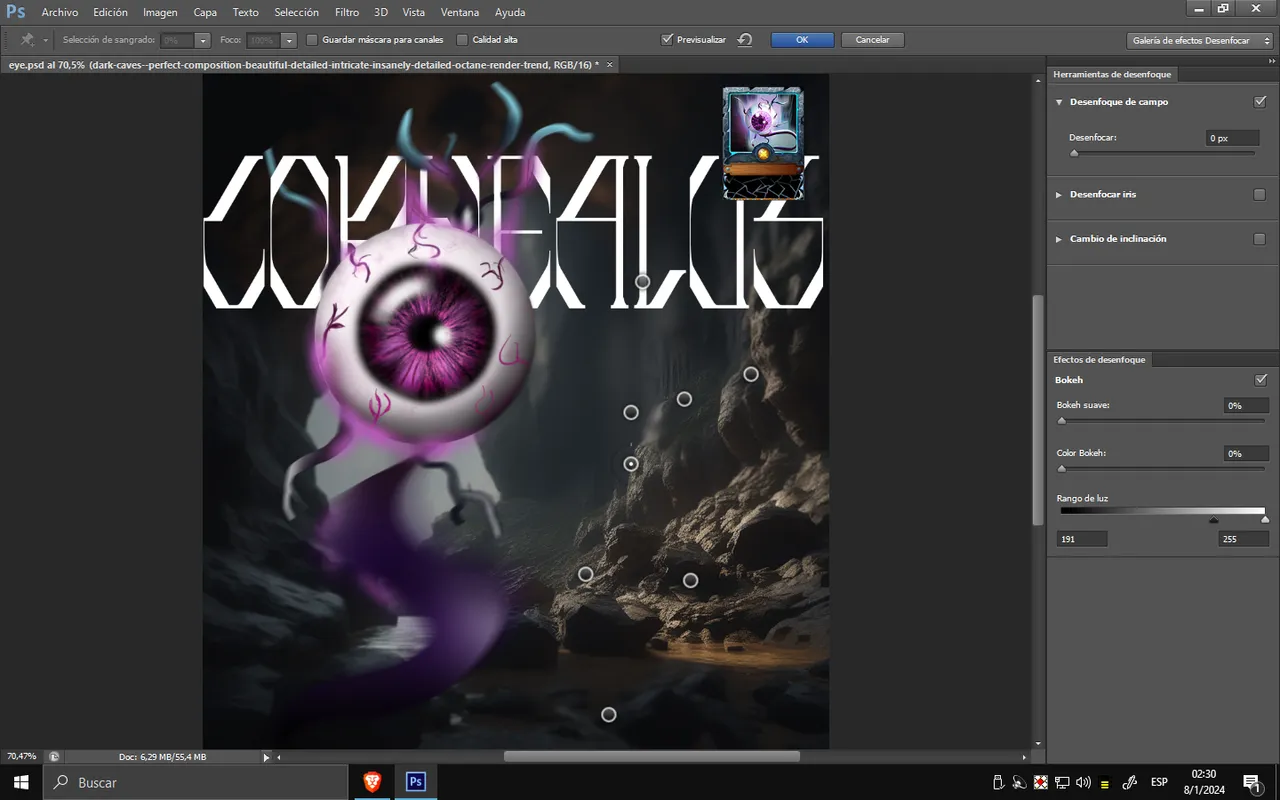
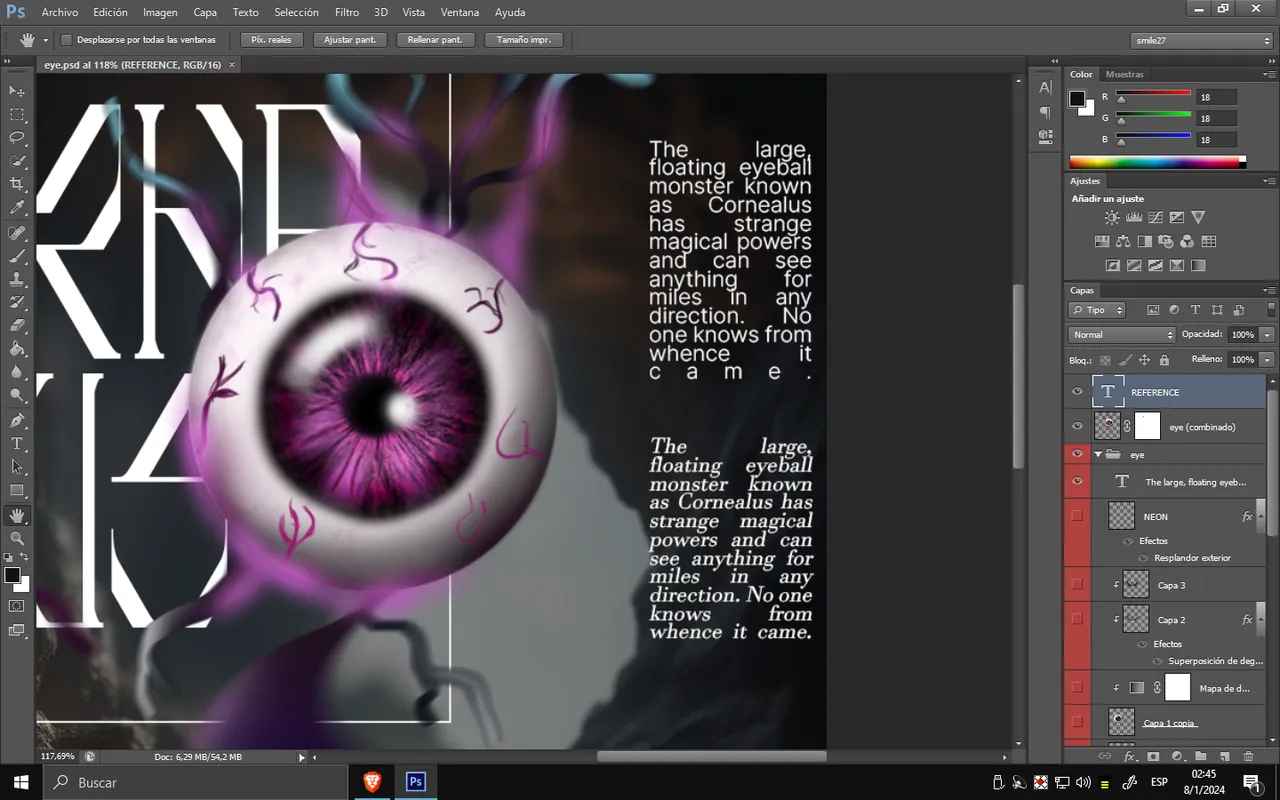
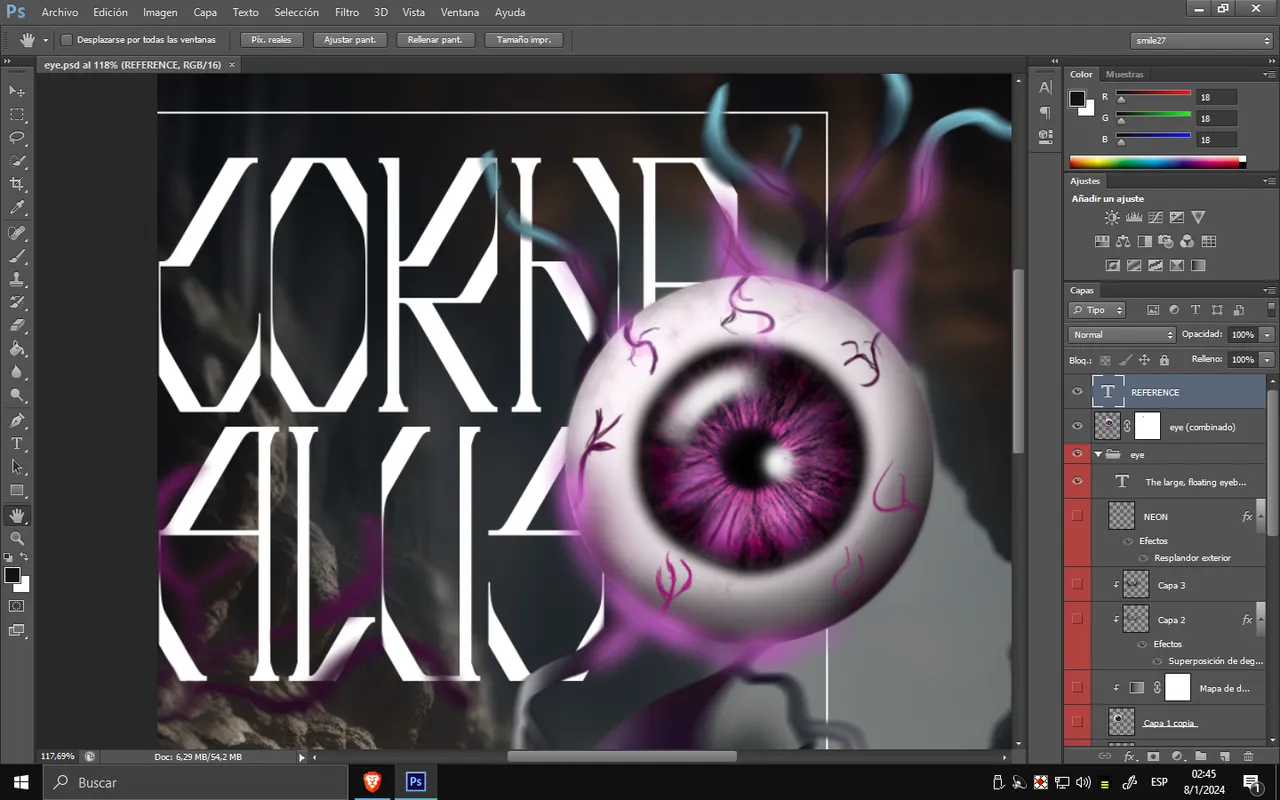
For the background, I chose a modern typography that I tried to place as formally as possible. Initially, I experimented with the layer mask technique, erasing part of the roots to create an effect as if they were piercing through the letters. As for the background, I selected an image of a cave and added some depth-of-field blurs to bring more dynamism and depth to the overall blur effect.
Para el fondo, elegí una tipografía moderna que intenté colocar de la manera más formal posible. Primero, probé utilizando la técnica de la máscara de capa, borrando parte de las raíces y creando un efecto como si atravesara las letras. Para el fondo, seleccioné una imagen de una cueva y añadí algunos desenfoques de campo para darle más dinamismo y profundidad al desenfoque.
I added text with a portion of his lore, aiming to fill in the final design with blurs and additional details such as neon lights. I also incorporated more roots intertwining with the letters. The final texture helped shape the cover design, stylizing it and giving a certain worn-out effect. I hope you enjoyed this quick presentation of the card. We'll see you in the next participation.
Añadí textos con parte de su historia, tratando de completar el diseño final con desenfoques y algunos detalles adicionales, como la luz de neón. También coloqué más raíces que se entrelazan con las letras. La textura final me ayudó a definir el diseño de la portada, dándole estilo y un cierto efecto de desgaste. Espero que hayas disfrutado de esta breve presentación de esta carta. Nos veremos en una próxima participación.
Tools Used :
Photoshop
WACOM CTL 472
Font AI Style Cinematic