
Hola amigos, reciban un saludo muy amoroso.
Me encuentro muy feliz, ya que esta es mi tercera publicación en esta comunidad, hoy quiero presentarles el cómo transforme una blusa sencilla, en una sexi blusa tipo corset.
Los invito acompañarme en esta publicación y puedan comprender el proceso de confección de este diseño.
Las fotografías que verán a continuación, fueron tomadas con mi teléfono modelo Alcatel_5044R.

Hello friends, receive a very loving greeting.
I am very happy, since this is my third publication in this community, today I want to present you how to transform a simple blouse, in a sexy corset blouse.
I invite you to join me in this publication and you can understand the process of making this design.
The pictures you will see below were taken with my phone model Alcatel_5044R.
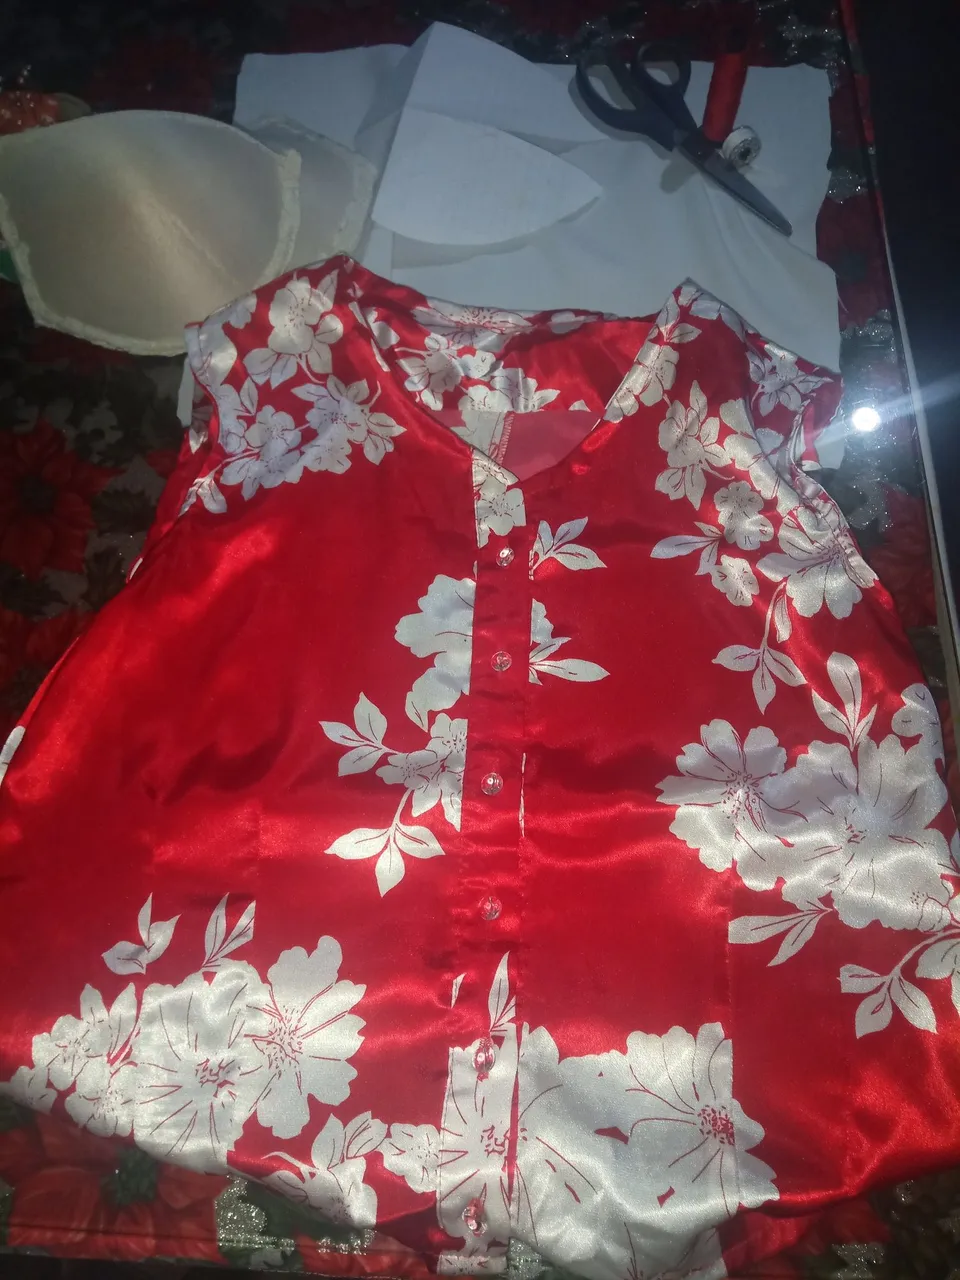

Los materiales son los siguientes:
Blusa.
Copas de bracier reutilizadas.
Tela blanca para el forro.
Patron de copas.
Tijera.
Hilo blanco.
Alfileres.
Goma delgada.
Regla.
Maquina de coser.
The materials are as follows:
Blouse.
Reused bracier cups.
White fabric for the lining.
Cup pattern.
Scissors.
White thread.
Pins.
Thin rubber band.
Ruler.
Sewing machine.
 |  |  |
|---|---|---|
 |  |  |
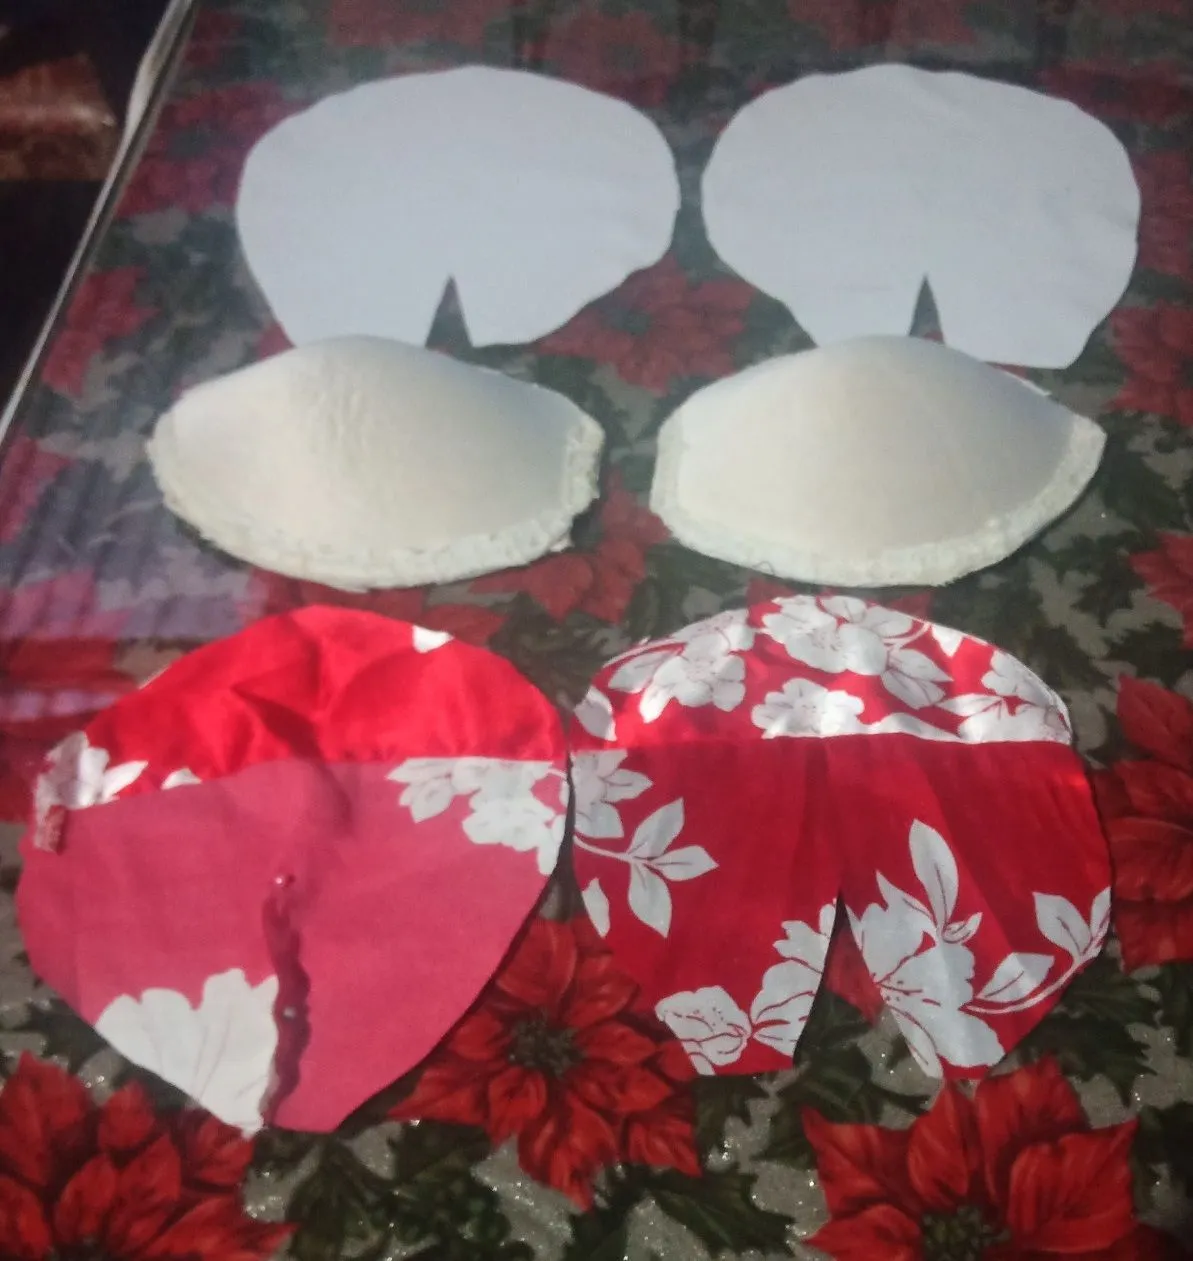
Para confeccionar el diseño de esta blusa, lo primero que hice fue abrir la blusa por ambos lados, después recorte la parte frontal superior a la altura del pecho en línea recta horizontal de la blusa.
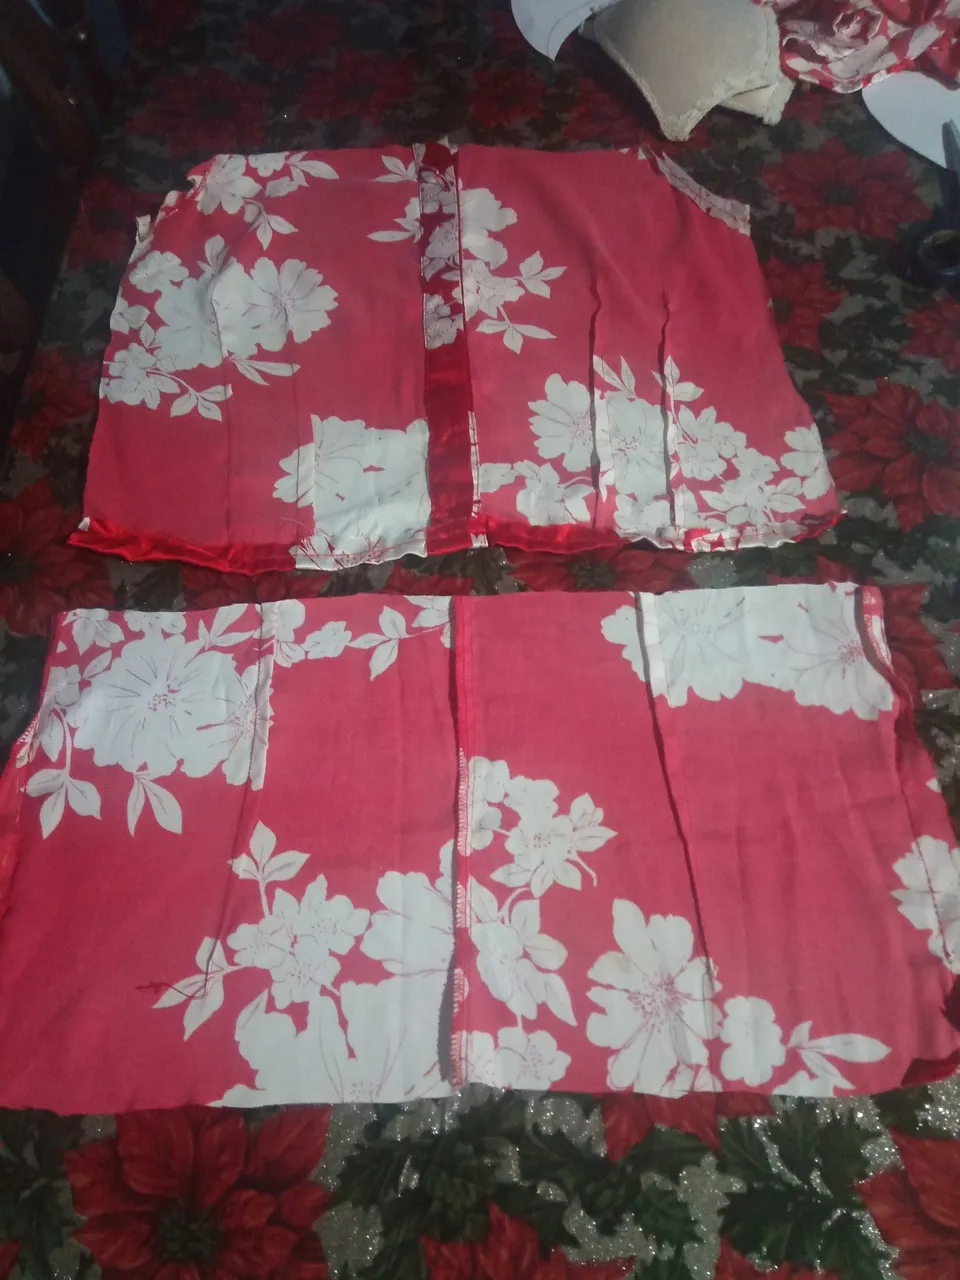
Para la pieza de la espalda, recorte con el mismo procedimiento a la altura del final de la manga, también recorte la parte baja trasera de la blusa que era larga en forma de (U), con el sobrante de esa tela que recorte, saque las piezas superiores del corset, es decir las copas.
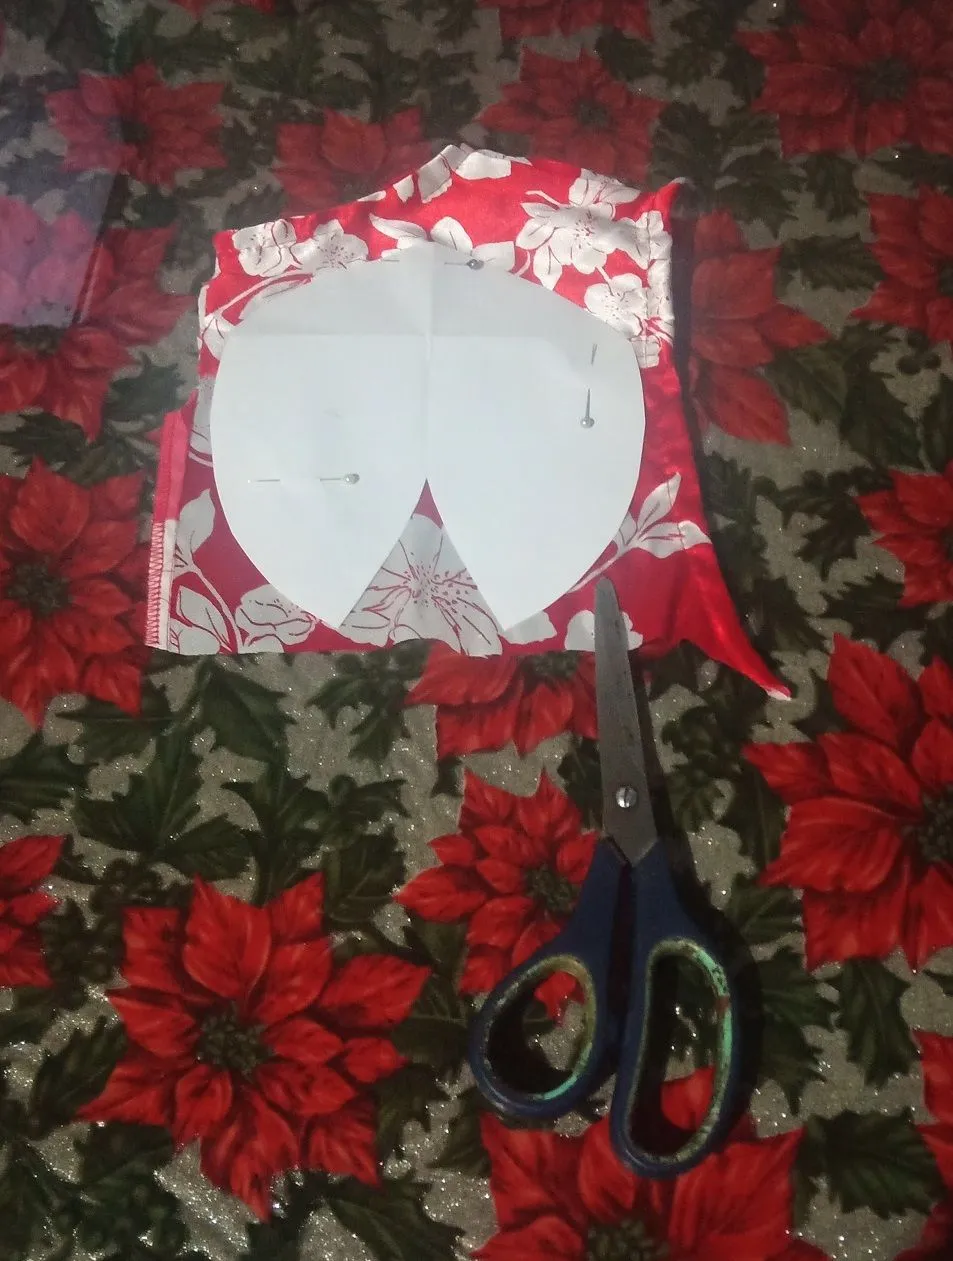
Para hacer este tipo de corte, coloque sobre la tela el patrón, lo asegure con agujas y recorte la tela superior un centímetro más ancho que el patrón y la tela del forro que es de color blanco dos centímetros más que la tela externa.
El centímetro más que se deja a la tela es para no reducirle talla a la pieza.
Con este procedimiento, recorte las cuatro piezas que serían dos piezas de tela externa y dos piezas de tela blanca que vendrían siendo el forro de las copas.
Los dos centímetros de más del forro de las copas, es para facilitar al momento de colocar las copas de brasier que son acolchadas y requieren un poco más de tela, para facilitar la colocación de la copa interna y cocer mejor.
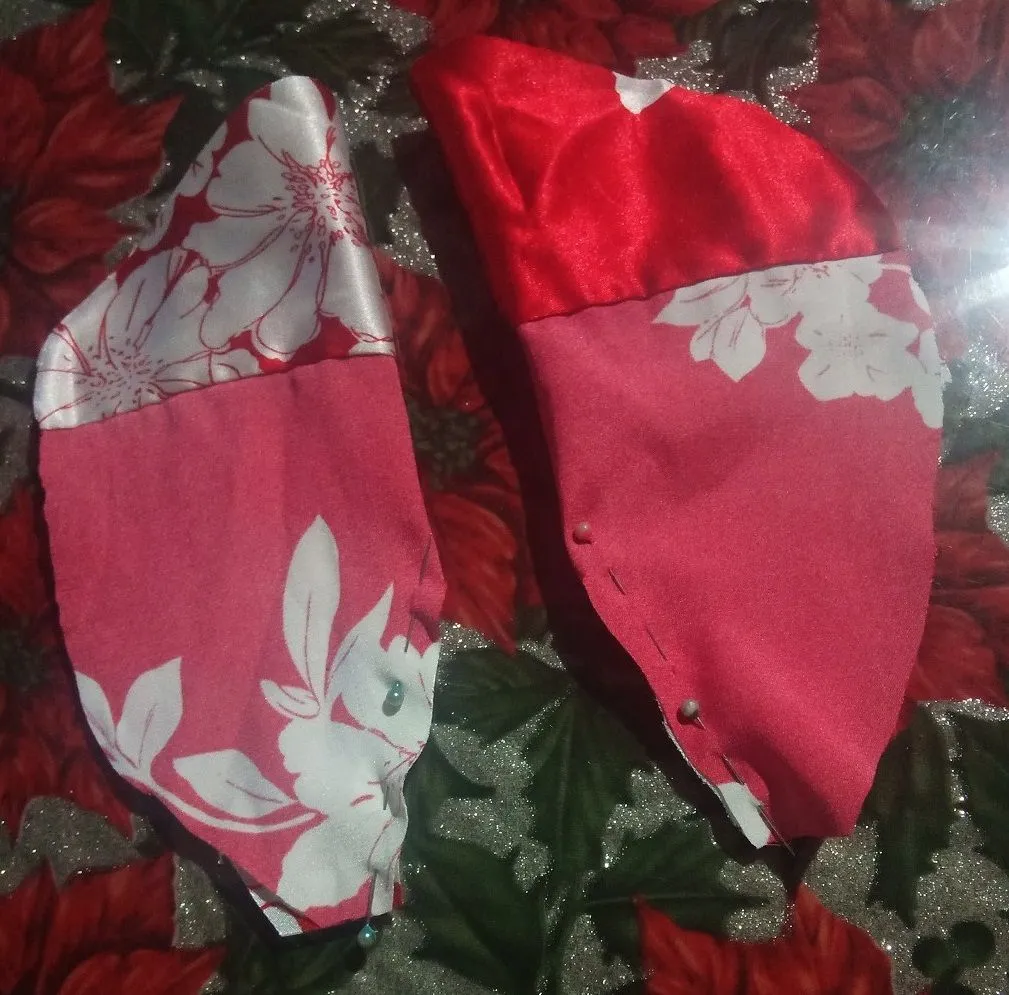
Para hacer este tipo de diseño es recomendable, telas rígidas, pero yo no tuve opción y me propuse hacerla con tela de satén, porque me gusta mucho este modelo de blusa y fue la tela que conseguí al momento, así que improvise para ver qué resultado me daba.
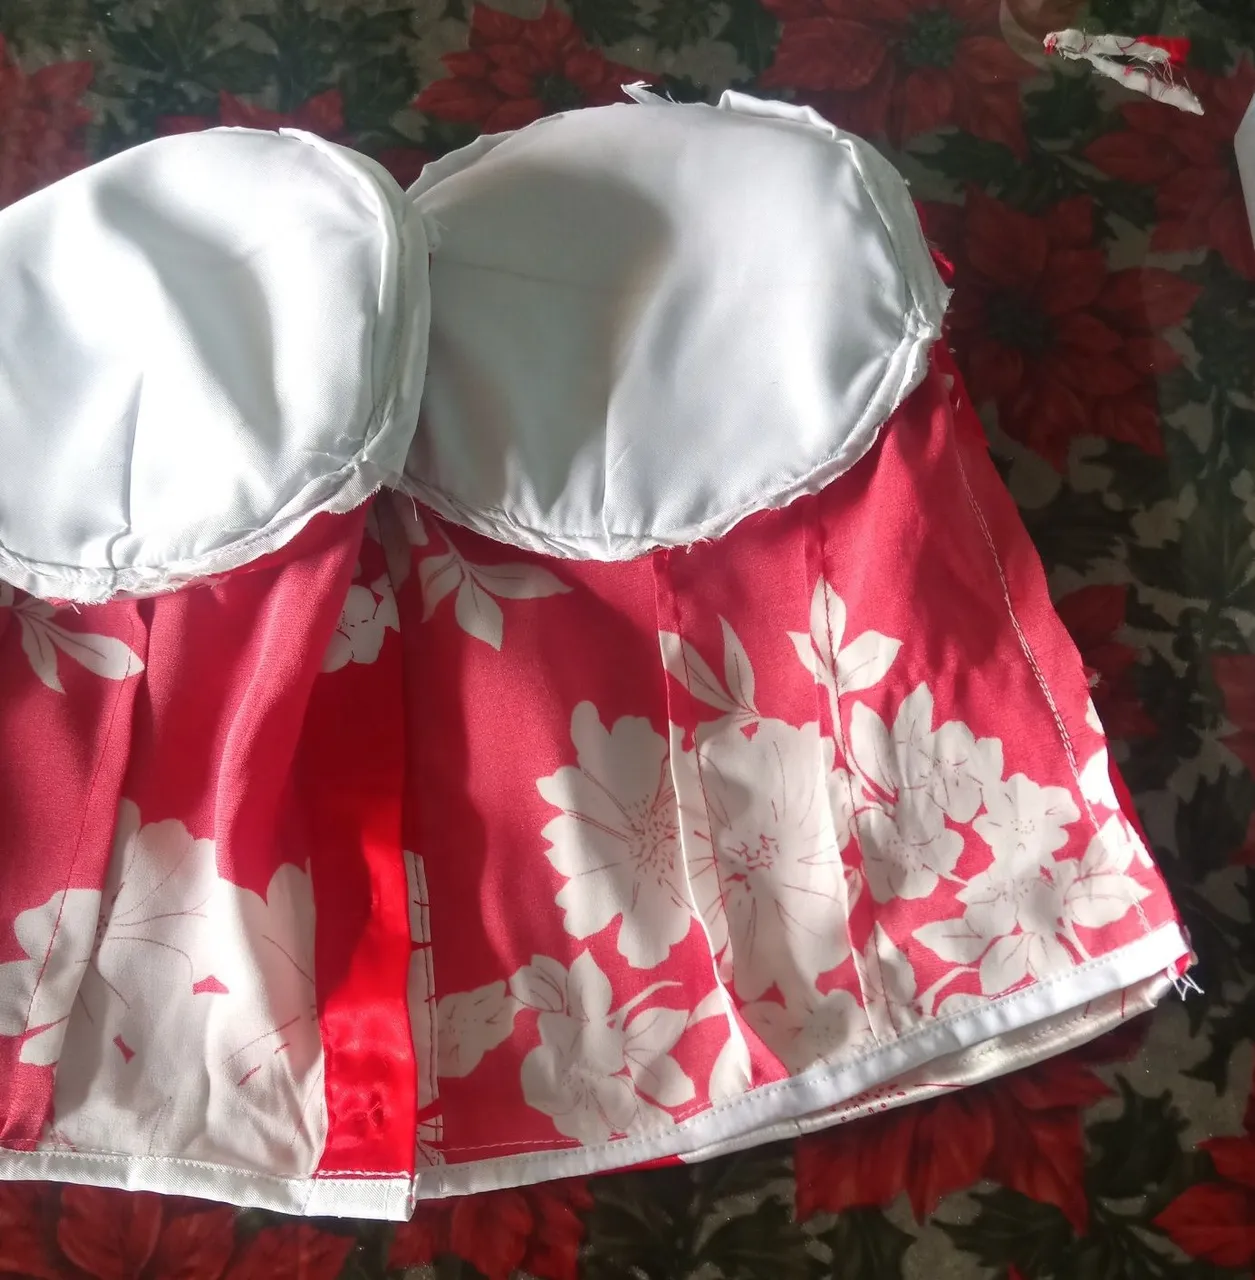
Después que tuve cortadas todas las piezas para hacer las copas de las blusas, las uni en este sentido, primero derecho de la pieza superior, segundo copa acolchada, tercera tela forro blanco por el lado derecho.
Después de asegurar todas estas piezas, el pase a máquina de cocer, luego de esta costura ya las copas están armadas con el relleno dentro de cada una de las piezas.
Después de estar cocidas las copas, lleve estas a la pieza principal de la blusa y las recorte.
To make the design of this blouse, the first thing I did was to open the blouse on both sides, then I cut the upper front part at the height of the chest in a straight horizontal line of the blouse.
For the back piece, cut with the same procedure at the height of the end of the sleeve, also cut the lower back part of the blouse that was long in the shape of (U), with the excess of that fabric that I cut, I took out the upper pieces of the corset, that is to say the cups.
To make this type of cut, place the pattern on the fabric, secure it with needles and cut the upper fabric one centimeter wider than the pattern and the lining fabric, which is white, two centimeters wider than the outer fabric.
The extra centimeter left on the fabric is so as not to reduce the size of the piece.
With this procedure, cut out the four pieces that would be two pieces of external fabric and two pieces of white fabric that would be the lining of the cups.
The two extra centimeters of the lining of the cups, is to facilitate the placement of the bra cups that are padded and require a little more fabric, to facilitate the placement of the inner cup and cook better.
To make this type of design is recommended, rigid fabrics, but I had no choice and I decided to make it with satin fabric, because I really like this model of blouse and it was the fabric I got at the moment, so I improvised to see what result it gave me.
After I had cut all the pieces to make the blouse cups, I joined them in this direction, first right side of the top piece, second quilted cup, third white lining fabric on the right side.
After securing all these pieces, the pass to the sewing machine, after this sewing the cups are already assembled with the filling inside each of the pieces.
After the cups are cooked, take them to the main piece of the blouse and cut them out.
 |  |  |
|---|---|---|
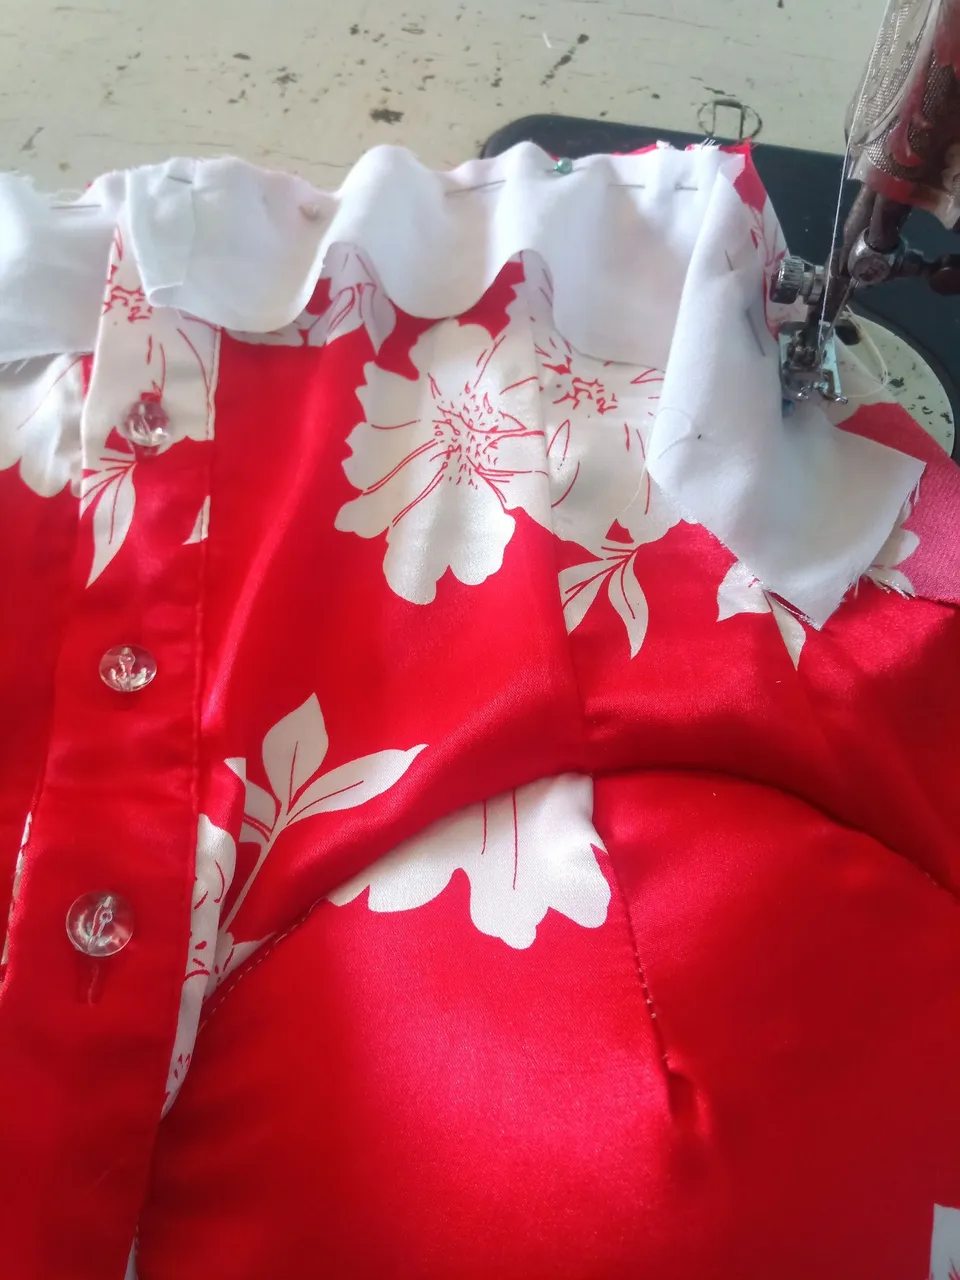 |  |  |
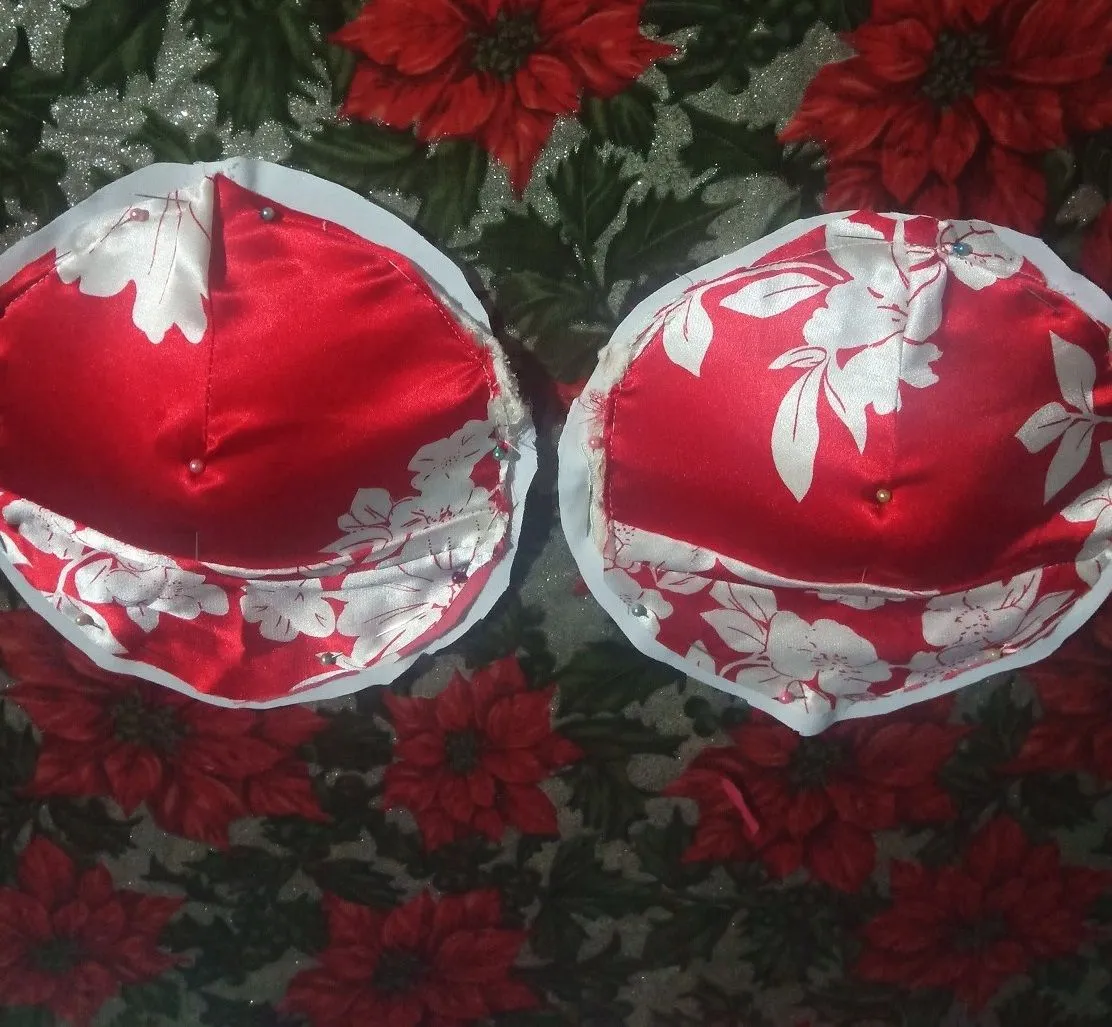
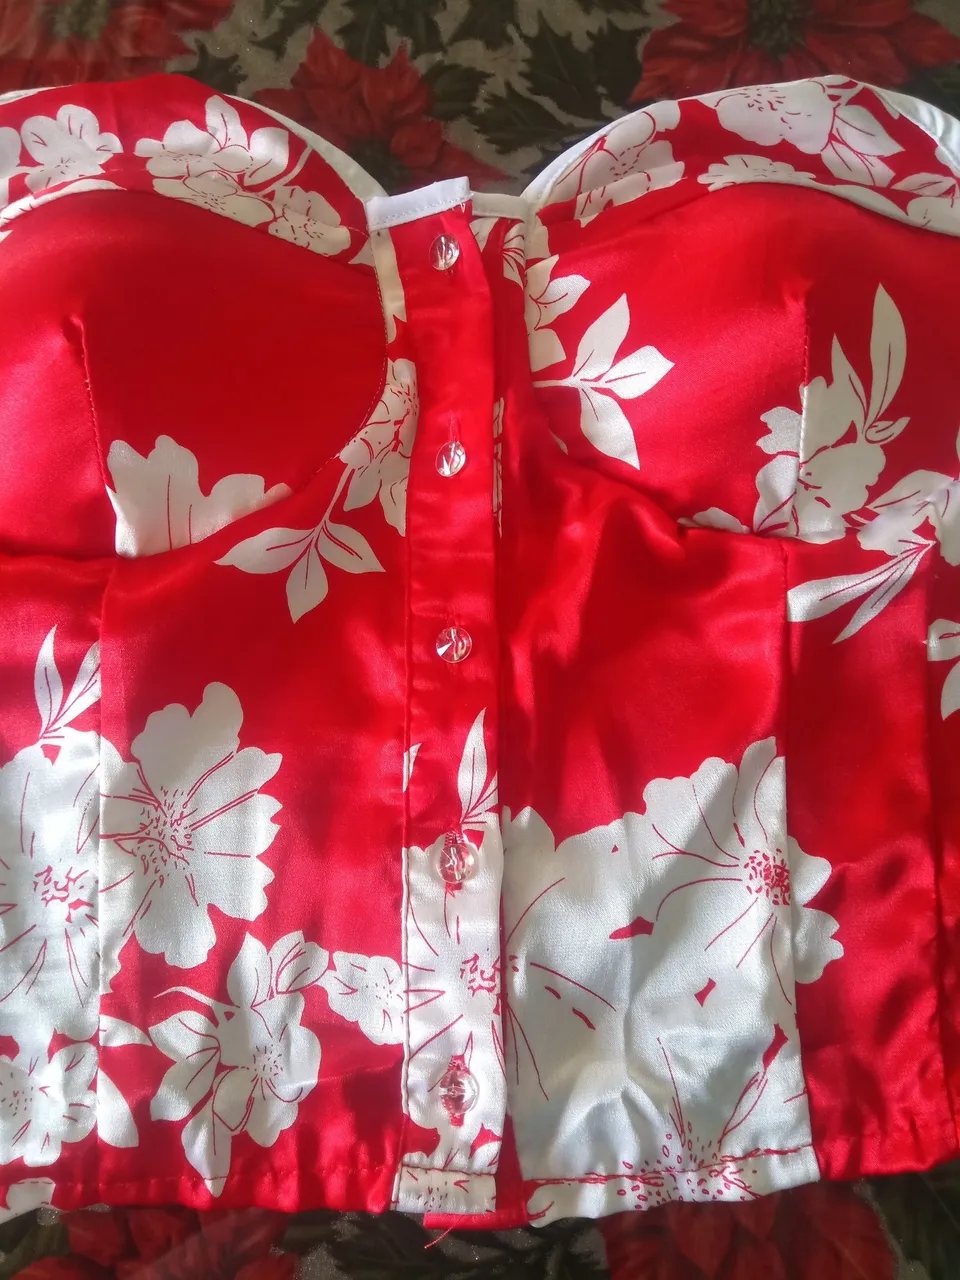
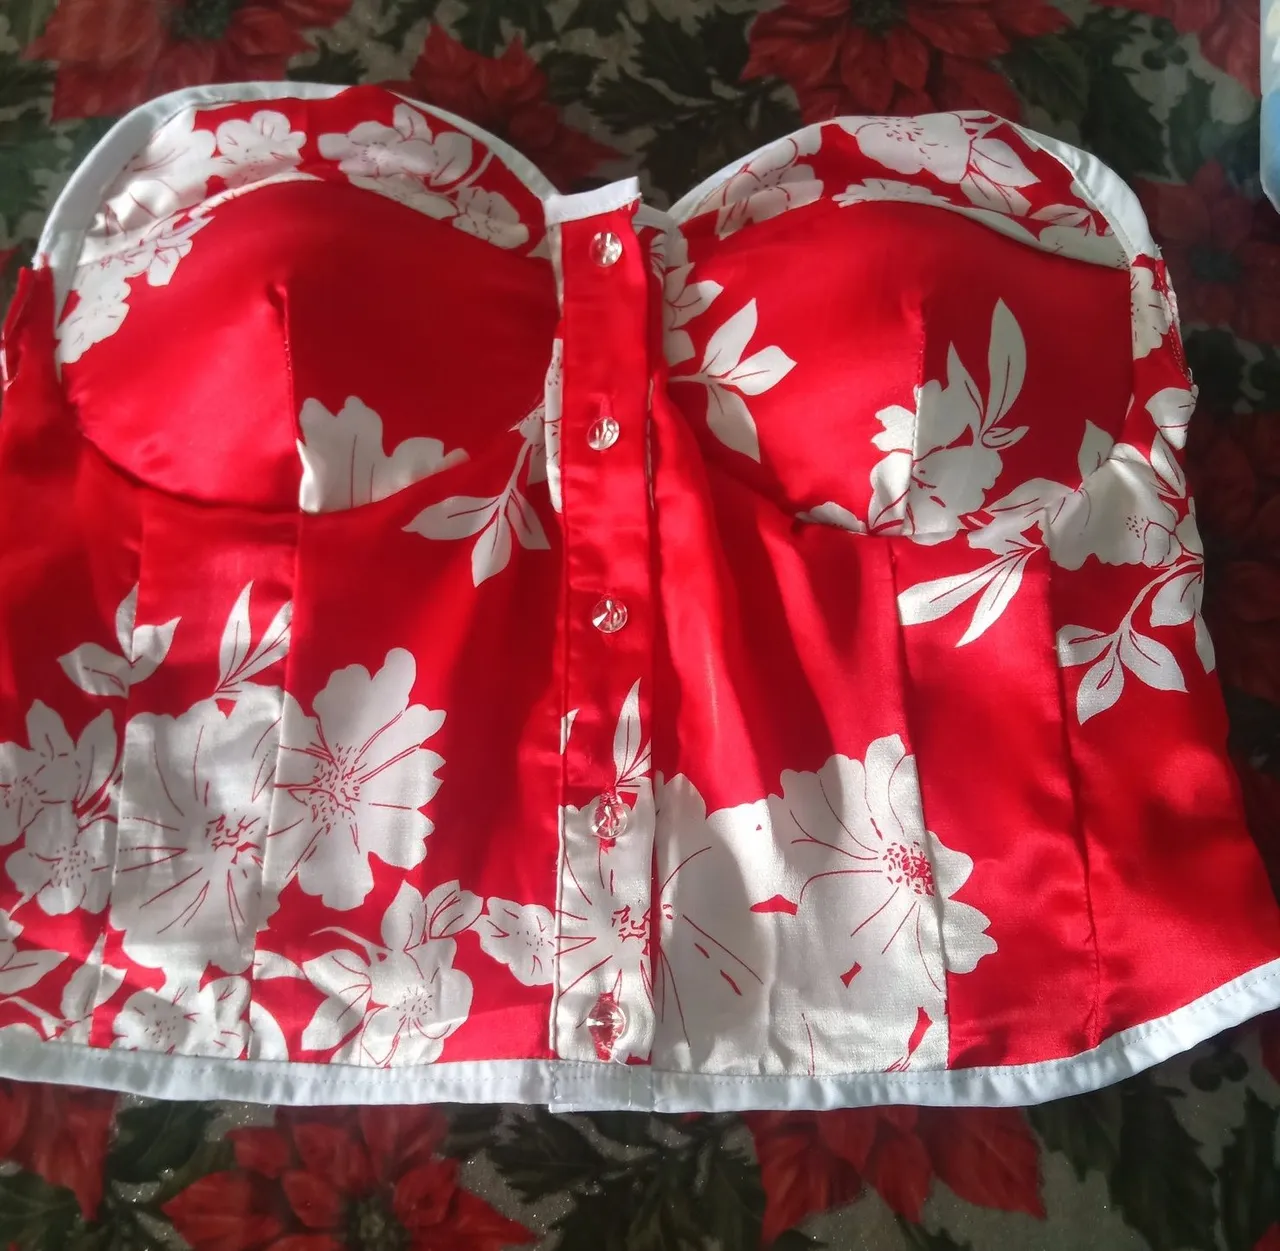
Para el borde superior de las copas recorté una cinta de tela blanca doble y cosí en la parte superior de ambas, esto para darle mayor estabilidad a la tela y combinarla.
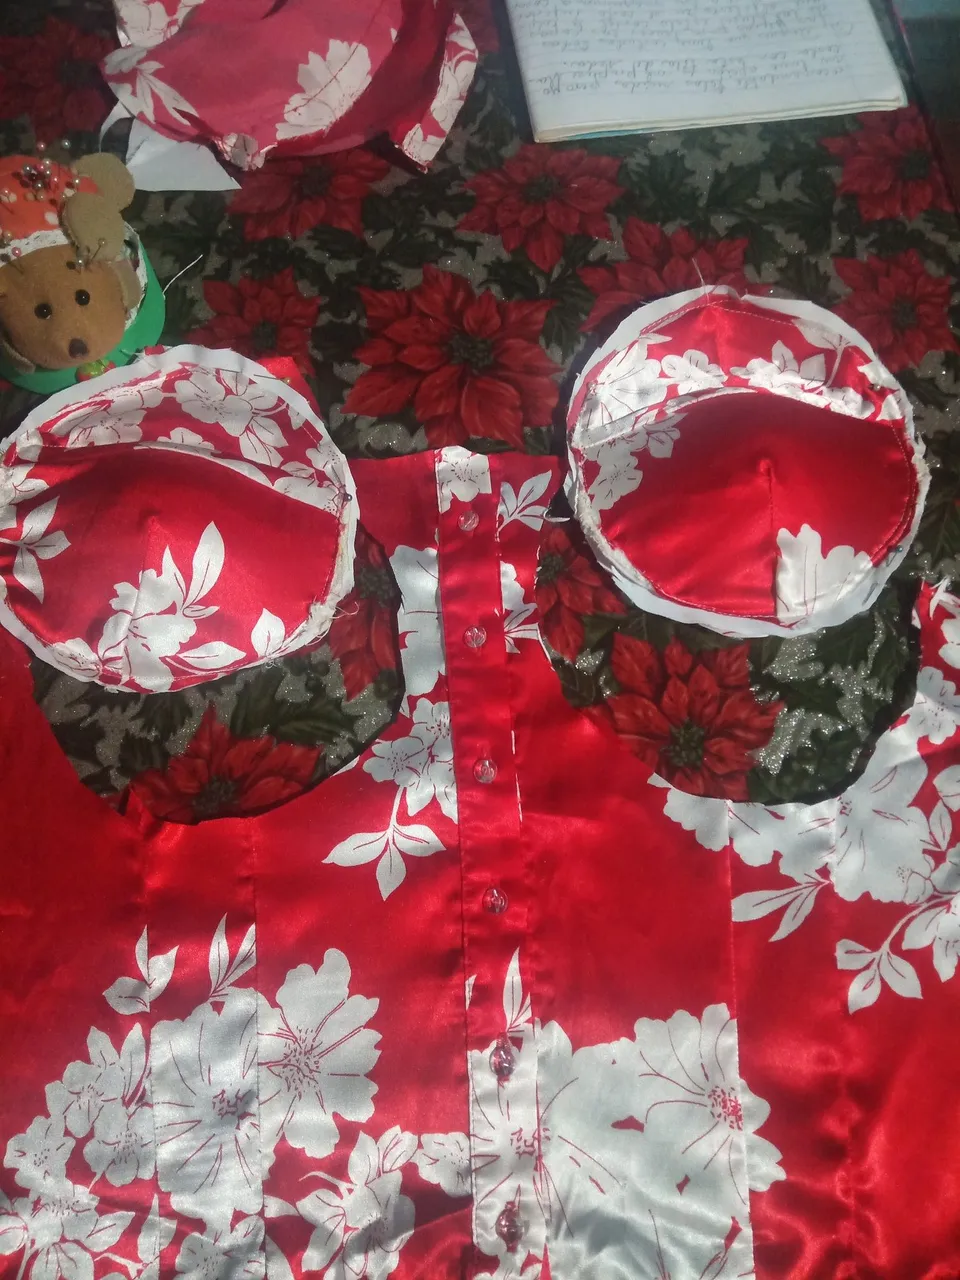
También coloqué un trozo de la misma cinta en la pieza principal de la blusa, donde está la línea de botones para corregir el corte, luego de tener estos pasos listos, coloque las copas volteadas a la pieza de la blusa derecha con derecho, asegure con unos alfileres y cosí cada una de ellas en la base de la blusa por todo el contorno de pecho.
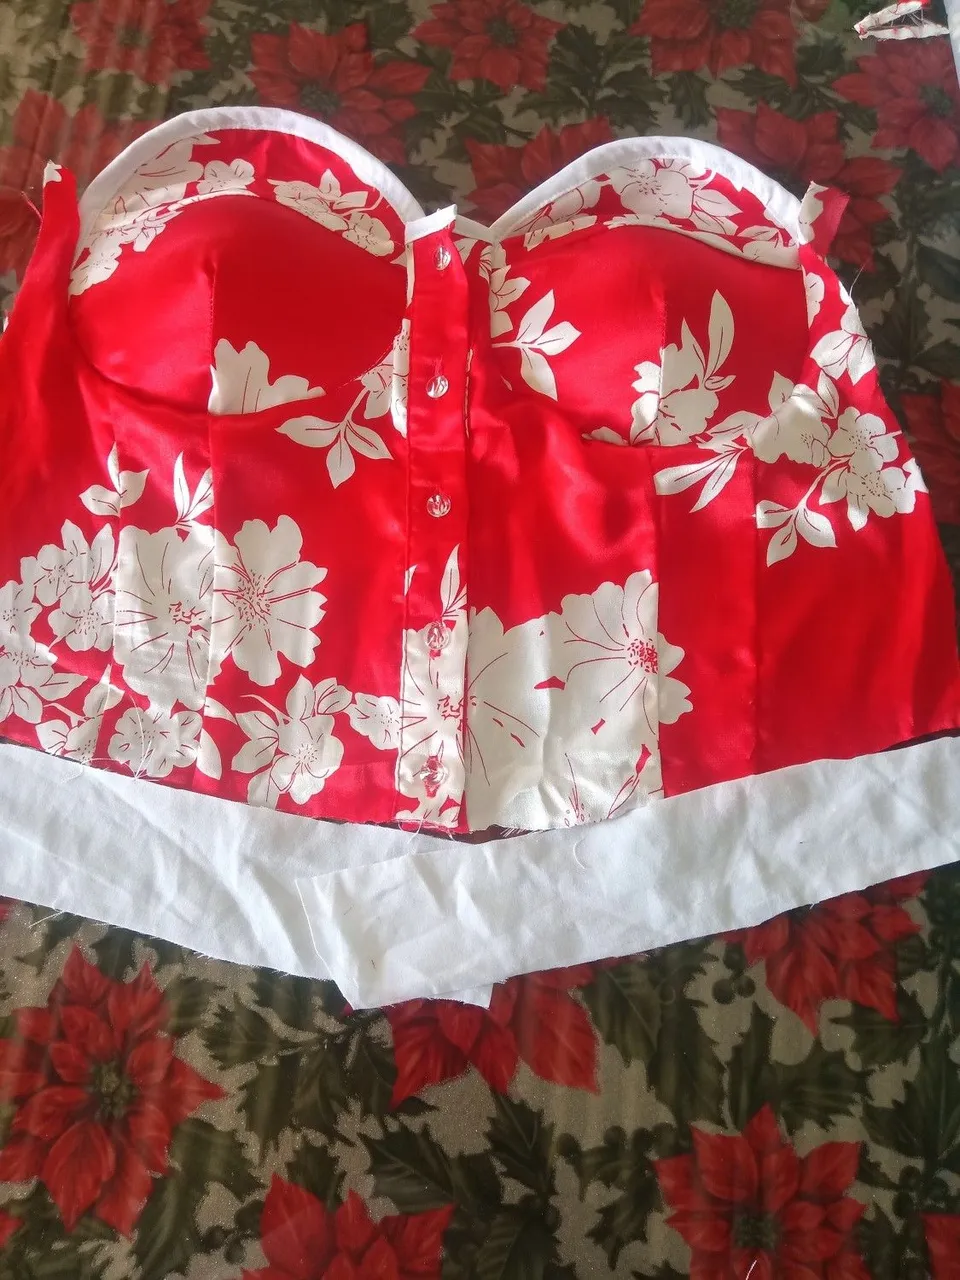
En la pieza de la espalda, en al parte superior, coloqué la goma y cocí el ruedo de esta pieza.
La pieza principal del frente le cocí un borde con el excedente de la tela blanca como decorativo.
For the top edge of the cups I cut a double white fabric ribbon and sewed on the top of both, this to give more stability to the fabric and combine it.
I also placed a piece of the same ribbon on the main piece of the blouse, where the line of buttons is to correct the cut, after having these steps ready, I placed the cups turned right side up, secured them with pins and sewed each one of them on the base of the blouse all around the chest.
On the back piece, at the top, I placed the elastic and sewed the hem of this piece.
On the main front piece I sewed a border with the excess white fabric as a decorative border.
 |  |  |
|---|
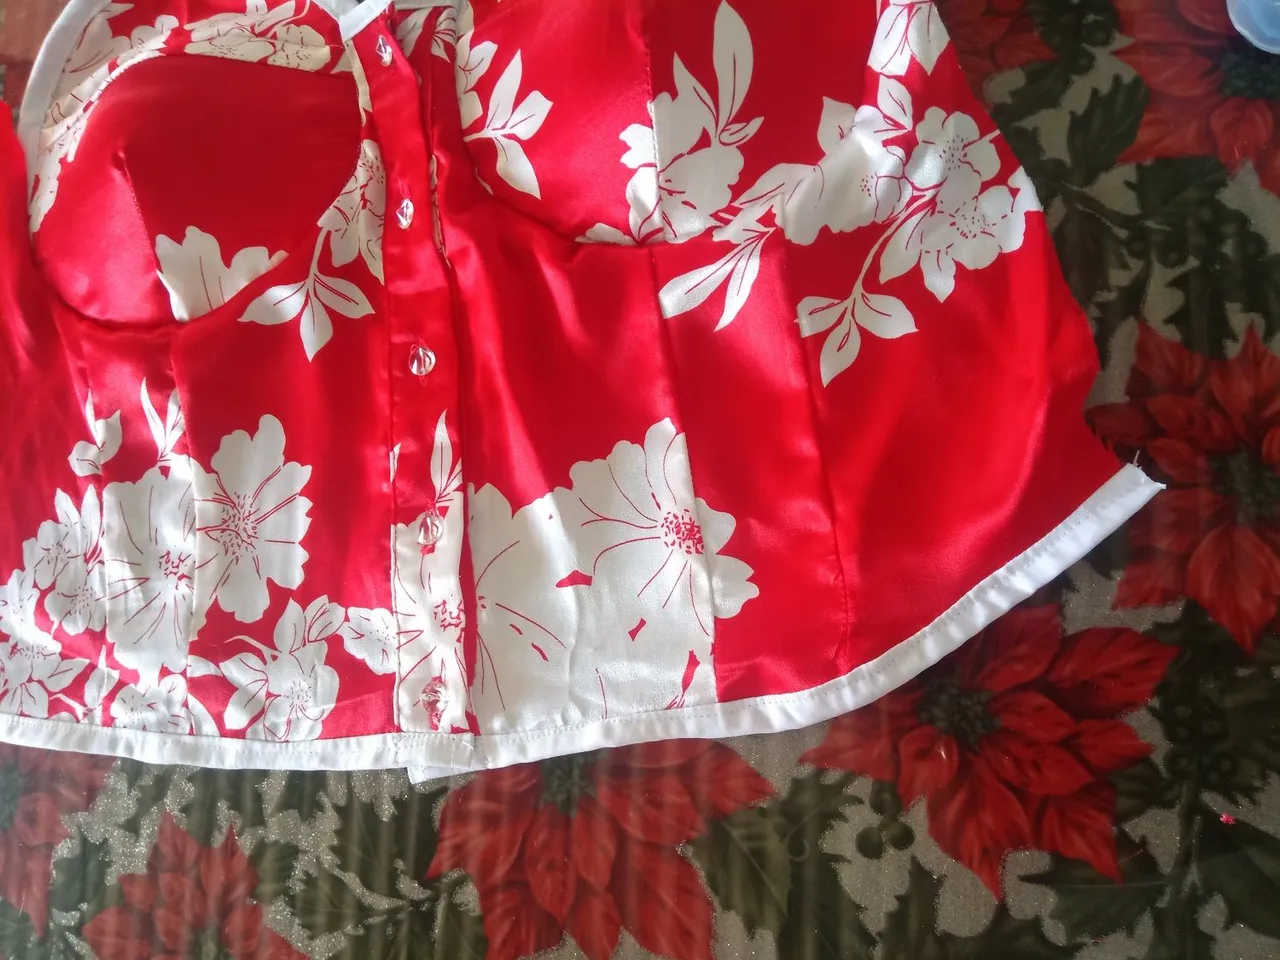
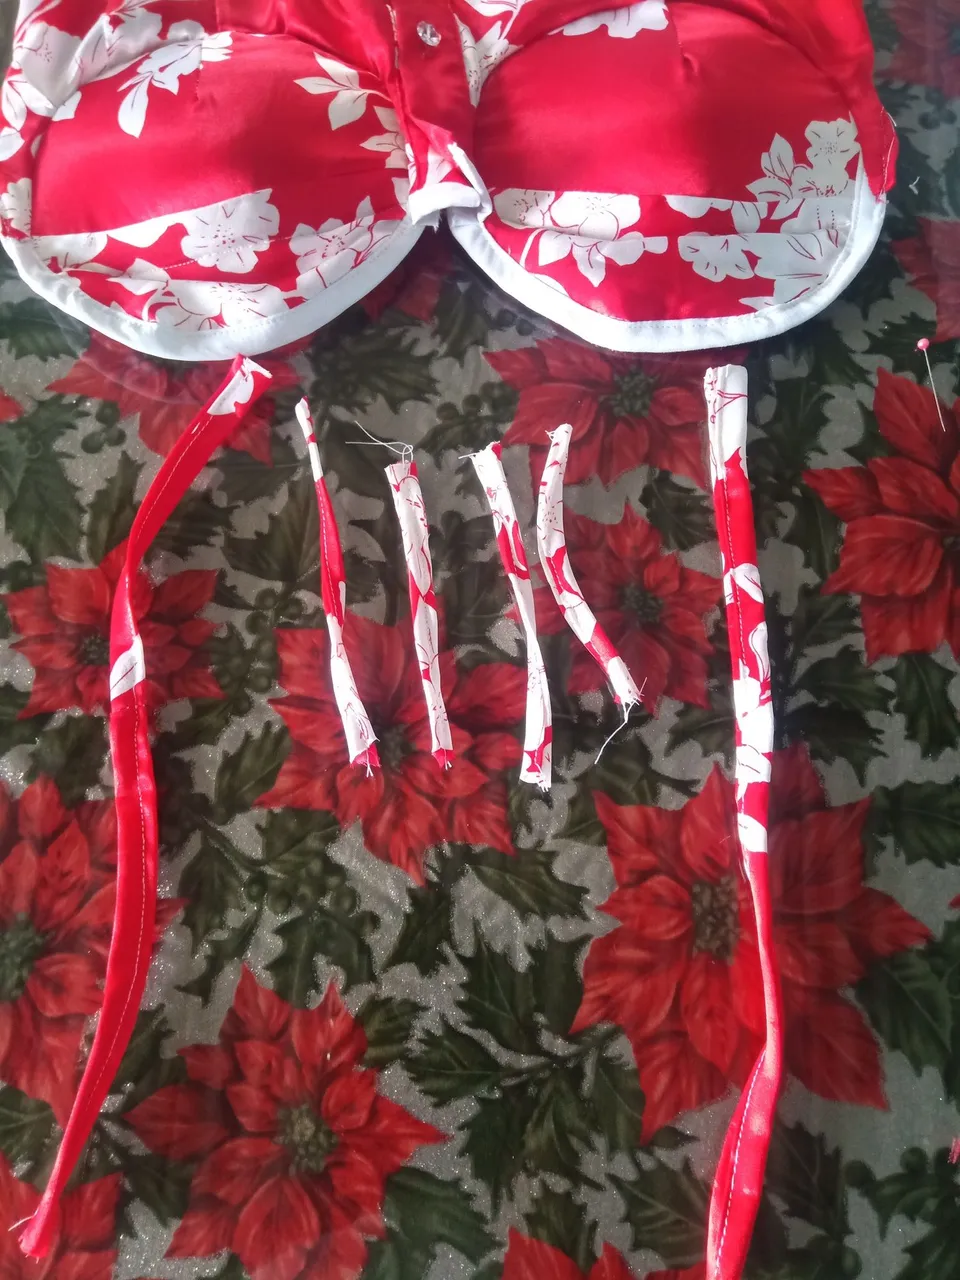
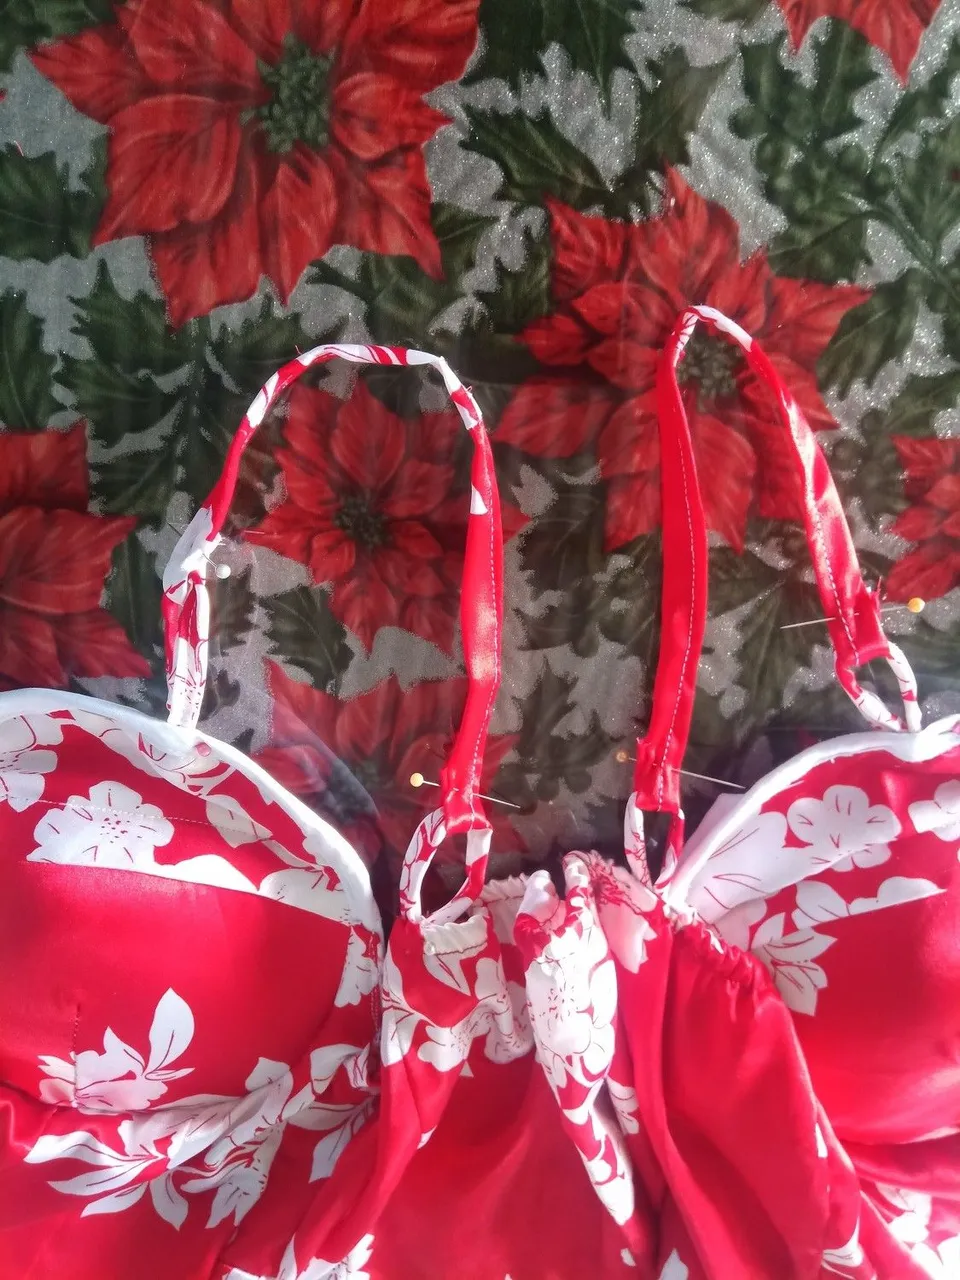
Para culminar esta blusa solo me faltaría las trenzas que realice con los excedentes de la tela estampada, tome dos trozos de tela de 4 centímetros de ancho, los uni de dos en dos, los doble en cuatro partes en sentido vertical y cocí en línea recta por el centro de cada uno de estos, de la misma manera realice los trozos pequeños que me servirán para unir las trenzas de esta blusa.
Las cocí a la blusa y con este paso la blusa está lista para ser estrenada.
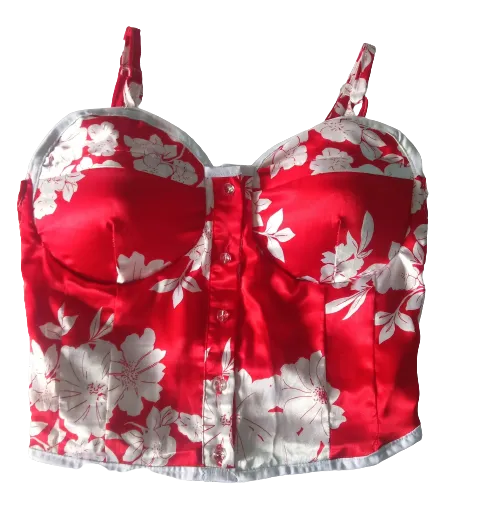
Este es el resultado final de esta estupenda blusa, amigos espero que puedan entender aunque sea un poco del proceso de como elabore esta blusa y pongan en práctica la transformación de algunas prendas de vestir que ya no estemos usando en algo que nos guste y podamos seguir disfrutando, ya que hay telas que son muy lindas en ropas que ya no nos gusta el modelo y podemos darle una segunda oportunidad.
To finish this blouse I only needed the braids that I made with the excess of the printed fabric, I took two pieces of fabric 4 centimeters wide, I joined them two by two, I folded them in four parts vertically and cooked in a straight line through the center of each of these, in the same way I made the small pieces that will serve to join the braids of this blouse.
I cooked them to the blouse and with this step the blouse is ready to be used for the first time.
This is the final result of this great blouse, friends I hope you can understand at least a little of the process of how I made this blouse and put into practice the transformation of some garments that we are no longer using in something we like and we can continue to enjoy, as there are fabrics that are very nice in clothes that we no longer like the model and we can give it a second chance.
social networks / redes sociales
![]()
![]()
Traductor Deepl
Translated Deepl
Ediciones Canva
Editions Canva