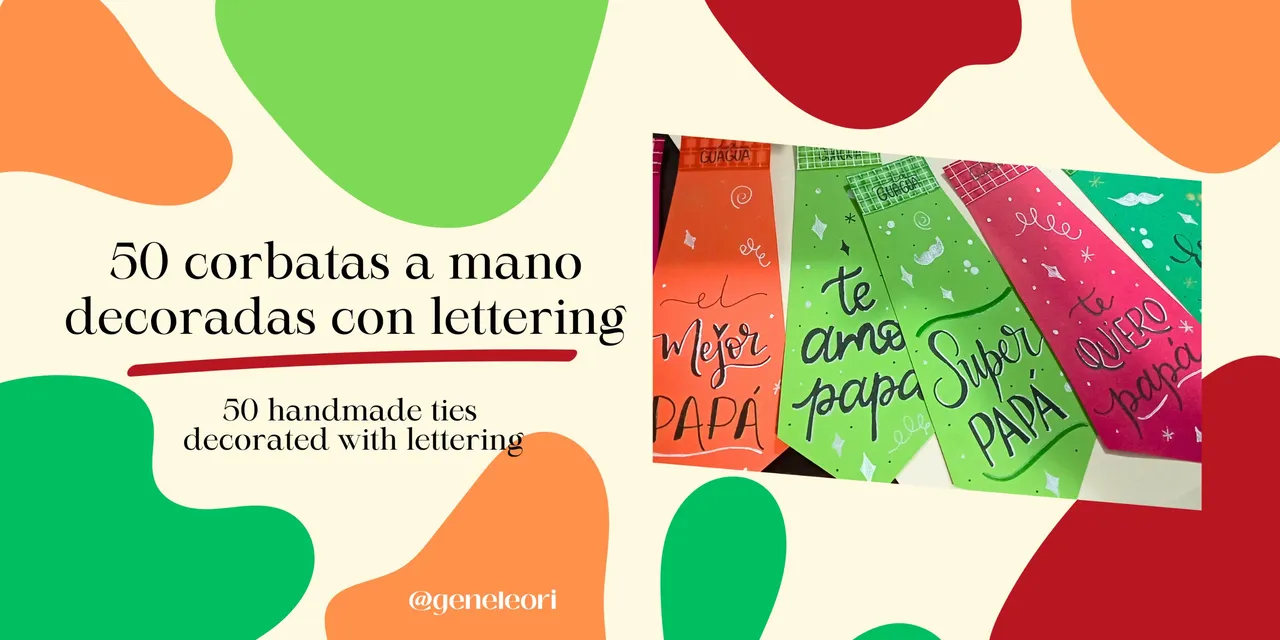
Un placer estar nuevamente por aquí. Como algunos ya saben; tengo una tienda online llamada Poeticabyg, donde vendo materiales de arte, dicto talleres de lettering y hago algunas manualidades. Esta vez le contaré cómo realicé 50 tarjetas a mano en forma de corbata decoradas con lettering para el día del padre.
Hello @hivediy friends!
It's a pleasure to be here again. As some of you already know; I have an online store called Poeticabyg, where I sell art supplies, teach lettering workshops and do some crafts. This time I will tell you how I made 50 handmade tie cards decorated with lettering for father's day.

Estas fueron las primeras corbatas
These were the first ties.
Me contactó un negocio de mi ciudad para crear 50 tarjetas con forma de corbata para el día del padre, cada una con un mensaje para cada papá. Estas fueron diseñadas para que los papás pudieran lucirlas guindadas en su camisa. Fue un proceso bastante laborioso por todos los detalles que llevaban cada tarjeta con su mensaje personalizado usando técnicas de lettering. Les cuento como fue el proceso:
I was contacted by a business in my city to create 50 tie cards for Father's Day, each with a message for each dad. These were designed so that the dads could wear them pinned to their shirts. It was quite a laborious process because of all the details that went into each card with a personalized message using lettering techniques. I'll tell you how the process went:

 |  |
|---|
Materiales:
- Cartulina de colores (rojo, naranja, verde manzana y verde esmeralda)
- Lápiz
- Borrador
- Regla
- Tijera
- Marcadores de colores (en mi caso use los crayola Super tips)
- Marcadores negros con micropunta 01, 03, 05 y 08
- Lapiceros de gel blanco, dorado y plateado
- Silicone frío
- Ganchitos o imperdibles
Materials
- Colored cardboard (red, orange, apple green and emerald green)
- Pencil
- Eraser
- Ruler
- Scissors
- Colored markers (in my case I used crayola Super tips)
- Black markers with micro tips 01, 03, 05 and 08
- White, gold and silver gel pens
- Cold silicone
- Safety pins
PASO 1: cree el boceto inicial con las medidas de la corbata, este sirvió de base para cada tarjeta. Trabajé con cartulinas tamaño carta para que fuera más cómodo. Cada corbata mide 17cm de alto por 7cm de ancho.
STEP 1: I created the initial sketch with the measurements of the tie, this served as the basis for each card. I worked with letter size cardboard to make it more comfortable. Each tie measures 17cm high by 7cm wide.

PASO 2: transferí el modelo de la corbata a la cartulina. Lo hice utilizando trazando muchas líneas en la parte de atrás de la hoja del boceto, así al colocarla encima de la cartulina y remarcar la forma de la corbata, el mismo se transferirá por el grafito del lápiz.
STEP 2: I transferred the tie pattern to the cardboard. I did this by tracing many lines on the back of the sketch sheet, so that when I placed it on the cardboard and outlined the shape of the tie, it would transfer through the graphite of the pencil.

PASO 3: con la forma de la corbata lista en cada cartulina, empecé con el proceso de cortar cada corbata para poder trabajar sus diseños de forma individual.
STEP 3: With the tie shape ready on each piece of cardboard, I began the process of cutting out each tie so I could work on their individual designs.

PASO 4: con cada corbata recortada, empecé con la decoración. Lo primero que quise resaltar fue un patrón de líneas (de las que normalmente puedes encontrar en las camisas de hombre) en la parte superior de las corbatas con marcadores super tips de crayola. Dependiendo del color de la cartulina los varie con tonos parecidos. Ahí mismo también coloque el nombre del negocio que pidió hacerlas.
STEP 4: With each tie cut out, I started with the decoration. The first thing I wanted to highlight was a pattern of lines (the kind you normally find on men's shirts) at the top of the ties with crayon super tip markers. Depending on the color of the cardstock I varied them with similar tones. Right there also place the name of the business that ordered the ties.
 |  |
|---|
PASO 5: luego empecé con la personalización de las frases. Previamente había sacado unas 12 frases para utilizarlas en las tarjetas. Tuve que reutilizar frases pero aquí viene la magia del lettering, que me permite variar la presentación de cada frase utilizando diferentes estilos de letras y jugando con el contraste y peso de las letras. También varíe estilos como extendidos y bounce (dónde las letras bailan). Primero hice un boceto de cada frase y luego las trabaje con marcadores con micropuntas de 01, 03, 05 y 08 mm.
STEP 5 then I started with the personalization of the phrases. I had previously drawn about 12 phrases to use on the cards. I had to reuse phrases but here comes the magic of lettering, which allows me to vary the presentation of each phrase using different styles of letters and playing with the contrast and weight of the letters. I also varied styles such as extended and bounce (where the letters dance). First I made a sketch of each phrase and then I worked them with markers with microtips of 01, 03, 05 and 08 mm.

PASO 6: vienen los últimos toques: sombras, destellos, mostachos, rayos, puntos y todos los detalles necesarios con lapiceros de gel blanco, dorado y plateado.
STEP 6: come the final touches: shadows, sparkles, mustaches, lightning, dots and all the necessary details with white, gold and silver gel pens.
 |  |
|---|
PASO 7: lista la tarjeta, toca agregar el imperdible para que cada papá se lo pueda colocar en su camisa. Para esto utilice silicone frio en cantidades muy generosas para pegar cada imperdible.
STEP 7: The card is ready, it's time to add the safety pin so that each dad can put it on his shirt. For this, use cold silicone in very generous amounts to glue each safety pin.
¡Y corbatas listas!
And ties ready!
 |  |
|---|
Una vez lista, elabore una bolsa en las que serían entregadas. Al final salieron 51 corbatas.
Mientras escribo este post, estoy a la espera del feedback del local y en espera de fotos de como les quedaron a los papás. Aunque fue un trabajo agotador, les puedo decir que es muy satisfactorio.
Once ready, I made a bag in which they would be delivered. In the end there were 51 ties.
As I am writing this post, I am waiting for feedback from the store and waiting for pictures of how they turned out for the dads. Although it was exhausting work, I can tell you that it is very satisfying.

Espero que les sirva de inspiración. Me he planteado una duda, ¿les gustaría un tutorial de lettering? Cuéntame en los comentarios si te parece una buena idea.
Gracias por leerme
Con cariño, G.
I hope it gives you some inspiration. I had a question, would you like a lettering tutorial? Let me know in the comments if it sounds like a good idea.
Thanks for reading
With love, G.
FUENTE
Fotos: tomadas por mi desde mi redmi 10
Banners: realizado por mi desde canva
Diseño de las corbatas: realizado por mí haciendo uso de lettering
Traducción: Deepl
SOURCE
Photos: taken by me from my redmi 10
Banners: made by me from canva
Design of the ties: made by me using lettering
Translation: Deepl