This content was deleted by the author. You can see it from Blockchain History logs.


Hola amigos feliz tarde ,espero se encuentren genial está mañana ❤️.
Hello friends, happy afternoon, I hope you are feeling great this morning ❤️.
Les traigo un trabajo muy en particular este lindo día ,¿no les ha pasado chicas que ya su esponja de maquillaje se daña o se pierde ?🤭a mi pasó fue que la esponja que tenia para aplicarme el polvo como vienen de mala calidad la verdad se salió de la tela donde venia,así que como tenia un poquito de tela muy suavecita asi como de peluche o de piyama decidí usar estos trozos de tela para fabricarme una y estar cómoda y a gusto con ella porque la verdad en las tiendas no conseguí una que me beneficiara o me gustara asi que dije vamos a hacerla con los materiales que tengo en casa ,te invito a que veas el paso a paso de lo sencillo que fue hacerla.😍
I bring you a very particular job this beautiful day. Hasn't it happened to you girls that your makeup sponge is already damaged or lost? What happened to me was that the sponge I had to apply the powder, as they come, is of poor quality. It came off the fabric it came in, so since I had a little bit of very soft fabric as well as stuffed animal or pajamas, I decided to use these pieces of fabric to make one and be comfortable and comfortable with it because the truth is I couldn't get one in the stores. that would benefit me or that I would like, so I said let's make it with the materials I have at home, I invite you to see the step by step of how simple it was to make it.😍
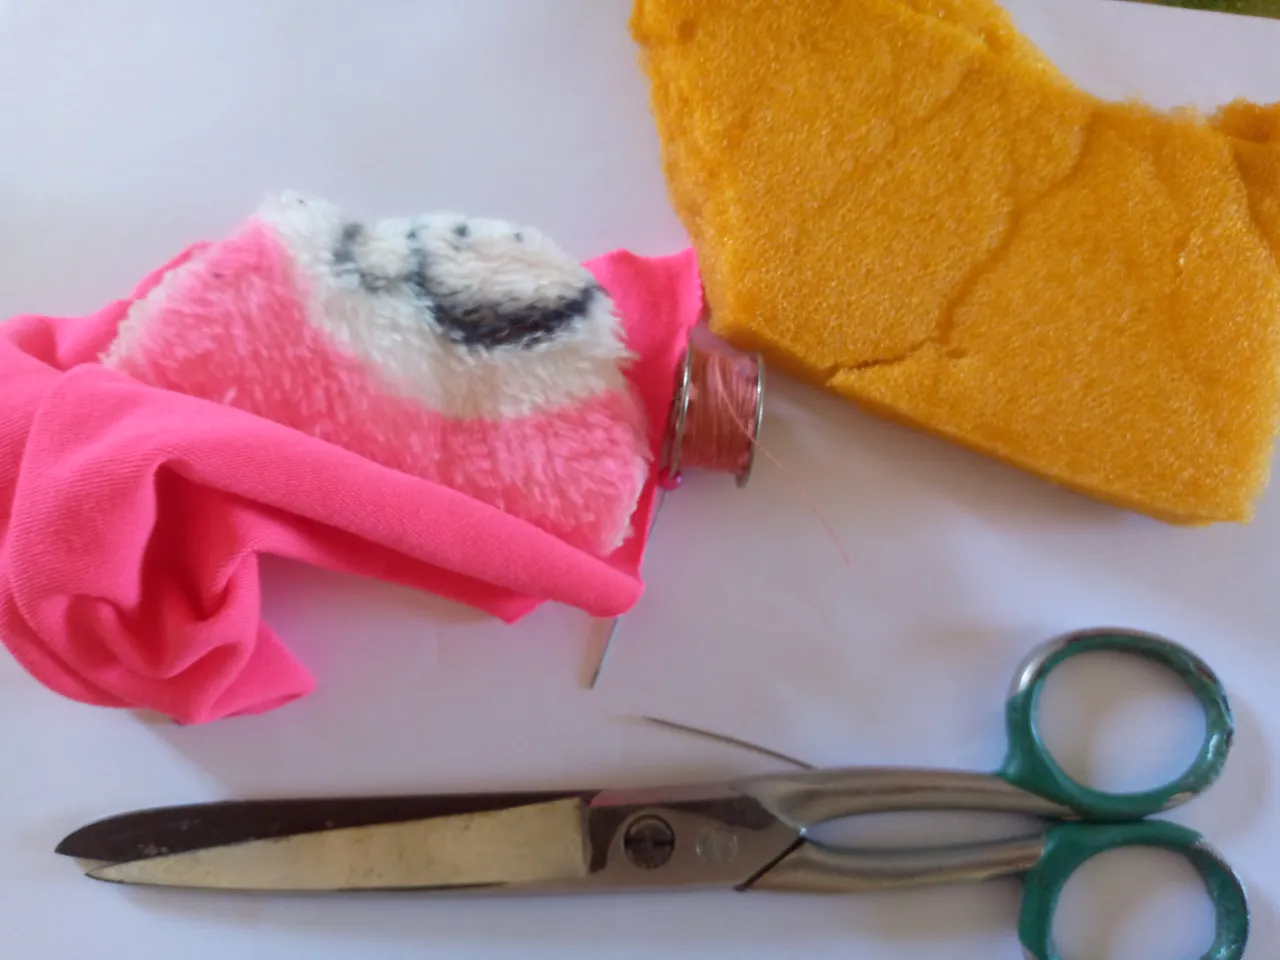
✨🌸Materiales que usé:🌸✨
Materials i used:
- Pequeños trozos de telas o retazos
- Tijera
- Hilo
- 1 alfiler
- Aguja
- Trozo de esponja
- Small pieces of fabric or scraps
- Scissors
- Thread
- 1 pin
- Needle
- Piece of sponge
✨🌸Pasos a seguir:🌸✨
Steps to follow:
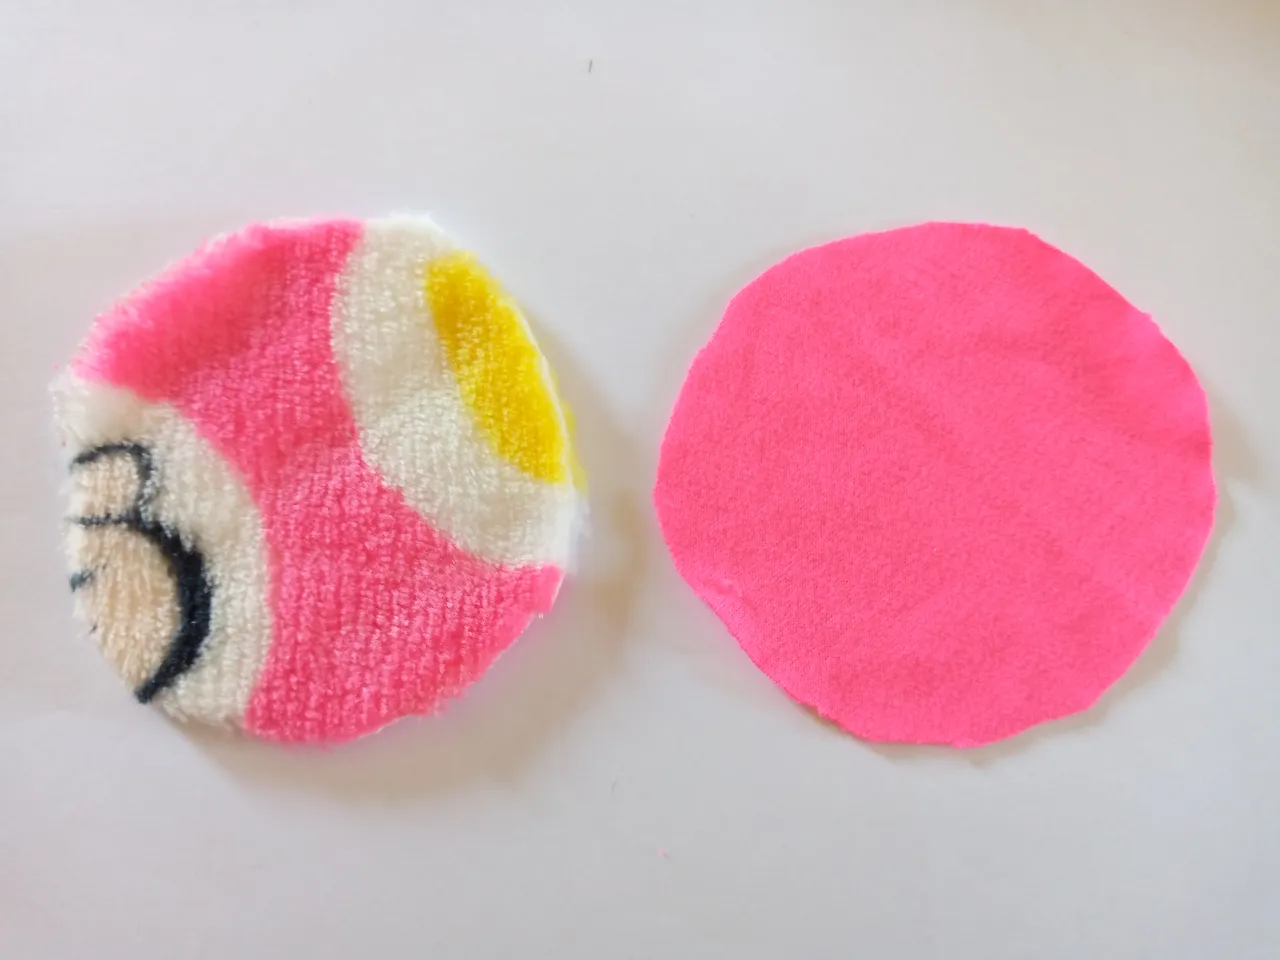
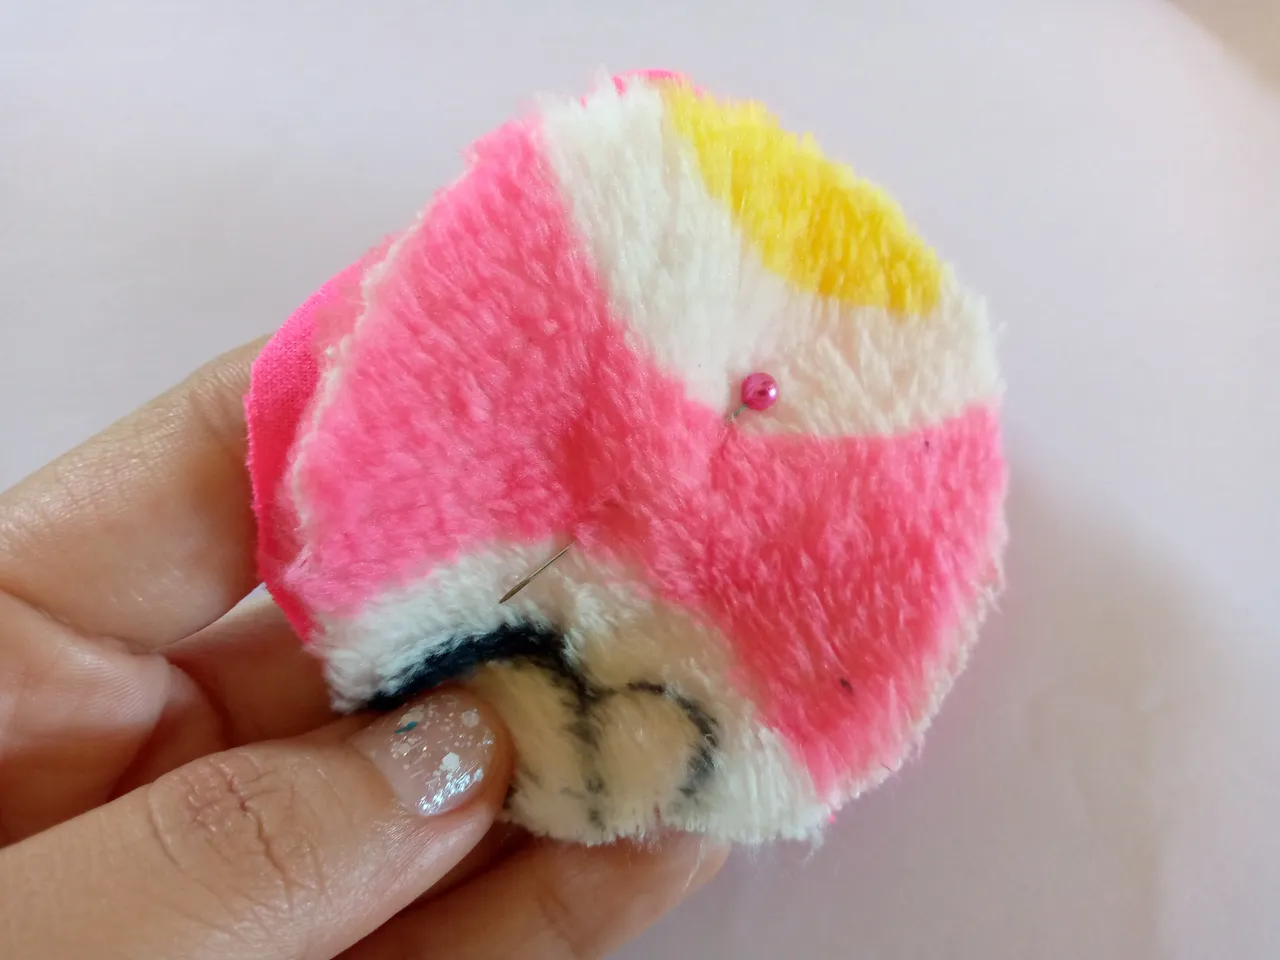
Paso 01
Si eres como yo de lavar siempre la esponja de vez en cuando estas enponjitas así de tela son la mejor opción y es que como la tela la vamos a coser y voltear al lavarla no se nos va a salir de donde está ya que solo vienen pegadas y así con el agua se les desprende el pegamento así que estaremos cortando en el trozo de tela de peluche un circulo con una circunferencia de 15 cm , también corté otro círculo de otra tela que también estira poquito y es rosita ,estas piezas las vamos a unir con el alfiler para poder coserla.
Step 01
If you are like me, you always wash the sponge from time to time, these little sponges made of fabric are the best option and since we are going to sew the fabric and turn it over when washing it, it will not come out of where it is since they only come glued and so with the water the glue comes off so we will be cutting a circle with a circumference of 15 cm on the piece of stuffed fabric, I also cut another circle from another fabric that also stretches a little and is pink, we are going to make these pieces Join with the pin to be able to sew it.
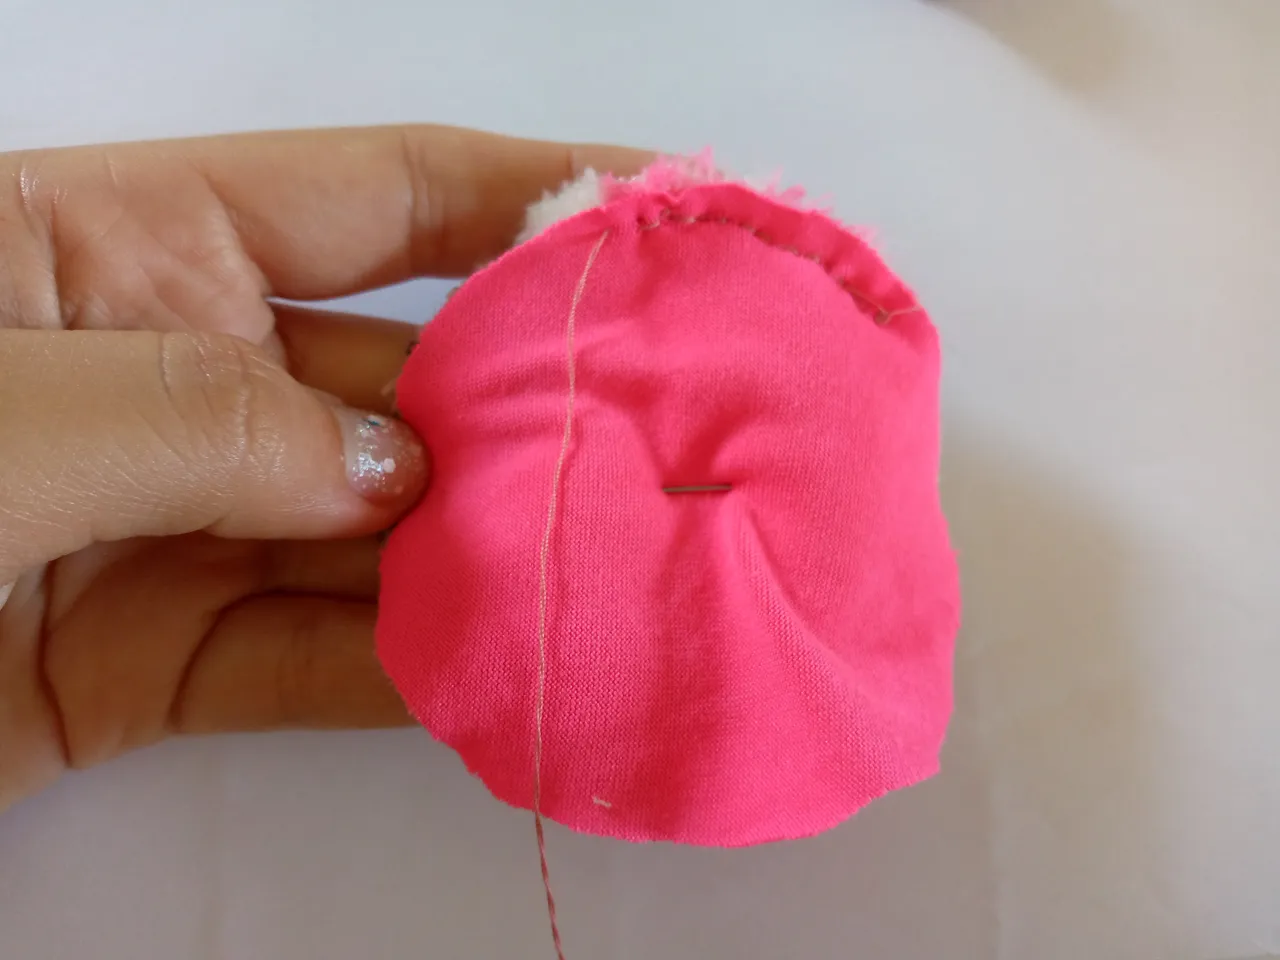
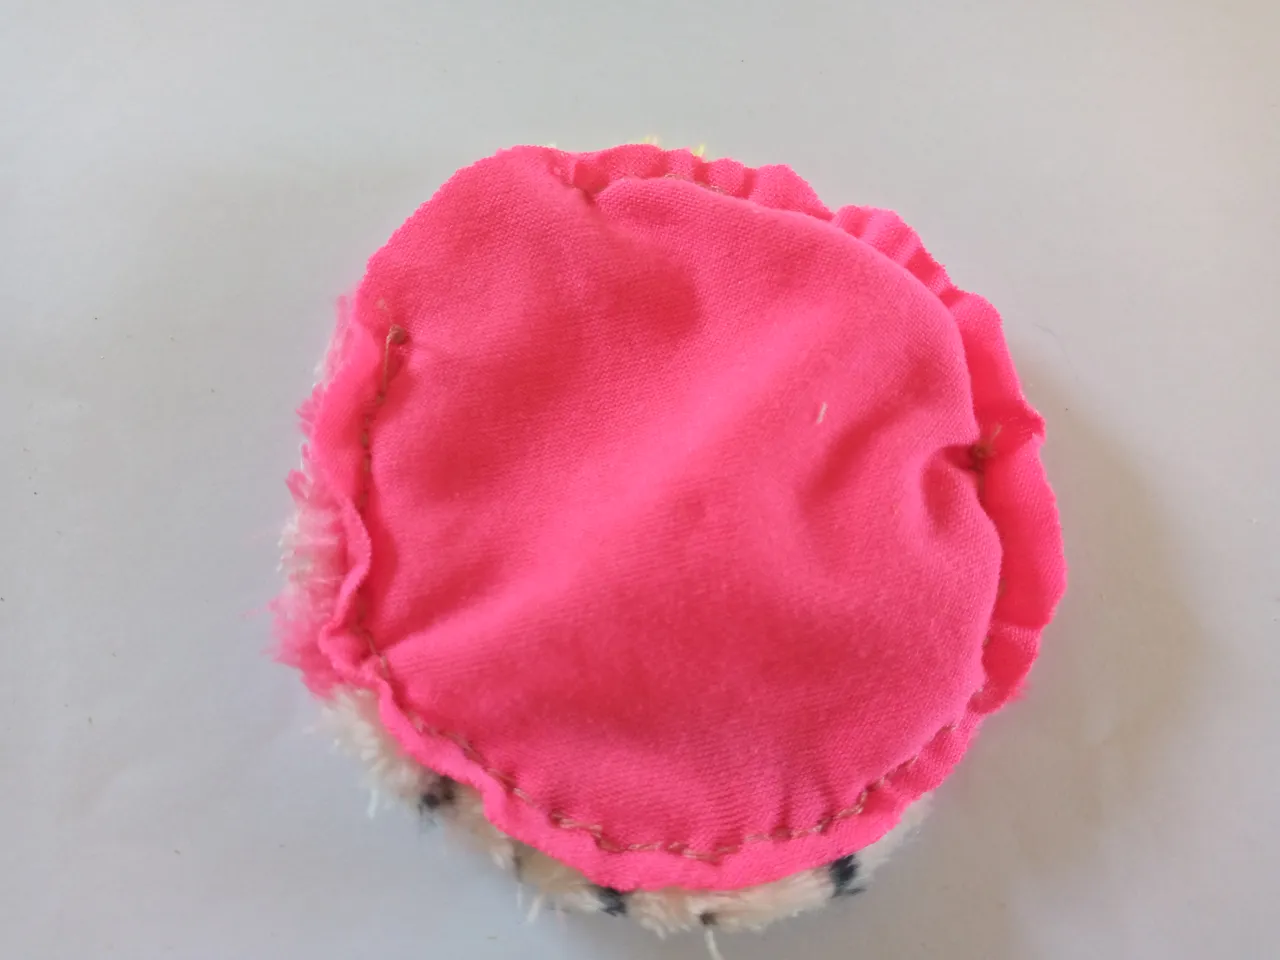
Paso 02
Entonces vamos a estar cosiendo a mano con hilo y aguja por todo el borde de nuestro círculo dejando un pequeño espacio de costura,al final también vamos a dejar un pequeño hoyito sin coser para poder insertar la esponja.
Step 02
Then we are going to be sewing by hand with thread and needle along the entire edge of our circle, leaving a small sewing space, at the end we are also going to leave a small hole unsewn to be able to insert the sponge.
Paso 03
Vamos a cortar un círculo en la esponja del mismo tamaño de nuestra pieza circular,la vamos a voltear y fácilmente metemos la esponja dentro de la bolsita que hemos cosido.
Step 03
We are going to cut a circle in the sponge of the same size as our circular piece, we are going to turn it over and easily put the sponge inside the bag that we have sewn.

Paso 04
Finalizamos nuestra esponja cosiendo el hoyito con costura invisible tratando de que no se vea el hilo yo le di muchas cosidas para que no se saliera la esponja aunque si está difícil que se salga por las muchas costuras que le he hecho.🤭
Step 04
We finished our sponge by sewing the hole with an invisible seam, trying not to see the thread. I stitched it a lot so that the sponge wouldn't come out, although it is difficult for it to come out because of the many seams that I have made.🤭

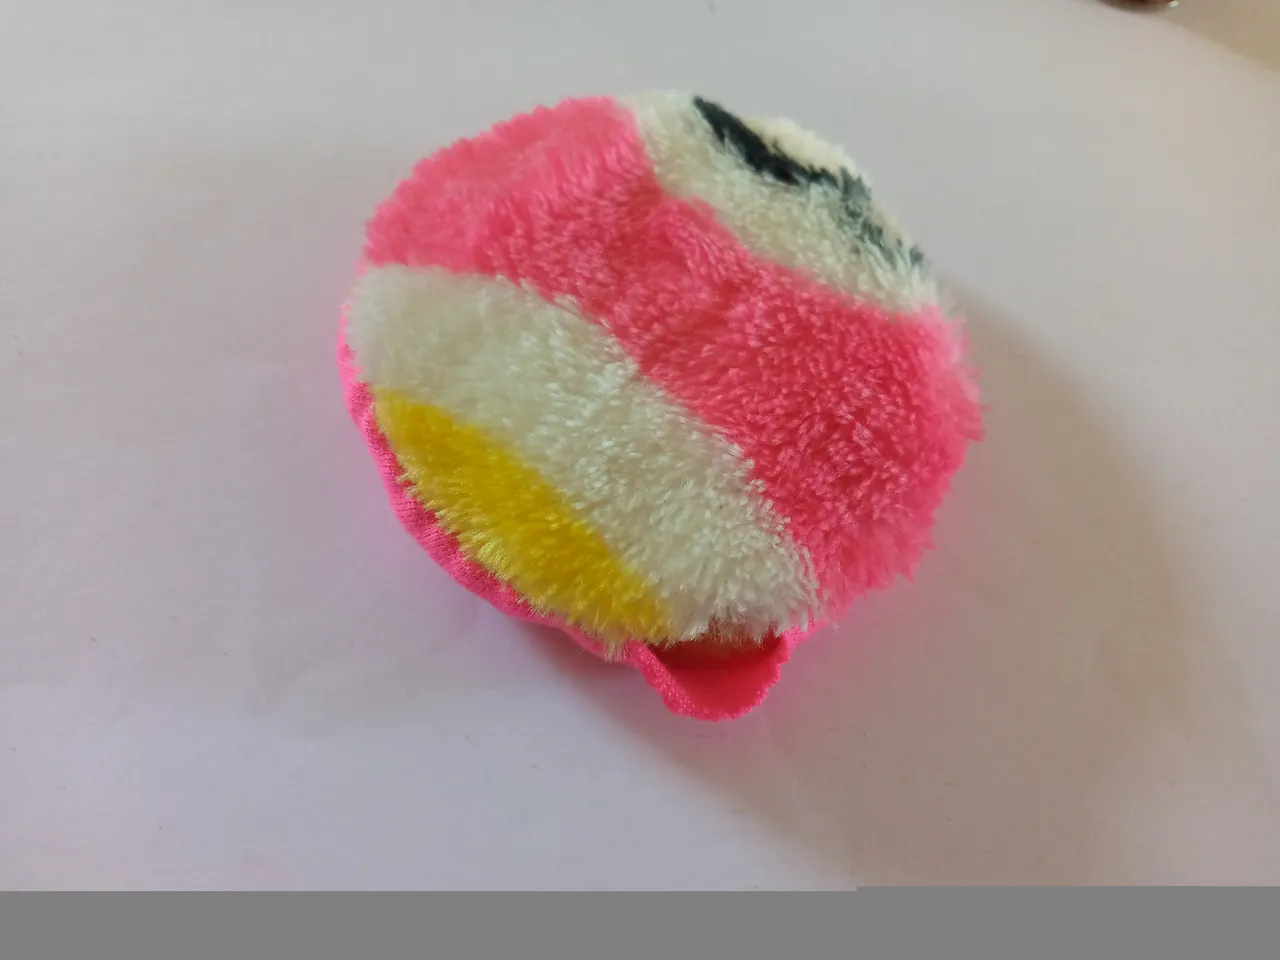
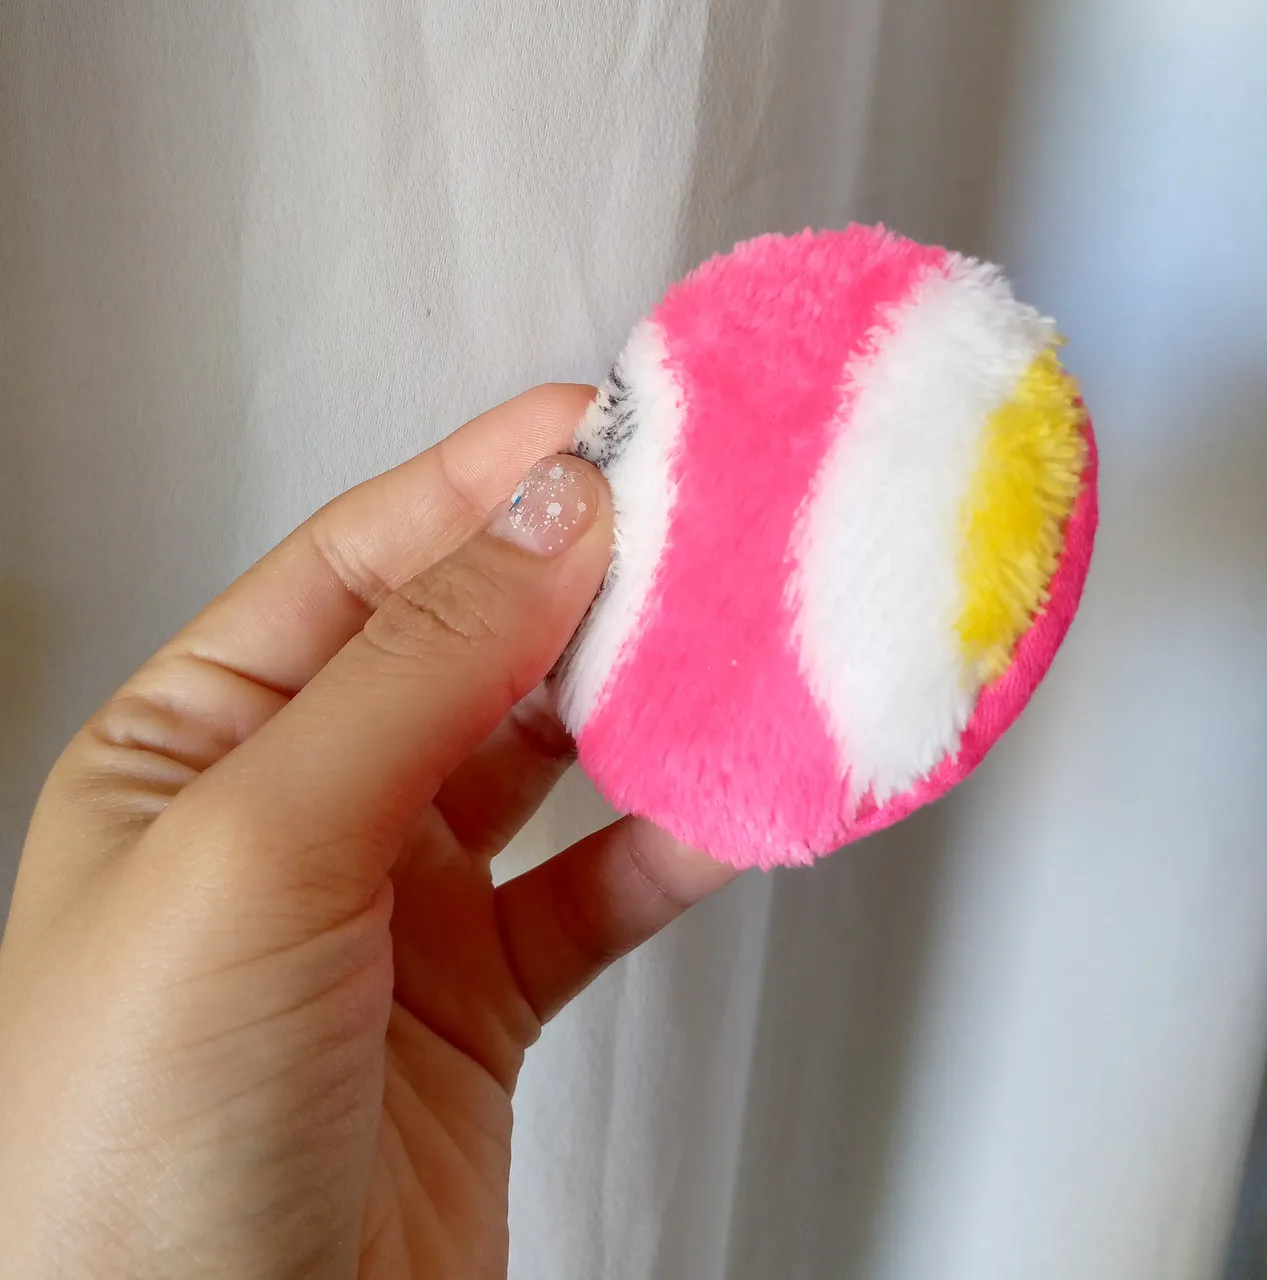
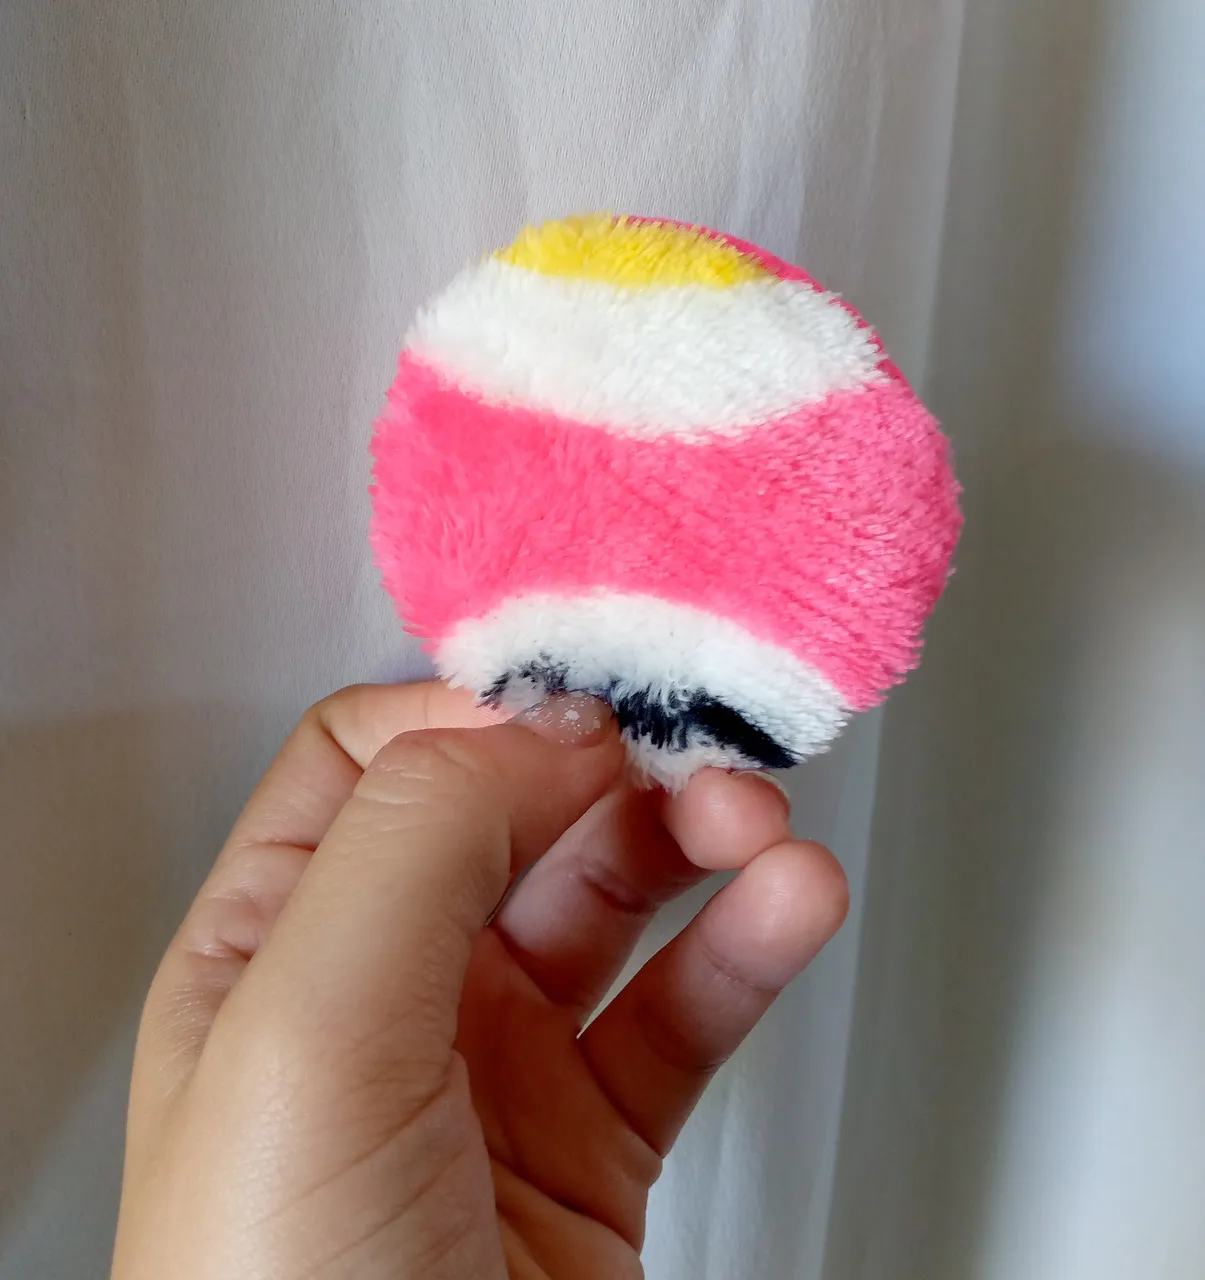
✨🌸Resultado:🌸✨
Result:
De esta forma nos ha quedado este trabajo y la esponjita lista para usar con nuestro polvo suelto o polvo compacto,si te ha gustado esta idea mis amores déjenmelo saber con sus lindos comentarios que aprecio muchisimo y les deseo un bonito jueves y muchas bendiciones ,nos vemos en otro próximo blog creativo ,los amo❤️🥺.
In this way we have this work and the sponge ready to use with our loose powder or compact powder, if you liked this idea my loves let me know with your nice comments that I appreciate very much and I wish you a nice Thursday and many blessings, we See you in another next creative blog, I love you❤️🥺.
 🦋✨Todas las imágenes de esta publicación son de mi autoria ,📱tomadas con mi celular TecnoSpark8C |📸Fotos editadas en PicsArt y Canva. Texto traducido en el traductor de Google.
🦋✨ All the images in this publication are my author ,📱taken with my TecnoSpark8C cell phone |📸Photos edited in PicsArt and Canva. Text translated in Google Translate.
🦋✨Todas las imágenes de esta publicación son de mi autoria ,📱tomadas con mi celular TecnoSpark8C |📸Fotos editadas en PicsArt y Canva. Texto traducido en el traductor de Google.
🦋✨ All the images in this publication are my author ,📱taken with my TecnoSpark8C cell phone |📸Photos edited in PicsArt and Canva. Text translated in Google Translate.