Hello, hivers, and welcome to my page!
In my last post of this series, I talked about starting the work on the front of the trailer. This post will continue that work. As I had said in my last post, after I started this part of the project, I discovered that there was more rot in the wood frame than I had expected, and that caused me to have to pull up the sheet of floor plywood in the front of the trailer to be able to get to the wood that I would have to replace.
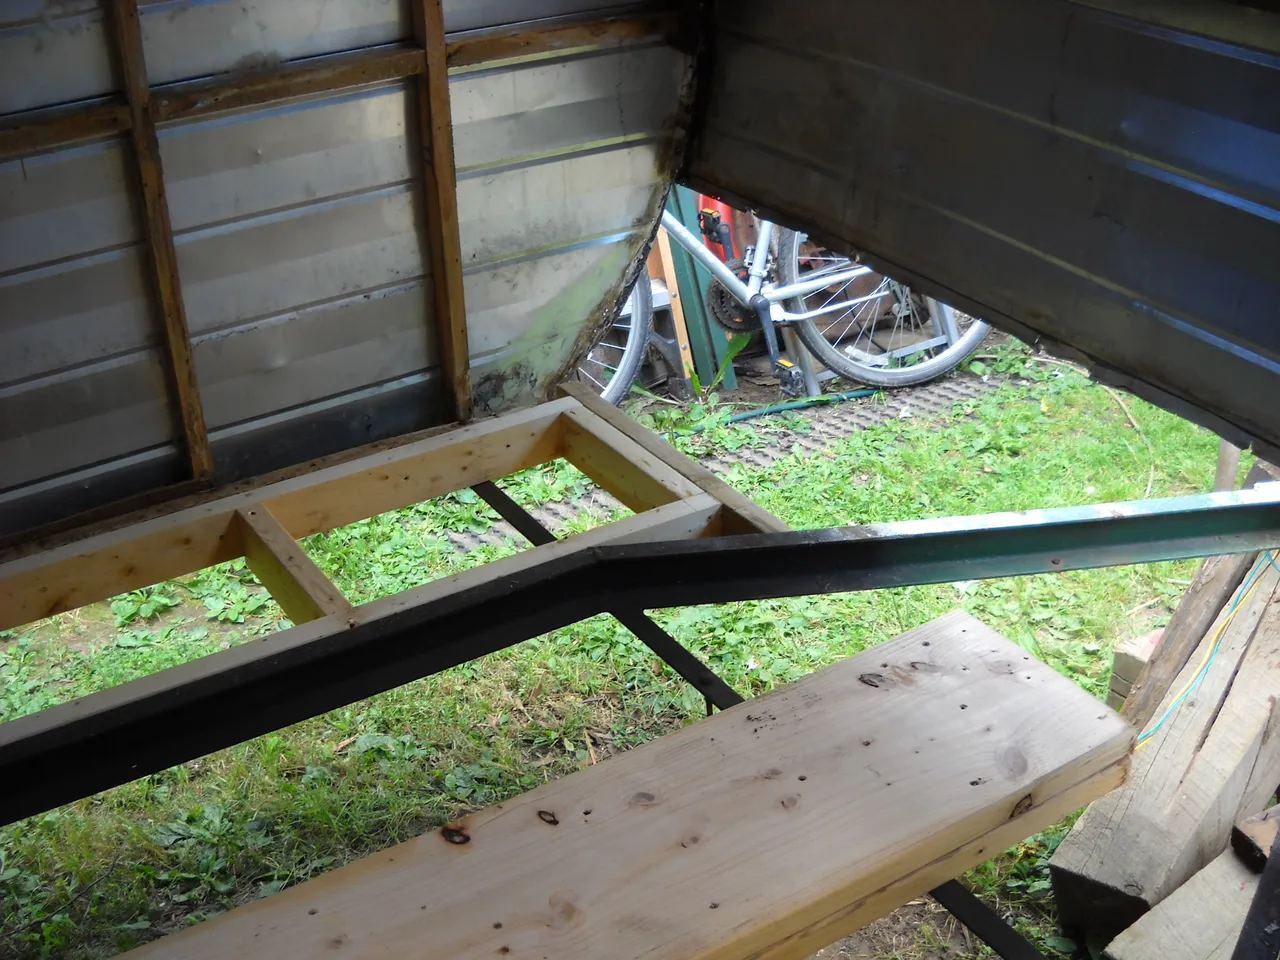
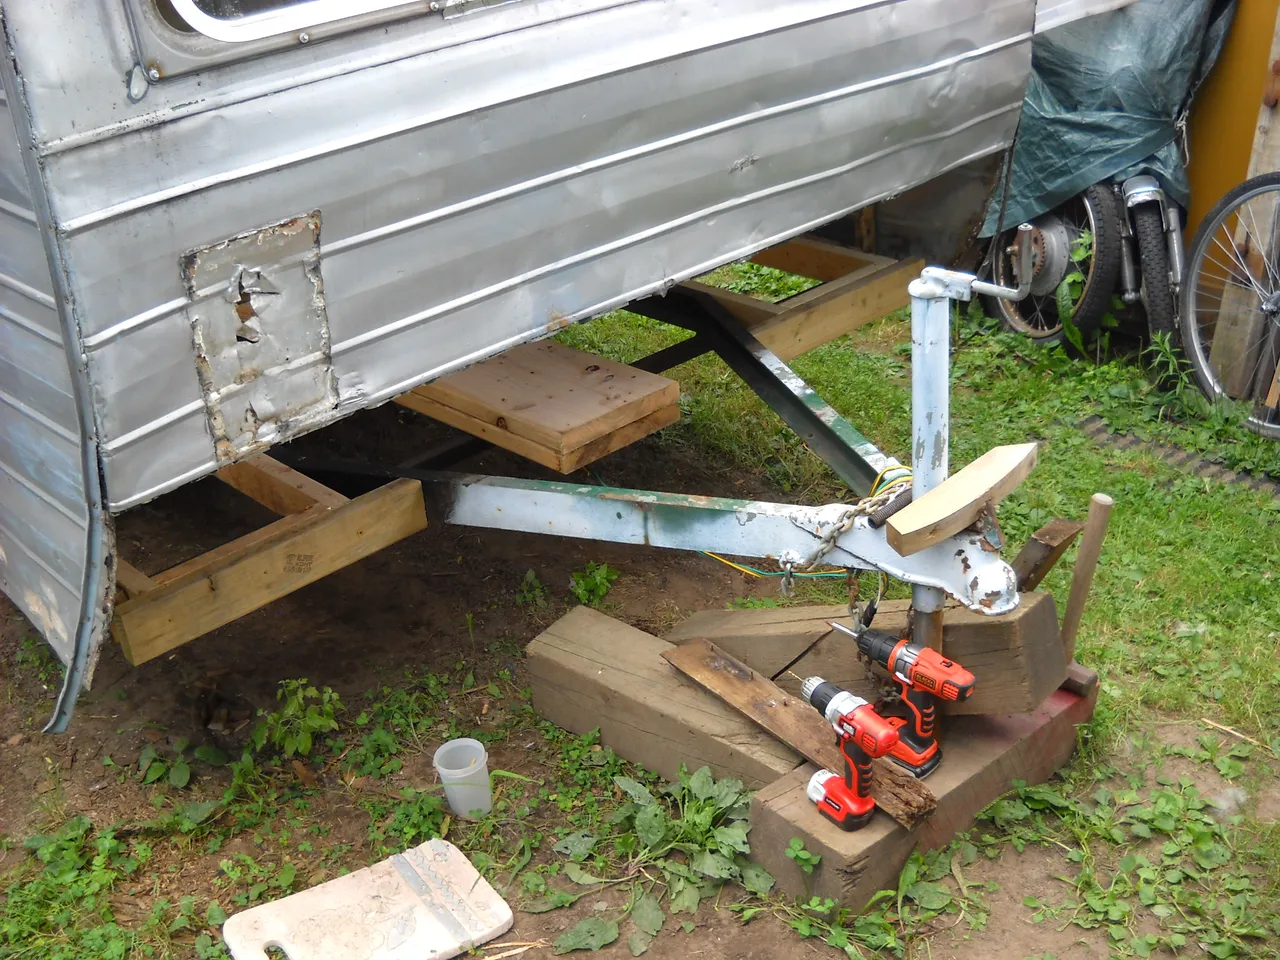
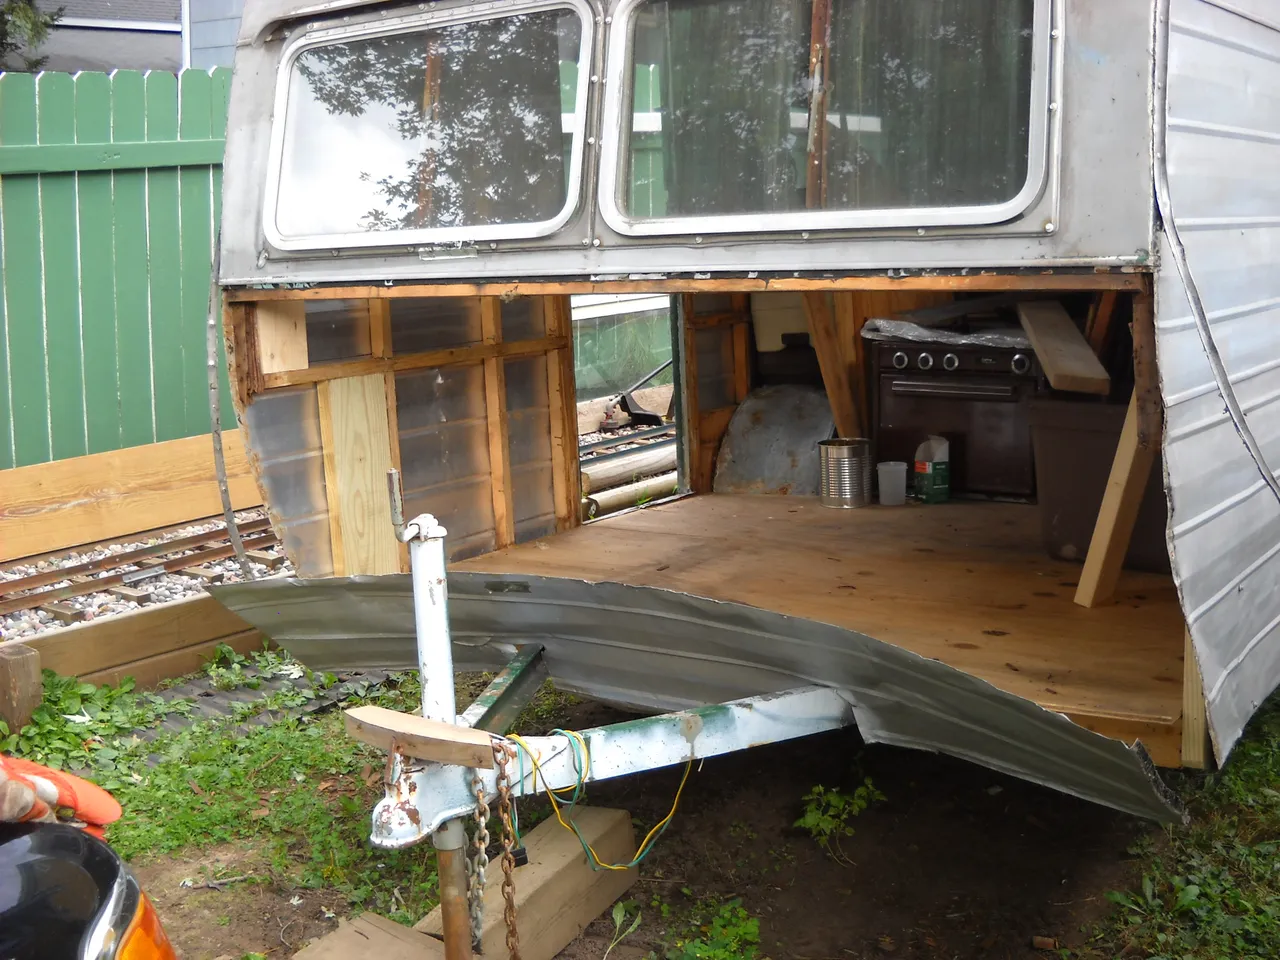
The 2X4 framing that was in the frame of the trailer was ok, so I didn't have to replace that, but the wood at the front edges was bad and needed to be replaced. The first thing I replaced was the pieces of 2X4 that went across the front from the frame channels to the sides. For that I used treated lumber so it won't rot if it gets wet.
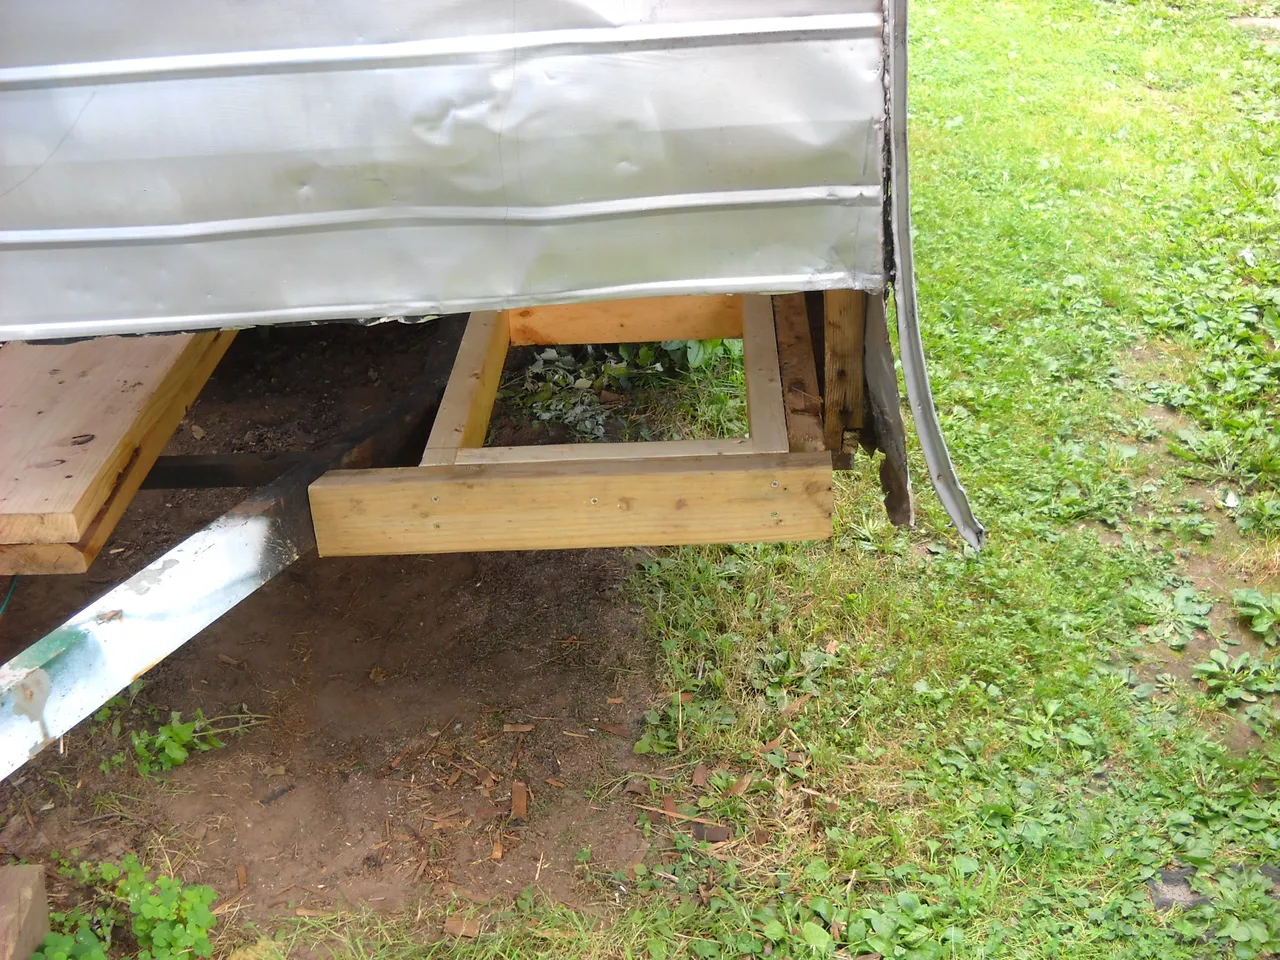
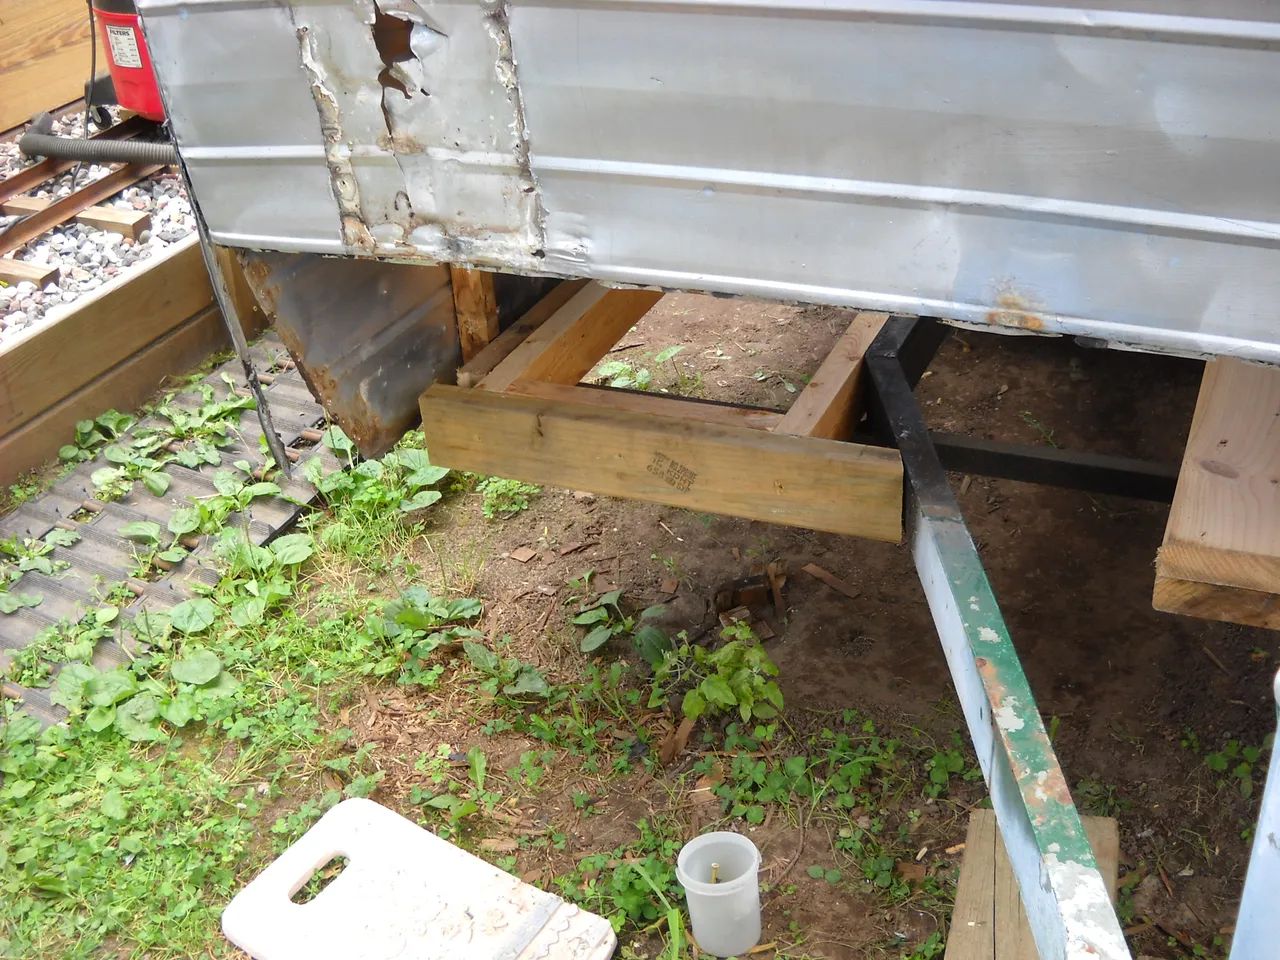
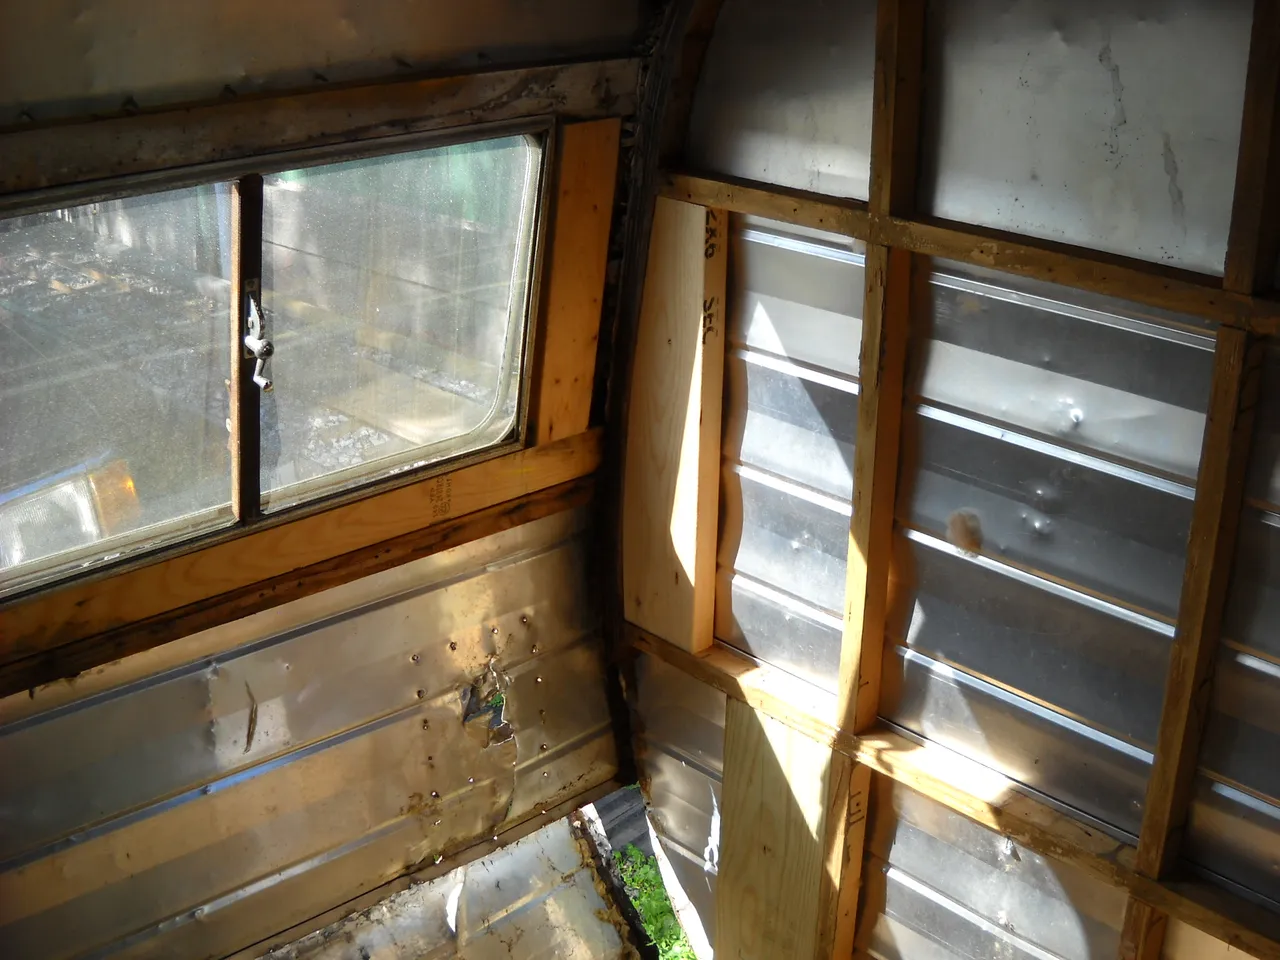
After getting that done, I started working on the bottom corners of the sides. The laminated framing for the edges was rotten on the bottom and had to be replaced. I had previously removed it from the bottom area. It took me a couple of days to figure out how I wanted to proceed with that part of the repair. I finally decided to start by putting some reinforcing pieces into the lower wall just back from the edge. I made a piece for each corner from treated wood. These pieces went into the empty space between the bottom frame and the skin of the sides.
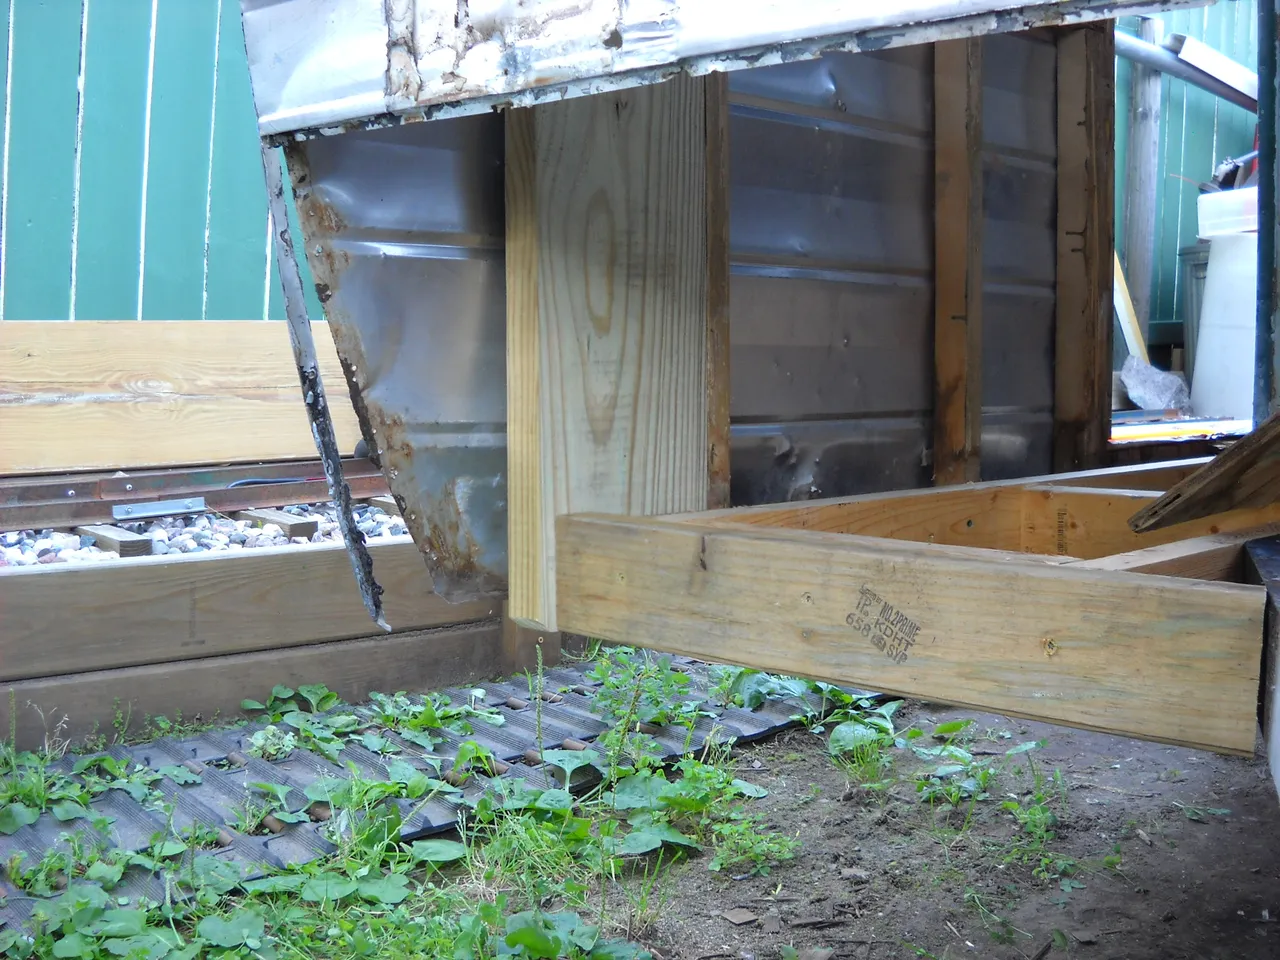
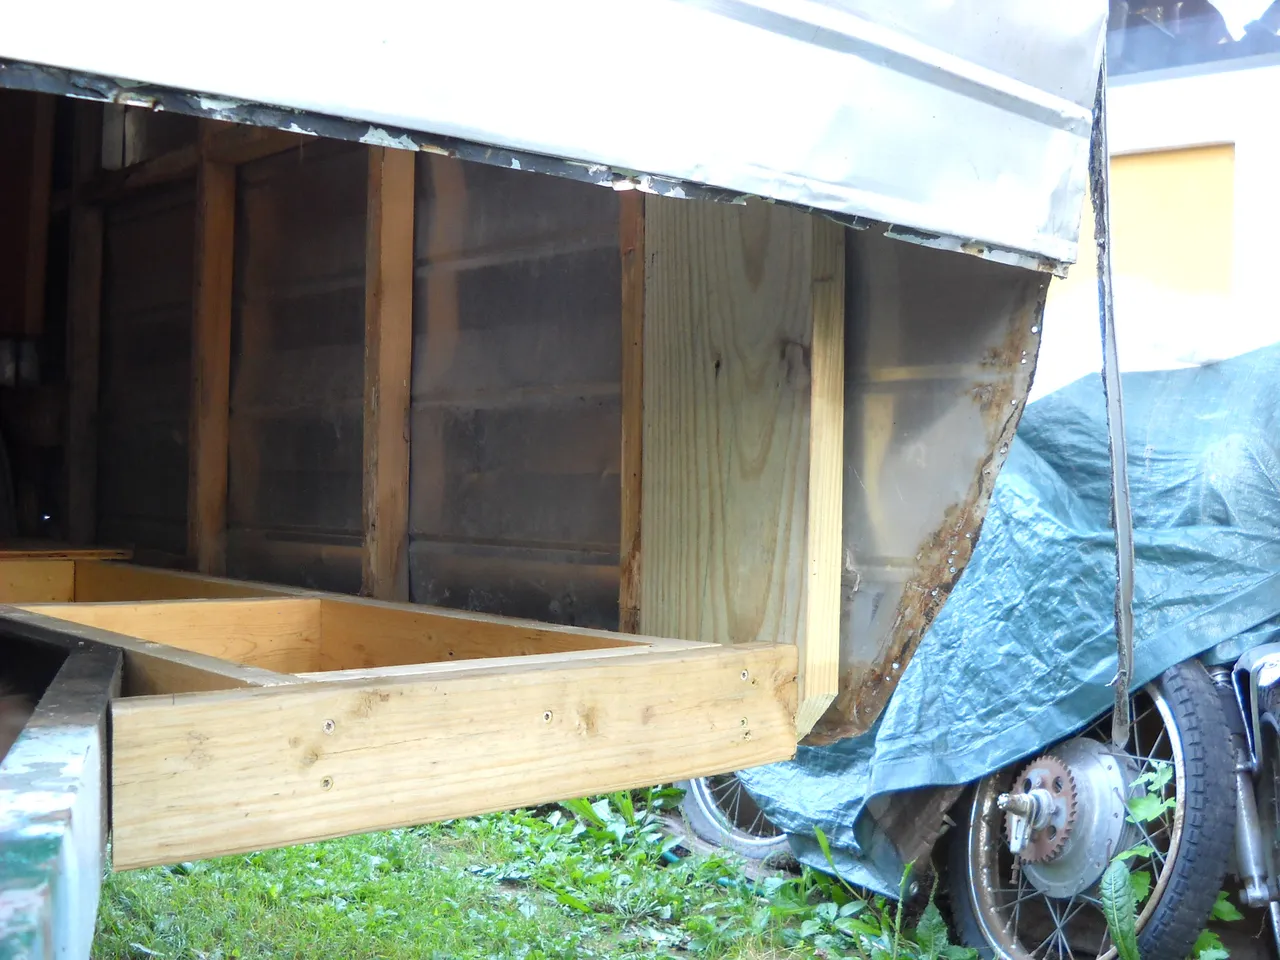
As you can see, the wood piece fits into the corner of the inner wood structure of the side and reinforces the lower front of the sides. I used decking screws to hold the wood braces in place, putting screws in from the top and the back, through the existing framing.
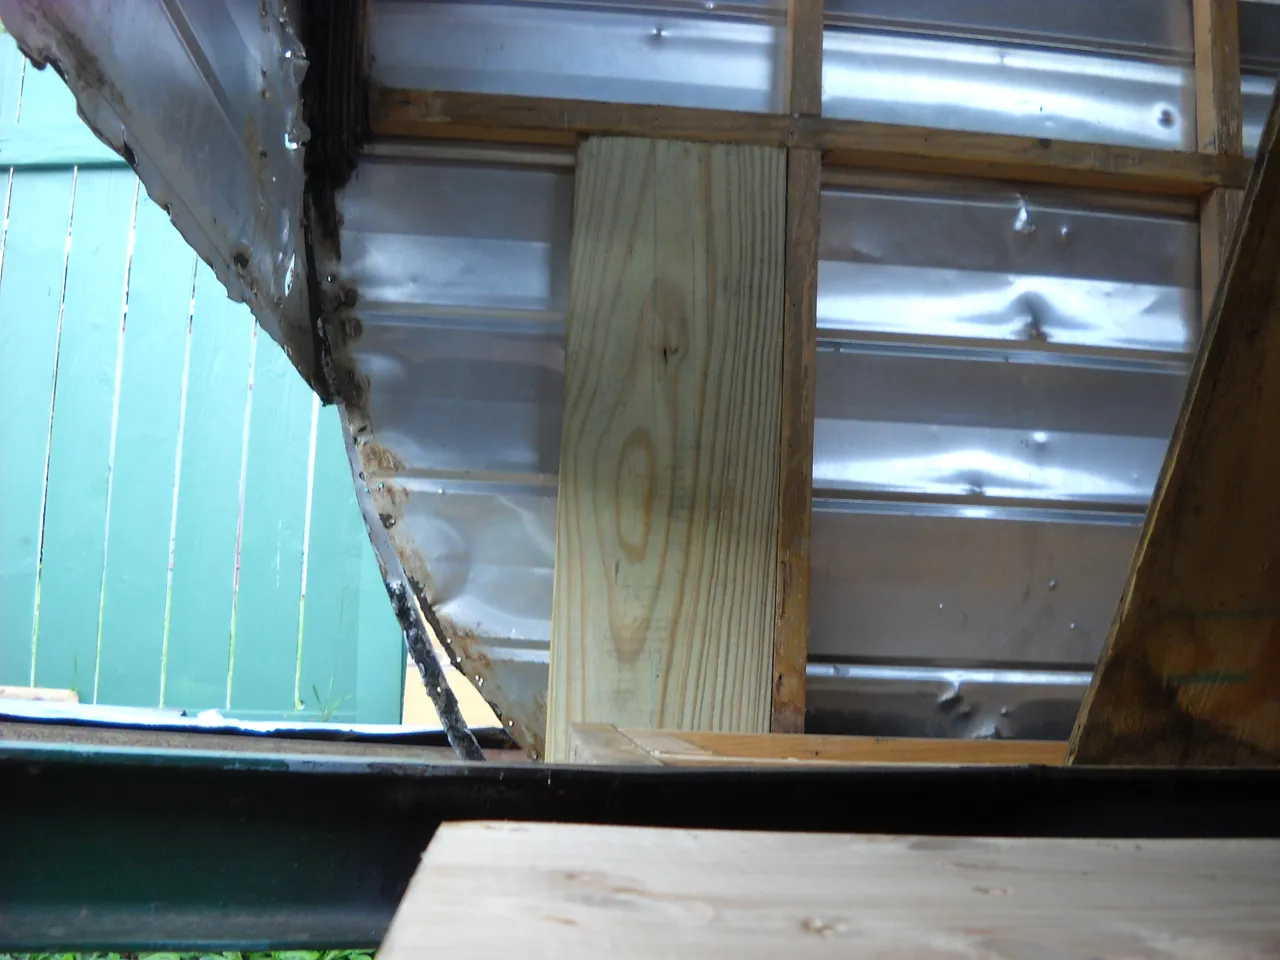
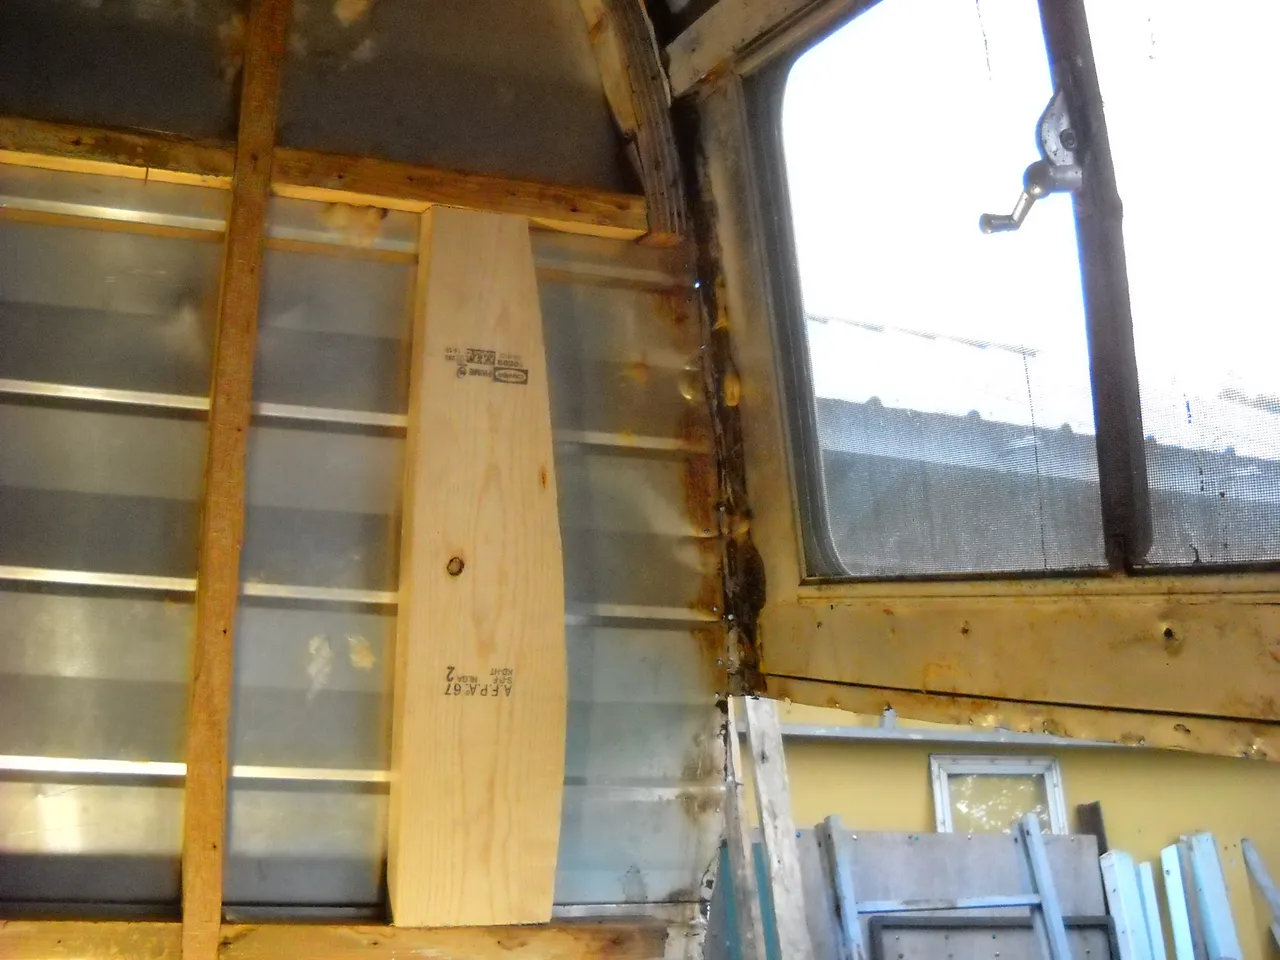
My original plan was to cut a couple of pieces for the lower curve and put them in next, but that's not how it ended up going. For some reason unknown to me now, I decided to cut the wood support pieces for the frame above the lower support first. These pieces had to be cut to a curve to match the inside of the laminated edge framing. This is what they looked like after I put them in.
Unfortunately, this resulted in another set of problems that led me to remove another section of the front skin so that I could have better access to the extra wood that I decided to replace. At this point, I had put the floor plywood back in so I could work inside the trailer easier, but I had not screwed it back down. I figured that I'd end up pulling it out again before I was done with the project.
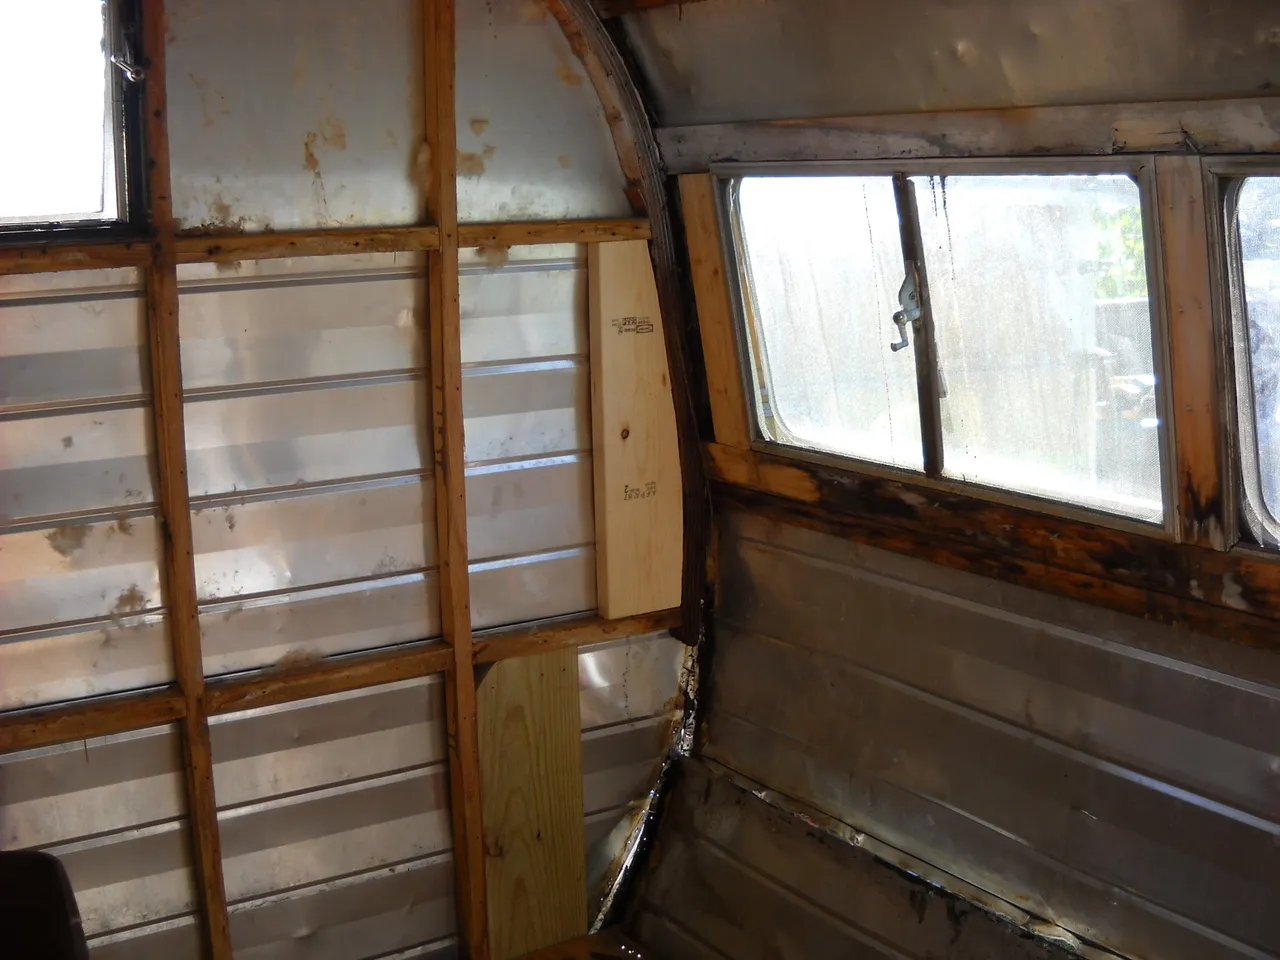
After looking at the condition of the laminated wood where I had put the braces, I decided that I probably should cut more of the original wood out and replace it with the braces.
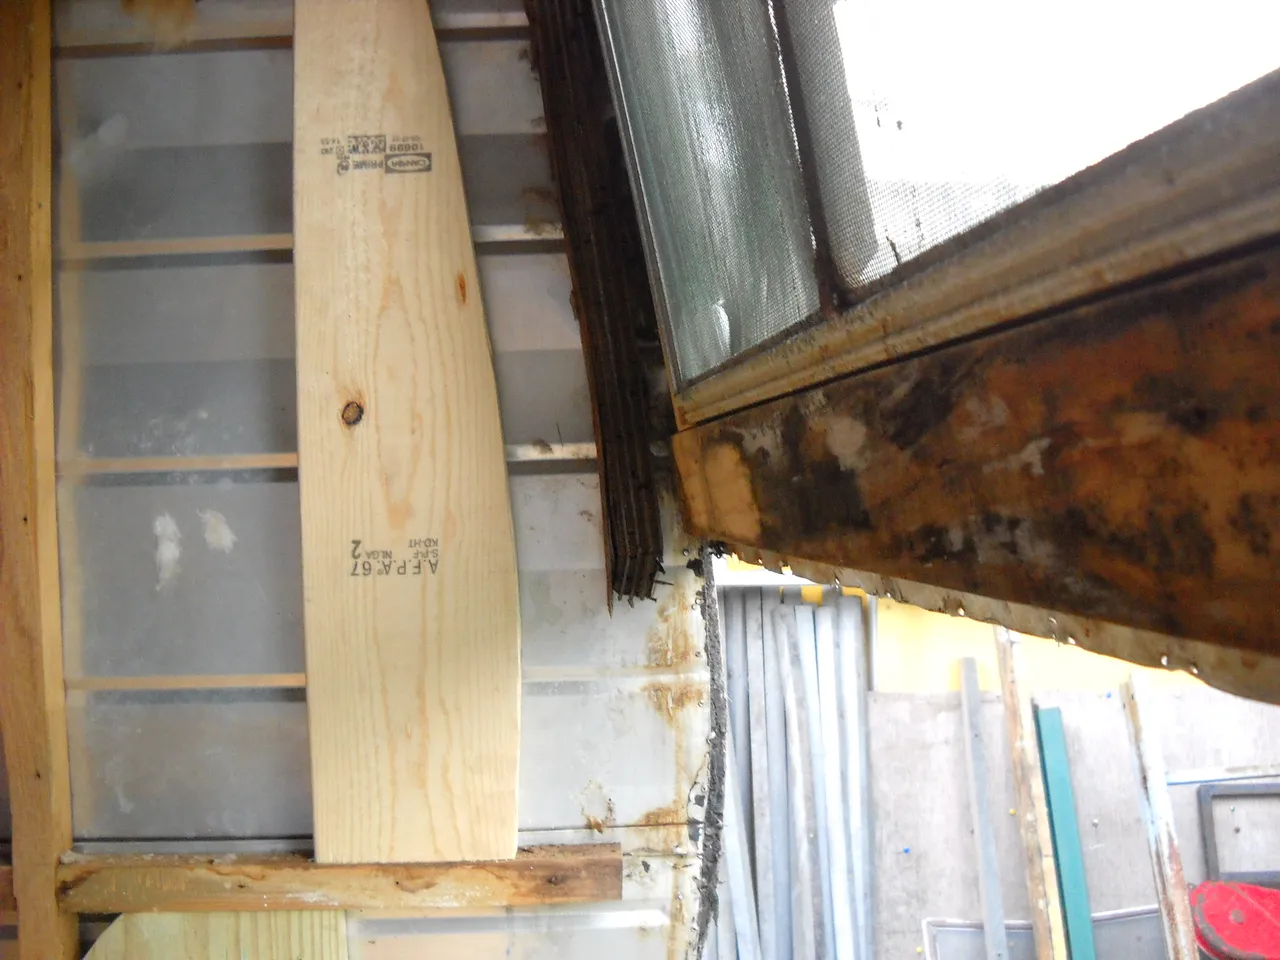
Making that cut without removing the window section was a bit tricky, but I did it by hand with a small miter box saw.
At this point, I decided to cut and fit the lower edge pieces as well as the upper edge pieces. I wanted them to match the edge curve of the sides and provide support to the corners of the trailer. Continuing on that part of the project will be the subject of the next post in this series.
If you would like to read the previous parts of this series, follow these links.
@amberyooper/rebuilding-my-travel-trailer-part-4-starting-on-the-front
@amberyooper/rebuilding-my-travel-trailer-part-3
@amberyooper/rebuilding-my-travel-trailer-part-2
@amberyooper/rebuilding-my-travel-trailer-part-1
In part 1, there are links to the posts that I wrote about repairing the back of the trailer in 2019.
That's all I have for this post. Thanks for stopping by to check it out!